8
GB
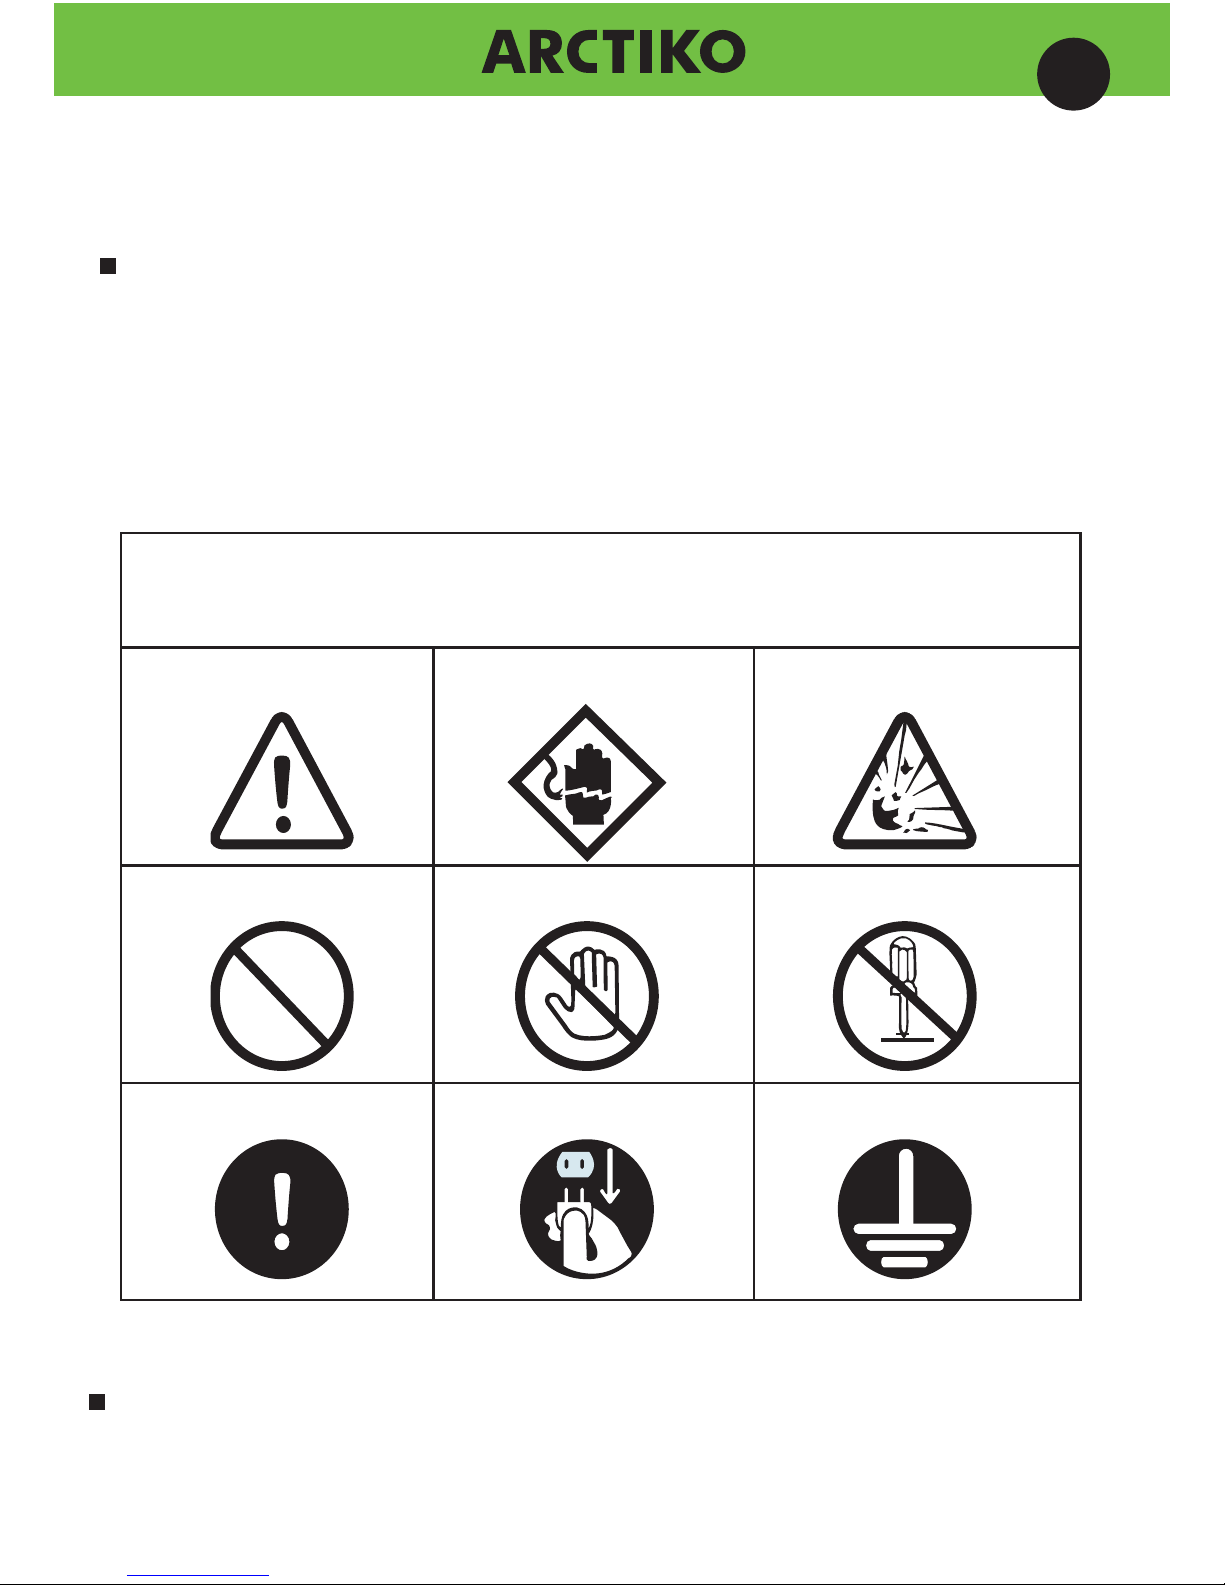
Before commissioning
(Make sure to read the following)
Warning
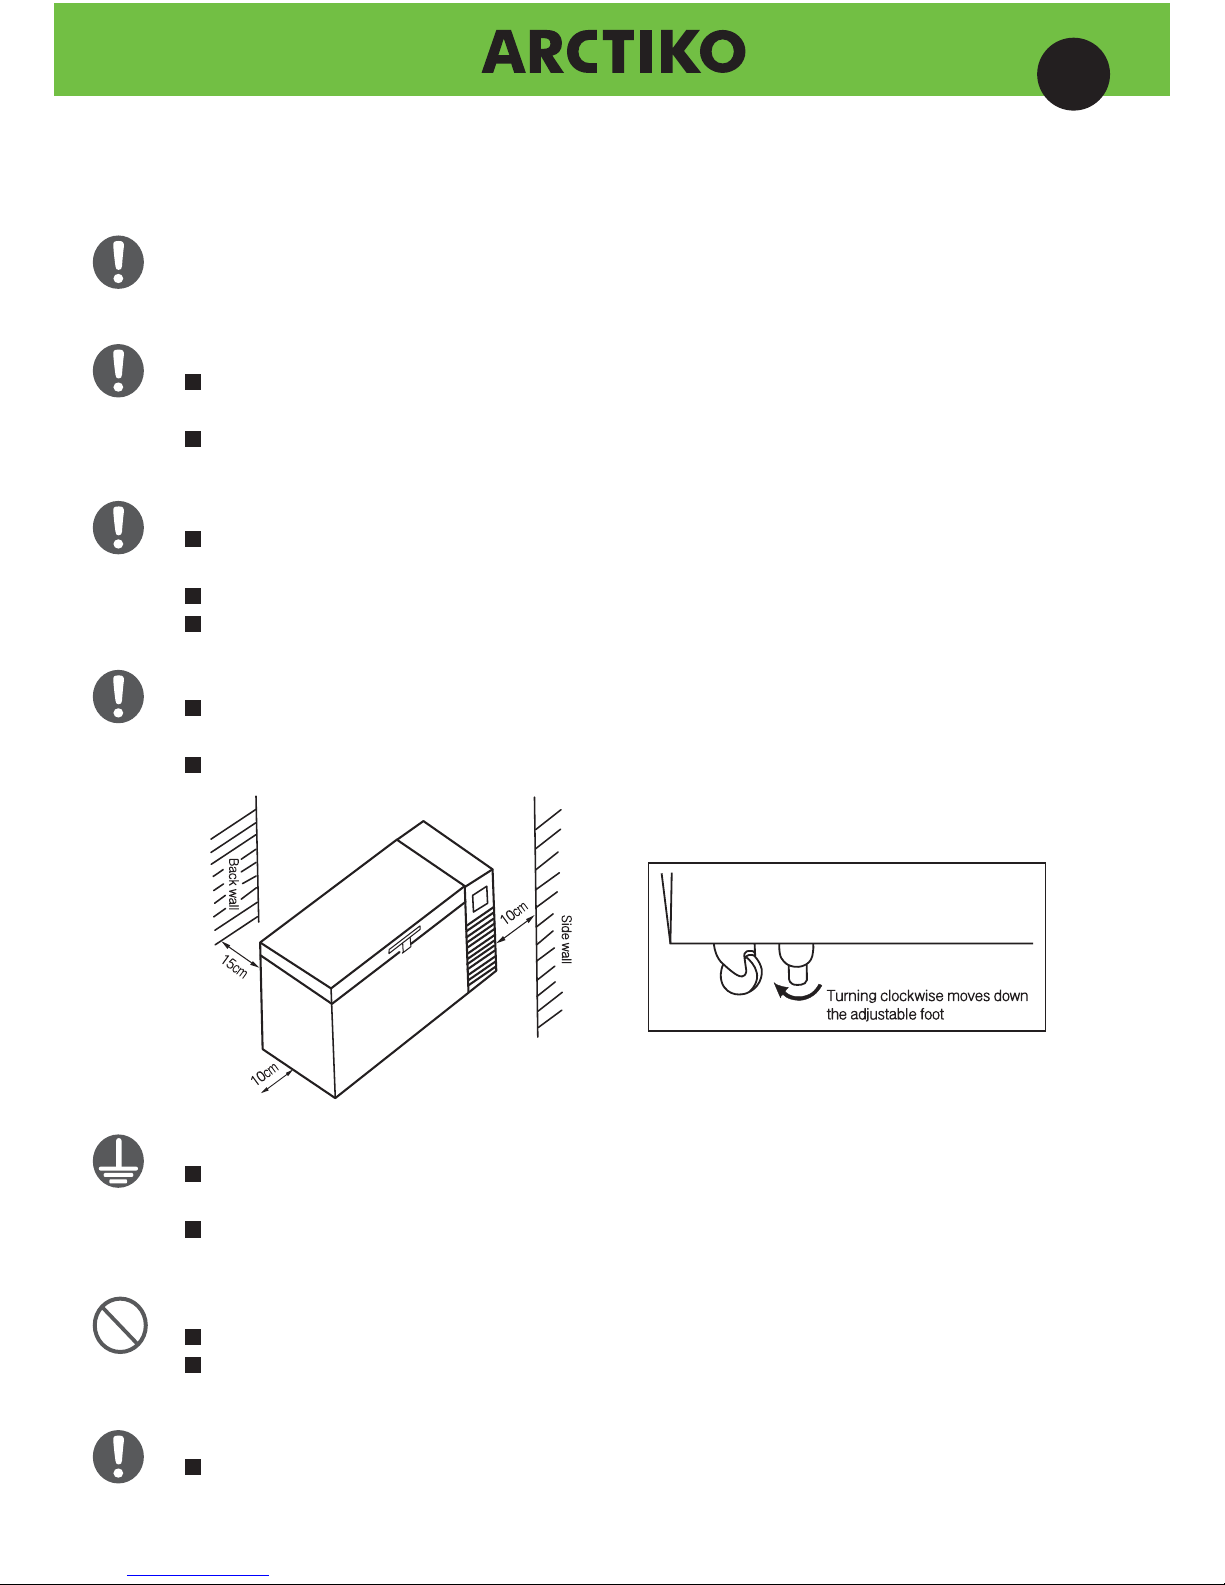
If the surrounding temperature is outside
the optimum range (5°C~30°C), it may
cause breakdown.
Please carry out regular checks to ensure
that the circuit breaker is functioning
correctly If it is defective, it may lead to
electric shocks in the case of electrical
leakage.
When a circuit breaker activates, please
consult your sales agency or qualified
experts Forceful power restoration may
cause electric shocks or fire.
Do not place any objects or containers
containing water in the freezer. If they fall
over, they may cause personal injury and
the spilt water may lead to poor electrical
isolation and electric leakage.
Do not hang on the door. The door may
come off the freezer or the freezer may fall
over, leading to personal injury, electric
leakage, or electric shocks.
Do not put your hands in the mechanical
compartment as it contains high speed
fans and heat-generating parts. Failure to
follow these instructions may lead to
personal injury.
Do not climb on the freezer. It may fall over
and cause personal injury.
Do not insert fingers or other objects into
the air vents or air intakes. As the fan
is spinning at a high speed, it may cause
personal injury or breakdown.
If you do not use the freezer for a long time,
for safety purposes, please unplug the
appliance at the outlet. Failure to follow
these instructions may lead to dust collecting
on the power plug resulting in fire.
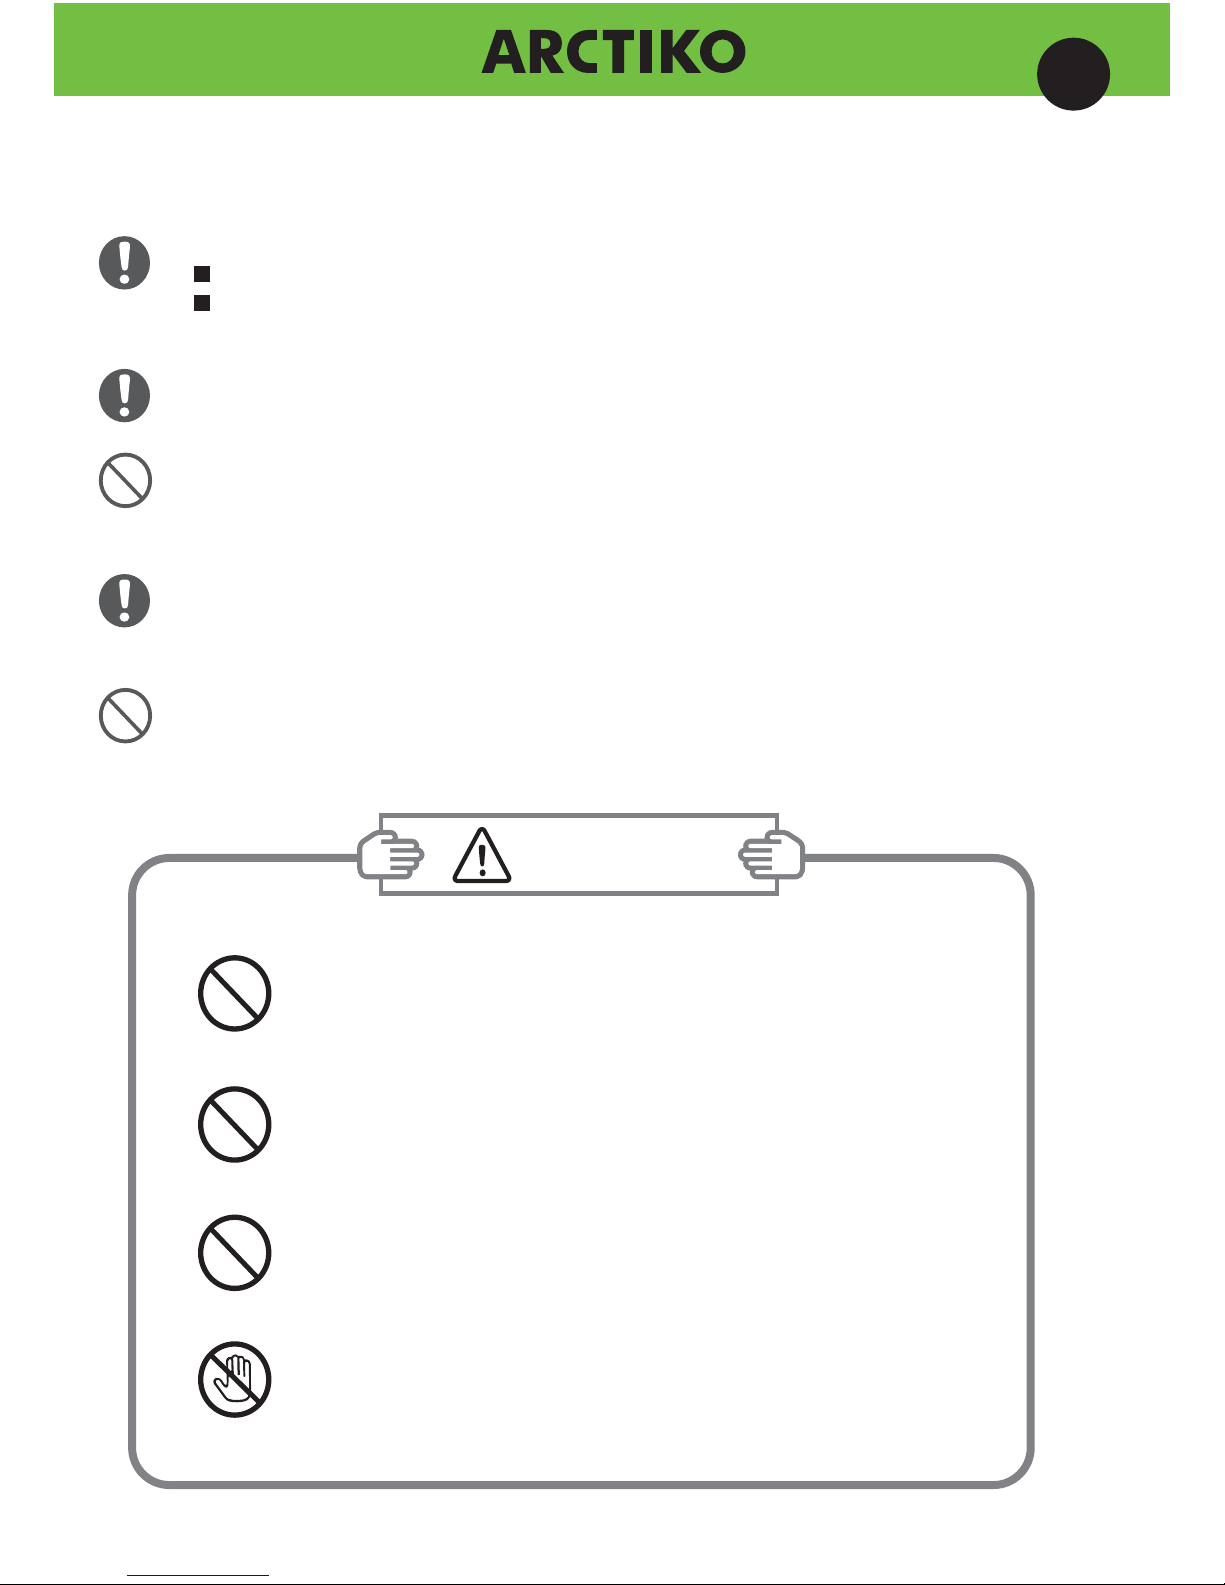
Do not use the appliance on-board
vehicles or any other type of vessel.
Do not use any inflammable spray, such as
lacquer paint, or any form of volatile
substances or inflammables near the
freezer. Sparks discharged from the
electrical components of the freezer may
ignite such substances that lead to
explosions or fire.
Do not touch the electrical components of
the freezer, such as the power plug and
the switches, with wet hands. Failure to
follow these instructions may lead to
electric shocks.
Do not scratch, convert, bend, pull, or tie
the power cord. Also, do not put any
heavy objects on it. Make sure the cord is
not being pinched. Any damage to the
power cord may cause fire or electric
shocks.
When unplugging the freezer, pull on the
plug itself. Do not pull the power cord. You
may damage the inside wires leading to
overheating and fire.
After switching off the appliance, wait for at
least 10 minutes before switching it on
again. Failure to do so may overload the
compressors, causing a breakdown.
However, please note that the appliance
should be switched on within 1 hour after
the power is cut. If you switch off the
appliance for more than 1 hour, please wait
for at least 48 hours with the door open
before restarting it.
Do not pour or spill water directly onto the
appliance or wash it with water Failure to
follow the instructions may lead to short
circuits or electric shocks.
Use the switch to turn the freezer on and
off inserting or unplugging the plug while
the freezer is switched on may cause
electric shocks or short circuits.
Make sure that the power plug is cleaned
regularly. Always make sure that the plug is
completely inserted into the outlet. A dusty
or dirty plug or incomplete insertion of the
plug may cause electric shocks or fire.