arcweld 210C MIG User manual

IM7908-3
June. 2015
Rev. 02
arcweld®210C/250C MIG
For use with machine Part Number:
arcweld®210C MIG K69034-4 code 76258
arcweld®250C MIG K69033-4 code 76257
THE SHANGHAI LINCOLN ELECTRIC COMPANY
No. 195, Lane 5008, Hu Tai Rd. Baoshan, Shanghai, PRC 201907
www.lincolnelectric.com.cn
Copyright © 2015 the Shanghai Lincoln Electric Company
Safety Depends on You
arcweld®machine is designed
and built with safety in mind.
However, your overall safety can
be increased by proper
installation and thoughtful
operation on your part. DO NOT
INSTALL, OPERATE OR
REPAIR THIS EQUIPMENT
WITHOUT READING THIS
MANUAL AND THE SAFETY
PRECAUTIONS CONTAINED
THROUGHOUT. And, most
importantly, think before you act
and be careful.

Thank you for selecting QUALITY arcweld®products.
Please examine the packaging and equipment for damage. Claims for material damaged in
shipment must be notified immediately to the authorized dealer from whom you purchased the
machine.
For future reference, please record your equipment identification information in the table below.
Model Name, Code & Serial Number can be found on the machine rating plate.
Declaration of conformity
THE SHANGHAI LINCOLN ELECTRIC COMPANY
Designed in conformance with the following norm:
AS 60974.1:2006
IEC 60974-1:2005
GB15579.1:2004


A-1 CUSTOMER ASSISTANCE A-1
Read this Operators Manual completely before attempting to use this
equipment. Save this manual and keep it handy for quick reference. Pay
particular attention to the safety instructions we have provided for your
protection. The level of seriousness to be applied to each is explained
below:

A-2 CUSTOMER ASSISTANCE A-2
Master Table of Contents
Content
Page
Personal Safety ………………………………………………………………………….
I-III
Electromagnetic Compatibility ……………………………………………………….
IV-V
Customer Assistance Policy ……………….………………………………
A-1
Master Table of Contents ………………………………………………………………
A-2
Product Description ……………………………………………………………………..
B-1
Installation ………………………………………………………………………………..
C-1
Technical Specifications ……………………………………………………………….
D-1
Technical Specification Data …………………………………………………………….
D-3
Graphics and their Meanings …………………………………………………………….
D-4
Power Source Placement …………………………………………………………………
D-5
Power Supply Configuration ……………………………………………………………..
D-6
The Installation and Connection for MIG Welding ……………………………………..
D-6
The Installation and Connection for Stick Welding …………………………………….
D-7
Operation ………………………………………………………………………………….
E-1
Front Control Panel ………………………………………………………………………..
E-2
Welding Getting Started …………………………………………………………………..
E-4
Maintenance and Trouble Shooting ………………………………………………….
F-1
Spare Parts List ………………………………………………………………………….
G-1
Schematic Wiring Diagram ……………………………………………………………..
H-1
Warranty …………………………………………………………………………………...
I-1

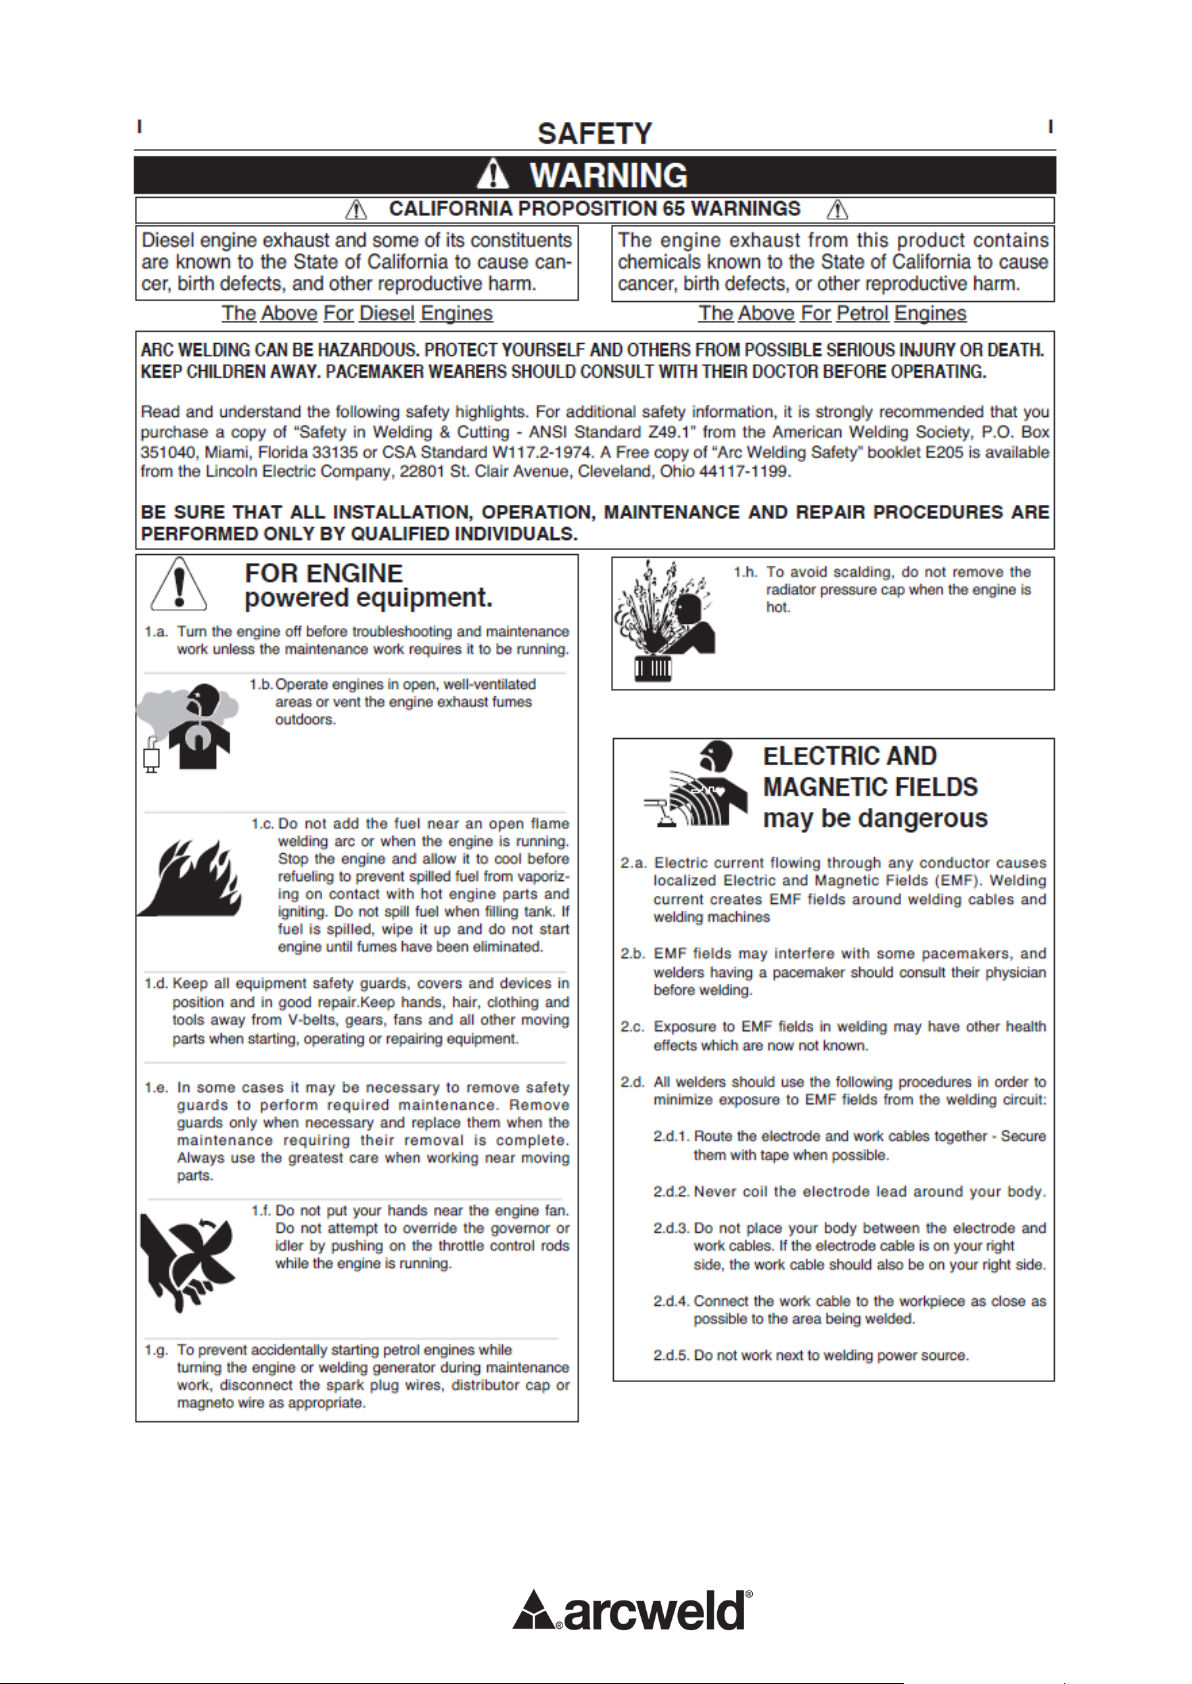
B-1 PRODUCT DESCRIPTION B-1
arcweld®210C/250C MIG inverters are multi-purpose welding power sources. Capable of MIG welding
(both gas-shielded and gasless flux-cored welding), stick and TIG welding of mild and stainless steel
materials. The welding output has been optimized for MIG, STICK, TIG & FCAW welding processes.
They are an ideal choice for fabrication, maintenance / repair, automotive, rural and DIY. Supplied as a
Ready-To-Weld TM package with all options for MIG and STICK welding. Optional TIG torch available
separately. The machines are light and portable which makes them very popular in DIY and
semi-professional market.
The highlighted characteristics of arcweld®210C/250C MIG Inverter MIG/MMA/TIG Welder:
Compact size and light weight, it is widely used in maintenance and fieldwork.
Provided with input voltage compensation covering ±10% variation and a control circuit
reaction speed of less than 1 mSec.
Optimum arc characteristics are maintained over a broad range of operating conditions.
Suitable for solid and flux-cored and aluminium wires. The wire diameter range is between
Φ0.6~Φ1.2mm
Convenient polarity change connection. Outer connection makes it quick, safe, simple and
reliable.
MMA (stick welding) suitable for welding all electrodes including cellulosic electrodes.
Built-in VRD voltage reduction in MMA, MIG and TIG modes.
Touch Start TIG RDC operation allows you to strike the arc without high frequency or tungsten
contamination.

C-1 INSTALLATION C-1
SAFETY PRECAUTIONS
ELECTRIC SHOCK can kill.
Only qualified personnel should
perform this installation.
Turn the input power OFF at the
main switch or fuse box before
working on this equipment.
Do not touch electrically live parts or electrode
with skin or wet clothing.
Insulate yourself from work and ground.
Always wear dry insulating gloves.
FUMES AND GASES can be
dangerous.
Keep your head out of fumes.
Use ventilation or exhaust to
remove fumes from breathing zone.
WELDING SPARKS can cause fire or
explosion.
Keep flammable material away.
Do not weld on closed containers.
PLEASE SEE ADDITIONAL WARNING INFORMATION
AT THE FRONT OF THIS OPERATOR’S MANUAL.
SELECT A SUITABLE LOCATION
This power source should not be subjected to rain, nor
should any parts of it be submerged in water. Doing
so may cause improper operation as well as pose a safety
hazard. The best practice is to keep the machine in a dry,
sheltered area.
The bottom of machine must always be placed on a firm,
secure, level surface. There is a danger of the machine
toppling over if this precaution is not taken.
Place the welder where clean cooling air can freely circulate
in through the front louvers and out through the rear louvers.
Water, dirt, dust or any foreign material that can be drawn
into the welder should be kept to a minimum. Failure to
observe these precautions can result in excessive operating
temperatures and nuisance shutdowns.
Locate the arcweld ® 210C/250C machine away from
radio controlled machinery. Normal operation of the welder may
adversely affect the operation of RF controlled equipment,
which may result in bodily injury or damage to the equipment.
CAUTION
WARNING
INPUT CONNECTIONS
ELECTRIC SHOCK can kill.
Have a qualified electrician install and
service this equipment.
Disconnect input power by removing
plug from receptacle before working
inside machines. Allow machine to sit
for 5 minutes minimum to allow the
power capacitors to discharge before
working inside this equipment.
Do not touch electrically live parts.
INPUT POWER CONNECTION
Check the input voltage, phase, and
frequency supplied to this machine
before turning it on. The allowable input
voltage is indicated in the technical
specification section of this manual and
on the rating plate of the machine. Be
sure that the machine is earthed
(grounded).
INPUT VOLTAGE
The arcweld®210C/250C MIG
machine is to be provided with a
240V±10% input voltage, 50/60Hz.
An output guide is provided in the
technical specification section of this
manual.
ENGINE DRIVEN GENERATOR
The machine is designed to operate on
engine driven generators as long as the
auxiliary can supply adequate voltage,
frequency and power as indicated in the
“Technical Specification” Installation
Section of this manual. The auxiliary
supply of the generator must also meet
the following conditions:
Frequency: in the range of 50 and 60 Hz
RMS voltage of the AC waveform:
200-270V
Peak voltage max. 380V
Generator:
arcweld®210C MIG: 10Kva
arcweld®250C MIG: 15Kva
It is important to check these
conditions because many engine
driven generators produce high
voltage spikes. Operation of this
machine with engine driven
generators not conforming to these
conditions is not recommend and may
damage the machine and is also NOT
covered by warranty.

C-2 INSTALLATION C-2
Do not attempt to use this equipment until you have thoroughly read all operating
and maintenance manuals supplied with your machine. They include important
safety precautions, detailed operating and maintenance instructions and parts lists.
ELECTRIC SHOCK can kill
Do not touch electrically live parts or electrode with skin or wet clothing
Insulate yourself from work and ground
Always wear dry insulating gloves.
Only qualified personnel should install, use or service this equipment.
Location and Ventilation
Whenever you use the arcweld®210C/250C MIG inverter STICK / TIG / MIG Welder be
sure that clean cooling air can flow around the front and rear louvres, (there should be
500mm clearance for good ventilation). Avoid dusty, dirty areas, particularly if
conductive particles are present in the cooling air. Also keep the machine away from
heat sources. If operation is to be outdoors protect from rain and do not sit in puddles
or otherwise submerge it in water. Such practices pose safety hazards and cause
improper operation and corrosion of parts.
Always operate the arcweld®210C/250C MIG Inverter Welder with all panel work
installed to enable correct cooling air flow and protect you from possible electric shock.
Storing
Store the machine in the permissible range of -25 ~ +55℃, in a dry place when it is not in
use. Protect it from dust and dirt. Keep it were it cannot be accidentally damaged
from construction activities, moving vehicles and other hazards.
Stacking
The arcweld®210C/250C MIG Inverter Welder CANNOT be stacked.
Tilting
Place the arcweld®210C/250C MIG Inverter Welder on a secure, level surface
whenever you use it or store it. Any surfaces you place it on other than the ground
must be firm, non-skid and structurally sound.

D-1 TECHNICAL SPECIFICATION D-1
The arcweld®210C/250C MIG Inverter Welder permissible environment:
The surrounding temperature range:
When welding: -10 ~ +40℃
During transport or in storage: -25 ~ +55℃
Relative humidity:
At 40℃: ≤50%
At 20℃: ≤90%.
Avoid excessive dust, acid and corrosive materials in the air as these will damage your machine.
Excessive vibration is not permissible.
Altitude –No more than 1,000m.
500mm space about the welding machine, including from walls and other similar obstructions, is
required to enable correct flow of cooling air.
Keep protected from rain and direct sun when in use outdoors.
The wind speed for all environments should be less than 1m/s;
The Mains Input Voltage Requirement
The voltage wave form should be actual sine wave in shape with a maximum voltage variation of ±15%
of the rated value; the frequency of the voltage wave form should not exceed a variation of ±10% of
the rated value
The Welding Machine Configuration
The arcweld®210C/250C MIG welding machines consist of:
The upper part of the front panel is equipped with, a wire feed speed knob, an output voltage control
knob, an arc control knob, a VRD indicator light (green), a power indicator light (white), abnormal
indicator light (yellow), an amp light, a M/min light, an amperage and voltage digital display, a mode
selection button, a welding mode switch and 2T/4T/Spot selector. While the lower part is furnished
with a Euro style torch quick connector, “+” &“-” quick connectors and polarity selection. The back
side is installed with power switch, gas valve connection, cooling fan and input cable. On the top
there are two handles for the convenient,easy transport. Internally there is the primary transformer,
printed circuit board, inductor, wire feeder, output reactor, and the heatsink with the power
semiconductors.
The package consists of:
Order Number
Description
arcweld®210C MIG
arcweld®250C MIG
Power source
1unit
1unit
IM7908-3
Instruct Manual
1unit
1unit
K60022-24-4M
MIG Gun, LG240C x 4M
1unit
1unit
LE250-RG002
Gas Regulator
1unit
1unit
K69101-25-5M
Electrode lead and holder
1unit
1unit
K69100-25-5M
Work return and clamp
1unit
1unit
E4570
Gas Hose
5m
5m
KP69001-0912
Drive Roll 0.9/1.2(solid)
/
1unit
KP69001-0809
Drive Roll 0.8/0.9(solid)
1unit
/
KP10440-08
Contact Tip M6 0.8mm
1unit
1unit
KP10440-09
Contact Tip M6 0.9mm
1unit
1unit

D-2 TECHNICAL SPECIFICATION D-2
TECHNICAL SPECIFICATIONS
INPUT –SINGLE PHASE ONLY
Machine
Standard
Voltage/Phase/
Frequency
Input Power
@ Duty Cycle
Maximum
Supply
Current
Maximum
Effective
Supply Current
arcweld®210C MIG
220V(±10%)/ 1/50/60 Hz
25%/6.57KVA/6.56KW
28.1
14
arcweld®250C MIG
220V(±10%)/ 1/50/60 Hz
25%/10.02KVA/7.68KW
43
30*
* See below
RATED OUTPUT –DC ONLY
Machine
Mode / I/P plug
rating
Duty Cycle(1)
Amperes
Volts at Rated
Amperes
arcweld®210C MIG
GMAW (15Amp)
25%
60%
100%
210A
135A
105A
24.5V
20.8V
19.2V
SMAW (15Amp)
25%
60%
100%
200A
130A
100A
28V
25.2V
24V
GTAW (15Amp)
25%
60%
100%
200A
130A
100A
18V
15.2V
14V
arcweld®250C MIG
GMAW (30Amp)
30%
60%
100%
250A
176A
136A
26.5V
22.8V
20.8V
GMAW (15Amp)
20%
60%
100%
200A
115A
90A
22V
19.8V
18.5V
SMAW (20Amp)
20%
60%
100%
200A
141A
110A
28V
25.6V
24.4V
SMAW (15Amp)
20%
60%
100%
160A
92A
72A
26.4V
23.7V
22.9V
GTAW (20Amp)
30%
60%
100%
200A
140A
110A
18V
15.6V
14.4V
GTAW (15Amp)
27%
60%
100%
200A
115A
90A
18V
14.6V
13.6V
OUTPUT RANGE
Machine
Mode
Open Circuit
Voltage
Welding Current
Range
Welding Voltage
Range
arcweld®210C MIG
GMAW
VRD < 15V
(60V)
10A ~ 210A
14.5V ~ 24.5V
SMAW
10A~200A
20.4V ~ 28V
GTAW
10A~200A
10.4V ~ 18V
arcweld®250C MIG
GMAW
VRD < 15V
(57V)
10A ~ 250A
14.5V ~ 26.5V
SMAW
10A~200A
20.4V ~ 28V
GTAW
10A~200A
10.4V ~ 18V

D-3 TECHNICAL SPECIFICATION D-3
OTHER PARAMETERS
Machine
Power Factor
Efficiency
Protection Class
Insulation Class
arcweld®210C MIG
1
≥80%
IP21S
H
arcweld®250C MIG
0.77
PHYSICAL DIMENSIONS
Machine
Length
Width
Height
Weight
arcweld®210C MIG
590mm
290mm
436mm
23.8Kg(2)
arcweld®250C MIG
22.7Kg(2)
Temperature Range
Operating Temperature Range
-10°C ~ +40°C(14°F~104°F)
Storage Temperature Range
-25°C ~ +55°C(-13°F~131°F)
Available Drive Rolls
Part No.
Size
Wire Type
KP69001-12
1.0 –1.2mm
Solid
KP69001-0912
0.9 –1.2mm
Solid
KP69001-08
0.6 –0.8mm
Solid
KP69001-0810A
0.8 –1.0mm
Cored
KP69001-0912R
0.9 –1.2mm
Cored
KP69001-1012A
1.0 –1.2mm
Aluminium
KP69001-0912R
0.9 –1.2mm
Aluminium
(1) Based upon 10 minute time period(i.e., for 30% duty cycle, it is 3 minutes on and 7 minutes off)
(2) Power Source only.
Note: The above parameters are subject to change with the improvement of machine

D-4 TECHNICAL SPECIFICATION D-4
LG240G MIG Torch (Gun) Illustration
The LG240G MIG torch is composed of the Euro connector, connecting cable and handle.
There is a gooseneck installed in the handle of the torch. The gas diffuser distributes shielding gas in
the nozzle to provide even gas shielding for the welding arc. A switch on the handle controls the
welding output.
* Turn off the power before assemble/disassemble or replacement of the torch components.
* The cable, nozzle and tip need to be replaced as required.
Graphics and their meanings
Earth / Ground
Descending
MMAW (Stick) welder
GMAW (MIG) welder
GTAW (TIG) welder
1 Single phase AC power source
Single phase inverter---transformer---rectifier
DC current
+: “+” Output connector
-: “-” Output connector
X: Duty Cycle
I1: Rated Input Current
I2: Rated Welding Current

D-5 TECHNICAL SPECIFICATION D-5
P1: Rated Input Power
U0: Rated Open Circuit Voltage
U1: Rated Input Voltage
U2: Rated Load Voltage
~50/60 Hz: AC, Rated frequency 50 Hz, workable frequency 60 Hz.
V: Voltage (V)
A: Current (A)
kVA: Power (kVA)
%: Percentage
A/V ~ A/V: Output range. Rated min and rated max welding current and related load
voltage.
Duty Cycle: The rated duty cycle of a Welding Power Source, is a statement of the time it
may be operated at its rated welding current output without exceeding the
temperature limits of the component parts.
IP21S: Case protection class. IP is the code of International Protection.
2 - Means preventing the user’s finger from accessing dangerous parts; preventing solid
material with the diameter no less than 12.5 mm entering into the cabinet.
1 –Means water dropping vertically remains harmless.
S –Means water protection test is conducted while the movable parts are at standstill.
H: H insulation grade.
Notice: The temperature rise test of the welding power source had been carried out in the room
temperature. The rated duty cycle of 40℃is obtained by simulation.
Power Source Placement
* Avoid excessive dust, acid and corrosive materials in the air.
* Keep protected from rain and direct sun when in use outdoors.
* There should be 500 mm space about for the welding machine to have good ventilation.
* Use adequate ventilation when in confined areas.

D-7 TECHNICAL SPECIFICATION D-7
Connection between Power Source and Input Power Supply
Connect the input cable, (located in the rear panel of the welder), into the single phase 240 voltage
power receptacle of appropriate current capacity and with an appropriately sized circuit breaker.
Input connection sketch
Power supply configure of a welder:
Item
arcweld®250C MIG
arcweld®250C MIG
Circuit breaker(A)
(‘D’ Curve)
16Amp
* 16Amp (15Amp I/P plug)
32Amp (Max O/P0)
Power cord(mm2)
≥2.5mm2
≥2.5mm2
* Refer page D-2 for output ratings and input plug rating
The installation and connection for MIG welding
* Select a suitable filler wire according to process being used (Lincoln Ultramag S6 for MIG and
Innershield NR211MP for gasless flux cored welding). The wire diameter must be matched to the
drive roll, the liner and contact tip.
* Open the side panel of wire feeder and mount the wire spool on the spool post. The end of the wire
must be at the bottom of the wire spool, opposite wire feeder inlet guide tube.
* The spool post is fitted with a brake; the wing nut in the centre of the spool post adjusts the brake
tension. Pull the wire from the reel by hand and adjust the tension to provide some drag -

D-7 TECHNICAL SPECIFICATION D-7
clockwise will increase the braking and anticlockwise reduces it.
* Release the wire tensioning device on the drive rolls, insert the filler wire end into the inlet guide
tube of wire feeder, align wire with the drive roll groove and feed a short length into the torch
connector so that it protrudes out of the front panel, then replace the tensioner over the wire. (The
filler wire can be feed through the torch cable once the input power is switched on using the wire
‘inching button’.)
Connection between Power Source and Torch
* Insert the torch connector over the protruding wire and into the Euro connector on the front panel of
the welder and rotate the screw cap firmly.
Connection between Power Source and Work Piece
Insert the quick connector of work return cable into the current output (-) terminal on the lower section
of the front panel and then screw in clockwise, (ensure the connection is tight). The earth clamp is
connected with work piece. The MIG polarity connector welding lead needs to be connected into (+)
output terminal, (ensure the connection is tight).
* For correct arc performance when using flux-cored gasless wire the polarity needs to be reversed,
connect the (+) and (-) in the opposite way, that is the torch will be (-) and the work lead will be (+).
Do not use steel plate or similar materials which are high resistance to connect between welder and
work piece.
The installation and connection for stick welding.
a) Connection of electrode lead to the welder.
Connect the quick connector of electrode lead to the (+) output quick connect terminals on the front
panel, turn clockwise and ensure the connection is tight.
b) Connection of the work return lead to the welder.
Connect the quick connector of work return lead to the (-) output quick connect terminals on the front
panel, turn clockwise and ensure the connection is tight.
Do not use steel plate or similar materials which are high resistance to connect between welder and
work piece.

E-1 OPERATION E-1
1 M/min light
2 Amp light
3 Current display
4.Amp/WFS knob
5 Euro torch socket
6 MIG polarity connector
7 Negative output
8 Positive Output
9 Voltage adjustment
10 Electronic inductance
11 2T/4T change
12 Welding mode selection
13 Voltage display
14 Fault light
15 Power light
16 VRD light
17 Gas input
18 Power switch
19 Input lead bush
20 Rating plate
21 Burn-back knob 22 Wire inching button
Note:
* The ‘protection indicator light’ will come on if the duty cycle is exceeded. It shows that the inner
temperature is over the permitted level, the machine should be stopped being used to allow it cool
down. Welding can continue after the ‘protection indicator light’ is off.
* The power source should be switched off when not in use.
* Welders should wear protective clothing and welding helmet to prevent injury from arc and thermal
radiation.
* Care should be taken so as not to expose others to the welding arc. Use of screening is
recommended.
* Do not weld near Inflammable or explosive materials.
This manual suits for next models
3
Table of contents
Other arcweld Welding System manuals