Ethernet Printer Technical Manual November 10, 2010
6
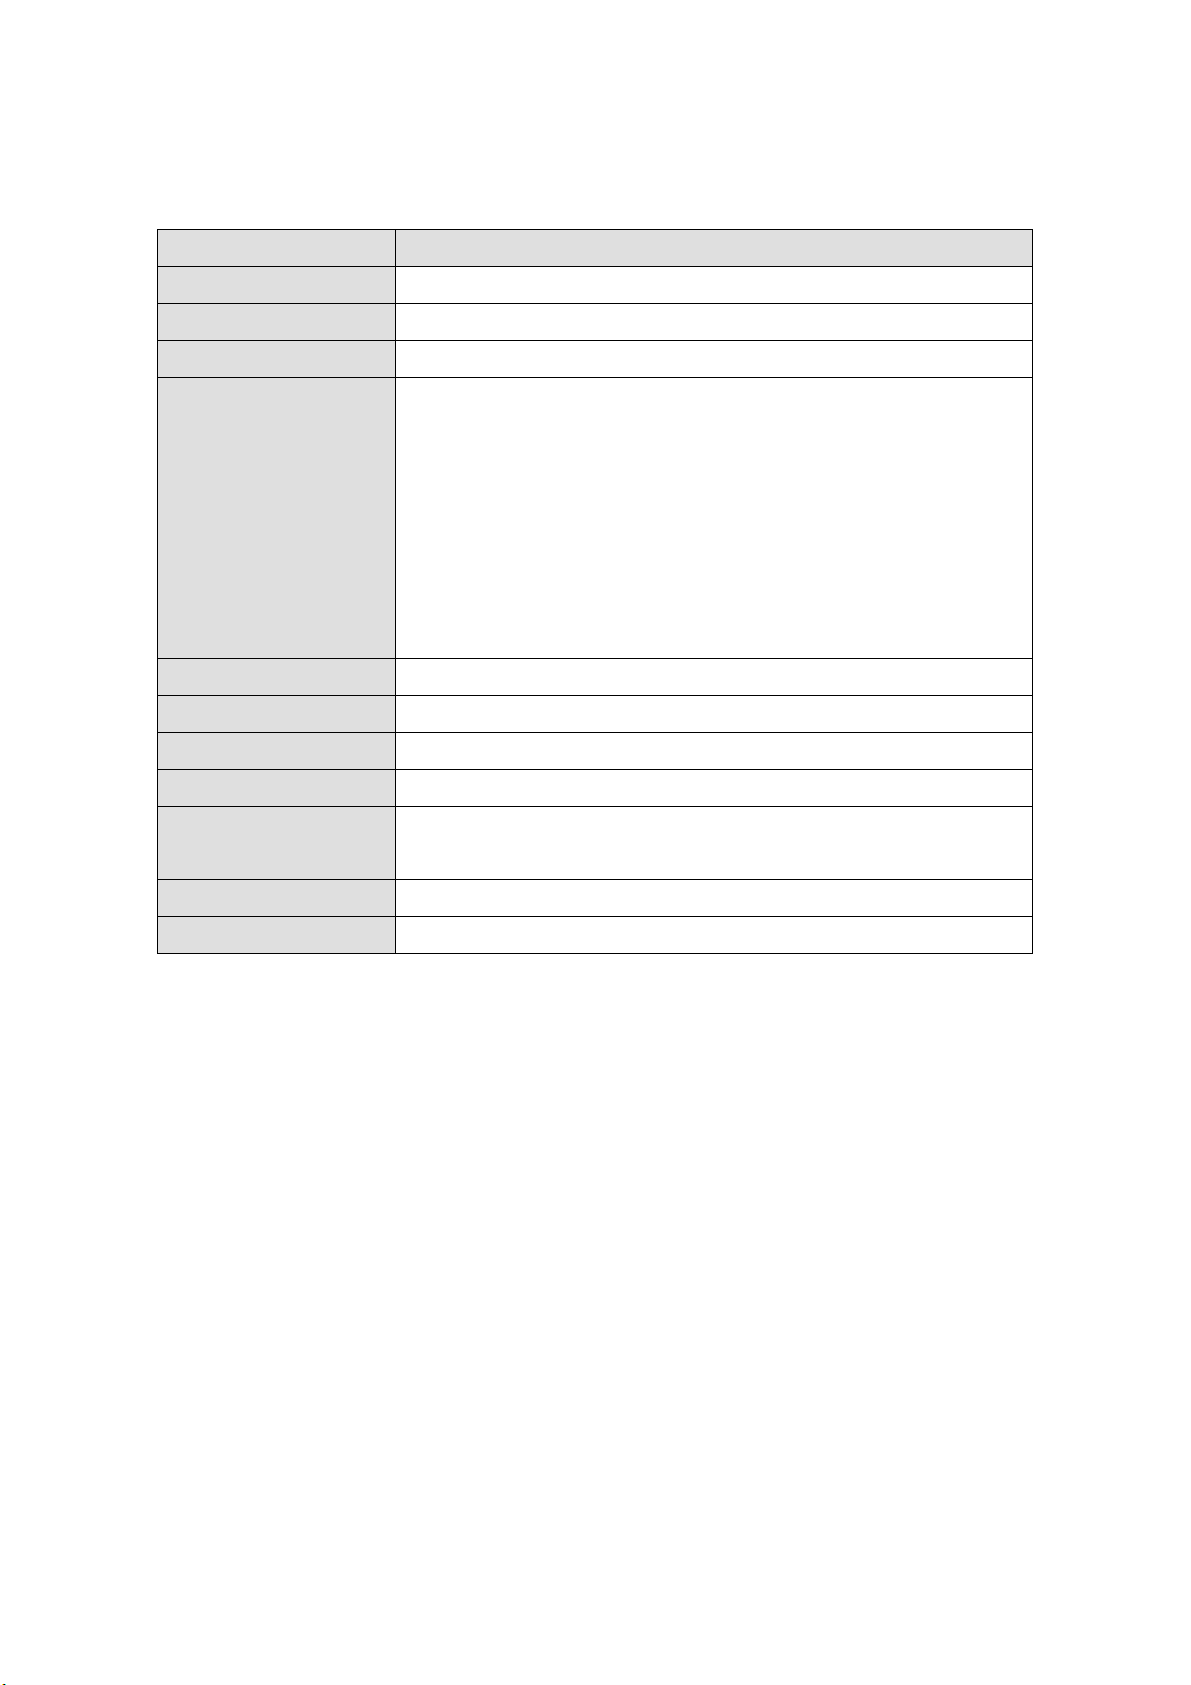
printer status. (default value:1)
This command is for Ethernet card to enquire Printer.
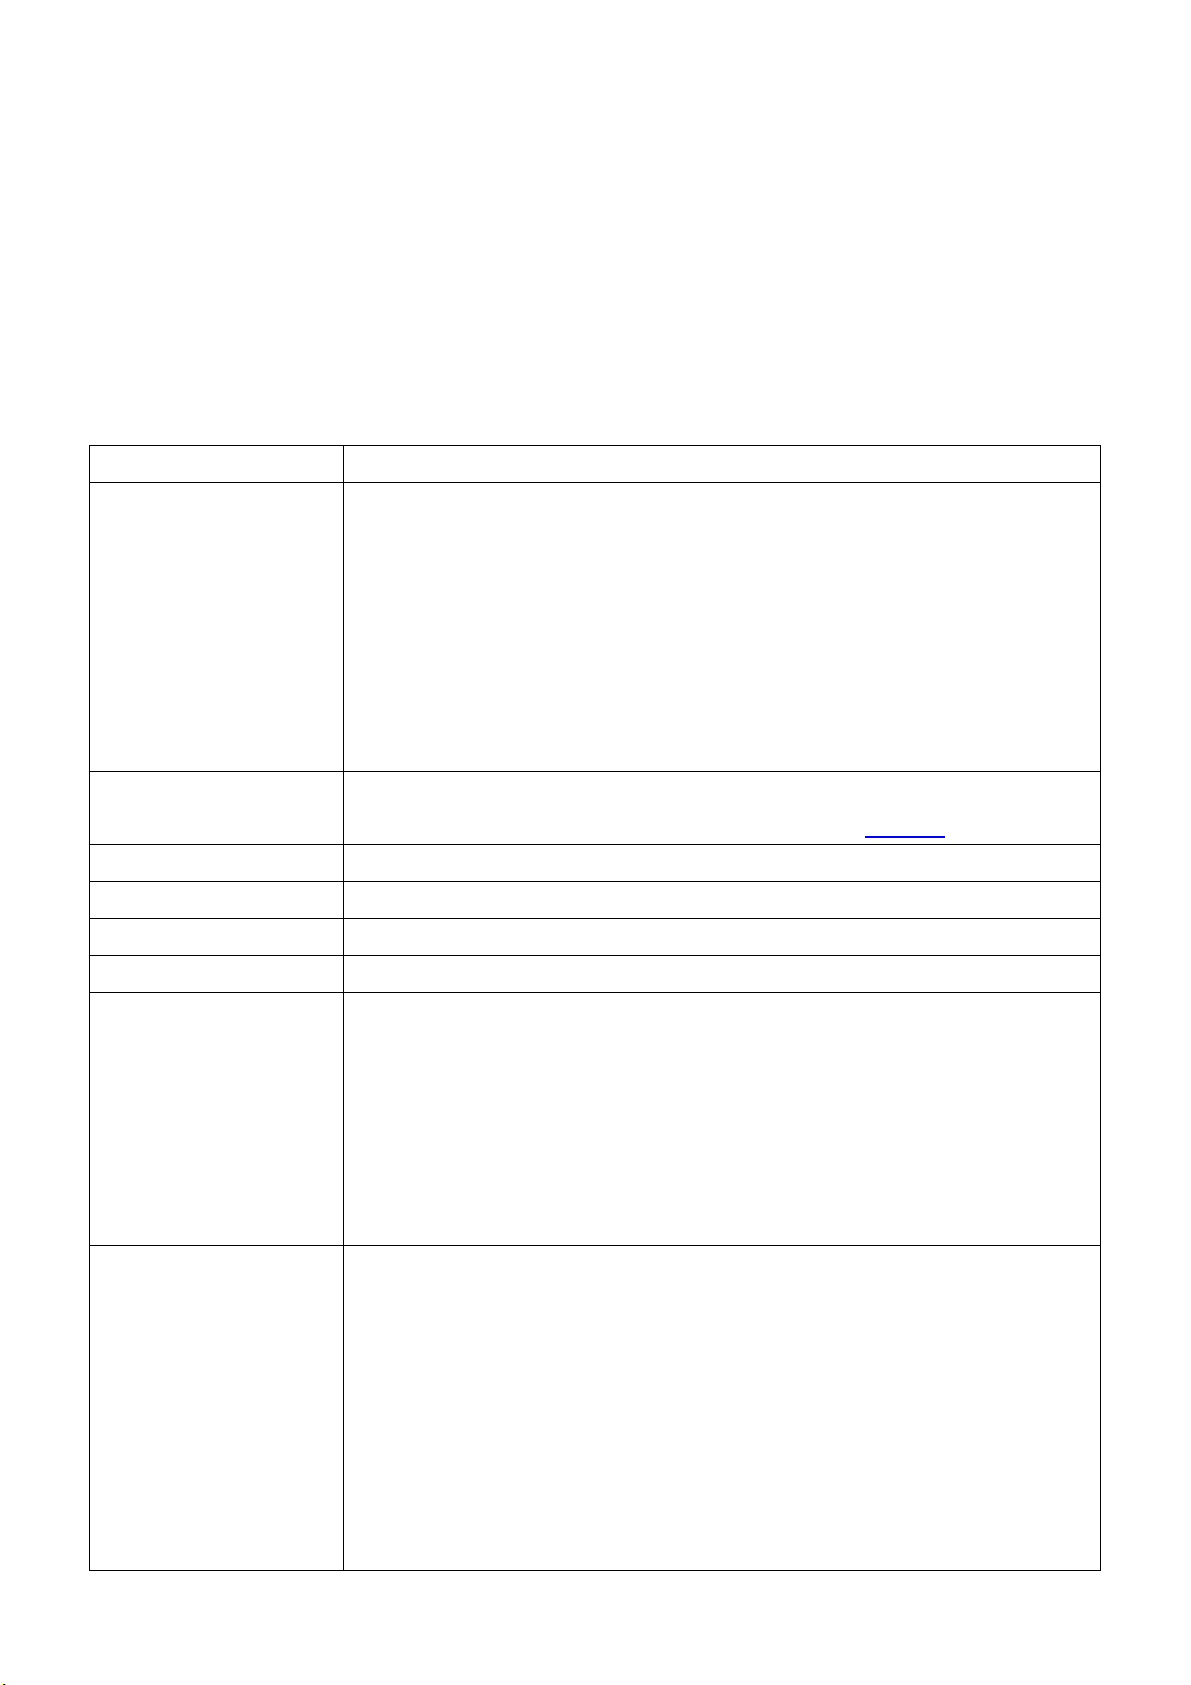
<ESC>KJOETHERNET
*Ethernet IP addresses
*Syntax: <ESC>KJOETHERNETm,m,m,m,n,n,n,n,o,o,o,o,q,q,q,q,q,q
*Parameter: “m,m,m,m,”: IP address
“n,n,n,n,”: subnet mask
“o,o,o,o,”: gateway
“q,q,q,q,”: MAC address
Parameters must be HEX values.
*Example:
IP address:192,168,0,42
(“m,m,m,m,”=”0xC0 0x2C 0xA8 0x2C 0x00 0x2C 0x2A”)
After configuring the Ethernet related settings or upgrading firmware, the Ethernet card will
send this command to the printer. Use the printer self test to get the Ethernet related
information.
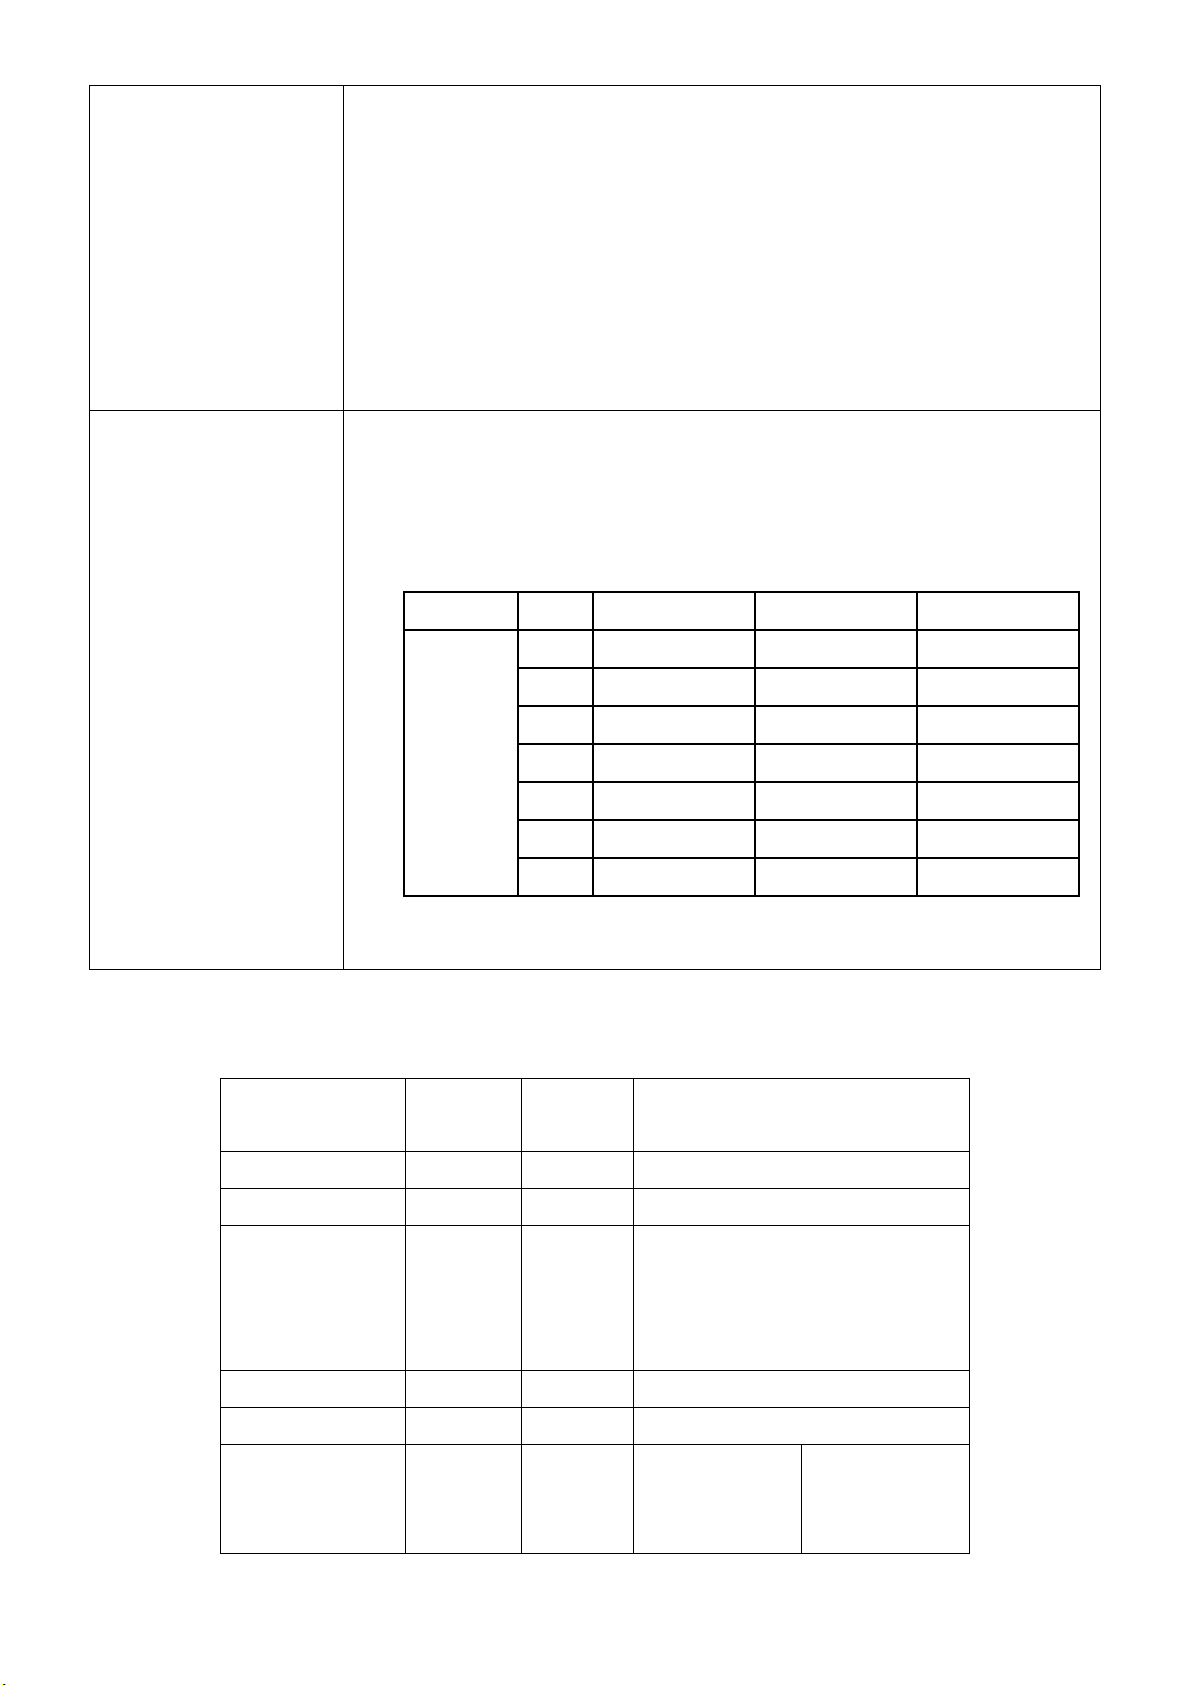
<ESC>KJPETHERNET
*IP addresses setting.
*Syntax: <ESC>KJPETHERNETa,a,a,a,b,b,b,b,
*Parameter: “a,a,a,a,”: IP address
“b,b,b,b,”: subnet mask
Parameters must be HEX values.
*Example:
IP address:192,168,0,42
(“a,a,a,a,”=”0xC0,0xA8,0x00,0x2A)
If “a,a,a,a,”=”0x00 0x2C 0x00 0x2C 0x00 0x2C 0x00 0x2C”, the setting will
become DHCP (auto IP address).
You can send this command to Ethernet card through PC; use the printer self test to get the
Ethernet related information.
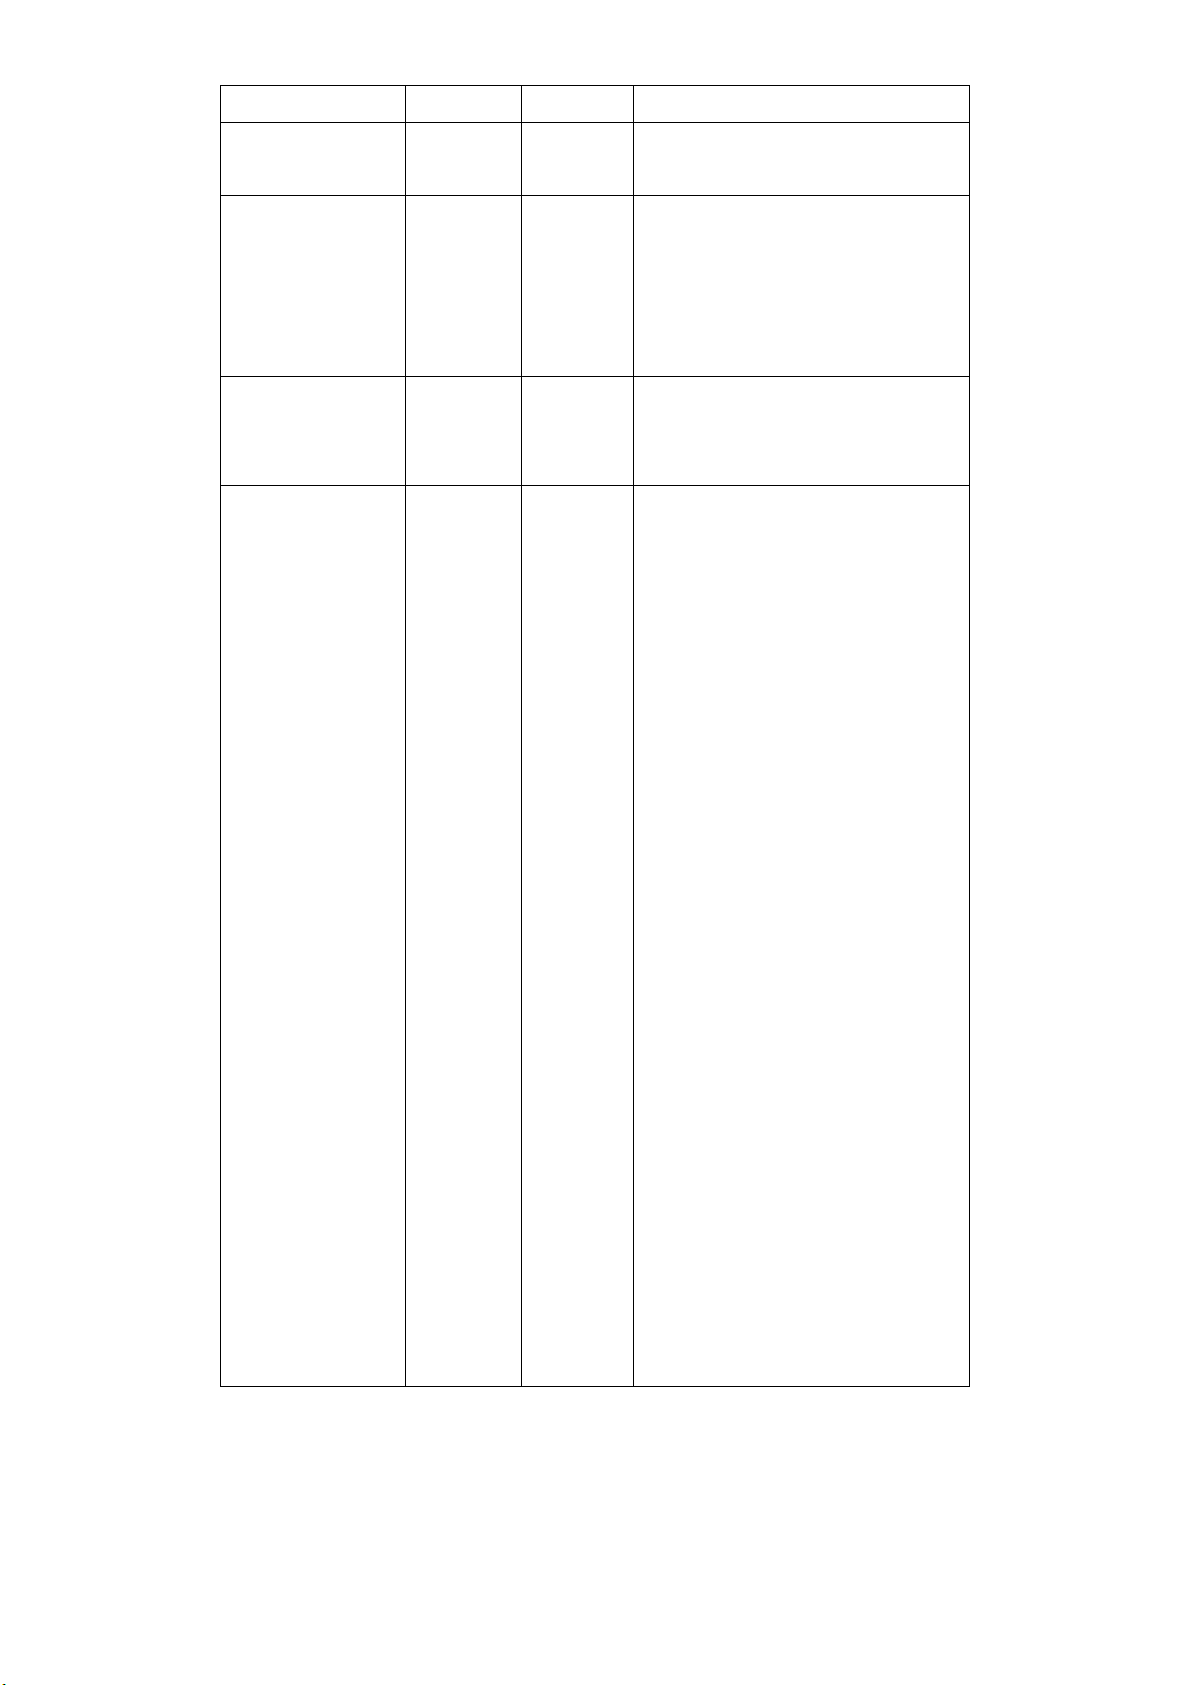
This command is for configuring the Ethernet card.
<ESC>KJQETHERNET
*Ethernet card gateway setting.
*Syntax: <ESC>KJQETHERNETc,c,c,c,
*Parameter: “c,c,c,c,”: Ethernet card gateway
Parameters must be HEX values.
*Example:
Gateway:255,255,248,0
(“c,c,c,c,”=”0xFF 0x2C 0XFF 0x2C 0xF8 0x2C 0x00”)
You can send this command to Ethernet card through PC; use the printer self test to get the
Ethernet related information.