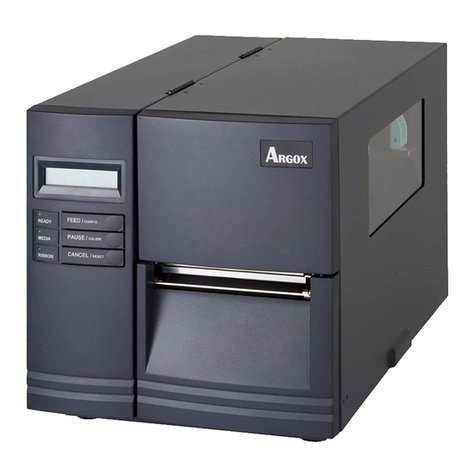
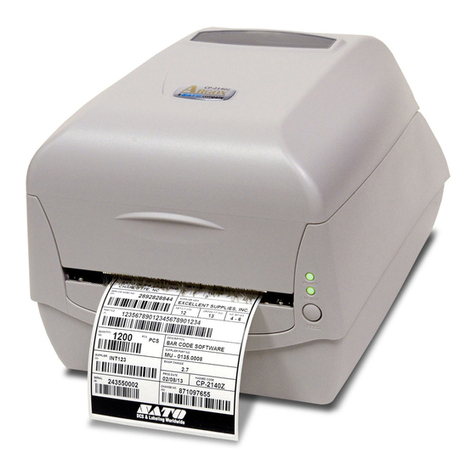
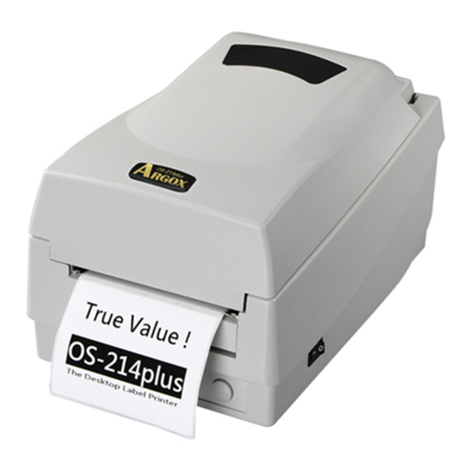
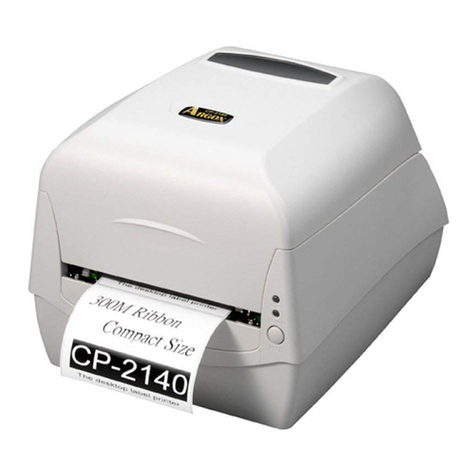
Argox OS Series User manual

1
ARGOX
Empower the Barcode
OS serials ISBN Printer
OS-2130D/OS-2130DE
OS-241plus/OS-314plus
OS-214NU/OX-100/OX-120D
Manual Instruction

2
Contents
Open the printer package……………………………………………………………..………………..3
Package Contents……………………………………………………………………………………………3
Printer construction:OS-2130D/OS-2130DE………………………………………….………..4
Front view……………………………………………….………………………………………………………4
Back view……………………………………………….……………………………………………….………5
Internal view I……………………………………….………………………………………………..……...5
Internal view II………………………………….…………………….……………………………..……….6
Printer construction OS-214plus/OS-314plus/OS-214NU/OX-100/OX-120D4……..6
Front view……………………………………………….……………………………………………….………6
Back view……………………………………………….……………………………………………….……….8
Internal view I……………………………………….……………………………………………………….10
Internal view II………………………………….…………………….…………………………………….11
Connect the power supply…….…………………….……………………………………………………11
Installation paper roll….…………………….…………………………………………………………….12
Mounting ribbon….…………………….……………………………………………………………………13
Printer operation…………………………………………………………………………………………14
Print paper correction and settings……………………………………………………………………14
Reset the printer to default………………………………………………………………………………15
Printer control buttons and indicators………………………………………………………………..15
Printer communication…………………………………..………………………………………………..20
Product specifications……………………………….…..………………………………………………..22

3
Open the printer package
1, Open the top cover of the printer and check that all components are intact.
2, In addition to the printer, please also check if you have received the following
accessories. If any items are missing, please contact your local dealer.
Package Contents
OS-2130D/OS-2130DE:

4
OS-214plus / OS-314plus / OS-214NU / OX-100 / OX-120D
Printer construction:OS-2130D / OS-2130DE
Front view

5
Back view
OS-2130D / OS-2130DE:
Internal view I:

6
Internal view II
Printer construction
OS-214 plus/OS-314plus/OS-214NU/OX-100/OX-120D
Front view
OS-214plus/OX-120D

7
OS-314plus / OX-100
OS-214NU

8
Back view
OS-214Plus
OS-314Plus

9
OS-214NU
OX-100

10
OX-120D
Internal view I

11
Internal view II
Connect the power supply
1. Be sure to switch the power switch to the off position (down) to perform the
following operations.
2. Plug the AC power cord into the power supply.
3. Plug the power supply's power connector into the printer's power connection slot.
4. Plug the other end of the power cord into a properly connected AC outlet.

12
Installation paper roll
1, Open the top cover to expose the roll
paper supply end
2, Remove the paper shaft
3, Load the paper roll from left to right into
the paper shaft.
4, Re-clamp the paper shaft into the paper
supply end.
5, Lay the paper roll to the left.
6, Move the tabs from left to right to
close the paper.
7, Open the printhead module and let the
paper pass underneath the module. Use the
other hand to pull the paper through the
paper guide.
8, Place the paper above the roller.
9, Place the printhead module down,
knowing to make a click, close the top
cover, and turn on the printer, or
press the feed button with the printer
turned on.

13
Mounting ribbon
Note: This section is not suitable for OS-2130D, OS-2130DE, OX-120D and thermal
mode printing modules.
1,Open the top cover to expose the
paper supply end.
2,Open the print head module by
pressing the two white release latches
on the rear sides.
3,Open the print head module to expose
the ribbon supply end.
4,pack the ribbon roll and separate the
ribbon from the ribbon roll.
5,Attach the leading edge of the
ribbon to the ribbon roll and roll a
portion of the ribbon onto the roll.
6,Insert the ribbon into the supply
shaft. (first snap to the left and then
snap to the right)

14
7,Place the print head module and
insert the ribbon roll into the recovery
shaft. (first snap to the left and then
snap to the right)
8,Rotate the shaft of the print head
module to tighten the ribbon.
9,Make sure the printhead module is
depressed until it clicks.
Printer operation
Print paper correction and settings
1,Turn off the printer, load the paper roll, and close the printer cover.
2, Turn the power on and hold down the feed button until the printer motor starts.
3, The printer will perform the correction after a certain length of the automatic
paper feed label, then the print motor will pause for one second and then print out
the configuration profile. When the printer starts printing, immediately release the
feed button.
Note: If the printer uses the Argox PPLB printer language, the printer enters the
dump mode after printing the configuration label. In the dump mode, all characters
are printed in 2 columns. The right column shows the characters received from the
system, and the left column shows the hexadecimal value corresponding to the
characters. Users or engineers can use this information to verify and debug
programs. To return to normal operation mode from dump mode, click the feed
button again. Another way is to turn off the printer and restart the printer.

15
● Reset printer to defaults
1, Turn on the printer and wait for more than 5 seconds.
2, Press the (Feed) button for about 10 seconds, wait for the (Power) light and
(Ready) light turned off.
3, When the (Power) light is on again, release the Feed button.
4, The (Ready) light will then light up. At this point, the printer restores the factory
defaults.
Note: The printer's factory defaults are stored in the printer's memory, and these
settings are retained and will not be erased, even if the printer is interrupted.
● Printer control buttons and indicators
control buttons
/indicators
Features
Switch
● On: Start normal operation (position of 【I】)
● Off: Turn off the power (position of 【0】)
NOTE: Turn off the power before connecting or unplugging
the transmission line.
Power light
● Off: The printer is off.
● Green: The printer is turned on.
● The indicator light will also flash when it is detected
(the paper roll is used up) and (the label interval is not
captured).
● When the printer cut mode is enabled, the Power light
will flash if a knife jam or a cutter is not installed.
● When the RS-232 serial communication error is
detected, the Power light will flash.

16
Ready light
● The Ready light will flash when the printer is
turned on. When using an Ethernet model, the Ready
light will flash for a few seconds until the
Ethernet card is ready.
● Once the printer receives data from the host
computer, the Ready light will begin to flash.
● The Ready light will flash when the print job is
paused.
● The Ready light will also flash when it is
detected (the paper roll is used up), (the label
interval is not captured).
● The Ready light will flash when the print head
module is turned on.
Note:
If the print head is overheated, the thermal protection
function of the printer will start and the READY light will
flash, indicating that the printer has entered the pause
mode. Wait for the print head to cool. The previously
transferred print job will continue automatically at a later
time.
Feed button
● Press this button to feed the label paper to the first
print position.
● Pressing this button while printing, then printer
pause.
● Press and hold this button while the power is on to
perform paper correction and print the configuration
profile.
● Solve (paper roll out) error, press this button
to resume printing.

17
Troubleshoot with indicator lights and buzzer indication diagnostics.
LED indicator: Power and Ready lights flash at the same frequency
Power light Ready light
Light up Light up
Extinguished Extinguished
Possible problem Solution Note
Paper sensor cannot
detect label interval
●Check label path
●Check the label
sensor
If you use a continuous
label roll, set (continuous
paper) printing in the
driver settings or
commands.
Run out of paper Install a new label roll
Paper jam Remove jam
LED light: The power and confirmation indicators flash alternately (thermal printers
are not available)
Power light Ready light
Light up Extinguished
Extinguished Light up
Possible problem Solution Note
Running out of ribbon Replace the ribbon
Ribbon jam Clean jam
Ribbon sensor error Replace ribbon sensor
Not available in thermal
print mode

18
Led light: only Power light flash
Power light Ready light
Light on Light on
Extinguished Light on
Possible problem Solution Note
Serial communication
output error
Check the serial port
transfer rate on the
system and printer.
Only for serial ports
The cutter is faulty or
jammed inside the cutter.
Check the cutter or
remove the jammed
paper.
Only applicable when
entering the cut mode.
Other possible hardware
errors.
Please contact your dealer
for further assistance.
LED light: Only Ready light flash
Power light Ready light
Light on Light on
Light on Extinguished
Possible problem
Solution
Print head needs to
be cooled
The print program will stop until the print head cools down to
the normal print temperature.
The printer enters
(pauses) state.
Press Feed button, printing continues.
The printer is
receiving data
After receiving all the data, the Ready light will remain green
and automatically continue to operate normally.

19
OS-2130D, OS-2130DE Printer has a status monitoring function that displays status
and error messages through the front panel indicators and the alert buzzer.
Situation Buzzer
warning LED light Description
Running out of
paper YES Ready light
Power light
●The two indicators flash
simultaneously.
●The paper roll is not installed
or used up.
●The printer does not detect the
paper interval.
Cutter failure YES Power light
The cutter is faulty, or the cutter is
jammed.
Memory is full YES Power light
The loaded software font, graphic or
form causes the printer buffer to be
full. Please check the format of these
data or call the customer service
center.
Note:
The printer utility can disable the buzzer alert function.

20
● Printer communication
Turn off the printer first. Plug the power cord into the outlet and connect the other
end to the printer's power outlet. Connect the USB cable (or other transmission cable)
to the printer and PC.
Turn on the printer. If the printer supports Plug and Play and you have connected
the printer using a USB cable, the WINDOWS New Hardware Wizard automatically
detects the printer and displays a dialog for you to install the driver. Please press
Cancel, do not install the driver through this wizard, and then follow the
steps below to complete the driver installation.
1, Please go to the download center of
the official website to download the
latest version (SEAGULL printer driver).
After the download is complete, double-
click the driver to install it. When
prompted by the Windows Printer Driver,
select (I accept) and press (Next).
2, Specify the installation directory of the
Seagull driver (for example: C\Seagull),
then press (Next)
3,Click (Complete) 4, Select (Install Printer Driver) and press
(Next)
Other manuals for OS Series
4
This manual suits for next models
7
Table of contents
Other Argox Printer manuals

Argox
Argox Xellent X-1000VL User manual

Argox
Argox R-400plus User manual

Argox
Argox AME-3230 User manual

Argox
Argox OS-214ZIP User manual

Argox
Argox CP-2140Z User manual

Argox
Argox P4 Series User manual

Argox
Argox O4 Series User manual

Argox
Argox iX4 Series User manual

Argox
Argox X-2300 User manual
Argox
Argox A-50 User manual

Argox
Argox OS Series User manual

Argox
Argox MP Series User manual

Argox
Argox AME-2230B User manual
Argox
Argox A-2240 User manual
Argox
Argox O4 Series User manual
Argox
Argox OS-2130DE User manual

Argox
Argox O4 Series User manual

Argox
Argox Smart CP-2140 User manual

Argox
Argox iX4 Series User manual
Argox
Argox D4 250 User manual