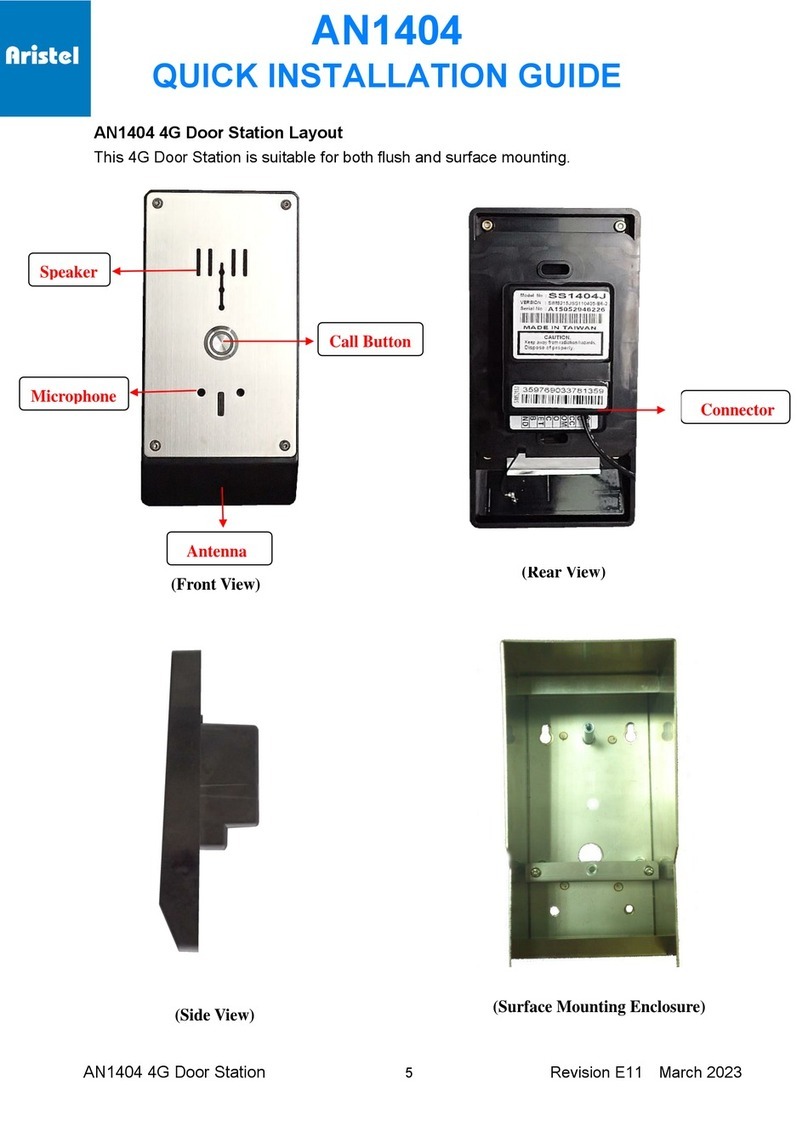
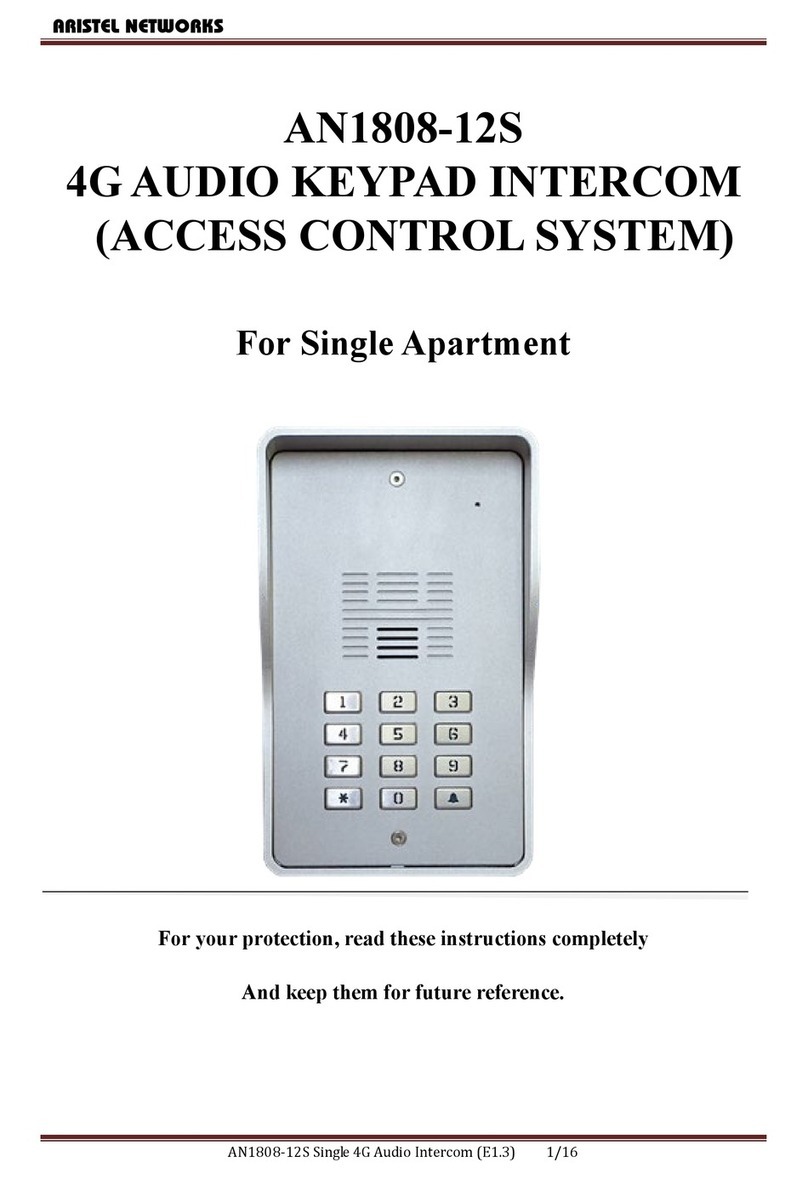
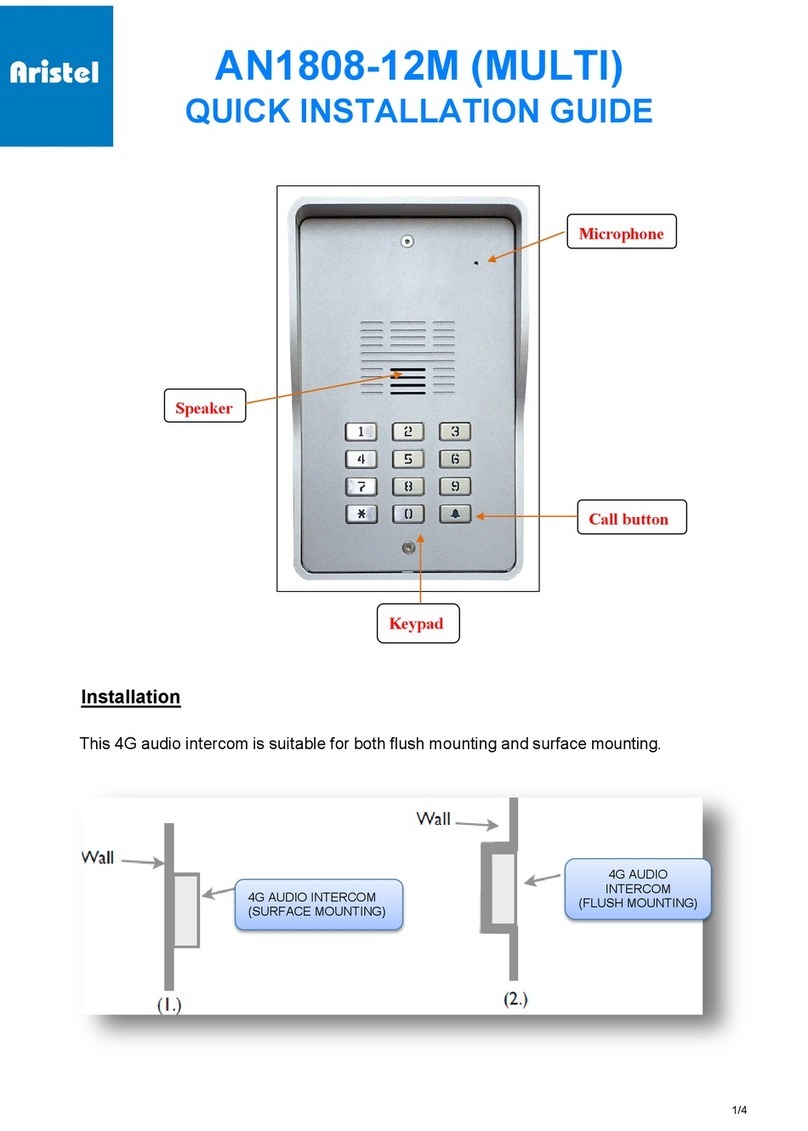
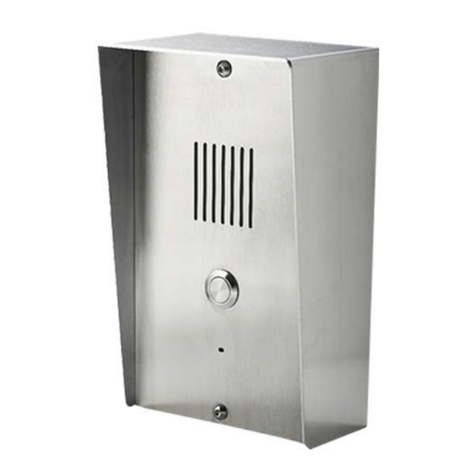
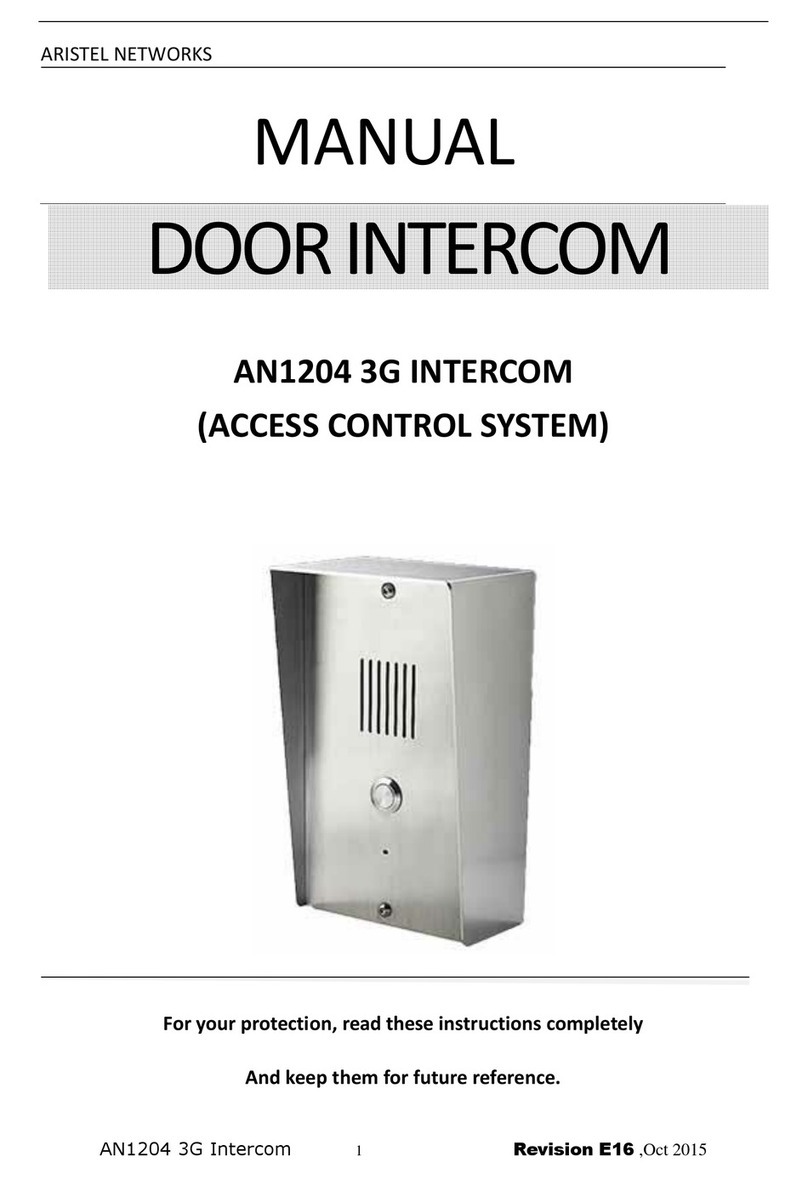
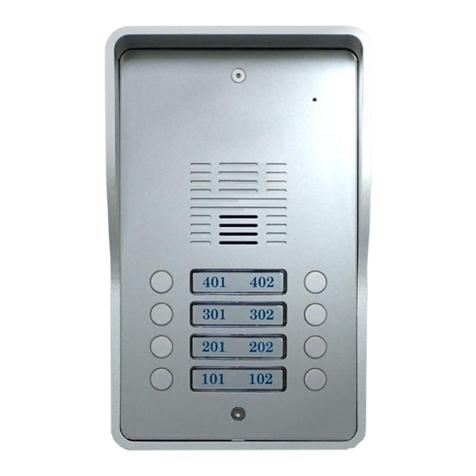
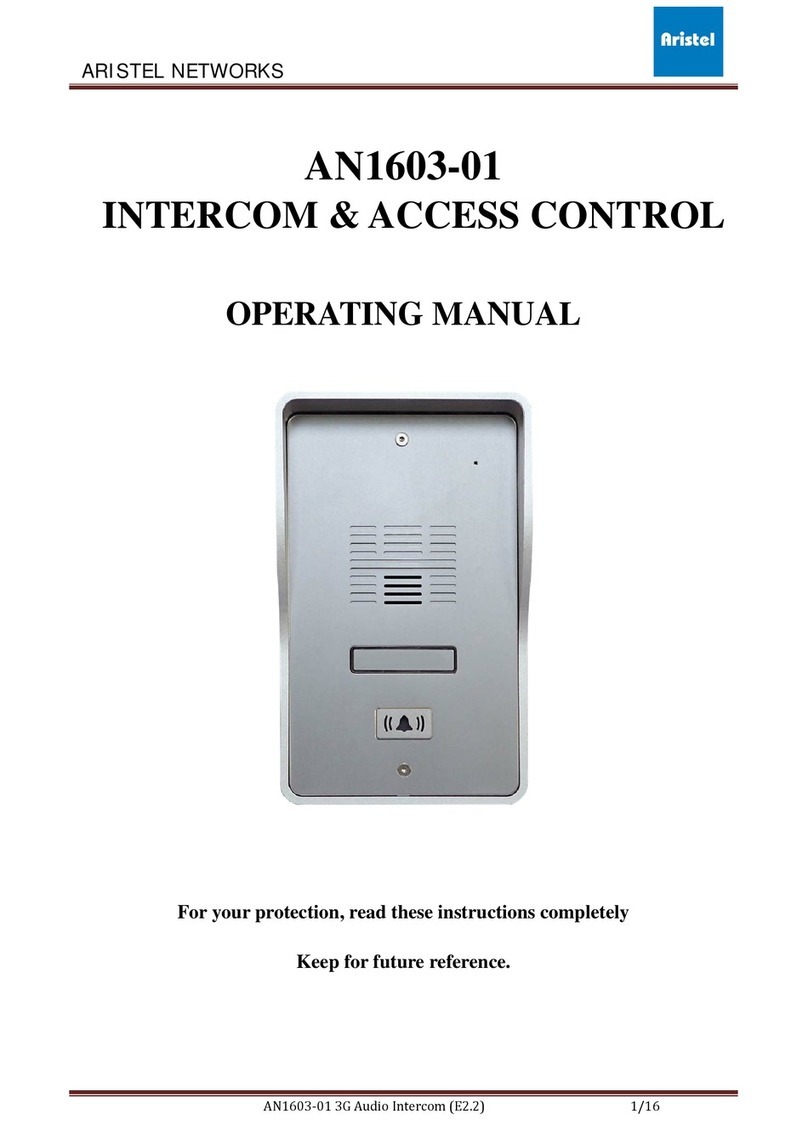
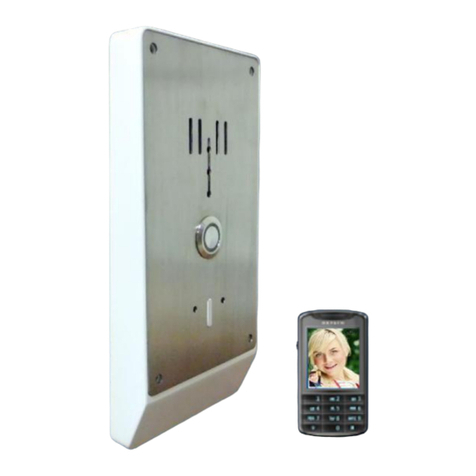
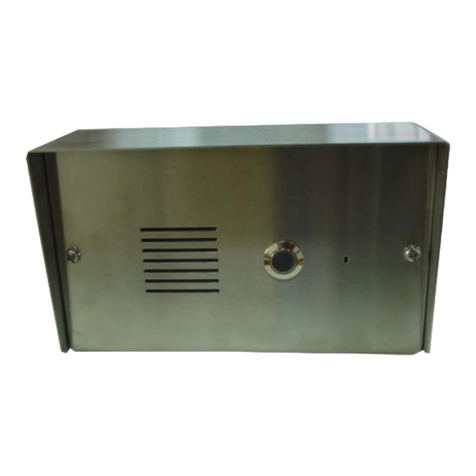
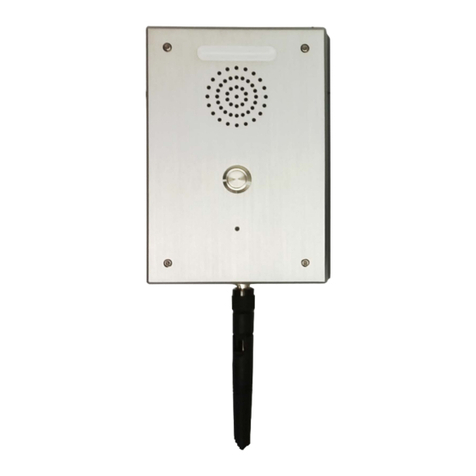
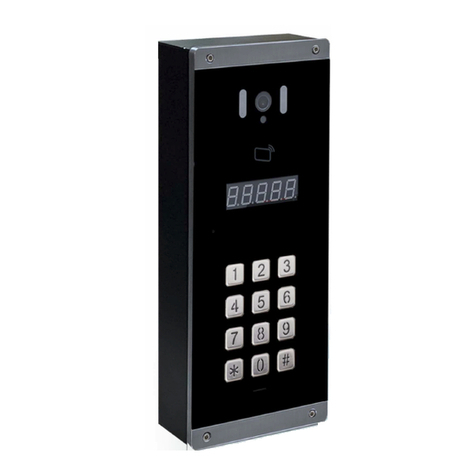
Aristel AN1204AO-K12H-2 3G User manual

AN1204A ( E/J ) O-K12H-2 1 Version ARB3-1, July 2016
ARISTEL NETWORKS
MANUAL
3GAUDIODOORINTERCOM
Suitable for
UP TO 200 APARTMENTS
(ACCESS CONTROL SYSTEM)
For your protection, read these instructions completely
And keep them for future reference.

AN1204A ( E/J ) O-K12H-2 2 Version ARB3-1, July 2016
TABLE OF CONTENTS
IMPORTANT SAFETY INSTRUCTION ...................................................................... 3
AN1204AO-K12H-2 3G INTERCOM INTRODUCTION ........................................... 4
AN1204AO-K12H-2 3G INTERCOM WITH ACCESSORIES................................... 4
INSTALLATION............................................................................................................... 5
AN1204AO-K12H-2 3G Intercom Unit ....................................................................... 5
Wiring Diagram .............................................................................................................. 5
LED Indicator ............................................................................................................... 6
AN1204AO-K12H-2 3G INTERCOM OPERATION.................................................... 7
Enter Listener Monitoring Mode .................................................................................... 9
Enter Access Control Mode .......................................................................................... 10
Enter Programming Mode............................................................................................. 10
Programming..................................................................................................................11
Check 3G Signal Strength ........................................................................................... 13
Check Relay / Detect Status ........................................................................................ 13
Administrator Number...................................................................................................14
CHECK A LOG OF DIAL IN AND DIALOUT NUMBERS VIAE-MAILOR SMS.... 14
USER COMMANDS....................................................................................................... 19~21
HOW TO RESETTHE HARDWARE WHEN YOU FORGETYOUR PASSWORD.........22
SPECIFICATIONS .......................................................................................................... 22
QUICK PROGRAMMING VIASMS AND OPERATION...................................... 23~25
TROUBLESHOOTING (Q&A)2............................................................................... 25~26

AN1204A ( E/J ) O-K12H-2 3 Version ARB3-1, July 2016
Thank you for purchasing AN1204AO-K12H-2 3G Intercom. Please read this manual carefully
before using.
Be sure to keep this manual for future reference in case of any problem or question should arise.
IMPORTANT SAFTY INSTRUCTIONS
When using this AN1204AO-K12H-2 3G Intercom, basic safety precautions should always be
followed to reduce the risk of fire, electric shock and personal injury. Please read the following
before using your equipment.
1. Follow all warning and instructions on the product.
2. Unplug all the connections of product before cleaning. Do not use liquid cleaners or aerosol
cleaners. Use a damp cloth for cleaning.
3. Do not use this product near water.
4. Do not use this product near an area where there is a potential of gas leaks or near any fumes
that can be explosive.
5. Do not place this equipment near or over a radiator or any other heat source.
6. Do not overload the wall outlet or power cord where the power adapter is installed. This can
result in fire or electric shock
7. Avoid spilling liquid on this equipment and do not insert any objects through the ventilation
slots.
8. Avoid using the equipment during an electrical storm. There is a remote risk of electrical shock
from lighting.

AN1204A ( E/J ) O-K12H-2 4 Version ARB3-1, July 2016
AN1204AO-K12H-2 3G INTERCOM INTRODUCTION
The 3G Intercom AN1204AO-K12H-2 is a multi-function system, installed at the entrance of a complex
or building. It is an ideal product to replace a traditional door phone installation where expensive
cabling is required. . It enables you to speak with visitors from any location whilst on or off the
premises. Door or gate release is activated from your phone keypad during the conversation. It can also
be activated by calling the SIM card number in the unit from an authorized phone number (guest) . The
door intercom will recognize an authorized phone ( guest) number calling it and then will then not
answer the call, but will release the door or gate. This call is free.
By pressing the call button, and then entering the 2 or 3 digit apartment or villa number, the intercom
will call up to 3 preprogrammed telephone numbers belonging to the resident(s) of that villa.
AN1204AO-K12H-2 3G INTERCOM WITH ACCESSORIES
Item Description Qty. Included Optional
1 AN1204AO-K12H-2 - 3G Intercom 1 ◎
2 Power adapter 1 ◎
3 External antenna 1 ◎
4 Operational manual 1 ◎

AN1204A ( E/J ) O-K12H-2 5 Version ARB3-1, July 2016
INSTALLATION
AN1204AO-K12H-2 3G Intercom Unit
Wiring Diagram
Call
Speaker
Microphon
Keypad

AN1204A ( E/J ) O-K12H-2 6 Version ARB3-1, July 2016
LED INDICATORS
1. LED “Intercom Status “ Indicator
Keypad LED Status
Yellow (standby) Flashes once per 5 seconds
Yellow (using) Solid
2. LED ‘Network “Indicator
LED Status
Green (ready) Flashes once per 3 seconds
Green (searching) Flashes once per second
Green (busy) Solid
3. LED “ Power “ Indicator
LED Status
Red (power on) Solid
Red (power off) Off
1. SIM card
Register your SIM card with the network, and check that it works in a mobile phone. You MUST
remove the PIN lock from the SIM before inserting it in the unit AN1204AO-K12H-2. Ensure
the power is OFF before inserting the SIM card. Carefully slide the SIM holder in the OPEN
direction, insert the SIM, and slide in the CLOSED direction to lock it in place.
2. Door Lock
Connect an electric door lock to terminals marked “door latch”.
2. Antenna
Ensure that there is good network reception at the location where it will be installed.
4. Power Supply
Connect a 12 volt DC power supply to terminals marked “AC, AC”. The power supply should be
capable of supplying a constant current of no less than 1amp.
5. After a final check of wiring , switch on the power
6. Allow 20~30 seconds for the unit to boot up and detect the network. Once successful
connection has been made, the unit will sound a confirmation tone and the status LED will
begin flashing.

AN1204A ( E/J ) O-K12H-2 7 Version ARB3-1, July 2016
AN1204AO-K12H-2 3G INTERCOM OPERATION
When the visitor pushes the call button and enters the house number to activate the door intercom, ring
tone will be heard from the 3G intercom. At the same time, connection is established with the phone
number that is stored in the intercom. If the first number is busy or not answered, the call will be
diverted to the second or third numbers listed. The called phone answers the call from the intercom and
starts conversation with the visitor(s). The party answering the call can enter a password (PW) on his or
her phone to activate the door release relay during the conversation. The relay can also be temporarily or
permanently switched on or off by pressing another PW.
<< Steps: How a visitor uses the Intercom >>
1. Press the Call Button, and hear the Dial tone.
2. Enter the house number to visit on the keypad.
3. Caller will hear ring tone.
4. Caller speaks with called party.
5. Apartment or villa occupier enters a password to open the door.
If the phone numbers of house number are empty, it will show 3 beeps tone.
If the inter-digit time of house number is over 4 seconds, it will show 3 beeps tone.
If the inter-digit time of password is over 5 seconds, it will miss the first digit.
1. Caller ID recognition
Ring in to open the door for authorized (guest) telephone number. When the 3G Intercom receives a
call from a guest, it will check the calling number and if the number is in the authorized list, the 3G
Intercom will release the call and then open the gate / door.
2. Access control password by call
Dial the SIM card telephone number. The unit will answer the call and you will hear a bleep tone.
The door can be opened after enter correct password code. (Same as SMS commands)
3. Send SMS commands
*33*5678# (trigger relay 1)
*34*5678# (hold relay 1)
*35*5678# (release relay 1)
4. Enter PIN code by using keypad
*36*5678# (trigger relay 2)
*37*5678# (hold relay 2)
*38*5678# (release relay 2)

AN1204A ( E/J ) O-K12H-2 8 Version ARB3-1, July 2016
Enter valid 1~14 digit PIN code
Enter system menu
There are three different modes under the system menu.
1. Listener monitoring mode
2. Access control mode
3. Programming mode
To gain access to the system menu by call, follow these steps:
1. Call the telephone number of the 3G intercom
2. Wait for the intercom to answer and signal by one beep to enter system menu
3. Enter the password of the mode you would like to enter
4. Password correct is one beep, password error is 3 beeps.
5. After 3 failed attempts at the password, the call will hang up.

AN1204A ( E/J ) O-K12H-2 9 Version ARB3-1, July 2016
Enter Listen & Monitoring Mode
1. Call the telephone number of the 3G intercom
2. This device will then verify your phone number with your predefined numbers.
3. You will hear a “Do” tone to enter listener monitoring mode by pressing【*13*1212#】
where 1212 is the password.
4. You are now in the” listen & monitoring mode”.(you can hear the live sound of the
intercom’s surrounding environment)

AN1204A ( E/J ) O-K12H-2 10 Version ARB3-1, July 2016
* Under this mode speaker is OFF.( 35#: turn on speaker )
* You can still control the relay output when you are under listen & monitoring mode, but the
speaker must be ON status.
EnterAccess Control Mode
1. Call the telephone number of the 3G intercom.
2. This device will then verify your phone number with your predefined numbers.
3. You will hear a “Do” tone to enter access control mode by pressing【*33*5678#】where
5678 is the password.
4. The door will be opened after enter the correct password
*(To open the door by password, if the number is not stored in the access control section)
Enter Programming Mode
1. Call the telephone number of the 3G intercom
2. This device will then verify your phone number with your predefined numbers.
3. You will hear a “Do” tone to enter into programming mode by pressing【*12* 1234#】where
1234 is the password.
4. You are now in the “programming mode”
Note: At the end of each command there can be one of the two indications:
Successful: a long “beep” tone, failed: three short “beep” tone.
5. To make changes on settings please refer to the user commands.
6. To end programming mode just hang up.
NOTE:
*To be successful in programming, originate a call from a land line and enter the digits slowly or using
programming by text message.
Warning :
For passwords, do not use two or more of the same number as successive digits .
EG. 11, 00, 112, 122, 88 are not recommended as echo cancellation network software may cancel
the second same digit if entered quickly.
Use passwords like 89, 12 , 23 , 56, 14, 123, 369 , 789 etc without repeating the same digit numbers.

AN1204A ( E/J ) O-K12H-2 11 Version ARB3-1, July 2016
Programming
Programming can be carried out either by dialing into the 3G intercom or by sending a text message
(Certain programming feature can only be set up by text message, please refer to user commands P.15)
Programming by text message
Programming by text message is the simplest way to customize the settings of the 3G intercom and add
or delete telephone numbers. Simply send texts in the format to the telephone number of the SIM within
the 3G intercom.
Note:
1. A Single SMS text messages is limited to 140 characters.
2. You can program many different user command codes in one text message with SMS command
format. *12*1234 # [command Code1] # [command Code 2] # [command Code3] #........
3. Each SMS must start with the pass code , default 1234 in the following format *12*1234 #
Followed immediately by a command.
4. To program a call button numbers DO NOT enter country code, just the complete number as
you would dial it.
Example 1:
Program a call button phone number (Max 3 numbers) and delete 2&3 phone numbers.
058 57235 (landline number 1)
086 5682554 (mobile number 2)
086 2235644 (mobile number 3)
SMS format: (storing a call button phone numbers)
*12*1234#1105857235#120865682554#130862235644#
SMS format: (delete 2&3 phone numbers from a call button)
*12*1234#12*#13*#
User command code CORRECT
SMS format:
*12*1234#1105857235#120865682554#130862235644#
SMS reply:
1105857235#120865682554#130862235644# OK
User command code ERROR (user command 19error)
SMS format: *12*1234#1105857235#190865682554#130862235644#
SMS reply: 110587235#190865682554# Error
Command to use: *12*1234#1[ Y][ phone number]#
Y= number 1, 2 or 3

AN1204A ( E/J ) O-K12H-2 12 Version ARB3-1, July 2016
Example 2:
Program access control by phone
For Caller ID recognition to control access you need to program the mobile numbers and country
code into the memory before using.
Ireland Country code: 353 (UK: 44 / USA: 1)
086 5683624 (mobile number 1)
086 5682554 (mobile number 2)
086 2235644 (mobile number 3)
Command to use: *12*1234#71[country code]#72[relay] phone number] #72[relay][ phone number]
#....
SMS format:
*12*1234#71353#7210865683624#7220865682554#7210862235644#
To delete phone numbers of dialing in to open
SMS format: (to delete phone number 1 and 2)
*12*1234#730865683624#730865682554#
SMS format: (to delete all numbers)
*12*1234#73*#
After the numbers are programmed you can also send the text message to check the stored
numbers by sending SMS format *21# , then the 3G intercom will reply to the phone number list
text message.
Programming by call
Note: programming by call can’t be used from guest telephone numbers which are already
programmed to open the door when they dial the 3G intercom, but you can disable the caller ID
number by dialing the prefix 1832 which will block the caller ID ( EG 1832 0418 123456 )
To enter programming mode by call follow these steps:
Example:
Storing a telephone number to gain access from a mobile phone

AN1204A ( E/J ) O-K12H-2 13 Version ARB3-1, July 2016
Call the telephone number of the 3G intercom
Enter Programming Mode by Pressing…..
*12*1234# (1234 is default password)
A successful password code will produce a single long beep.A failed attempt will produce 3
short bleeps.
You may now program a telephone number into memory.
Use the following commands to program the unit
* Insert international country code (1~3 digits): 71 [ country code] #
* Add a number (up to 1150 numbers):72 [relay][telephone number] #
* Delete a number: 73 [ telephone number ] #
* Delete all numbers: 73*#
Check 3G signal strength (0~31 levels)
When a request for 3G signal strength SMS is sent to the 3G intercom it will reply with a signal
strength code and service provider name. The code will be between 0~31 means the signal
level is from poor to best.
Example:
SMS format *20#
SMS reply: Vodafone, WCDMA Signal Level = 31 【Signal is very strong】
Check Relay /Detect Status
You can send SMS command code to check relay/detect status.
SMS format *22#
SMS Reply Relay1 = ON, Relay 2 = ON ,Detect = ON【Relay=Hold , Detect=GND (mode 0,1,2)
10K (mode3)】
Remark:
Terminal mark” Detect” (see wiring diagram) is for you to connect a door reed switch. The gates
would have a reed switch wired through the” DET” input to ground. It’s used by the user to check if

AN1204A ( E/J ) O-K12H-2 14 Version ARB3-1, July 2016
the gates are open or closed.
Administrator Number
Once the administrator number is stored, the unit will only accept programming from this number
and only via SMS programming.
Example:
Program a mobile number as an administrator number via SMS
Mobile number: 0865682554
Command to use *12*1234#74 [Admin number]#
SMS format *12*1234#740865682554#
To delete the Admin number *12*1234#74*#
Check the log of dial in and dial out numbers via E-mail or SMS
This system allows you to save dial in/out numbers and PIN code log, it will then automatically
send log via e-mail or SMS as your request.
There is a list of commands you need and examples to guide you on the settings for this feature.
Please setup following required parameters and commands before you can use it.
o. Function SMS command codes
1 Auto sending a log of dial in numbers
*12*1234#83[N]#
N= 0 (sending when it reaches 100 numbers)- default
N=1 (sending when it reaches 200 numbers, Max)
Sending record when it reaches 200 numbers. / command code example: *12*1234#831#
2 Way of sending a log of dial in
numbers via e-mail or SMS
*12*1234#84[N]#
N=0 (no saving /sending record)
N=1 (via SMS, 4 numbers limited/SMS)
N=2 (via E-mail)
Sending record via email / command code example: *12*1234#842#
3GPRS parameters setting
*40*1234#APN, auth_type,user name,password#
auth_type: 0= none / 1= PAP / 2= CHAP
Command code
Example:
4
E-mail parameters setting
( Gmail must be used type 2)
*41*1234#[type],[SMTP]#
SMTP=server, port, user name, password, e-mail

AN1204A ( E/J ) O-K12H-2 15 Version ARB3-1, July 2016
address, e-mail sender name#
Type= 1 general format
Type= 2 SSL format (Gmail must be used)
Command code
Example :
5Recipient & Carbon copy settings
*42*1234# recipient e-mail address, recipient name,
carbon copy e-mail address, carbon copy name#
Commande code example:
No. Function SMS command codes
6 E-mail subject setting *43*1234# e-mail subject#
Command code Example:
7 To immediately send current dial in
numbers log via email or SMS
*44*1234#
SMS reply: successful or failed
8 Check parameters setting
*4[N]*1234#
N=0 ( reply GPRS parameters)
N=1 ( reply e-mail parameters)
N=2 ( reply recipient & carbon copy)
N=3 ( reply e-mail subject)
Check GPRS parameters setting / Command code example: *40*1234#
9 Mobile number for receiving a log of
dial in numbers via SMS
*12*1234#85[mobile number]#
10 Delete mobile number for receiving a
log of dial in numbers via SMS
*12*1234#85*#
11 SIM phone number used in the
intercom for Clock date and time
correction
*12*1234#86[SIM phone number used in the intercom]#
12 To delete SIM phone number used in
in the intercom for Clock date and
*12*1234#86*#

AN1204A ( E/J ) O-K12H-2 16 Version ARB3-1, July 2016
time correction
Remark: why you need to setup the number for system time clock date and time correction?
This device has a time clock and supports automatically updating their date and time via NITZ
information from network. In case some of the networks are not available for NITZ information, we
strongly suggest to setup this clock date and time correction. When the device detects NITZ information
is not available from the network will automatically send a command to itself via the SIM card used in
the intercom for time correction which will keep your “ dial in numbers log” with correct date and
time.
Log example:
I: Dial in number / O: Dial out number / P: PIN code
N: Next SMS
E: End SMS
How to program checking a log of dial in numbers via SMS
There are3 programming codes you willneed to make this feature work
You can program many different user command codes in a single text message with SMS command
format. *12*1234 # [command Code1] # [command Code 2] # [command Code3] #........

AN1204A ( E/J ) O-K12H-2 17 Version ARB3-1, July 2016
Example:
Mobile number for receiving a log 0907967223
SIM phone number used in intercom 0948778458
*12*1234#841#850907967223#860948778458#
Send *44*1234# to check log
To gain access to the different modes and control relay (by dial in)
No. Function command Description Default
1Enter Programming Mode *12* [ password ] # Programming by calling 1234
2Enter Monitoring Mode *13* [ password ] # To hear the surroundings where the
intercom installed
1212
3Trigger relay 1 *33* [ password ] # Password mode access option 5678
4Hold Relay 1 *34* [ password ] # To hold relay to keep door opened 5678
5Release Relay 1 *35* [ password ] # To release relay for door close 5678
6Trigger relay 2 *36* [ password ] # Password mode access option 5678
7Hold Relay 2 *37* [ password ] # To hold relay to keep door opened 5678
8Release Relay 2 *38* [ password ] # To release relay for door close 5678
User commands to check system info & control relay via SMS Short Code
No. Function Command Reply
1 check signal strength *20# Signal Level 0~31 from poor to best
Service provide name, network
2
Check stored numbers of
dialing in to open (guest
list )
*21#
I [ number]…,I [ number]…..E (N)
I:dial in to open numbers list
E:End SMS , N:Next SMS
3Check relay status *22# Relay [ status],Detect [ status ]
Status: ON / OFF
4Check stored pin code *24*[ password ] # N: next SMS ,E: end SMS
(default 1234)
5Cancel bleep alarm during the
time stop entering pin code
*25*[ password ] # OK (default 1234)
6Program detect pin triggered
SMS content
*26*[ password ] #SMS content# Detect PIN trigger
(default 1234)
7Check detect pin triggered *26*[ password ] # Detect PIN trigger

AN1204A ( E/J ) O-K12H-2 18 Version ARB3-1, July 2016
SMS content (default 1234)
8 All call button phone number
report
*27* [ password ]# 00-TEL1,TEL2,TEL3,
01-TEL1,TEL2,TEL3, ------------,
99-TEL1,TEL2,TEL3
9 Signal house call button phone
number report
*28*[password]#[X~X], TEL1,
TEL2, TEL3, PW1, PW2,
PW3, PW4, PW5, PW6#
(if no data, please don’t keep
space)
PW1~PW6=two digits password
to open during communication
PW1:Trigger Relay1 code
PW2:Hold Relay1 code
PW3:Release Relay1 code
PW4:Trigger Relay2 code
PW5:Hold Relay2 code
PW6:Release Relay2 code
Successful reply:
House number
PW1-PW2-PW3-PW4-PW5-PW6
TEL1
TEL2
TEL3
(if no data, it will show N)
Fail reply:
FULL
10 Check
house number/ call button
phone numbers/ PW
*28*[password]#[X~X]#
X~X= house number, 1-6 digits
The destination phone number of
reply SMS is phone number 1. If the
phone number 1 is empty, SMS will
be sent to phone number 2 then 3. If
all phone numbers are empty, SMS
will be sent to the command sender.
11 Delete house number *29*[password]#[X~X]#
X~X= house number, 1-6 digits
1. Deleted. (When it is successful)
NOT IN TABLE. (When it is not
exist.)
12 Delete all house numbers *29*[password]#*# Delete All
13 Trigger relay 1 *33* [ password ] # No reply (default password:5678)
(Latch on when relay is on hold status)
14 Hold relay 1 *34* [ password ] # No reply (default :5678)
15 Release relay 1 *35* [ password ] # No reply (default :5678)
16 Trigger relay 2 *36* [ password ] # No reply (default :5678)
17 Hold relay 2 *37* [ password ] # No reply (default :5678)
18 Release relay 2 *38* [ password ] # No reply (default :5678)
●SMS data error (Only 0~9、*、# are available) SMS Data Error
●Function code error Function Code Error

AN1204A ( E/J ) O-K12H-2 19 Version ARB3-1, July 2016
User commands table
You can program many different user command codes in one text message with SMS command
format. *12*1234 # [command Code1] # [command Code 2] # [command Code3] #........
No. Feature Command Description Default
1Change programming
Password
01 [ password ] # password:4 digit codes 1234
2Change access control
password
02 [ password ] # password:4 digit codes 5678
3Change monitoring mode
password
03 [ password] # password:4 digit codes 1212
4Speaker Volume 3 [ speaker volume] # speaker volume level:0 ~ 4 3
5Microphone Volume 4 [ microphone volume] # microphone volume level:0 ~ 4 3
6Relay 1 Time 51 [ relay1 time ] # relay time: 1~9999 sec 1
7Relay 2 Time 50 [ relay 2 time ] # relay time: 1~9999 sec 1
8Call no answer time and
divert to next number
52 [ no answer time ] # No answer time :10~99 sec 20 sec
9Max call Time 53 [ max call time] # Max call time:005~999 sec 060 sec
10 Max monitoring time 55[ duration time] # duration time:00 ~ 60 mins /00 ( no
limit)
10 mins
11 Incoming call mode 65X# X=1, normal mode, any number can dial in
then press the password to access
X=2, answer the call directly. The time is
Max call time.
X=3, disconnect the call.
1
12
Length of house number
(it means the maximum
length of house number)
911+ [L ]# L=length, from 1 to 6 L=3
13 Ring in to open the door
(Max: 1150 numbers
71 [ country code ] #
72[relay] [ phone number ] #
73 [phone number ] #
73*#
Country code:1~3 digit codes
Relay: 1 or 2
Delete phone number
Delete all phone numbers
1
14 Add admin phone number 74 [administrator number] # admin number: 3~15 digit codes
( no number no restriction) All SMS code will be
accessed by admin phone number only)
None

AN1204A ( E/J ) O-K12H-2 20 Version ARB3-1, July 2016
15
Del admin phone number
74*# delete administrator phone number
None
16
Relay control SMS reply 894+N#
N= 0 or 1 0= disable / 1= enable
SMS replay
Relay 1 trigger, relay 2 trigger
Relay 1 hold, relay 2 hold
Relay 1 release, relay 2 release
0
17 Reset 999# reset default None
User commands for keypad
You can program many different keypad command codes in one text message with SMS command
format. *12*1234 # [command Code1] # [command Code 2] # [command Code3] #........
No. Feature Command Description Default
1 Setup PIN code digit 899+X# X=1~14 5
2 Store PIN code
(Max: 384 sets )
87+ [relay][pin code]#
Relay=1~4
1: relay1 trigger
2: relay1 hold/ release
3: relay2 trigger
4: relay2 hold/ release
Default pin code: 5 digit
Empty
3 Delete PIN code 88+[relay][pin code]# Relay=1~4
4 Delete all PIN code 88*#
5 PIN code failed attempt
limit
890+X# X=0~9 (times)
X= 0 ( means no failed attempt limit)
5
6
Time stop entering pin
code after constantly failed
attempt
892+X#,1~99 X=1~ 99 (minutes) 1
7
Disable , enable bleep
alarm during the time stop
entering pin code
893+X# X= 0 or 1
0: disable alarm (keypad flashing)
1: enable alarm ( buzzing alert)
1
Table of contents
Other Aristel Intercom System manuals

Aristel
Aristel AN WDS User manual

Aristel
Aristel AN1804-4G User manual

Aristel
Aristel AN1603-01 User manual

Aristel
Aristel DS902 User manual

Aristel
Aristel AN1808-08 User manual

Aristel
Aristel SS91A-M User manual

Aristel
Aristel AN1912 User manual

Aristel
Aristel AN1808-12S User manual

Aristel
Aristel SD-902 User manual

Aristel
Aristel AN1808-08 User manual

Aristel
Aristel AN1104 User manual

Aristel
Aristel AN1404 User manual

Aristel
Aristel AN1204 User manual

Aristel
Aristel AN1808-12M User manual

Aristel
Aristel AN1804 User manual

Aristel
Aristel AN1808-12S User manual

Aristel
Aristel AN1808-12S User manual

Aristel
Aristel AN1912 User manual
Aristel
Aristel AN1104 User manual