1/ ACCESSORIES
Supplied: A 1 safety valve.
Not supplied: B2 fixing hooks (ØM10 - 80mm) - C2
Fischer plugs (ØM10 - 80mm) - D1 safety unit (com-
pulsory in EU countries demanding it) - E2 joining
pipes - FTeflon tape - GDrill - HSpirit level.
2 /INSTALLATION APPROACH
Modello 30 l - 50 l - 80 l - 100 l
3 /POSITIONING THE APPLIANCE
The appliance should be positioned as close as possible
to the points of use, in order to limit heat dispersion
along the piping. Avoid installing the product in areas
heavily exposed to water (zones 0 and 1). To facilitate
maintenance operations, leave a space of at least 50 cm
between the plumbing connections and the wall.
This appliance can be installed either vertically Acwith
the plumbing connections oriented towards the left. In
choosing the final position, make sure that the wall is
able to withstand the product’s weight even when the
latter is filled with water.
4/ USING THE INSTALLATION JIG
The external packaging contains a full-size drawing of
the appliance showing the exact position of the slots and
brackets. Cut it out and join the ends with adhesive tape.
5/ FIXING THE APPLIANCE TO THE WALL
After levelling the jig and marking the hole points
shown, make the holes in the wall using the drill G.
Insert the Fischer plugs Cinto the holes, followed by
the hooks B.
Place the fixing brackets on the hook and make sure that
they are properly secured .
QUICK START INSTALLATION INSTRUCTIONS
EN
6/ PLUMBING CONNECTIONS
The water inlet and outlet are marked by the following:
- blue ring for cold water inlet
- red ring for hot water outlet
Apply Teflon tape F sepipretawdlocs’ecnailppaehtot
and hot water pipes .
Screw the safety valve A or safety unit D (compulsory
epipretawdlocehtotno)tidnamedtahtseirtnuocUEni
and connect the cold water joining pipe.
Connect the water distribution pipe of the domestic cir-
cuit to the hot water pipe .
Fill the product until water comes out of the tap.
7 /ELECTRICAL CONNECTIONS
If the product is already equipped with a cable and
plug, simply connect it to a power supply source A.
If the power cable is not present or is not connected
to the product: make sure that the mains power is deacti-
vated, remove the cover and pass the cable through the
hole positioned on the rear part. Connect the two wires
to the two terminals of the thermostat B. It is compul-
sory to earth the appliance: perform the operation by
connecting the yellow-green wire to the terminal marked
with the symbol .
8 /CONTROL PANEL
MODEL A: ATemperature adjustment knob
BHEATING LIGHT.
9/ SOLVING PROBLEMS
For any clarifications concerning the product or its in-
stallation, consult the complete manual or contact the
Ariston technical assistance service.
Quick Startis merely anintroductory document and does not replace the manual.
Carefully read the manual prior to installing and using the product.
CAUTION! Rigorously observe the general warnings, the applicable installation rules
andthe instructions specifiedinthe manual.
1/ ПРИНАДЛЕЖНОСТИ
Входят в комплект: A 1 предохранительный клапан
Не входят в комплект: B
C D
где оно требуется) E F Теф-
GДрель HПузырьковый уровень.
2 /СПОСОБ УСТАНОВКИ
Модель 30 l — 50 l — 80 l — 100 l
3 /РАЗМЕЩЕНИЕ ПРИБОРА
Прибор должен быть установлен как можно ближе к местам его
использования для сокращения дисперсии тепла при проходе
воды по трубам. Избегайте установки изделия в положениях с
техническое обслуживание, следует предусмотреть свободный
-
A
Bс водопроводными соединениями, по-
вернутыми влево. При выборе положения убедитесь, что стена
способна выдержать вес даже заполненного водой изделия.
4/ ИСПОЛЬЗОВАНИЕШАБЛОНАДЛЯНАСТЕННОГОКРЕПЛЕНИЯ
На наружной упаковке в натуральную величину изображен про-
филь прибора с точным расположением отверстий и кронштей-
нов. Вырежьте и скрепите створки липкой лентой.
5/ КРЕПЛЕНИЕ ПРИБОРА НА СТЕНЕ
После того как вы выровняли шаблон по уровню и отметили
выделенные точки отверстий, просверлите их с помощью дре-
G C и
B.
Установите кронштейны на крючке, удостоверившись, что они
закреплены правильным образом .
КРАТКОЕ РУКОВОДСТВО ПО МОНТАЖУ
RU
6/ ПОДКЛЮЧЕНИЕ ВОДЫ
Впуск и выпуск для воды отличаются следующим образом:
- синее кольцо для впуска холодной воды;
- красное кольцо для выпуска горячей воды.
Нанесите тефлоновую ленту F на трубы холодной и горячей
воды прибора. Прикрутите предохранительный клапан A
или предохранительное устройство D (обязательное в странах
ЕС, где оно требуется) к трубе холодной воды и подсоедините со-
единительную трубу , а также соединительную трубу холод-
ной воды. Соедините трубу подачи воды водопроводной сети в
доме с трубой горячей воды .
Заполните изделие до объема, пока из крана не пойдет вода.
7 /ЭЛЕКТРИЧЕСКОЕ ПОДКЛЮЧЕНИЕ
В случае если изделие оснащено кабелем и вилкой, просто
A.
В случае если кабель питания отсутствует или не подсо-
единен к изделию, убедитесь, что электричество отключено,
снимите заглушку, пропустите кабель питания через отверстие,
расположенное сзади. Подключите две фазы к двум клеммам
B. Заземление прибора является обязательным и
должно выполняться путем подключения желто-зеленого кабе-
ля к клемме, отмеченной символом .
8/ ОРГАНЫ УПРАВЛЕНИЯ
МОДЕЛЬ А: AРучка регулировки температуры
BИндикатор функционирования
.
9/ УСТРАНЕНИЕ НЕПОЛАДОК
В случае каких-либо вопросов по изделию или установке об-
ратитесь к полному руководству или в отдел послепродажного
обслуживания Ariston.
Краткое руководство является вводным документом и не заменяет собой полное руководство.
Внимательно прочитайте руководство, прежде чем приступить к монтажу и использованию изделия.
ВНИМАНИЕ! Строго соблюдайте общие инструкции, действующие правила монтажа и предписа-
ния, которые содержатся в руководстве.
1/ ПРИЛАДДЯ
Комплект включає: A
Комплект не включає: B
C D -
побіжний пристрій (обов'язковий у країнах ЄС, де він вимагаєть-
ся) E F
GДриль HБульбашковий рівень.
2 /СПОСІБ УСТАНОВЛЕННЯ
Модель 30 l — 50 l — 80 l — 100 l
3 /РОЗМІЩЕННЯ ПРИЛАДУ
Прилад необхідно установити якомога ближче до місць його
використання для скорочення дисперсії тепла при проходженні
води по трубах. Уникайте установлення виробу в положеннях із
обслуговування, слід передбачити вільний проміжок не менше
A B з во-
допровідними з'єднаннями, повернутими вліво. При виборі по-
ложення переконайтеся, що стіна здатна витримати вагу навіть
заповненого водою виробу.
4/ВИКОРИСТАННЯ ШАБЛОНУ ДЛЯ НАСТІННОГОКРІПЛЕННЯ
На зовнішній упаковці в натуральну величину зображений про-
філь приладу з точним розташуванням отворів і кронштейнів.
Виріжте й скріпіть стулки липкою стрічкою.
5/ КРІПЛЕННЯ ПРИЛАДУ НА СТІНІ
Після того як ви вирівняли шаблон за рівнем і позначили ви-
G.
C B.
Установіть кронштейни на гачку, впевнившись, що вони закрі-
плені правильним чином .
КОРОТКИЙ ПОСІБНИК ІЗ МОНТАЖУ
UA
6/ ПІДКЛЮЧЕННЯ ВОДИ
Впуск і випуск для води відрізняються таким чином:
- синє кільце для впуску холодної води;
- червоне кільце для випуску гарячої води.
F на труби холодної і гарячої
води приладу. Прикрутіть запобіжний клапан A або запо-
біжний пристрій D (обов'язковий у країнах ЄС, де він вимага-
ється) до труби холодної води й підключіть з'єднувальну трубу
, а також з'єднувальну трубу холодної води. З'єднайте трубу
подачі води водопровідної мережі в будинку з трубою гарячої
води .
Заповніть виріб до обсягу, поки з крана не потече вода.
7 /ЕЛЕКТРИЧНЕ ПІДКЛЮЧЕННЯ
У разі якщо виріб оснащено кабелем і вилкою, просто під-
A.
У разі якщо кабель живлення відсутній або не підключений
до виробу, переконайтеся, що електрику відключено, зніміть за-
глушку, пропустіть кабель живлення через отвір, розташований
B. Зазем-
лення приладу є обов'язковим і повинне виконуватися шляхом
підключення жовто-зеленого кабелю до клеми, позначеної сим-
волом .
8 /ЕЛЕМЕНТИ УПРАВЛІННЯ
МОДЕЛЬ А: AРучка регулювання температури
BІндикатор функціонування
9/ УСУНЕННЯ НЕСПРАВНОСТЕЙ
Щоб отримати будь-яку інформацію про виріб або його монтаж,
перегляньте повний посібник або зверніться до служби підтрим-
ки Ariston.
Короткий посібник є вступним документом і не замінює собою повний посібник.
Уважно прочитайте посібник, перш ніж приступати до монтажу й використання виробу.
УВАГА! Суворо дотримуйтеся загальних інструкцій, чинних правил монтажу й приписів, які міс-
тяться в посібнику.
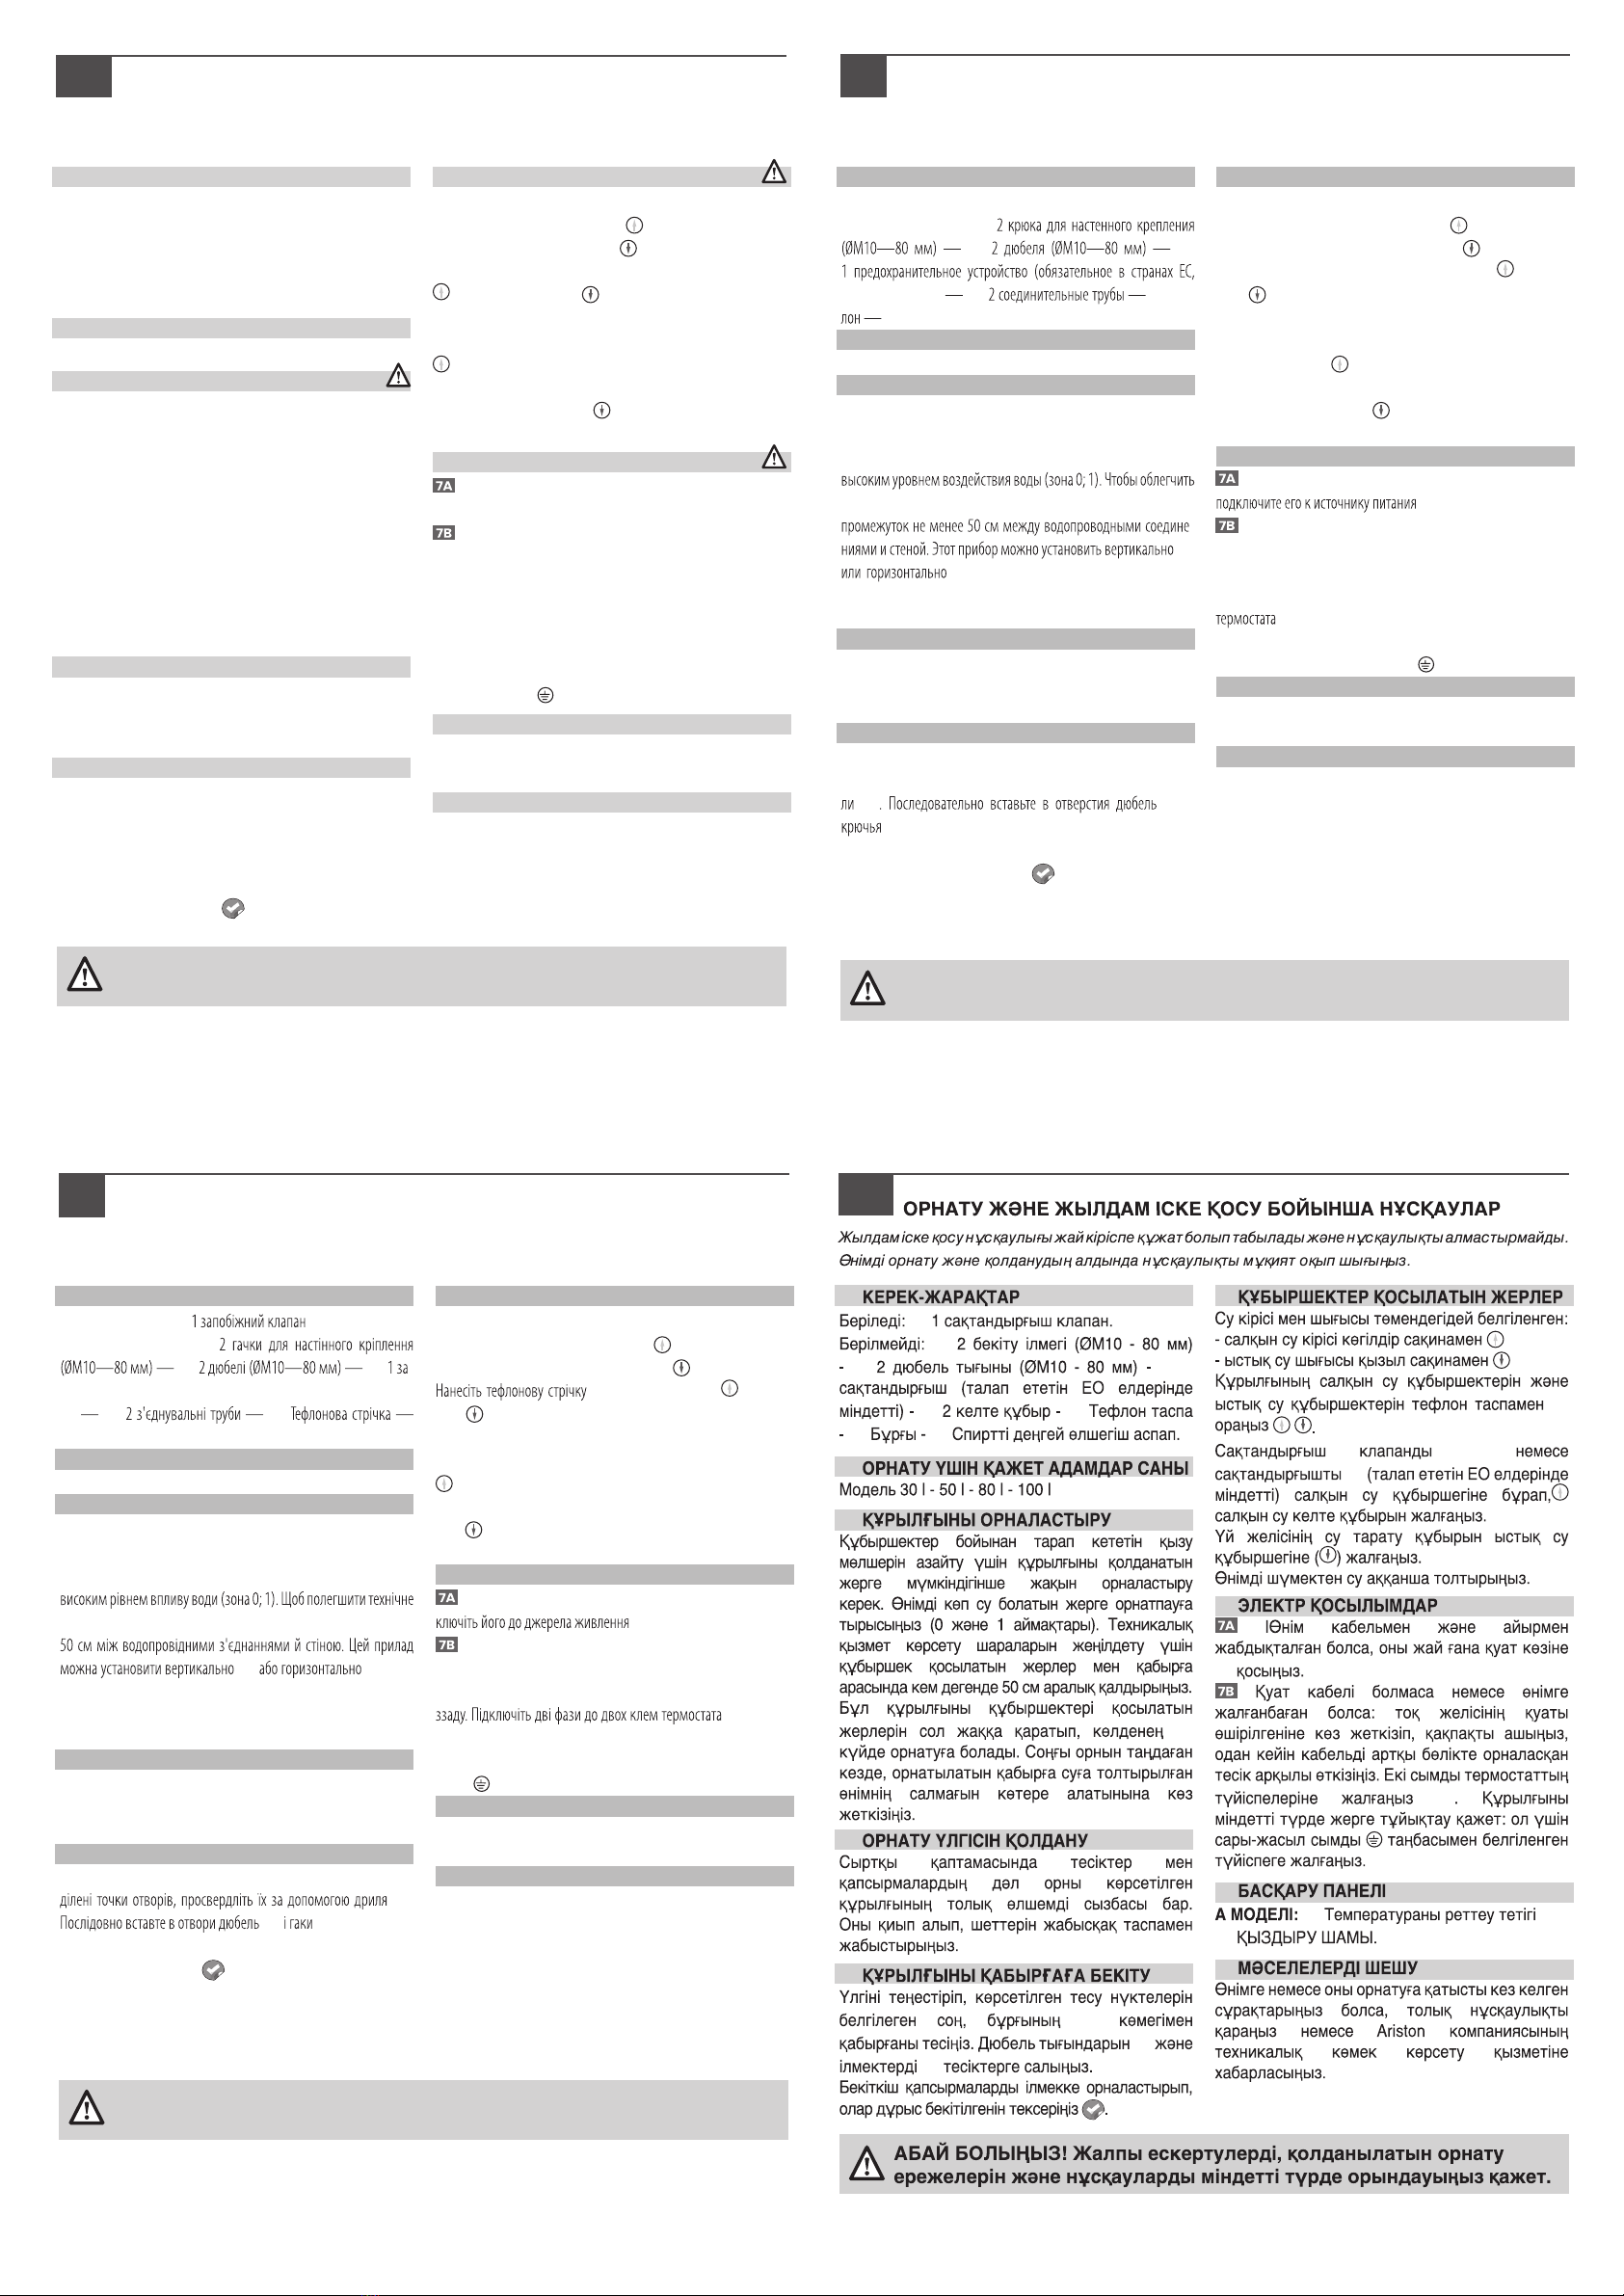
1/
A
B
CD1
EF
G H
2 /
3 /
A
4/
5/
G
C
B
6/
F
A
D
7 /
A
B
8 /
A
B
9/


 null")
 null")


 Operation and maintenance instructions")


