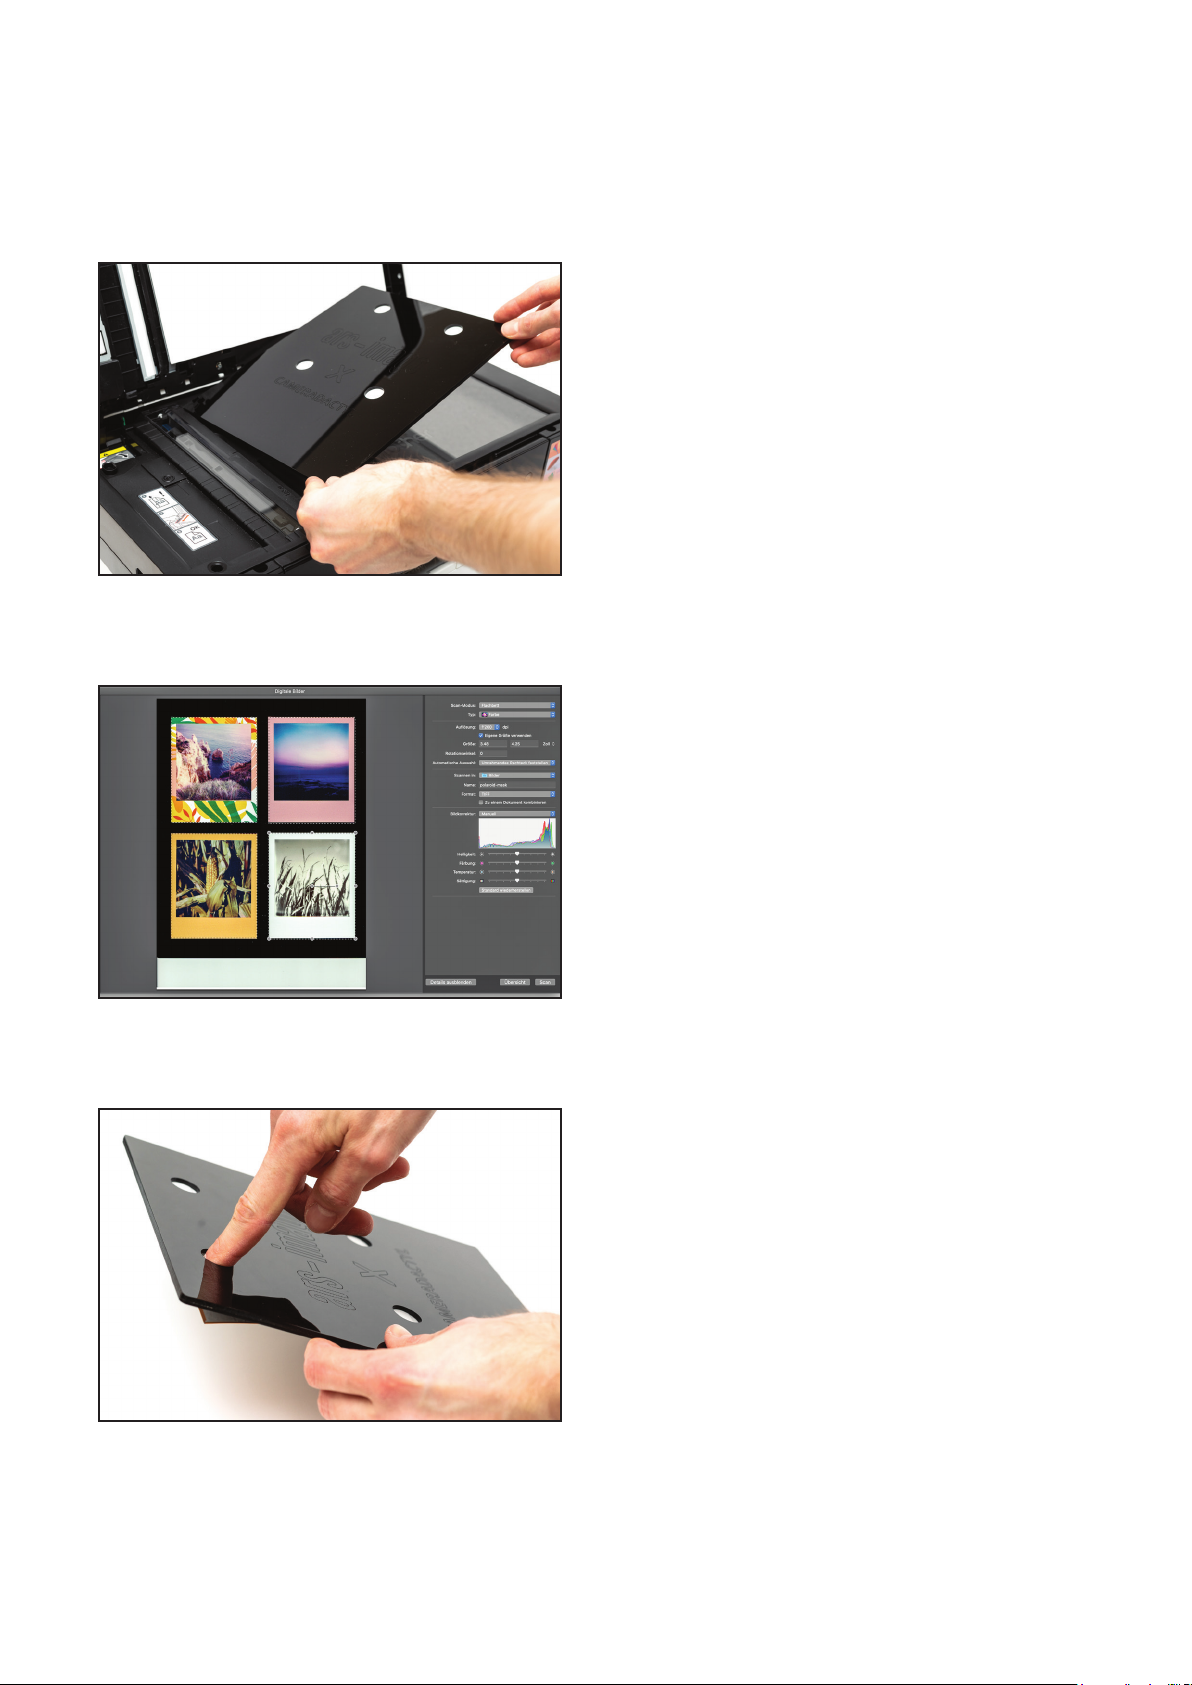
Scan-Maske
Das Scannen von Polaroid Bildern kann
kniig sein. Dafür gibt es die Polaroid
Scan-Maske von ars-imago & CAMERA-
DACTYL! Die perfekte Lösung, um Polaroi-
daufnahmen mit einem modernen Flach-
bettscanner zu digitalisieren.
Scanning Polaroid pictures can be tricky.
The Polaroid Scan Mask from ars-imago &
CAMERADACTYL! will help you! It‘s the perfect
solution to digitize your Polaroid shots with
a modern atbed scanner.
Eigenschaen | Specications
Grösse | Size: 25.5 x: 22 x 0.5 cm
4 Polaroids: Format 600, i-Type, SX-70 &
Fuji Instax Wide (oder 8 mit der Fuji Instax
Mini Maske | or 8 with the Instax Mini Mask)
Vorteile | Advantages
1. Keine Newtonringe mehr
2. Vier Fotos gleichzeitig digitalisieren
(bzw. 8 mit der Instax Mini Maske)
3. Der schwarze Kunststo hil für eine
einfachere Farbkorrektur und besseren
Kontrast
4. Ausgeschnittene Löcher für die Finger-
sorgen dafür, dass man die Bilder schnell
wieder enernen kann
1. No more Newton‘s rings
2. Four photos can be digitised at the same
time (or 8 with the Instax Mini Mask)
3. The black background will help with co-
lour correction and contrast
4. cut-out holes for your ngers ensure that
you can quickly remove the pictures
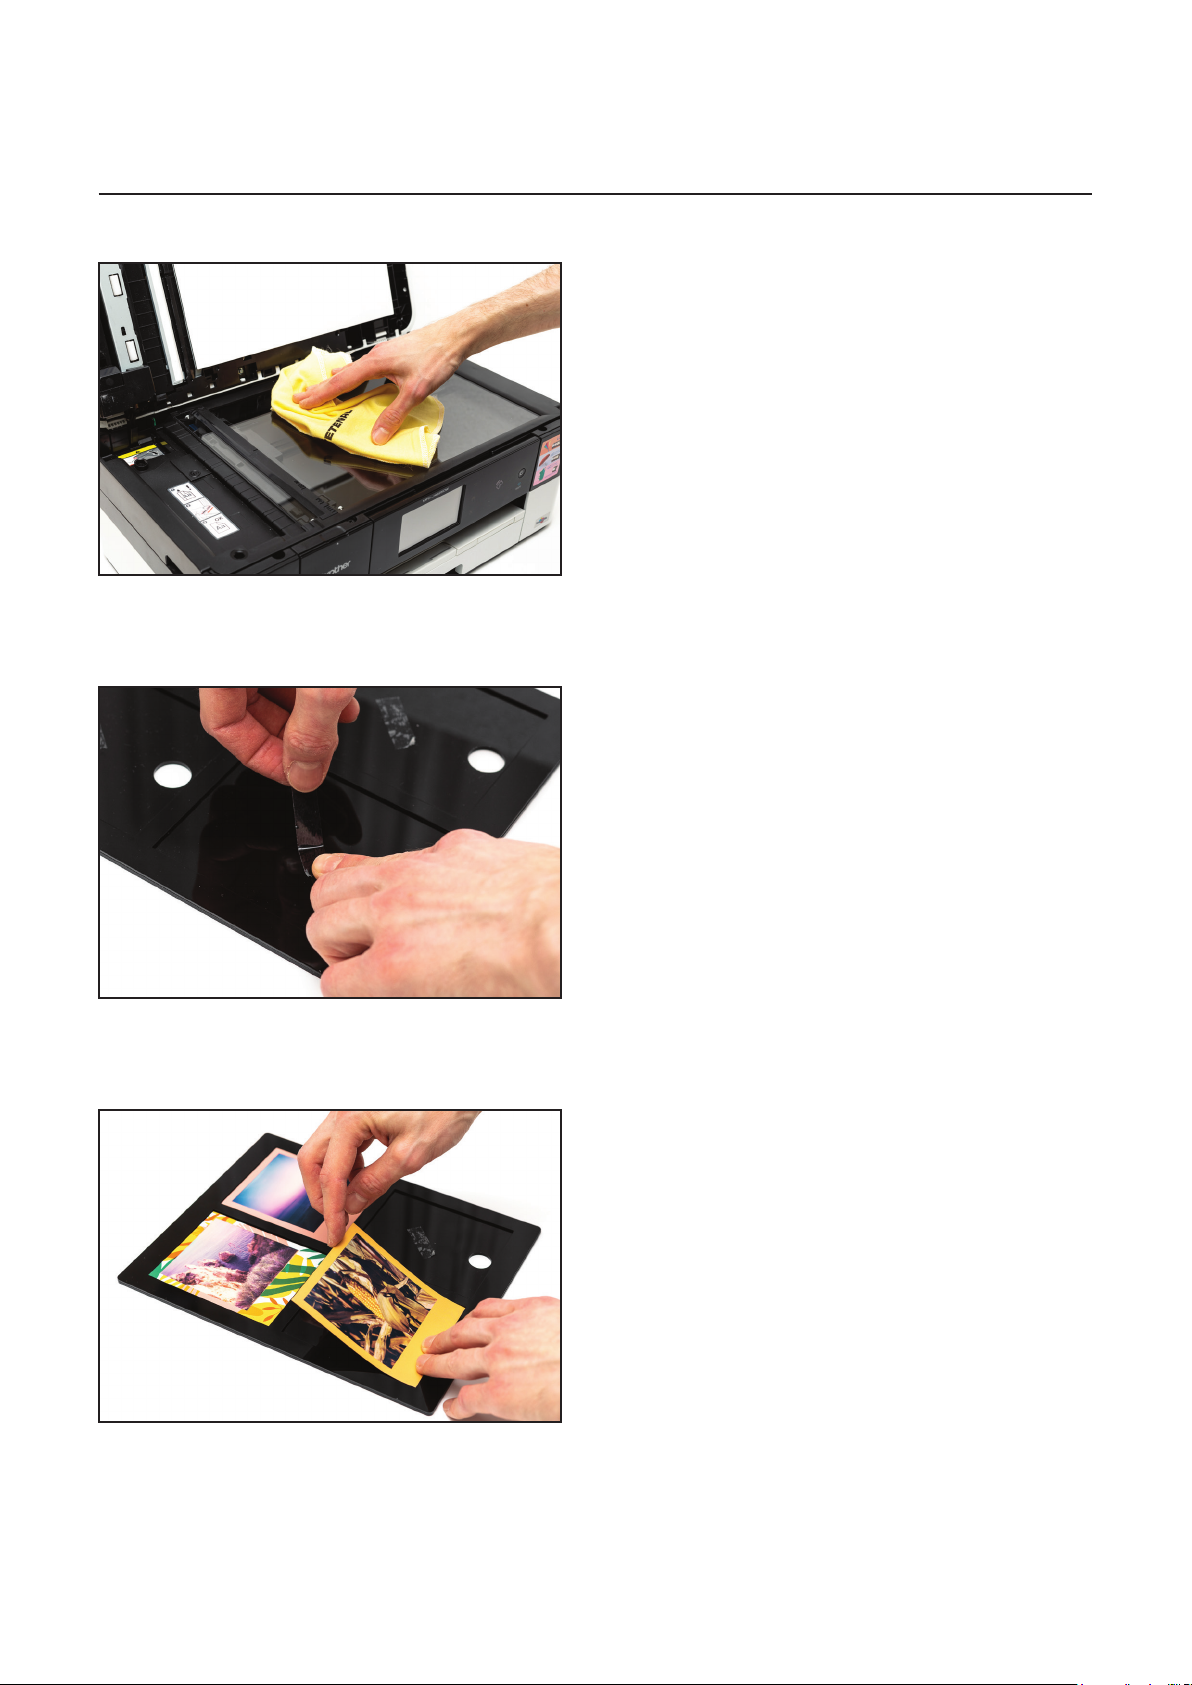
Tricks
- Die Polaroid Scan Maske wird mit einem
Schutzpapier geliefert, dieses Papier muss
komplett enernt werden
- Am besten verwendet man doppelseiti-
ges Klebeband, um die Bilder an der Mas-
ke zu befestigen
- Die Maske an einer Kante vom Scanner
ausrichten: Dann sind die Bilder bereits
gerade und können einfach zugeschnitten
werden
- The Polaroid Scan Mask is supplied with
a protective paper, which you must remove
completely
- Use double-sided tape to attach the pictu-
res to the mask
- Align the mask with one edge of the scan-
ner: Then the images are aligned straight
Kontakt | Customer Support
Das ars-imago Team freut sich immer, von
Ihnen zu hören. Kontaktieren Sie uns über
die Kontaktdaten auf unserer Website.
ars-imago Team is always more than hap-
py to hear from you. Get in touch using the
contact details on our website.
www.ars-imago.ch
www.ars-imago.com
Übersicht Scan Maske | Overview Scan Mask