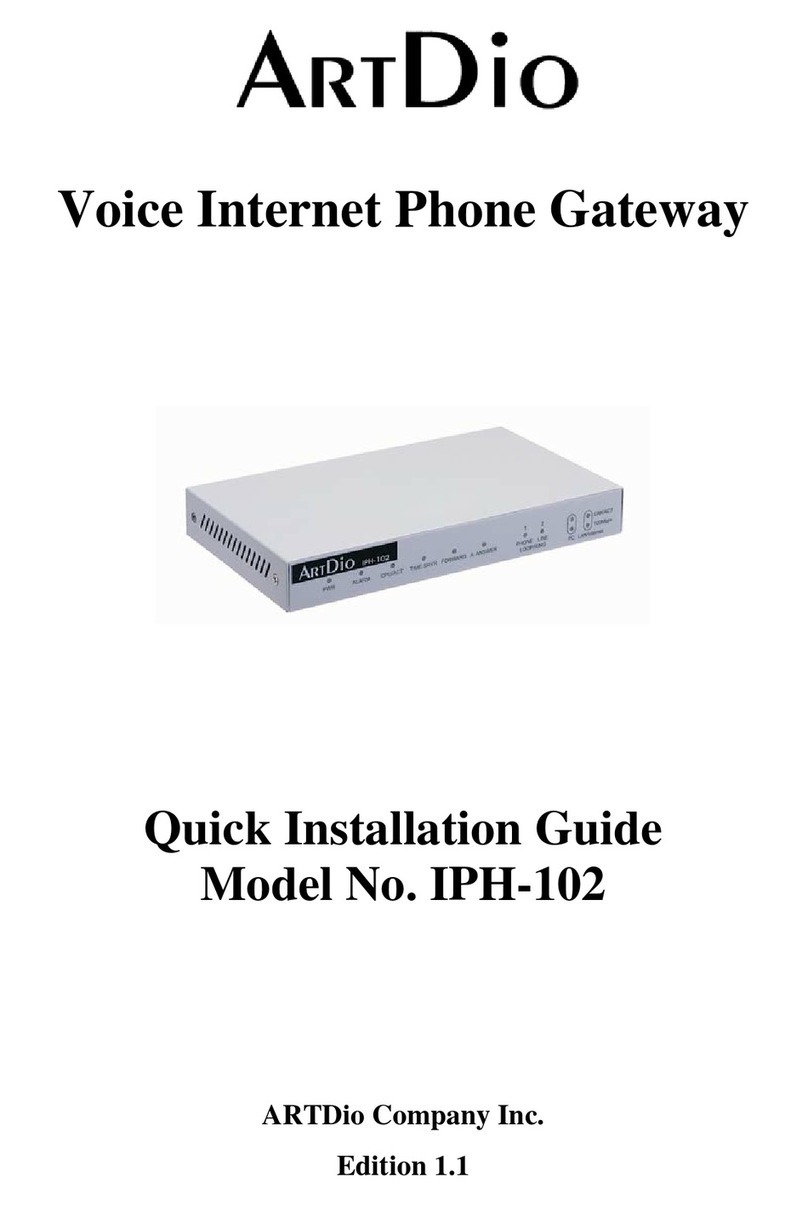
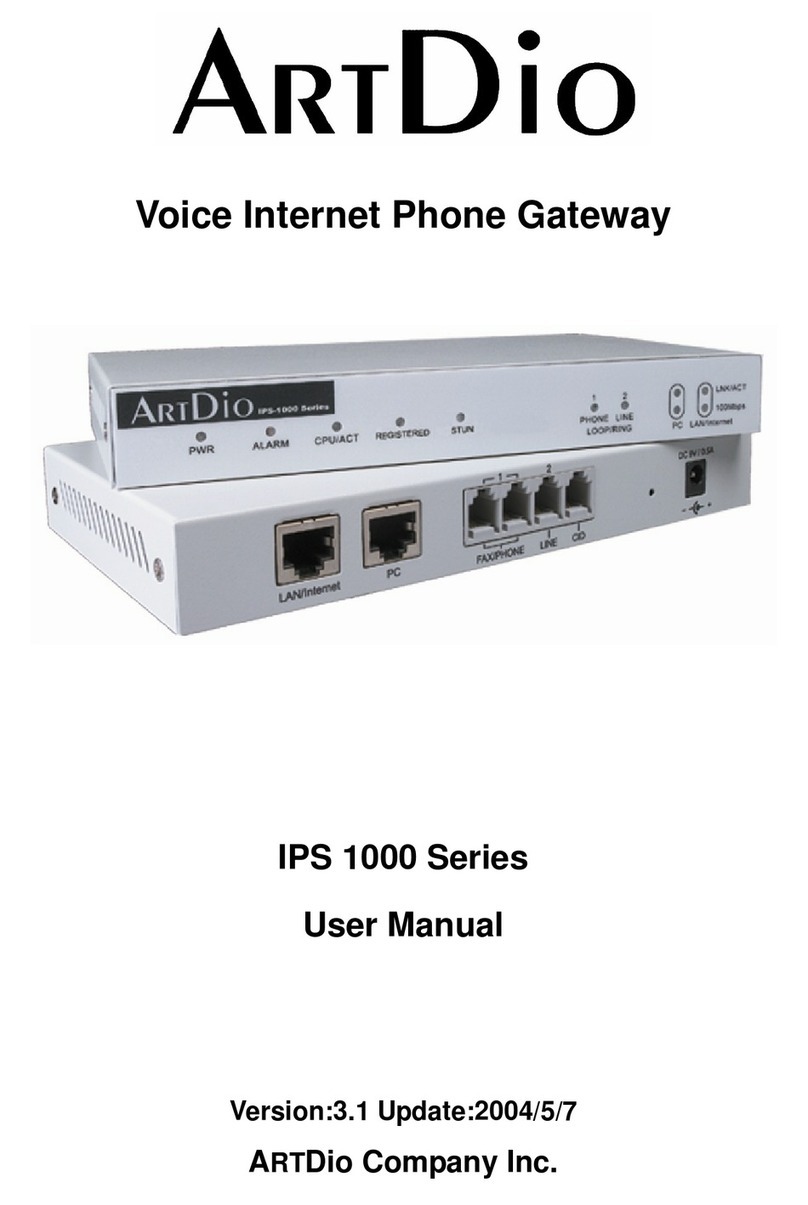
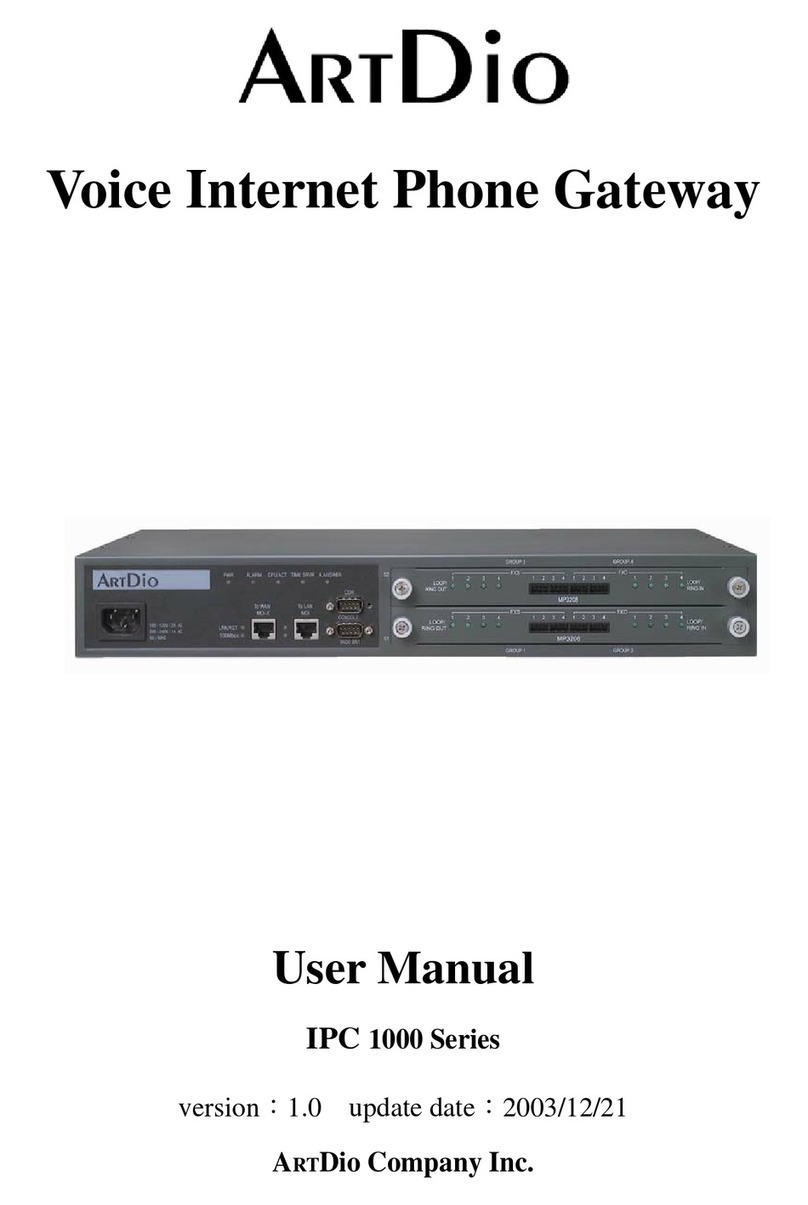
ArtDio IPH-102 User manual

Voice Internet Phone Gateway
User Manual
IPH 1000 Series
Version:1.2 Update:2004/1/2
ARTDio Company Inc.

1000 Series VoIP Gateway
2
1. Safety Instructions
1. Do not attempt to tear or fix the product without a specialist; otherwise, there may be unexpected damage, fire, or electric
shock due to any improper or wrongful action.
2. Do not put any metal objects such as pins and wires, or your fingers into vents and gaps since it might cause electric shock
and certain harm.
3. Do not rip, twist, extend the power cord/cable, or place it under any heavy objects; otherwise, it might cause fire or
electric shock due to the damage of the power cord.
4. The product should be connected to a suitable/compatible power supply with appropriate voltage as marked on the product;
otherwise, it might cause fire or electric shock.
5. Please keep children away from the disposable plastic covering in order to prevent children from choking by placing the
plastic covering close to nose or mouth.
6. The phone line from wall plug should always be connected to the “LINE” socket. It should not be connected to the
“PHONE” socket as it may cause damage to the product.
7. Please read through the instructions before using this product.

1000 Series VoIP Gateway
3
Table of Contents
1. SAFETY INSTRUCTIONS..................................................................................................2
2. I NTRODUCTION................................................................................................................6
2.1 TheARTDIO VoIPgateway...................................................................................................................................................6
2.2. Features..................................................................................................................................................................................6
2.3. Package Contents..................................................................................................................................................................8
2.4. System Recommendations....................................................................................................................................................8
3. GETTING TO KNOW THE ARTDIO VOIP GATEWAY .......................................................9
3.1. ARTDIO IPH-102’s Front Panel..........................................................................................................................................9
3.2.ARTDIO IPH-102’s Back Panel.........................................................................................................................................10
4. INFORMATION REQUIRED BEFORE INSTALLATION...................................................11
4.1. Telephone number andArea Code.....................................................................................................................................11
4.2. IPAddress ............................................................................................................................................................................11
4.3. Password for Web Based Management .............................................................................................................................12
5. INSTALLATION AND PARAMETERS CONFIGURATION....................................................13
5.1. Notice for Cable Modem users...........................................................................................................................................13
5.2. Hardware installation .........................................................................................................................................................13
5.2.1 Connection Type 1: With an IP Sharing Device..............................................................................................................15
5.2.2. Connection Type 2: Without an IP Sharing Device........................................................................................................15
5.2.3. Connection Type 3: Connected in the office...................................................................................................................16
5.3. Parameters Configuration..................................................................................................................................................16
5.3.1. Step 1: Set the Regional ID............................................................................................................................................16
5.3.2. Step 2: IP Setting............................................................................................................................................................19
5.4.1. Configuring the Phone Number......................................................................................................................................27
5.4.2. Disabling Auto Answer...................................................................................................................................................... 27

1000 Series VoIP Gateway
4
5.4.3. PBX CO line access (trunk access code) configuration..................................................................................................... 29
5.4 Inspection..............................................................................................................................................................................29
6. PLACING IP CALLS..............................................................................................................33
6.1. Phone Book and IP Searching............................................................................................................................................33
6.1.1. When the IP information stored in the dynamic phone book is no longer correct..........................................................34
6.2. Voice Calls............................................................................................................................................................................34
6.2.1. Making traditional phone calls (through your local PSTN) ...........................................................................................34
6.2.2. Making IP calls between ARTDIO IPHs........................................................................................................................35
6.2.3. Outbound Transit Calls (Placing calls from ARTDIO IPH to a traditional phone line via another ARTDIO IPH)........35
6.2.4. Inbound Transit Calls .....................................................................................................................................................36
6.3. Sending Faxes over an IP network.....................................................................................................................................37
6.3.1. Sending Faxes betweenARTDIO IPHs over an IP network...........................................................................................37
6.3.2. Use Outbound Transit to Send Faxes .............................................................................................................................37
6.3.3. Use Inbound Transit to Send Faxes................................................................................................................................37
7. SPECIAL CONDITIONS...................................................................................................38
7.1. Use a Private IPAddress in a NAT Environment.............................................................................................................38
7.2. Firewall............................................................................................................................................................................38
7.3. Bypassing theARTDIO IPH..........................................................................................................................................38
8. WEB BASED MANAGEMENT.........................................................................................40
8.1.Acquiring theARTDIO IPH’s IPAddress.........................................................................................................................40
8.2. Accessing the Web Based Management Interface.............................................................................................................40
9. APPENDIX........................................................................................................................42
9.1.AppendixA: Manual IP Searching Procedure..................................................................................................................42
9.2.Appendix B:Automatic IP Searching Procedure..............................................................................................................43
9.3.Appendix C: Edit the phone book......................................................................................................................................45
9.3.1. Use the Web Based Management interface to edit the static phone book.......................................................................45
1000 Series VoIP Gateway
5
9.3.2. Move a dynamic phone book entry to the static phone book .........................................................................................46
9.4. Appendix D: Enabling/disabling the automatic answer mode.........................................................................................46
9.5.Appendix E: Phone Set Command Codes and Parameters. ............................................................................................48
9.6. Specifications .......................................................................................................................................................................52
9.7. Unit Mounting Dimension ..................................................................................................................................................54

1000 Series VoIP Gateway
6
2. I ntroduction
2.1 The ARTDIO VoIP gateway
Congratulations on your purchase of an ARTDIO VoIP gateway. The new ARTDIO VoIP is developed with the latest VoIP
technology. Equipped with QoS capability, ARTDIO VoIP delivers high-quality IP voice and fully integrated communications with
limited bandwidth. Most important of all, it is portable with high agility and easy installation.
2.2. Features
As long as you have high speed internet access, ARTDIO IPH adds an IP function to the regular phone with a simple dial
and talk step. By attaching the two IPH devices to the phone lines, you can start to make phone calls without any hazel.
When you want to make IP phone calls, simply dial the “*” or “#” and the same phone number normally used with a “#”
followed. Once both of parties are equipped with ARTDIO IPHs, you will have unlimited connection with the other party totally
free.

1000 Series VoIP Gateway
7
Besides the ability to make free phone calls through Internet, ARTDIO IPH also provides the following unique features:
You could always use the ARTDIO IPH to place calls even when you are not right next to the device.
When you are away from home, you can still use ARTDIO IPH to place calls to people who also have ARTDIO IPH.
Simply use a standard phone or even a mobile phone to call ARTDIO IPH located at your house, ARTDIO IPH will then transfer
your calls through the IP network to the remote ARTDIO IPH which is located at your intended recipient’s location. In this way,
you only have to afford local call expenses.

1000 Series VoIP Gateway
8
Make long distance calls while paying local phone bills
If you were lived in Los Angeles, you can make a phone call to anyone located in New York area through another
ARTDIO IPH located in New York. Because there is no cost involved when placing a call through ARTDIO IPH in Los Angeles
to ARTDIO IPH in New York,Again, you will only be charged for local calls.
2.3. Package Contents
1. ARTDIO IPH-102 Personal VoIP Gateway
2. AC/DC PowerAdapter
3. RJ-45 Ethernet Cable
4. RJ-11 Telephone Cable
5. Quick Installation Guide
6. CD-ROM
2.4. System Recommendations
A broadband networking (Cable modem, DSL, or T1) is required to ensure voice quality, and in order to simplify
installation, a Router is recommended.

1000 Series VoIP Gateway
9
3. Getting to know theARTDIO VoIP gateway
3.1. ARTDIO IPH-102’s Front Panel
Indicators
POWER When the power is connected, the LED turns green
ALARM The red light “On” indicates that the configured phone number does not match the phone number of the
connected phone line
CPU/ACT “On” indicates that the CPU is working properly
TIME SRVR “On” indicates thatARTDIO IPH is able to access the network’s Time Server
FORWARD “On” indicates that Call Forwarding is enabled
A.ANSWER “On” indicates that Auto Answer is enabled
LOOP/RING PHONE: “On” indicates that phone is off hook
“Flash”indicatesthephoneisringing
LINE:“On”indicatesthatphoneisoffhook
“Flash”indicatesthephoneisringing
PC LNK/ACT: “On” indicate link up
“Flash” indicates Sending/Receiving data packets
LAN/Internet LNK/ACT: “On” indicate link up
“Flash” indicates Sending/Receiving data packets

1000 Series VoIP Gateway
10
3.2. ARTDIO IPH-102’s Back Panel
Ports
LAN/Internet Your Modem connect to (RJ-45 cable)
PC Connects your PC to operate manually
FAX/PHONE Connects your phone set or FAX machine
LINE Connects to the phone line to the wall outlet
CID Can be connected to a Caller ID machine
DC9V/1A Connects to AC/DC power adapter

1000 Series VoIP Gateway
11
4. Information required before installation
You need to prepare the following information before installingARTDIO IPH.
4.1. Telephone number andArea Code
A telephone number is required. ARTDIO IPH must be configured with a phone number, and area code that your
phone line belongs to, such as 213 for Los Angeles, 708 for New York, 408 for San Jose and 202 for Washington DC, etc….
4.2. IPAddress
ARTDIO IPH requires an IP Address for operation. Before installation, you need to know how to get an IP address. Static
IP, DHCP IP or PPPoE IP can be used. The following table helps you to decide what information you need. If your ISP offers
static IP, you may need to obtain an IP from MIS personnel in order to prevent an IP conflict. DHCP IP (most cable broadband
providers’ offer) and PPPoE IP (most ADSL broadband providers’ offer) will work fine.
IP Environment Requiring information
Public IPAddress IPAddress
Subnet Mask
Default Gateway
Static IP
PrivateIPAddress IPAddress
Subnet Mask
Default Gateway
The private IP Address requires an IP Sharing
device, like a Router, and you must configure the IP
Sharing device to treat ARTDIO IPH and the IP
Address as a virtual server.
D
y
namic Host Confi
g
uration
Protocol (DHCP)
Enable DHCP mode
PPPoE Account Number
Password
This information is normally provided by your
ISP. If you don’t have this information, please
contact your ISP.

1000 Series VoIP Gateway
12
4.3. Password for Web Based Management
You will need to prepare a password for Web Based Management. It can be digits, letters or combination ranging from 1
to 6 digits (E.g. 123). You will need this password to access the web Management Interface (browser based). If you don’t set
this password, you will not have right to access the Web Management Interface.

1000 Series VoIP Gateway
13
5. Installation and parameters Configuration
After preparing the information that you need as specified in section 4, follow the steps below to installARTDIO IPH
5.1. Notice for Cable Modem users
Most Cable ISP’s usually offer DHCP to their customers, allowing only one PC to access the Internet. Because of this,
Cable ISP’s request that their customers register their LAN card’s MAC address. Only the PC using a registered MAC address
is allowed to access the Internet, so it is essential that you use an IP sharing device to connect to your Cable Modem instead,
and connect the PC and ARTDIO IPH unit to your IP sharing device. After you have connected the PC and ARTDIO IPH unit to
your IP sharing device, turn off your Cable Modem and the IP sharing device, and re-turn on again, it will re-register your
MAC Address of the IP sharing device automatically. Because you will be using an IP Sharing device, you will need to set the
IP Sharing device to treat the ARTDIO IPH unit’s UDP port 2000 as a Virtual Server.
5.2. Hardware installation
When you connect ARTDIO IPH to your network, network environments are usually different in various situations. The
Following three sections list most of the popular connections; you can select one that fits your existing network’s configuration
the most. This user guide lists the most common connection types for your reference.
ISP Environment Suggested Connection
Connection type 1:
With an IP sharing device
This type of connection is used when you are using an
IP Sharing device, like Router. You have it or with HUB for
ARTDIO IPH and serious PC. You must configure ARTDIO IPH
as a Virtual Server on the IP Sharing device.
Connection type 2:
Without an IP sharing
device
This type of connection connects ARTDIO IPH to an
ADSL Modem or Cable Modem directly. Usually it connects
a Hub to ARTDIO IPH and PCs, However, your ISP must
allow at least two accounts to access the Internet at the same
time.
Connection type 3:
Connected in the office
This type of connection is that the ARTDIO IPH is
installed in your office. It won’t work i
f
y
our PBX extension
line is digital or part of a Key Telephone System. A lot of
enterprises use firewalls on their networks. You will need to
ask MIS personnel to open UDP ports as specified in section
7.2. Firewall

1000 Series VoIP Gateway
14

1000 Series VoIP Gateway
15
You can connect a telephone to either port of the “FAX/PHONE” socket. If you have a FAX machine it can be connected
to the “FAX/PHONE” socket that is not being used. Since the “FAX/PHONE” ports are wired inside ARTDIO IPH itself, the
FAX and PHONE can not be used at the same time. The “LINE” port should be connected to the phone line. The “CID” socket
can be used to connect a Caller ID device to display the phone number of incoming calls.
5.2.1 Connection Type 1: With an IP Sharing Device
Use the RJ-45 cable to connect “LAN/Internet” socket of your device with the Router, wait until ”CPU/ACT” LED on
the front panel is on, the hardware installation has done.
5.2.2. Connection Type 2: Without an IP Sharing Device
Use the RJ-45 cable to connect “LAN/Internet” socket of your device with the Hub. Connect the power adapter, wait
until”CPU/ACT” LED on the front panel is on, the hardware installation has done.

1000 Series VoIP Gateway
16
5.2.3. Connection Type 3: Connected in the office
Use the RJ-45 cable to connect “LAN/Internet” socket of your device with the LAN wall jack. Connect the power adapter,
wait until”CPU/ACT” LED on the front panel is on, the hardware installation has done.
5.3. Parameters Configuration
We recommend that you use telephone to do the configurations, as using a phone set to do the configurations is the
easiest way.
5.3.1. Step 1: Set the Regional ID
The default Regional ID is printed on the label located at the bottom of the device, showing similar as like below:
If you are installing the device in the default region, skip to next step.

1000 Series VoIP Gateway
17
5.3.1.1. The Regional ID is on the List
If you are installing the device at the region other than the regional ID specified on the label but it’s in the list below, you
need to modify the device to the right Regional ID.
The Regional ID is defined as follows:
ID NO. Country ID NO. Country ID NO. Country ID NO. Country
01 Argentina 02 Australia 03 Philippines 04 Portugal
05 Brazil 06 Canada 07 China 08 Russia
09 Sweden 10 Vietnam 12 France 13 Germany
15 Hong Kong 18 India 22 Italy 23 Japan
24 Korea 26 Malaysia 27 Mexico 28 Netherlands
29 New Zealand 36 Singapore 38 Slovenia 39 South Africa
40 Spain 42 Switzerland 43 Taiwan 44 Thailand
46 British 47 USA 60 Iran 61 Dubai
When the “CPU/ACT” LED is on, pick up the handset and dial as follows:
1. ##0000 ;to start the configuring mode
2. 9547# ;assume you are modifying for U.S.A.
3. 971# ;resets the device to factory default except the regional ID
4. Hang up the phone.
The device will be reset to the new regional ID after the “CPU/ACT“LED is on again.
5.3.1.2. The Regional ID is not in the List
If you are installing the device at the region not in the regional ID list, then you need to connect a PC to modify the
information to fit your region. Use the provided Ethernet cable to connect your PC to the port labeled “PC”, located on the rear
panel of ARTDIO IPH.

1000 Series VoIP Gateway
18
First: Use a phone set to configure the Web Management Password
When the “CPU/ACT” LED is on, pick up the handset and dial as follows:
1. ##0000 ; to start the configuring mode
2. 88123# ; “123” is the Web Management password
3. 981# ; restarts to update information
4. Hang up the handset.
Second: Configure Country Code, International Code and Long Distance Code
Because ARTDIO IPH’s default IP setting is 192.168.0.2, you must configure your PC to the same Subnet. 192.168.0. X
for example. The following example uses 192.168.0.5 for the IPAddress and 255.255.255.0 for the Subnet Mask
After you have completed the PC’s IPAddress setting, restart the PC to let the new settings take affect.
On the PC which is connected to ARTDIO IPH, enter ARTDIO IPH’s IP Address (Default 192.168.0.2) and press enter.
ARTDIO IPH will prompt you with a dialogue box requesting that you enter a password. Use “WEB” (all capitals) for the User
field, and “123” for the password field that you have previously configured. Click the “OK” button to access ARTDIO IPH Web
Based Management Interface page
1. Click on “BASIC” at the top of the page and you will see the page as shown in the following image.
2. Change the “Country Code” under “My Phone Number” to your country code.
3. Click on the “Apply” button.
4. Click on “ACCESS CODE” at the top of the page.
5. Add your international code and long distance code in.

1000 Series VoIP Gateway
19
6. Click on the “Apply” button again.
7. Click on “BASIC” at the top of the page again, Select “Warm Start” to restart the system.
After the “CPU/ACT“LED is on again. ARTDIO IPH will have your regional ID settings ready, and you can have your PC
removed.
5.3.2. Step 2: IP Setting
If you are using a static IP or DHCP, you can configure the IP address by using your phone set directly. If you are using a
PPPoE service, you have to configure the account number and password by using the Browser Based Interface as the phone set
does not accept alphabetic characters.
The following two sections contain the procedures used to configure ARTDIO IPH according to how you get your IP
address (Static IP; DHCP or PPPoE).
Since a lot of the configuring procedures in the following sections are using a telephone to modify the settings.
Configuring ARTDIO IPH via the phone set will be described first.
Using a Telephone to Configure ARTDIO IPH
Follow the steps specified on the following figures:

1000 Series VoIP Gateway
20
Every time you set parameters, press the “#” key to complete it, a successful setting will be confirmed by three equal beeps in
succession. If your settings were not succeeded you will be prompted with one long beep.
The Command length is two-digits long. For example, configure “area code” is “01”, “phone number” is “02”, and
“restart” is “98”, etc... For details please refer to section 9.5. Appendix E: Phone Set Command Codes and Parameters.
5.3.2.1 Static IP
If you are using a static IP, you need to prepare the information as specified in section 4.2. IP Address, as an example as
below:
Area Code 626 (Los Angeles)
Phone Number 4453447
IPAddress 210.67.96.121
Subnet Mask 255.255.255.248
Default Gateway 210.67.96.120
Web Management Password 123
Use the information above as an example. The procedure is as follows:
When the “CPU/ACT” LED is on, pick up the handset and dial as follows:
1. ##0000 ;tostarttheconfiguringmode
2. 01626# ; “626” represents the Los Angeles area code
3. 024453447# ; phone number
4. 030# ; “0” is used to enable “manual” IP mode
5. 04210*67*96*121# ; IPAddress
Pick u
p
the handset
Dial “##0000” to enter
the configuring mode
Command (two digits) +
Parameter (variable length) +
“#”ke
y
to end
Replace the handset
Set next parameter
This manual suits for next models
1
Table of contents
Other ArtDio Gateway manuals

ArtDio
ArtDio IPC 1000 User manual

ArtDio
ArtDio IPS-3101h User manual

ArtDio
ArtDio IPS-3101h User manual

ArtDio
ArtDio IPS-2101h User manual

ArtDio
ArtDio IPE 1000 Series User manual

ArtDio
ArtDio IPS 1000 Series User manual

ArtDio
ArtDio IPS-2101h User manual

ArtDio
ArtDio IPC 1000 User manual

ArtDio
ArtDio IPH-1000 User manual

ArtDio
ArtDio IPC 1000 User manual