4Connect Ethernet and Power Cables
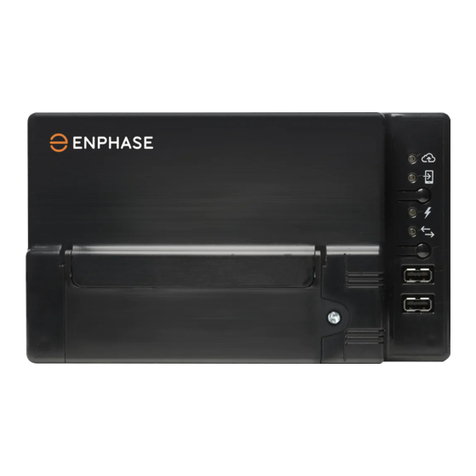
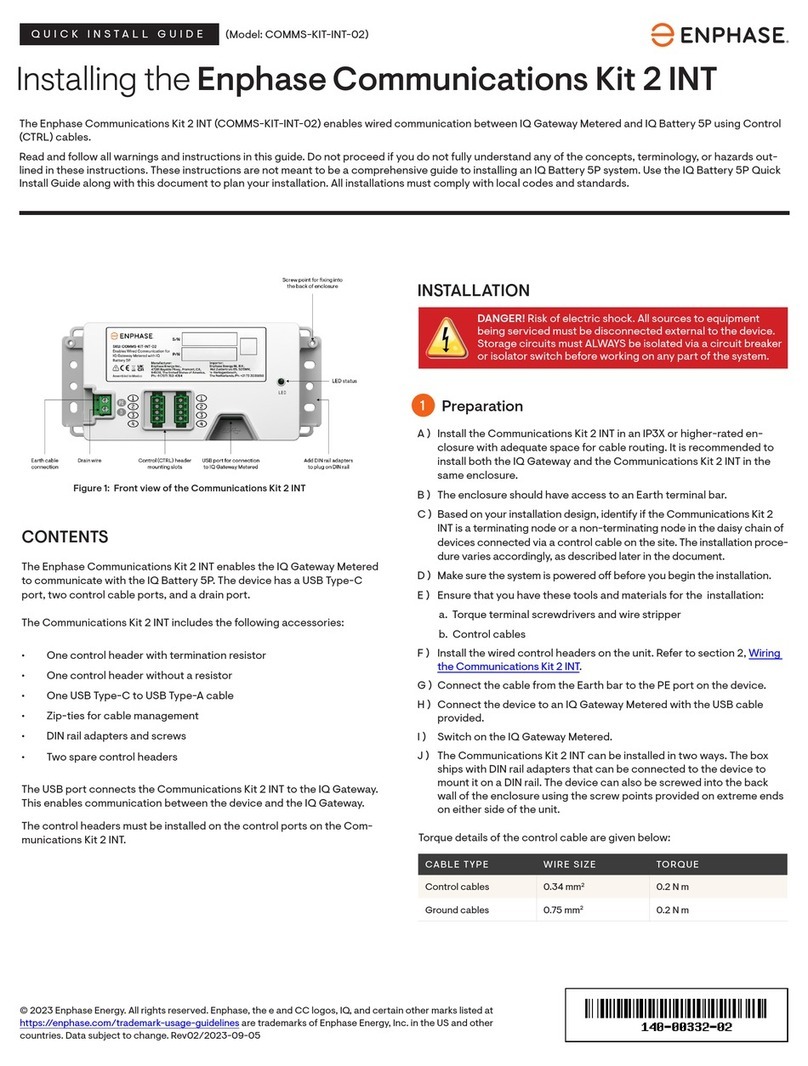
• Plug the Ethernet cable into the Ethernet port
on the Envoy.
• Plug the other end of the cable into a port on
the broadband router.
• Plug the AC cord into a dedicated wall outlet.
Do not plug the Envoy
into a power strip, surge protector, or
uninterruptable power supply (UPS).
These devices impede power line
communications.
Ethernet cable
AC power
cord
broadband
router
Envoy
Warning: Do not remove power from
the Envoy if the LCD displays:
“Upgrading. . . Do Not Unplug.”
5Add Power Line Communication Bridges
(optional)
Use power line communication bridges if the Envoy
needs to be located away from the broadband
router. Otherwise, skip this step.
• Plug one of the bridges into the same AC outlet
as the broadband router and attach an Ethernet
cable to the bridge.
• Plug the other bridge into an AC outlet near
the Envoy and attach the Ethernet cable to the
bridge.
• Press and hold the Envoy menu button; release
the button when the LCD displays Get New IP
Address.
8Check the Envoy’s Progress
a. Check the Device Count
An automatic device scan begins to detect the
microinverters when the DC and AC connections
are completed and the AC circuit is energized.
• Check that the Envoy LCD shows a complete
device count after about 30 minutes. If it does
not, see Troubleshooting band con back.
b. Check the Power Line Communications
• Check the number of bars shown on the Envoy
LCD (Level/Devices screen). If fewer than three
bars are shown, see Troubleshooting don
back.
[]
Level:
Devices: 2
c. Stop the Scan When All Devices are Detected
Once all devices have been detected, disable the
device scan:
• Press and hold the Envoy menu button (on the
right side of the Envoy).
• Release the menu button when the LCD dis-
plays Disable Device Scan.
7Install the Microinverters and Modules
• Install the PV modules and microinverters
as directed by the installation manuals. For
Enphase installation manuals, go to
http://www.enphase.com/support.
• Use the ArrayGun to scan the microinverters.
For more information, go to http://enphase.
com/products/arraygun.
• As an alternative, you can manually build the
map: Peel the removable serial number label
fromeachmicroinverterandafxittothe
respective location on the map.
Envoy
Power line
communication
bridges
broadband
router
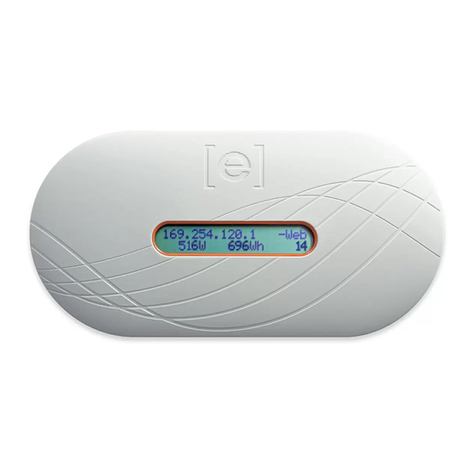
192.168.2.140 +Web
0W 0kWh 0
a
6Check the Internet Connection
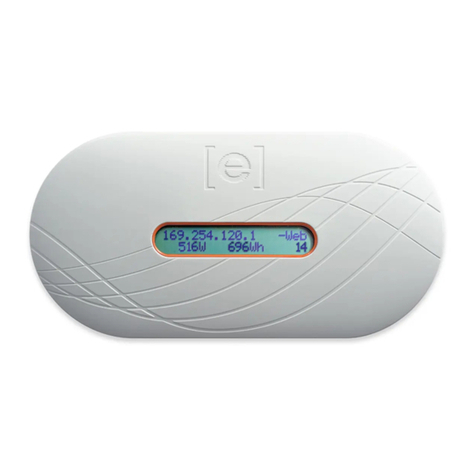
Look for the + Web indication. If it does not appear
within 5 minutes after connecting to the broadband
router, see Troubleshooting on back.
3
Note: Do not permanently mount the
Envoy until you complete Step 8.
Find a Location for the Envoy
Locate an AC outlet that is indoors or in an environmentally protected location and
close to the load center. Place the Envoy so that its AC cord can reach this outlet.
AC load
center
Envoy
c. Select the Grid Prole (if required)
In the continental US, you can skip this step
because the factory settings meet requirements.
If you have selected a country other than the
US, or if you select Hawaii as the state under
Location,theGridProlemenuappears.
• SelecttheappropriateprolefromtheGrid
Prolemenu.
• Click Save to submit the form.
FormoreinformationonGridProles,seethe
Envoy Communications Gateway Installation and
Operation Manual at: http://www.enphase.com/
support.
2Register the Envoy
Register the Envoy at the Enlighten website:
https://enlighten.enphaseenergy.com.
a. Log in to Enlighten.
• At the installer dashboard, click Add a New
System.
b. Enter System Activation Information
• Enter the System, Installer, Owner, and Loca-
tion information.
• Enter the Envoy serial number.
System Activation form

