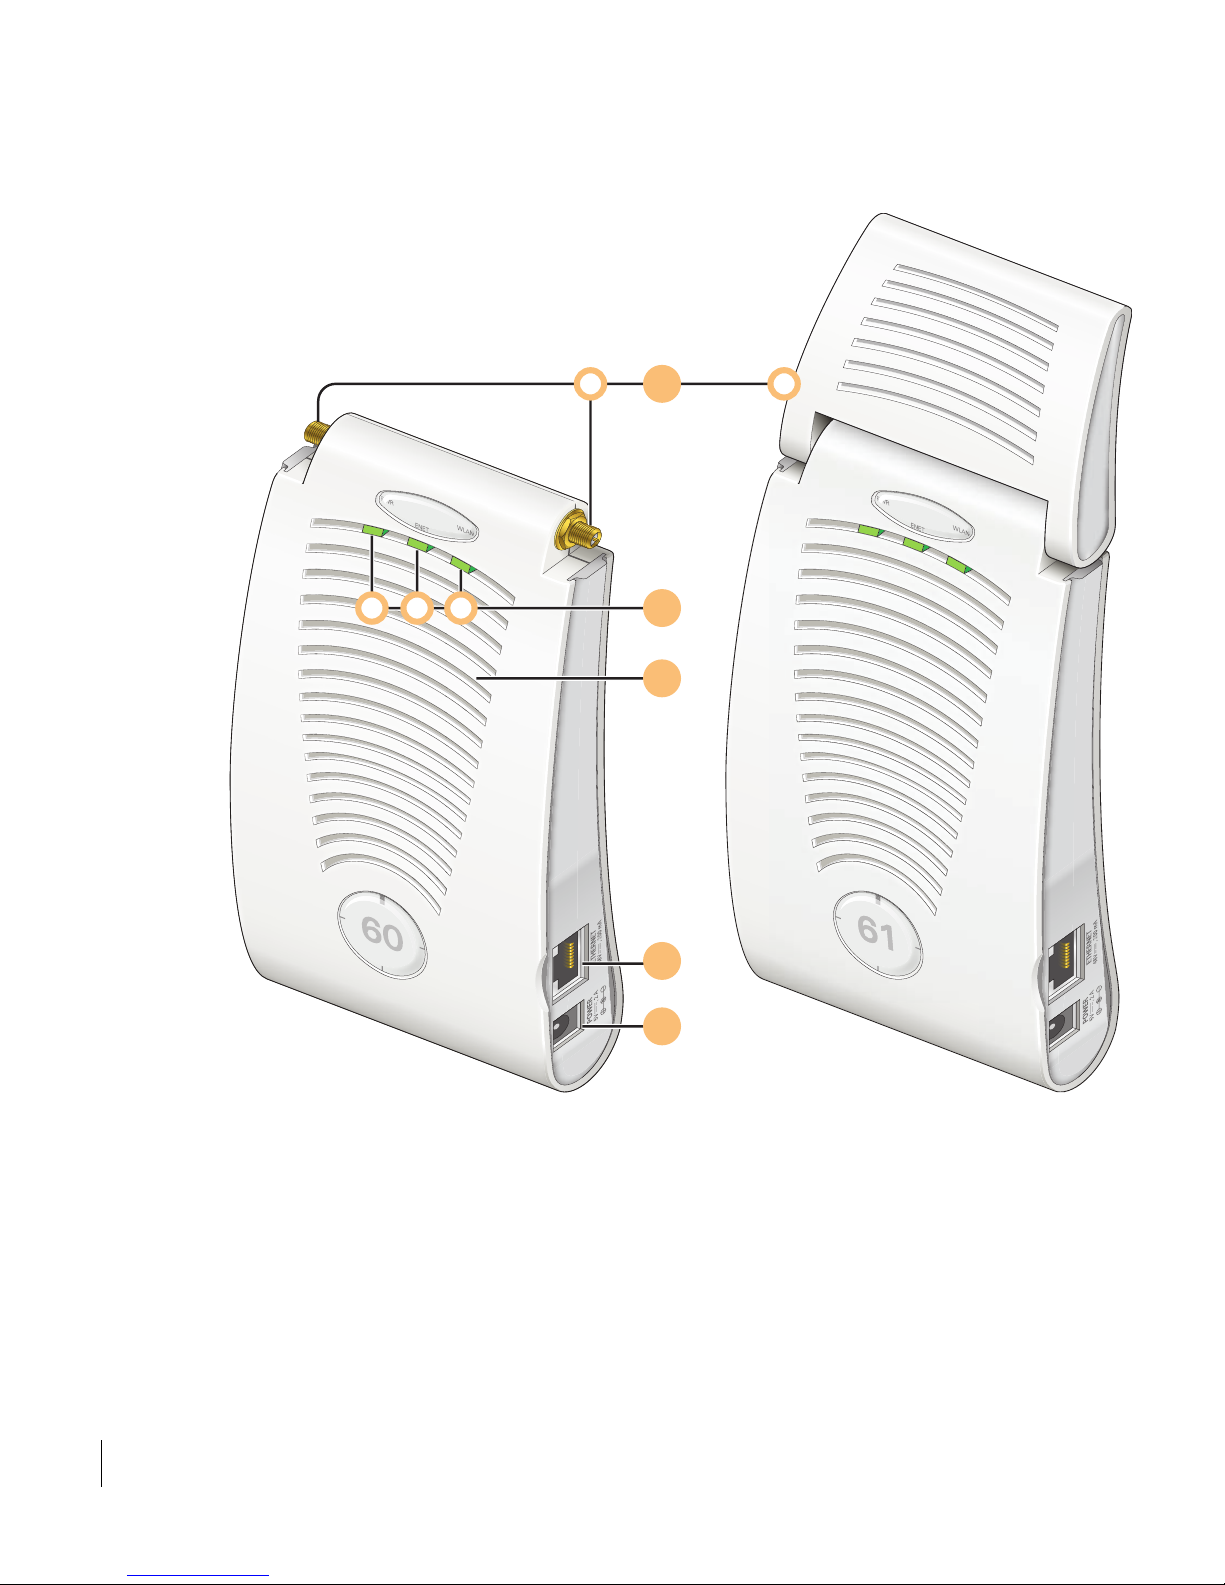
Aruba AP-60 User manual
Other Aruba Wireless Access Point manuals

Aruba
Aruba 220 Series User manual

Aruba
Aruba AP-68P User manual

Aruba
Aruba 310 Series User manual

Aruba
Aruba 560EX Series User manual

Aruba
Aruba 560 Series User manual

Aruba
Aruba AP-100 Series User manual

Aruba
Aruba AP-130 Series User manual

Aruba
Aruba AP-504 RW User manual

Aruba
Aruba AP-80MB User manual

Aruba
Aruba IAP-303H User manual

Aruba
Aruba AP-270-MNT-V1 User manual

Aruba
Aruba AP-85 User manual

Aruba
Aruba AP 70 User manual

Aruba
Aruba 303 Series User manual

Aruba
Aruba 530 Series User manual

Aruba
Aruba RAP-2WG User manual

Aruba
Aruba AP-505H User manual

Aruba
Aruba 580EX Series User manual

Aruba
Aruba AP22 User manual

Aruba
Aruba 65 User manual


Popular Wireless Access Point manuals by other brands

D-Link
D-Link DWL-2100AP - AirPlus Xtreme G Quick installation guide

Ubiquiti
Ubiquiti NanoStation NSM2 quick start guide

Cisco
Cisco Aironet 1550 Series Getting started guide

Advantek Networks
Advantek Networks AWN-AP-54MR user manual

IP-COM
IP-COM AP355 user guide

Buffalo
Buffalo AirStation WLA-L11G user manual


 installation guide")