manuals.online logo
Brands
  1. Home
  2. •
  3. Brands
  4. •
  5. Astonica
  6. •
  7. Indoor Furnishing
  8. •
  9. Astonica 50105624 User manual

Astonica 50105624 User manual

Other Astonica Indoor Furnishing manuals

Astonica 50103523 User manual

Astonica

Astonica 50103523 User manual

Astonica 50103303 User manual

Astonica

Astonica 50103303 User manual

Astonica 50105411 User manual

Astonica

Astonica 50105411 User manual

Astonica 50105357 User manual

Astonica

Astonica 50105357 User manual

Astonica 50102706 User manual

Astonica

Astonica 50102706 User manual

Astonica 50104012 User manual

Astonica

Astonica 50104012 User manual

Astonica 50104286 User manual

Astonica

Astonica 50104286 User manual

Astonica 50103511 User manual

Astonica

Astonica 50103511 User manual

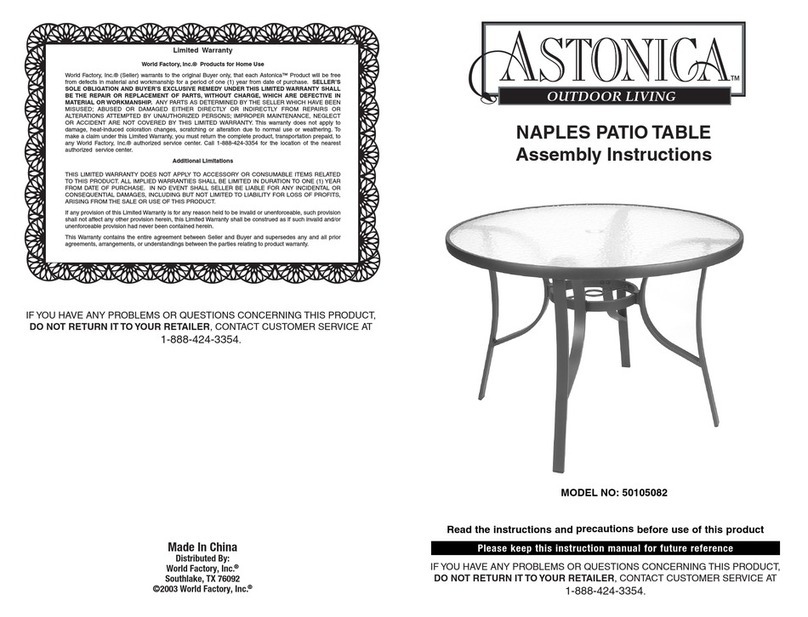
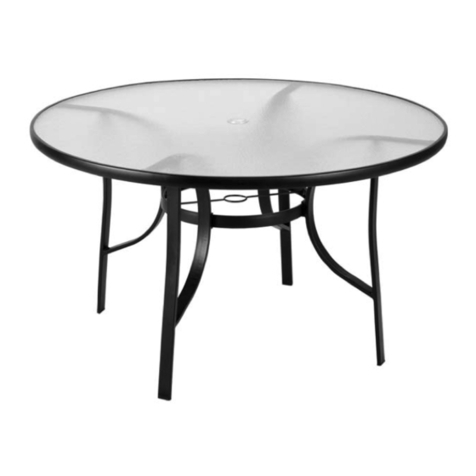
Astonica BASKETWEAVE PATIO TABLE User manual

Astonica

Astonica BASKETWEAVE PATIO TABLE User manual

Astonica 50104082 User manual

Astonica

Astonica 50104082 User manual

Astonica 50100218 User manual

Astonica

Astonica 50100218 User manual

Astonica 50100095 User manual

Astonica

Astonica 50100095 User manual

Astonica 50103543 User manual

Astonica

Astonica 50103543 User manual

Astonica 50102702 User manual

Astonica

Astonica 50102702 User manual

Astonica Hadley IV User manual

Astonica

Astonica Hadley IV User manual

Astonica 50105254 User manual

Astonica

Astonica 50105254 User manual

Astonica Maryanne User manual

Astonica

Astonica Maryanne User manual

Astonica 50104296 User manual

Astonica

Astonica 50104296 User manual

Astonica 50100091 User manual

Astonica

Astonica 50100091 User manual

Astonica 50100392 User manual

Astonica

Astonica 50100392 User manual

Astonica 50103527 User manual

Astonica

Astonica 50103527 User manual

Astonica Junior ABC Bench User manual

Astonica

Astonica Junior ABC Bench User manual

Astonica 50103104 User manual

Astonica

Astonica 50103104 User manual

Astonica 50104381 User manual

Astonica

Astonica 50104381 User manual

Popular Indoor Furnishing manuals by other brands

Regency LWMS3015 Assembly instructions

Regency

Regency LWMS3015 Assembly instructions

Furniture of America CM7751C Assembly instructions

Furniture of America

Furniture of America CM7751C Assembly instructions

Safavieh Furniture Estella CNS5731 manual

Safavieh Furniture

Safavieh Furniture Estella CNS5731 manual

PLACES OF STYLE Ovalfuss Assembly instruction

PLACES OF STYLE

PLACES OF STYLE Ovalfuss Assembly instruction

Trasman 1138 Bo1 Assembly manual

Trasman

Trasman 1138 Bo1 Assembly manual

Costway JV10856 manual

Costway

Costway JV10856 manual

moss DESIGN Caisson Credenza Assembly instructions

moss DESIGN

moss DESIGN Caisson Credenza Assembly instructions

Aquaglide FULL DECK 15.0 owner's manual

Aquaglide

Aquaglide FULL DECK 15.0 owner's manual

AREBOS AR-HE-SW30 user manual

AREBOS

AREBOS AR-HE-SW30 user manual

Till-Hilft Fulda 87005.330 Assembly instructions

Till-Hilft

Till-Hilft Fulda 87005.330 Assembly instructions

Twoey Outside 2010 quick start guide

Twoey Outside

Twoey Outside 2010 quick start guide

Hettich Easys 200 operating instructions

Hettich

Hettich Easys 200 operating instructions

The bedboss RELAX 404 Series owner's manual

The bedboss

The bedboss RELAX 404 Series owner's manual

Oeseder Möbelindustrie Bern 991 720 Assembly instructions

Oeseder Möbelindustrie

Oeseder Möbelindustrie Bern 991 720 Assembly instructions

Costway HW68469 user manual

Costway

Costway HW68469 user manual

Next ALIX A27743 Assembly instructions

Next

Next ALIX A27743 Assembly instructions

BROSA Hans Assembly guide

BROSA

BROSA Hans Assembly guide

Prodigg MINIKA PBA015T-FUR installation manual

Prodigg

Prodigg MINIKA PBA015T-FUR installation manual

manuals.online logo
manuals.online logoBrands
  • About & Mission
  • Contact us
  • Privacy Policy
  • Terms and Conditions

Copyright 2025 Manuals.Online. All Rights Reserved.

180107rev1
Model No. 50105624
Jakarta Cushion Chaise Lounge
Instruction Manual
Due to ongoing product development
the actual product or products may vary from
the illustrations or photos shown within this manual.
NOTE: This product is intended for residential, non-commercial use.
Limited Warranty
World Factory, Inc.®Products for Home Use
World Factory, Inc.®(Seller) warrants to the original Buyer only, that each Astonica®Product will be
free from defects in material and workmanship for a period of one (1) year from date of purchase.
SELLER’S SOLE OBLIGATION AND BUYER’S EXCLUSIVE REMEDY UNDER THIS LIMITED
WARRANTY SHALL BE THE REPAIR OR REPLACEMENT OF PARTS, WITHOUT CHARGE, WHICH
ARE DEFECTIVE IN MATERIAL OR WORKMANSHIP. ANY PARTS AS DETERMINED BY THE
SELLER WHICH HAVE BEEN MISUSED; ABUSED OR DAMAGED EITHER DIRECTLY OR INDIRECTLY
FROM REPAIRS OR ALTERATIONS ATTEMPTED BY UNAUTHORIZED PERSONS; IMPROPER
MAINTENANCE, NEGLECT OR ACCIDENT ARE NOT COVERED BY THIS LIMITED WARRANTY. This
warranty does not apply to damage, heat-induced coloration changes, scratching or alteration due to
normal use or weathering. To make a claim under this Limited Warranty, you must return the complete
product with proof of purchase, transportation prepaid, to any World Factory, Inc.®authorized service
center. Call 1-888-424-3354 for the location of the nearest authorized service center.
Additional Limitations
THIS LIMITED WARRANTY DOES NOT APPLY TO ACCESSORY OR CONSUMABLE ITEMS RELATED
TO THIS PRODUCT. ALL IMPLIED WARRANTIES SHALL BE LIMITED IN DURATION TO ONE (1)
YEAR FROM DATE OF PURCHASE. IN NO EVENT SHALL SELLER BE LIABLE FOR ANY
INCIDENTAL OR CONSEQUENTIAL DAMAGES, INCLUDING BUT NOT LIMITED TO LIABILITY FOR
LOSS OF PROFITS, ARISING FROM THE SALE OR USE OF THIS PRODUCT.
If any provision of this Limited Warranty is for any reason held to be invalid or unenforceable, such
provision shall not affect any other provision herein, this Limited Warranty shall be construed as if
such invalid and/or unenforceable provision had never been contained herein.
This Warranty contains the entire agreement between Seller and Buyer and supersedes any and all
prior agreements, arrangements, or understandings between the parties relating to product warranty.
®
Made in China
©2006 World Factory, Inc.
Distributed by:
World Factory, Inc.
Coppell, TX 75019
Read the instructions and precautions before use of this product
Please keep this instruction manual for future reference
IF YOU HAVE ANY PROBLEMS OR QUESTIONS CONCERNING THIS PRODUCT,
DO NOT RETURN IT TO YOUR RETAILER, CONTACT CONSUMER SUPPORT AT
1-888-424-3354
OR
IF YOU ARE A STORE MANAGER OR EMPLOYEE IN NEED OF ASSISTANCE CALL
1-888-851-5569
PLEASE HAVE YOUR STORE NUMBER READY
IF YOU HAVE ANY PROBLEMS OR QUESTIONS CONCERNING THIS PRODUCT,
DO NOT RETURN IT TO YOUR RETAILER, CONTACT CUSTOMER SERVICE AT
1-888-424-3354
PARTS LIST
PART # DESCRIPTION QUANTITY
Carefully remove the contents from the package. If any parts are missing do not
attempt to use the product until they have been obtained and correctly installed.
A Seat Front 1
B Seat Back 1
C Back Rest 1
D Lounge Arm (right) 1
E Lounge Arm (left) 1
F Short Bolt 8
G Long Bolt 2
H Hex Nut 2
J Metal Washer 12
K Plastic Washer 2
L Plastic Bolt Cap 10
M Plastic Nut Cap 2
N Hex Key 1
P Lounge Chair Cushion 1
Figure 1
Attach Seat Front and Back
1.(SEE FIGURE 1) Select a location with
 a smooth non-scratching surface.
2.Insert seat back (B) into seat front (A).
Parts Detail
ABC
DE
F
G
H
J
K
L
M
N
1
ASSEMBLY INSTRUCTIONS
NOTE: This product is intended for residential, non-commercial use.
P
B
A
IF YOU HAVE ANY PROBLEMS OR QUESTIONS CONCERNING THIS PRODUCT,
DO NOT RETURN IT TO YOUR RETAILER, CONTACT CUSTOMER SERVICE AT
1-888-424-3354
 CAUTION: Do not over tighten the
 mounting hardware.
Attach Right Lounge Arm
1.(SEE FIGURE 2) Place seat front and
 back combination (A, B) on top of right
 lounge arm (D).
2.Align seat mounting tabs with lounge
 arm mounting holes.
3.(SEE FIGURE 3) Attach front of seat to
 lounge arm using two short bolts (F)
 and two metal washers (J). See Detail A.
4.Attach back of seat to lounge arm
 using two short bolts (F) and two metal
 washers (J). See Detail B.
Attach Left Lounge Arm
1.(SEE FIGURE 2) Place left lounge arm (E) on top of seat front and back combination (A, B).
2.Align seat mounting tabs with lounge arm mounting holes.
3.(SEE FIGURE 3) Attach front of seat to lounge arm using two short bolts (F) and
 two metal washers (J).
4.Attach back of seat to lounge arm using two short bolts (F) and two metal washers (J).
Install Plastic Bolt Caps
1.(SEE FIGURE 3) Place one plastic bolt cap (L) on ends of each short bolt (F).
D
Figure 2
A/B
Seat Mounting
Tabs
Lounge Arm
Mounting Holes
Figure 3
F
J
L
L
F
J
Lounge Arm
Mounting Holes
Seat Mounting
Tabs
Detail C
Backrest to Seat
G
H
J
K
L
M
N
Attach Backrest to Seat
1.(SEE FIGURE 4) Place lounge in the upright position .
2.Attach backrest (C) to seat front and back combination (A, B).
3 Place one metal washer (J) onto long bolt (G). Slide bolt through mounting hole
 on seat back combination. See Detail C.
4.Place one plastic washer (K) onto bolt (G), then slide bolt through mounting hole of backrest (C).
5.Place one metal washer (J) onto bolt and secure to backrest using hex nut (H).
6.Tighten hex nut (H) using hex wrench (N).
Note: Tighten Nut (H) snug, then loosen 1/4 turn or more to allow free movement of Backrest (C).
7.Install plastic nut cap (M) onto hex nut (H).
Attach Lounge Chair Cushion
1.(SEE FIGURE 4) Attach lounge chair cushion (P) to lounge using the attached velcro straps.
Figure 4
C
Seat Back
Combination
Backrest
J
D
F
J
L
Detail A,
Front of Seat
L
F
J
L
F
J
Detail B,
Back of Seat
F
J
L
L
F
J
2 places
E
E
D
23
GJ
LK J HM
P
A/B