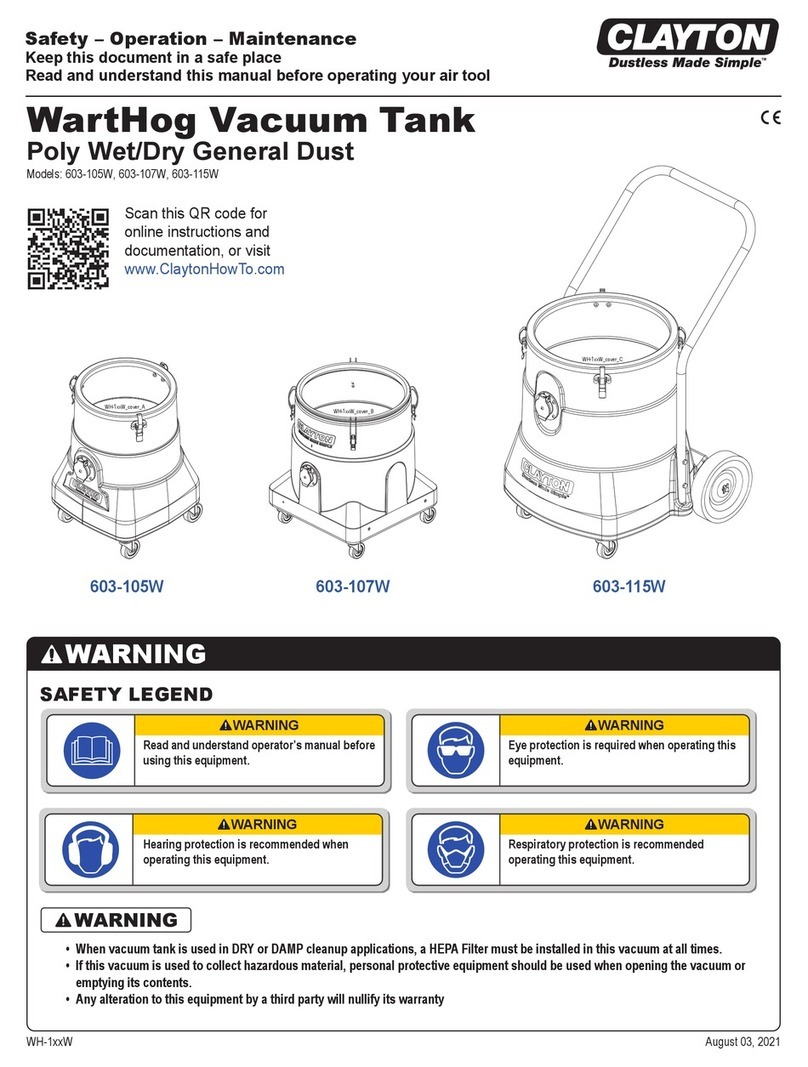
Astro Pneumatic Tool PT2-4 User manual

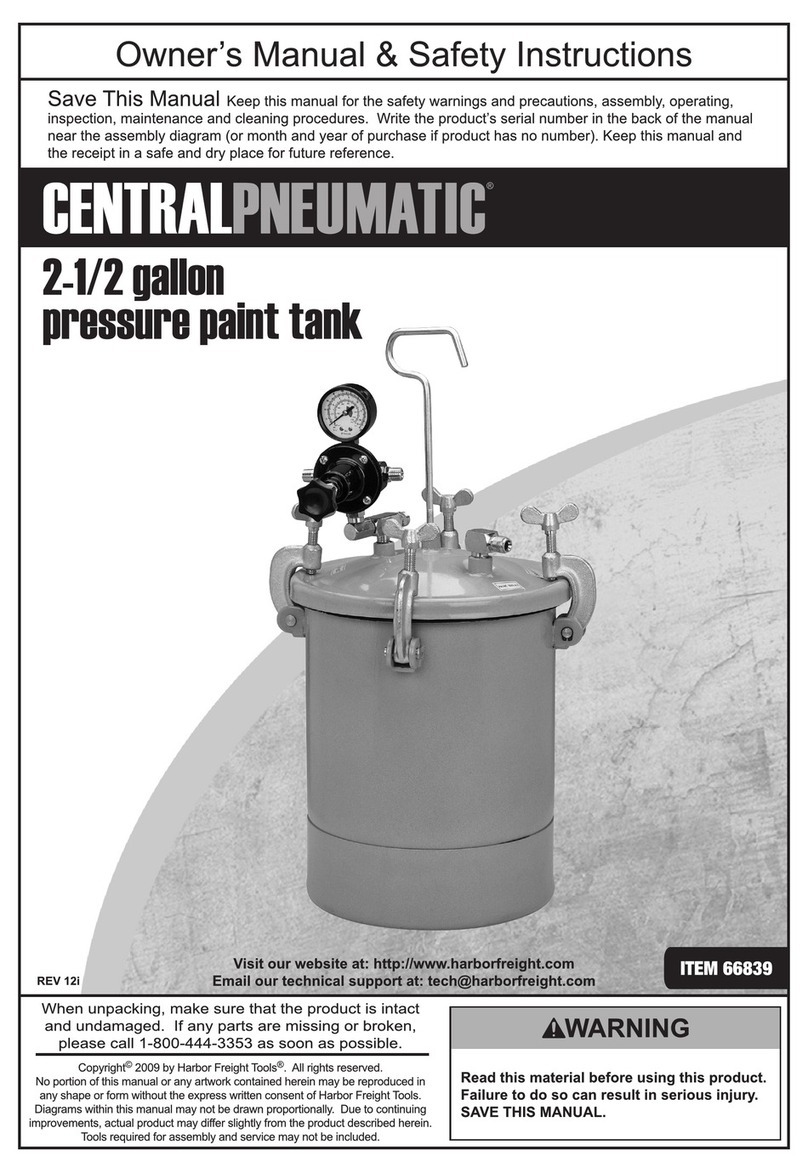
2-1/4 GALLON PRESSURE TANK
2-1/4 Gallon pressure tank provides pressurized material up to
a maximum of 80PSI. This tank is equipped with an air regulator,
gauge, safety valve, and fluid outlet. It is constructed of only the
finest materials for durability. The 2-1/4 gallon capacity enables
you to handle most any job with professional results. The versatile
tank can also spray materials other than paint. Do not use this
tool outside of the designed intent. Never modify the tool for any
other purpose or use.
• Astro Pneumatic Tool Co. warrants our products to the original user against defective
material or workmanship for a period of 1 year (except where noted on our price
schedule) from the date of 1st use. Astro reserves the right to determine whether the
product failed because of defective material, workmanship or other causes and to charge
back for missing parts. Astro Pneumatic Tool Co., at its discretion, will repair products
covered under this warranty free of charge. The distributor should direct the original user
to return the product (with the exceptions listed below) with the distributor’s name,
address, adequate proof of date of purchase or a copy of warranty card, and a short note
explaining the problem. Failures caused by accident, alteration, or misuse are not
covered by this warranty.
• If one part of this product fails, please do not return the entire product. Astro will
replace free of charge component parts of this product that fail within 1 year of first
use by the original user. Items included in this category include but are not limited
to kits, hand tool kits and any other product where there are multiple items or
components that make up the unit. Please contact the phone number below in
order to obtain the replacement components covered under warranty.
• Astro Pneumatic Tool Co. or its authorized service representatives must perform all
warranty repairs. Any repair to the product by unauthorized service representatives
voids this warranty. The rights under this warranty are limited to the original user and may
not be transferred to subsequent owners.
• This warranty is in lieu of all other warranties, expressed or implied, including warranties
of merchantability and fitness for a particular purpose. Some states do not allow the
exclusion of limitations of incidental or consequential damages so the
above limitations may not apply to you.
PT2-4
PT2-4GH
MODEL: PRODUCT TYPE:
Page 1
WARNING
www.astrotools.com
PLEASE DO NOT RETURN ANY PRODUCT WITHOUT CALLING
1-800-221-9705 FOR INSTRUCTIONS
PRODUCT INFORMATION:
SPECIFICATIONS:
WARNING
MADE IN TAIWAN
Study, understand and follow all instructions provided with this
product. Read these instructions carefully before installing,
operating, servicing or repairing this tool. Keep these instructions
in a safe accessible place.
INTENDED USE OF THE TOOL
1 YEAR LIMITED WARRANTY
Before Use
When unpacking, check the parts diagram and part number
listing on page 4 to make sure all parts are included. If any
parts are missing or damaged, please call your distributor.
• Use of this product can expose you to chemicals including
ethylene glycol, gasoline vapors and engine exhaust, which
are known to the State of California to cause cancer, birth
defects, or reproductive harm. For more information, visit
www.P65Warnings.ca.gov. Always wear ANSI approved
safety equipment, safety glasses and clothing when using
this product. Study, understand, and follow all instructions
provided with this product. Failure to read and follow all
warnings and operating instructions may result in damages
and serious injury or death.
• Always wear ANSI approved goggles when using this
product. (Users and By standers).
• Never use this tool for any application other than for which
it was designed.
• Only use accessories designed for this tool.
• Never alter or modify this tool in any way.
• Improper operation and/or maintenance of the tool,
modification of the tool, or use of the tool with accessories
not designed for it could result in serious injury or death.
• Always select the correct accessories of the correct size
and design for the job that you are attempting to perform.
• Always work in a clean, safe, well-lit, organized and
adequately equipped area.
• Do not begin repairs without assurance that vehicle is in
secure position, and will not move during repair.
DO NOT DISCARD – GIVE TO USER
• Sturdy construction and compact design makes this
2-1/4 gallon (8517cc) pressure tank the ideal choice
for both amateur and professional
• Excellent for spraying large areas such as
buses, trucks or vans
• Accessory: #MBL3812 - Hose Assembly
• Pressure spray gun equipped with pressure gauge and
fluid pressure regulator for accurate settings (for #PT2-4GH)
• 12 ft. twin set of hose permits easy movement
and operation of spray gun (for #PT2-4GH)
Nozzle Size: 1.0mm
Operation Pressure: 60psi
Net Weight: 18-1/4lbs. (8.28kg)
Dimensions W x D: 10" x 9-3/4"
Required Compressor: 3hp
Avg. Air Consumption: 11.3cfm
Air Inlet Thread NPT: 1/4"
PT2-4
2-1/4 Gallon Pressure Tank
PT2-4GH
2-1/4 Gallon Pressure Tank Assembly
with Spray Gun and 12' Hose
2-1/4 GALLON PRESSURE TANK
PT2-4
PT2-4GH
WARNING
MODEL: PRODUCT TYPE:
Page 2
INSTALLATION:
The pressure tank is not designed for highly abrasive, corrosive, or rust inducing materials. If used with such materials, frequent and
thorough cleaning is advised to reduce the necessity for replacement of parts.
AIR PRESSURE LOADS THAT ARE HIGHER THAN DESIGN LOADS, OR ALTERATIONS TO THE
PRESSURE FEED TANK CAN RESULT IN TANK REPTURE OR EXPLOSION.
• A SAFELTY VALVE PROTECTS THE TANK FOR OVER PRESSURIZATION. DURING EACH USE, PULL THE RING ON THE
SAFETY VALVE TO CHECK IF IT OPERTES FREELY AND RELIEVES AIR PRESSURE. IF THE VALVE IS STUCK, DOES NOT
OPERATE FREELY, OR DOES NOT RELIEVE AIR PRESSURE, IT MUST BE REPLACED. DO NOT DISCARD OR MAKE ANY
ALTERATIONS OR SUBSTITUTIONS TO THIS VALVE.
• DO NOT MAKE ANY CHANGES TO THE AIR TANK. TAMPERING IN THE FORM OF DEILLING, WELDING, ETC…WILL
WEAKEN THE TANK.
• THE MAXIMUM OPERATING PRESSURE OF THE TANK IS 80 PSI.
Follow the manufacturer’s directions for the mixing and preparation of material. Strain material using a fine mesh screen in order to
prevent the entry of foreign matter and the clogging of passageways.
1. Always relieve all air pressure in the tank. Pull the ring on safety valve until pressure bleeds down.
2. Loosen thumb screws, tip lid clamps back and remove lid assembly.
3. Pour material into the tank.
4. Replace the lid assembly and tighten clamps and thumb screws securely.
5. It is best for the air supply line to pass through a transformer to filter dirt form air and remove entrained water and oil. Connect the
air supply hose to the air inlet fitting on tank regulator.
6. Attach the atomization air hose to the air outlet fitting which is directly opposite air inlet fitting.
7. Connect material hose to the fluid outlet fitting.
8. Refer to figure below for a typical assembly.
1. Turn on the air supply.
2. Turn Tee-Handle adjusting screw clockwise on the tank regulation to increase material l pressure; turn it counterclockwise
to decrease pressure. Maximum tank pressure is 80 PSI.
3. Atomization air for the spray gun can be adjusted at the gun by means of an air adjusting value or adding an air regulator
kit to the tank. See accessories.
4. Operate Spray Gun according to instructions accompanying gun.
OPERATION:

2-1/4 GALLON PRESSURE TANK
PT2-4
PT2-4GH
TROUBLE SHOOTING CHART:
MAINTAINANCE: CLEANING EQUIPMENT:
ACCESSORY ITEMS:
MODEL: PRODUCT TYPE:
Page 3
1. Turn off the main air supply to the tank.
2. Relieve all pressure from the tank by pulling the ring on safety valve until the pressure bleeds down.
3. Turn T-handle adjusting screw on tank regulator counterclockwise until no spring tension ids felt.
4. Loose thumb screws, tip clamps back and tip tank lid to one side.
5. Loose spray gun air cap retaining ring about three turns.
6. Turn on the air supply.
7. Cup cloth over air cap on the gun and pull trigger. This will force material back through the hose, into the tank.
8. Empty and clean tank and parts which come in contact with material. Use a suitable solvent.
9. Pour solvent into the tank.
10. Replace lid and tighten thumb screws and clamps.
11. Spray until clean solvent appears.
12. Repeats steps 4-7
Note: Keep the safety valve clean at all times.
Problem Cause Remedy
Air escaping from port on
regulator cap.
Broken or damaged
diaphragm.
Replace diaphragm.
Pressure creep age
registered on gauge
Dirty or worn valve seat in
regulator.
Clean or replace valve seat.
Material tends to settle out
rapidly.
Not enough agitation of
material.
Increase agitation.
Fluid or air leak at lid gasket Defective lid gasket
or
Thumb screw not tight
Replace
or
Tighten
Note: Check gauge occasionally. The position of the needle should return to zero with no pressure on the gauge.
Air Regulator Kit
For use when independent and accurate pressure control of both air and fluid is necessary. Used with portable air
compressors or with ant lines when no other means (air transformers or regulator) of air pressure regulator is available.
Air Adjusting Value
Lets operator control and reduce air usage at the gun. Ideal for low pressure spraying.
Lid Gasket-Rubber
For use when materials being sprayed are not compatible with thiokol gasket.
Intake Strainer
Connects to fluid inlet tube, prevents lumps and foreign matter from entering fluid lines.

8
12
4
1
5
17
10
11
2
13
14
15
16
3
419
18
4
24
29
22 23 25 26 27
28 32
37
30
31
33
34
35
36
40
38
39
20
2-1/4 GALLON PRESSURE TANK ASSEMBLY
WITH SPRAY GUN AND 12' HOSE
Parts List
PT2-4GH
Call 1.800.221.9705 for questions concerning performance of the product
or other inquiries.
372 Old US Highway 52 South
Mount Airy, NC 27030
Page 4
MODEL: PRODUCT TYPE:
PARTS BREAKDOWN
905
PT2-4
2-1/4 Gallon Pressure Tank
PT2.4-A01
PT2.4-A02
PT2.4-A03
PT2.4-A04
PT2.4-A05
PT2.4-A08
PT2.4-A10
PT2.4-A11
PT2.4-A12
PT2.4-A13
PT2.4-A14
PT2.4-A15
PT2.4-A16
PT2.4-A17
PT2.4-A18
PT2.4-A19
MBL3812
PT2.4G
PT2.4G-01
Tank Shell Assembly (2301)
Lid Gasket (2302)
Lid Assembly (2303)
Adapter (2304)
Gauge (2305)
Swivel Adapter (2308)
Handle (2310)
Hex Nut (2311)
Street Elbow (2312)
Thumb Screw (2313)
Yoke Assembly (2314)
Cotter Pin (2315)
Hinge Pin (2316)
Fluid Tube (2317)
Air Regulator and Gauge (2318)
Adjusting Screw (2319)
12' Hose Assembly (MBL3812 )
Gun only
Air Cap
1
1
1
3
1
1
1
1
1
4
4
4
1
1
1
1
1
1
1
1
2
3
4
5
8
10
11
12
13
14
15
16
17
18
19
20
21
22
Index
No.
Fluid Nozzle
Head
Screw
Gun Body
Spreader Adjusting Valve Set
Packing
Needle Valve Packing Seat
Valve Stem
Gasket
Needle Valve Guide
Fluid Needle Assembly
Fluid Adjusting Screw
Air Valve Assembly
Trigger Stud
Trigger Stopper
Trigger
Nut
Air Connection
1
1
1
1
1
1
1
1
1
1
1
1
1
1
1
1
1
1
23
24
25
26
27
28
29
30
31
32
33
34
35
36
37
38
39
40
Index
No.
PT2.4G-02
PT2.4G-03
PT2.4G-04
PT2.4G-05
PT2.4G-06
PT2.4G-07
PT2.4G-08
PT2.4G-09
PT2.4G-10
PT2.4G-11
PT2.4G-12
PT2.4G-13
PT2.4G-14
PT2.4G-15
PT2.4G-16
PT2.4G-17
PT2.4G-18
PT2.4G-19
This manual suits for next models
1
Popular Tank Equipment manuals by other brands

RKI Instruments
RKI Instruments RI-215A Operator's manual

JohnDow Industries
JohnDow Industries JDI-AGT40 user manual

Carlisle
Carlisle BINKS 183S2-1514 Service manual

Medora
Medora SolarBee SB1250PWc owner's manual

Pentair
Pentair AURORA 1060DP Series INSTRUCTION, INSTALLATION, MAINTENANCE AND REPAIR MANUAL