OWNERS MANUAL - INSTALLATION INSTRUCTIONS
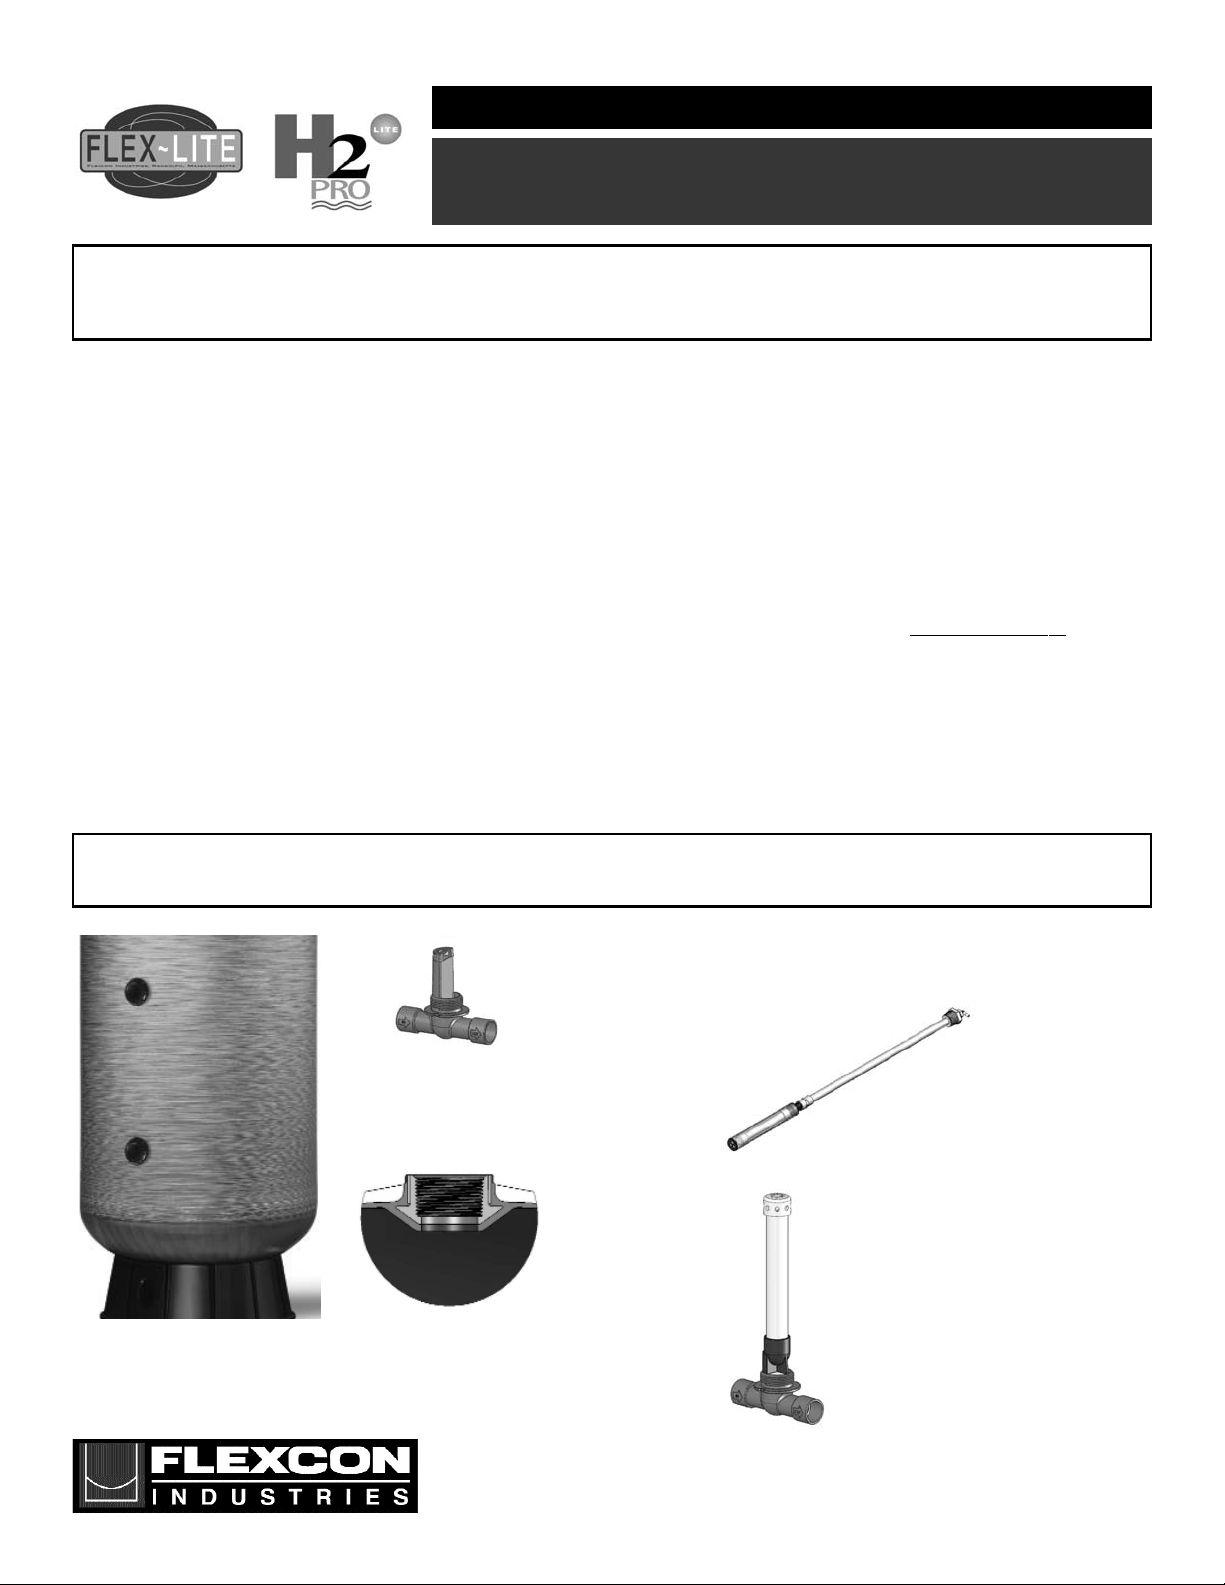
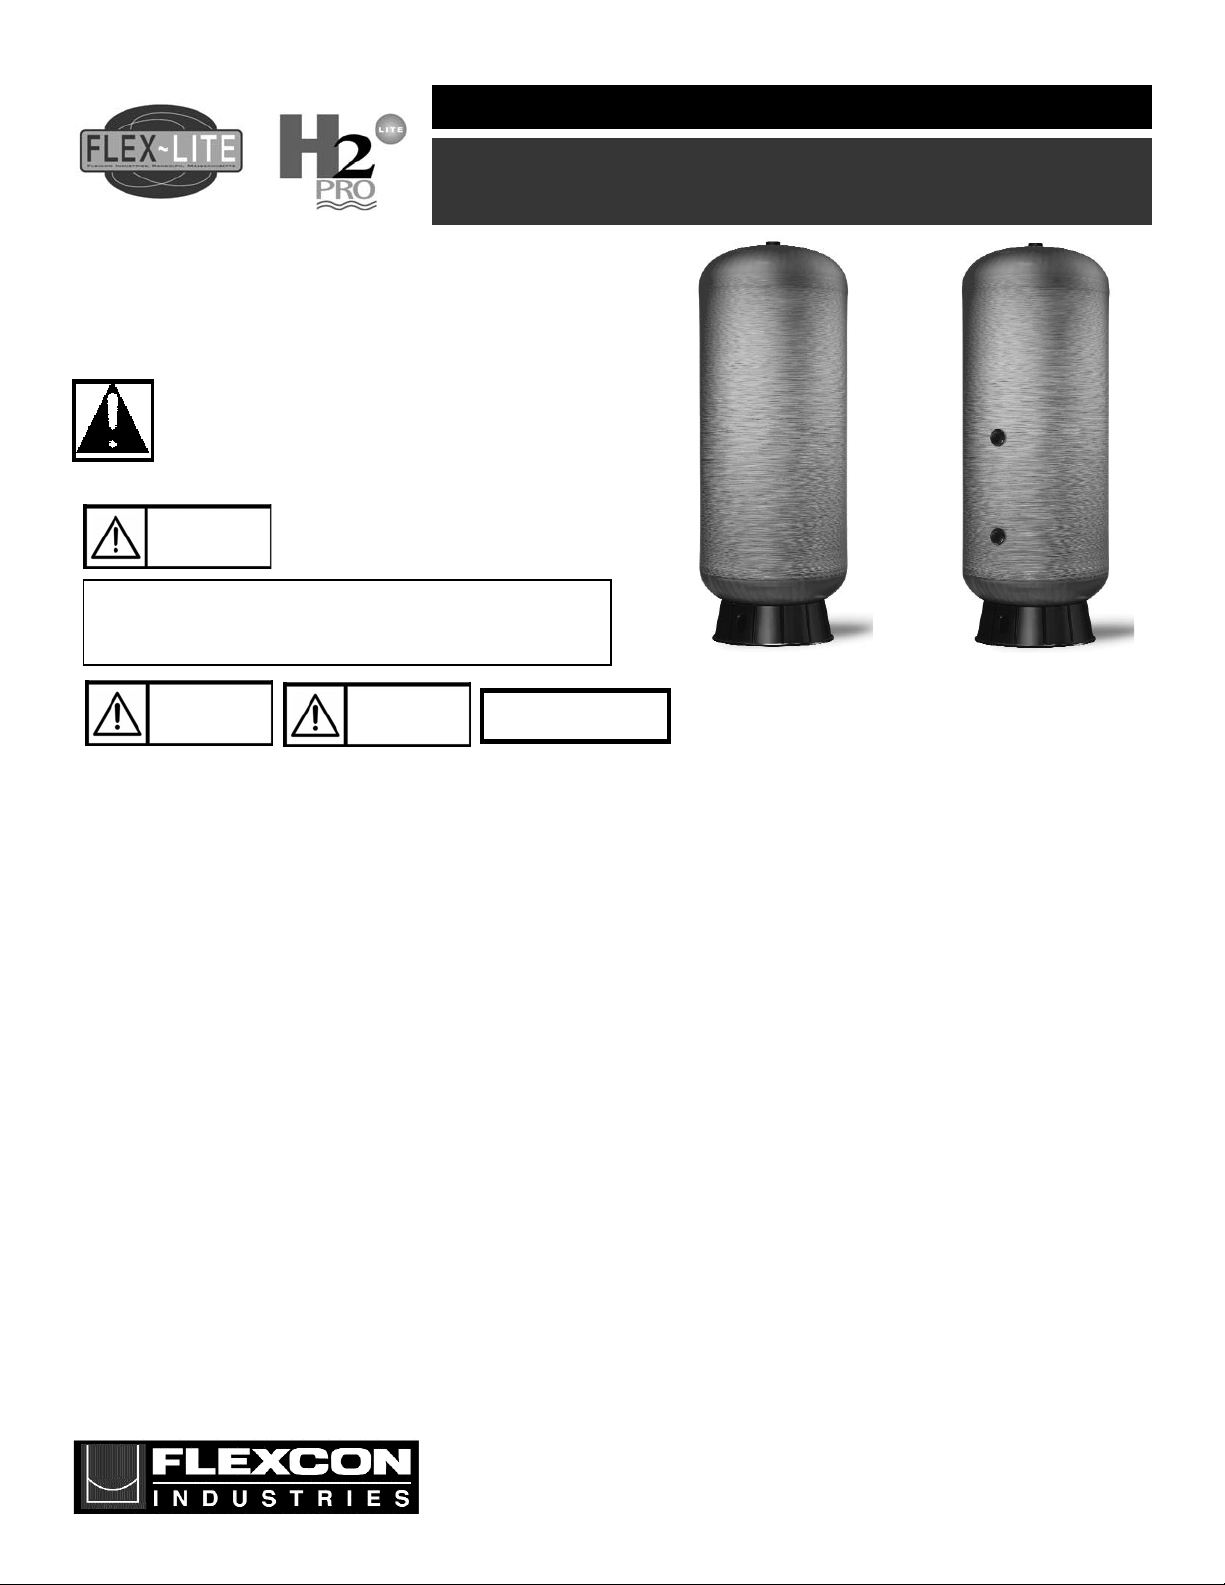
COMPOSITE STORAGE/UTILITY TANK
FLU/H2PLU & FLSD/H2PLSD SERIES
300 Pond St. 781.986.2424
Randolph, MA 02368 Fax 781.986.2029
www.flexconind.com
Congratulations on your purchase of a Flexcon composite
storage/utility tank. Please read and understand these instructions
completely before attempting installation or service of the product.
Retain this manual for future reference. Please pay particular attention
to safety warnings on the product and throughout this manual.
WARNING
THIS IS A SAFETY ALERT SYMBOL. IT IS USED TO
ALERT YOU TO POTENTIAL PERSONAL INJURY
AND PROPERTY DAMAGE. REVIEW ALL GENERAL
SAFETY AND PRODUCT INFORMATION PRIOR TO
INSTALLATION.
Flexcon storage/utility tanks are not designed to withstand
vacuum. You must install a properly sized vacuum breaker
valve if the possibility of vacuum exists in the system.
WARNING This product must be installed and serviced by a qualified professional.
WARNING This tank must be installed according to all local and national plumbing, well and electrical codes. Failure to do so will void the warranty and may
be unsafe.
WARNING All tanks fail over time. This tank and the associated piping may over time corrode, deteriorate and leak. The installation must provide adequate
means of drainage and be in a location where leaking or flooding will not cause property damage. The manufacturer of this product does not
accept liability for property damage that results from improper use, installation or operation of the tank or from failure to provide
adequate drainage.
WARNING This tank has been designed for water storage at the maximum pressure and temperature listed on the tank data label.
Any installations that do or have the ability to exceed the listed ratings are UNSAFE and can cause serious bodily injury or death, flooding and
property damage. The manufacturer of this product does not accept liability for personal injury or death that results from improper use,
installation, or operation of this tank.
WARNING This tank must have an adequate means of pressure relief. A relief valve must be installed to prevent the pressure from exceeding the maximum
working pressure listed on the tank data label. Please refer to local or national code requirements.
WARNING This product should be inspected annually by a qualified professional. If it shows any signs of leakage, corrosion or fatigue it should be replaced
immediately.
WARNING Do not install this product in a location where it is subject to freezing temperatures. Any tank subjected to freezing temperatures must be replaced.
WARNING Protect this tank from exposure to a vacuum. If the possibility of a vacuum exists in the system, and adequately sized vacuum relief valve must be
installed. Failure to do so will void the warranty.
DANGER Disconnect electrical power to the system before attempting to install, inspect or service this product. Failure to do so may result in serious bodily
injury or death.
DANGER All of the manufacturer’s products operate under pressure. Overpressurization can result in serious personal injury or death as well as serious
damge to the tank and it’s surroundings. Take neccessary precautions to protect the tank, the environment it is in and those living and working
around it.
CAUTION Stagnant water promotes the growth of bacteria. Potable water tanks must be drained if they are going to be left unsused for extended periods of
time.
DANGER! WARNING!
CAUTION!
WARNING!
FLU/H2PLU FLSD/H2PLSD
620.0402A (Rev. 07/07)