manuals.online logo
Brands
  1. Home
  2. •
  3. Brands
  4. •
  5. Astro Pneumatic Tool
  6. •
  7. Tools
  8. •
  9. Astro Pneumatic Tool 78830 User manual

Astro Pneumatic Tool 78830 User manual

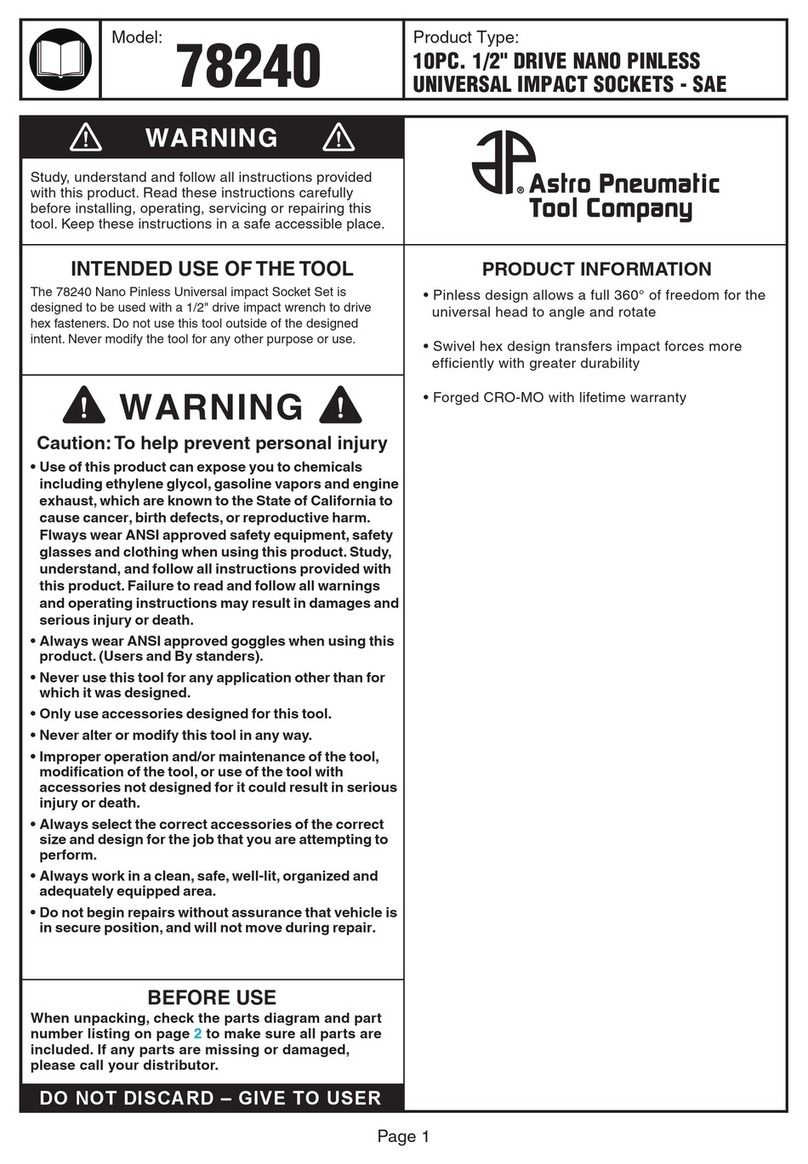
Product Type:Model: 78830 HEAVY DUTY HUB DRUM AND
ROTOR PULLER KIT
Page 1
Study, understand and follow all instructions provided
with this product. Read these instructions carefully
before installing, operating, servicing or repairing this
tool. Keep these instructions in a safe accessible place.
INTENDED USE OF THE TOOL
The 78830 is designed to pull wheel hubs on most FWD,
AWD and some independent suspension RWD vehicles,
and pull drums on vehicles with drum brakes and rotors
on vehicles with disc brakes. Do not use this tool outside
of the designed intent. Never modify the tool for any
other purpose or use.
Caution: To help prevent personal injury
• Use of this product can expose you to chemicals including
ethylene glycol, gasoline vapors and engine exhaust,
which are known to the State of California to cause cancer,
birth defects, or reproductive harm. For more information,
visit www.P65Warnings.ca.gov. Always wear ANSI
approved safety equipment, safety glasses and clothing
when using this product. Study, understand, and follow all
instructions provided with this product. Failure to read and
follow all warnings and operating instructions may result
in damages and serious injury or death.
• Always wear ANSI approved goggles when using
this product. (Users and By standers).
• Never use this tool for any application other than
for which it was designed.
• Only use accessories designed for this tool.
• Never alter or modify this tool in any way.
• Improper operation and/or maintenance of the tool,
modification of the tool, or use of the tool with
accessories not designed for it could result in
serious injury or death.
• Always select the correct accessories of the correct
size and design for the job that you are attempting
to perform.
• Always work in a clean, safe, well-lit, organized and
adequately equipped area.
• Do not begin repairs without assurance that vehicle
is in secure position, and will not move during
repair.
WARNING
WARNING
www.astrotools.com
1 YEAR LIMITED WARRANTY
PRODUCT INFORMATION
BEFORE USE
DO NOT DISCARD – GIVE TO USER
PLEASE DO NOT RETURN ANY PRODUCT WITHOUT CALLING
1-800-221-9705 FOR INSTRUCTIONS
When unpacking, check the parts diagram and part
number listing on page 4 to make sure all parts are
included. If any parts are missing or damaged,
please call your distributor.
• Astro Pneumatic Tool Co. warrants our products to the original user
against defective material or workmanship for a period of 1 year
(except where noted on our price schedule) from the date of 1st use.
Astro reserves the right to determine whether the product failed
because of defective material, workmanship or other causes and to
charge back for missing parts. Astro Pneumatic Tool Co., at its
discretion, will repair products covered under this warranty free of
charge. The distributor should direct the original user to return the
product (with the exceptions listed below) with the distributor’s
name, address, adequate proof of date of purchase or a copy of
warranty card, and a short note explaining the problem. Failures
caused by accident, alteration, or misuse are not covered by
this warranty.
• If one part of this product fails, please do not return the entire
product. Astro will replace free of charge component parts of
this product that fail within 1 year of first use by the original
user. Items included in this category include but are not limited
to kits, hand tool kits and any other product where there are
multiple items or components that make up the unit. Please
contact the phone number below in order to obtain the
replacement components covered under warranty.
• Astro Pneumatic Tool Co. or its authorized service representatives
must perform all warranty repairs. Any repair to the product by
unauthorized service representatives voids this warranty. The rights
under this warranty are limited to the original user and may not be
transferred to subsequent owners.
• This warranty is in lieu of all other warranties, expressed or implied,
including warranties of merchantability and fitness for a particular
purpose. Some states do not allow the exclusion of limitations of
incidental or consequential damages so the above limitations may
not apply to you.
• Use with impact wrench to remove hubs, drums and
brake rotors
• Durable forged design, made from the same alloy as
Astro's famous ball joint press
• Use with 1-1/4" socket and 1-1/4" or 32mm wrench
• Includes:
Long 7/8" thread 1-1/4" drive
Grade 8 Drive Bolt
Forged T-Bar
Forged Hub Puller Arms
Forged Drum/Rotor Puller Arms
Long and short hex nuts
Small, Medium and Large Hub Adapters
Hardened Washers
GREASE DRIVE BOLT AND WASHERS BEFORE USE
Product Type:Model: 78830 HEAVY DUTY HUB DRUM AND
ROTOR PULLER KIT
Page 2
OPERATION FOR HUB REMOVAL
TOOL SET-UP FOR HUB PULLING
When A Caliper Bridge Brace Bar (Avail. Sep.) Is Necessary
Appropriate
Hub Puller Adapter
78830-04
78830-03
78830-11
78830-11
78830-04
Appropriate
Adapter
Brace Bar Installation
Front Hub Removal Rear View
Front Hub Removal Front View
78830-01
78830-01
Notes: In rare cases (e.g. some Honda)
where there is not adequate solid and
flat area surrounding the hub to brace
the hub puller arms against,
the 78830CBA Caliper Bridge Brace
Bar Assembly (available separately)
is an option on these applications.
Use the 78830CB to span the caliper
brackets (5.0" and 5.5" hole distance)
creating a flat surface to brace against
when pulling the hub.
Caliper Bridge
Brace Bar
Caliper Bridge
Brace Bar
1.25" wrench
Product Type:Model: 78830 HEAVY DUTY HUB DRUM AND
ROTOR PULLER KIT
Page 3
OPERATION FOR DRUM AND ROTOR REMOVAL
Figure 2
1. Refer to the vehicle service manual for instructions
on using an appropriate lifting device to hoist the
vehicle off the ground. Lift the vehicle just far enough
to remove the wheel and tire.
2. After removing the wheel, completely thread two lug
nuts back onto two opposing wheel studs. Back off
the lug nuts three or four turns to allow the drum to
be pulled away from, but not fall off, the wheel hub.
See Figure 1.
3. Set the Drum/Rotor Puller Arms an equal distance
apart from the center on each side of the brake drum
or rotor.
4. Grease the two washers and short hex nut. On
the inside of the T-Bar, slide on the two washers then
thread the short hex nut up the drive bolt.
See Figure 1.
5. With the forcing screw at the center of the wheel hub and aligning the male notch in the drive bolt with the
female notch in the axle, position the puller jaws in the groove between the brake drum and the backing plate, or
securely on the back side of the rotor for disc brakes. Adjust the jaws on the crossbar as needed to fit. Lightly
secure the Set Knobs so that the arms do not move unintentionally during use.
6. Verify the jaws have good contact with the drum or rotor, and hand-tighten the forcing screw to the wheel hub/axle.
7. For stubborn applications or where the pulling jaws do not engage your drum or rotor securely enough, you may
use your own ratchet strap to provide extra clamping. Position your strap around the arms on the outer edge
near or just before the retaining lip of the arms. Tighten the ratchet strap securely. See Figure 2.
8. Using a 1.25" or 32mm wrench, retain and brace the short hex nut to prevent its movement. With a 1.25" socket,
impact the drive bolt. With the short hex nut retained, this should push the drive bolt against the hub/axle and
pull the arms and drum or rotor.
9. Remove your strap (if used) and the puller from the brake drum/rotor. Remove the lug nuts and remove the brake
drum/rotor.
Figure 1
Hold hex nut
with 1.25" or 32mm wrench
while impacting the drive bolt
to engage pulling
Verify the puller jaw
has good contact with
the brake drum.
For extra bracing when pulling, the Drum/Rotor
Puller Arms are designed with a lip to work with and
retain your own ratchet strap. Use when necessary.
TOOL SET-UP FOR DRUM/ROTOR PULLING
78830-01
1.25" (or 32mm)
wrench
78830-11
78830-10
78830-02
78830-09
78830-08
PARTS BREAKDOWN
Parts List
812
Qty
1
2
3
4
5
6
78830-01
78830-02
78830-03
78830-04
78830-05
78830-06
Long Grade 8 Drive Bolt
Forged T-Bar
Forged Hub Pulling Arm
1.25" Hex Nut - Long
Small Hub Adapter
Medium Hub Adapter
Index Part No. Description
1
1
2
1
1
1
Qty
7
8
9
10
11
78830-07
78830-08
78830-09
78830-10
78830-11
Large Hub Adapter
Forged Drum/
Rotor Pulling Arm
Set Knob
1.25" Hex Nut - Short
Hardened Washer
Index Part No. Description
1
2
2
1
2
Call 1.800.221.9705 for questions concerning performance of the product
or other inquiries.
1
10
11
2
9
8
3
45 6 7
Product Type:Model: 78830 HEAVY DUTY HUB DRUM AND
ROTOR PULLER KIT
Page 4
#78830CBA
Caliper Bridge Brace Bar Assembly
Available Separately

Other Astro Pneumatic Tool Tools manuals

Astro Pneumatic Tool 9589 User manual

Astro Pneumatic Tool

Astro Pneumatic Tool 9589 User manual

Astro Pneumatic Tool 94222 User manual

Astro Pneumatic Tool

Astro Pneumatic Tool 94222 User manual

Astro Pneumatic Tool 45080 User manual

Astro Pneumatic Tool

Astro Pneumatic Tool 45080 User manual

Astro Pneumatic Tool 78834 User manual

Astro Pneumatic Tool

Astro Pneumatic Tool 78834 User manual

Astro Pneumatic Tool 78240 User manual

Astro Pneumatic Tool

Astro Pneumatic Tool 78240 User manual

Astro Pneumatic Tool DS2000 User manual

Astro Pneumatic Tool

Astro Pneumatic Tool DS2000 User manual

Astro Pneumatic Tool 78344 User manual

Astro Pneumatic Tool

Astro Pneumatic Tool 78344 User manual

Astro Pneumatic Tool 78244 User manual

Astro Pneumatic Tool

Astro Pneumatic Tool 78244 User manual

Astro Pneumatic Tool 4538 User manual

Astro Pneumatic Tool

Astro Pneumatic Tool 4538 User manual

Astro Pneumatic Tool 498K User manual

Astro Pneumatic Tool

Astro Pneumatic Tool 498K User manual

Astro Pneumatic Tool DS1000 User manual

Astro Pneumatic Tool

Astro Pneumatic Tool DS1000 User manual

Astro Pneumatic Tool 78866 User manual

Astro Pneumatic Tool

Astro Pneumatic Tool 78866 User manual

Popular Tools manuals by other brands

Ecomax ELG08 instruction manual

Ecomax

Ecomax ELG08 instruction manual

AIRBLAST PIPECOATER-III /125 owner's manual

AIRBLAST

AIRBLAST PIPECOATER-III /125 owner's manual

Jet JOIDR68GD Operation manual

Jet

Jet JOIDR68GD Operation manual

NEO TOOLS 35-035 user manual

NEO TOOLS

NEO TOOLS 35-035 user manual

Sealey SA6501 instructions

Sealey

Sealey SA6501 instructions

Geberit ECO 201 operating instructions

Geberit

Geberit ECO 201 operating instructions

Sealey SX299.V2 instructions

Sealey

Sealey SX299.V2 instructions

ERGODYNE SQUIDS 19765 quick start guide

ERGODYNE

ERGODYNE SQUIDS 19765 quick start guide

Gage Bilt GB510L manual

Gage Bilt

Gage Bilt GB510L manual

Clemco HOLLO-BLAST owner's manual

Clemco

Clemco HOLLO-BLAST owner's manual

Sealey VS151 instructions

Sealey

Sealey VS151 instructions

Matco Tools MCL16GG operating instructions

Matco Tools

Matco Tools MCL16GG operating instructions

Klauke uponor UP 110 instruction manual

Klauke

Klauke uponor UP 110 instruction manual

Omer 700.32 NOSAG Use, maintenance and spare parts manual

Omer

Omer 700.32 NOSAG Use, maintenance and spare parts manual

Peachtree Woodworking Supply 3458 instruction manual

Peachtree Woodworking Supply

Peachtree Woodworking Supply 3458 instruction manual

Sunsight Azimuth Scope kit instructions

Sunsight

Sunsight Azimuth Scope kit instructions

Rehau RAUTOOL A-LIGHT2 Operating instructions and technical information

Rehau

Rehau RAUTOOL A-LIGHT2 Operating instructions and technical information

Sealey HP1000 instructions

Sealey

Sealey HP1000 instructions

manuals.online logo
manuals.online logoBrands
  • About & Mission
  • Contact us
  • Privacy Policy
  • Terms and Conditions

Copyright 2025 Manuals.Online. All Rights Reserved.