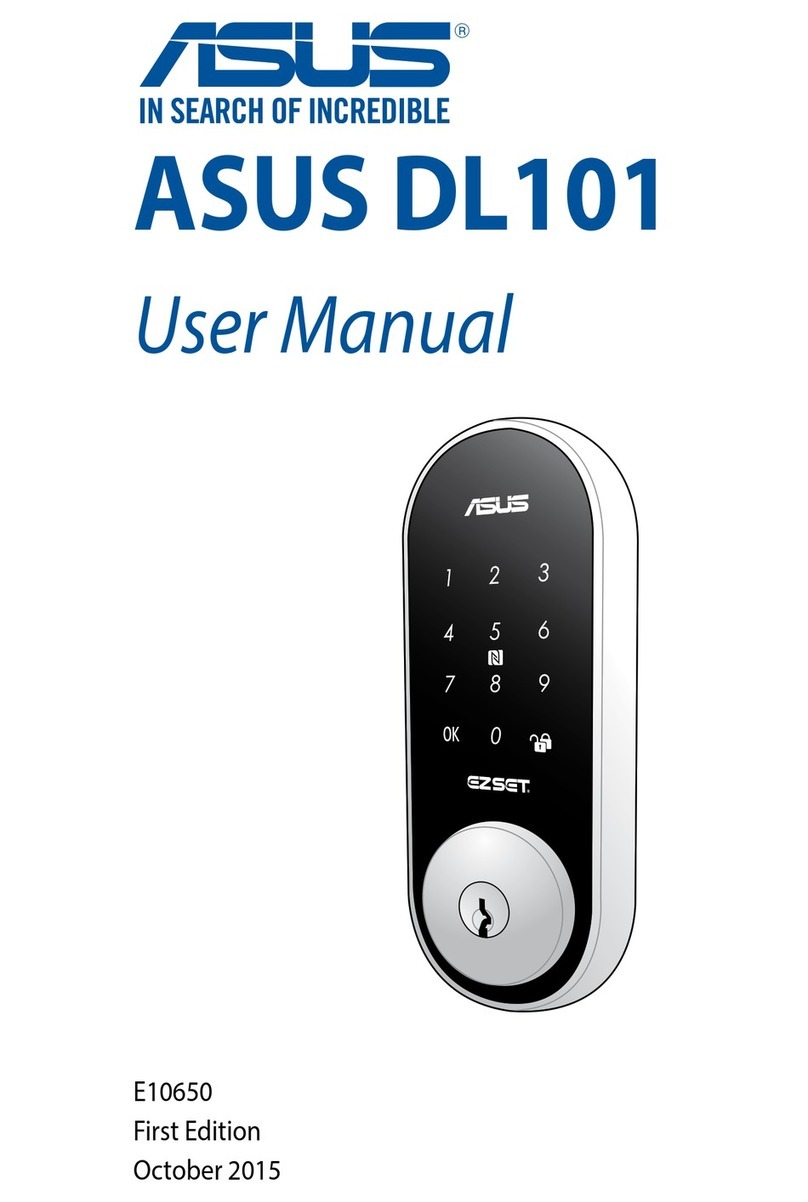
Asus DL101 User manual

E12914
Revised Edition V3
May 2017
ASUS DL101
User Manual
15060-61410100
E12914_DL101_UM_V3.indd 1
5/24/2017 18:00:09

COPYRIGHT INFORMATION
No part of this manual, including the products and software described in it, may be reproduced, transmitted,
transcribed, stored in a retrieval system, or translated into any language in any form or by any means, except
documentation kept by the purchaser for backup purposes, without the express written permission of ASUSTeK
COMPUTER INC. (“ASUS”).
ASUS PROVIDES THIS MANUAL “AS IS”WITHOUT WARRANTY OF ANY KIND, EITHER EXPRESS OR IMPLIED,
INCLUDING BUT NOT LIMITED TO THE IMPLIED WARRANTIES OR CONDITIONS OF MERCHANTABILITY OR FITNESS
FOR A PARTICULAR PURPOSE. IN NO EVENT SHALL ASUS, ITS DIRECTORS, OFFICERS, EMPLOYEES OR AGENTS BE
LIABLE FOR ANY INDIRECT, SPECIAL, INCIDENTAL, OR CONSEQUENTIAL DAMAGES (INCLUDING DAMAGES FOR
LOSS OF PROFITS, LOSS OF BUSINESS, LOSS OF USE OR DATA, INTERRUPTION OF BUSINESS AND THE LIKE), EVEN
IF ASUS HAS BEEN ADVISED OF THE POSSIBILITY OF SUCH DAMAGES ARISING FROM ANY DEFECT OR ERROR IN
THIS MANUAL OR PRODUCT.
Products and corporate names appearing in this manual may or may not be registered trademarks or
copyrights of their respective companies, and are used only for identication or explanation and to the owners’
benet, without intent to infringe.
SPECIFICATIONS AND INFORMATION CONTAINED IN THIS MANUAL ARE FURNISHED FOR INFORMATIONAL USE
ONLY, AND ARE SUBJECT TO CHANGE AT ANY TIME WITHOUT NOTICE, AND SHOULD NOT BE CONSTRUED AS A
COMMITMENT BY ASUS. ASUS ASSUMES NO RESPONSIBILITY OR LIABILITY FOR ANY ERRORS OR INACCURACIES
THAT MAY APPEAR IN THIS MANUAL, INCLUDING THE PRODUCTS AND SOFTWARE DESCRIBED IN IT.
Copyright © 2017 ASUSTeK COMPUTER INC. All Rights Reserved.
LIMITATION OF LIABILITY
Circumstances may arise where because of a default on ASUS’part or other liability, you are entitled to recover
damages from ASUS. In each such instance, regardless of the basis on which you are entitled to claim damages
from ASUS, ASUS is liable for no more than damages for bodily injury (including death) and damage to real
property and tangible personal property; or any other actual and direct damages resulted from omission
or failure of performing legal duties under this Warranty Statement, up to the listed contract price of each
product.
ASUS will only be responsible for or indemnify you for loss, damages or claims based in contract, tort or
infringement under this Warranty Statement.
This limit also applies to ASUS’suppliers and its reseller. It is the maximum for which ASUS, its suppliers, and
your reseller are collectively responsible.
UNDER NO CIRCUMSTANCES IS ASUS LIABLE FOR ANY OF THE FOLLOWING: (1) THIRD-PARTY CLAIMS AGAINST
YOU FOR DAMAGES; (2) LOSS OF, OR DAMAGE TO, YOUR RECORDS OR DATA; OR (3) SPECIAL, INCIDENTAL,
OR INDIRECT DAMAGES OR FOR ANY ECONOMIC CONSEQUENTIAL DAMAGES (INCLUDING LOST PROFITS OR
SAVINGS), EVEN IF ASUS, ITS SUPPLIERS OR YOUR RESELLER IS INFORMED OF THEIR POSSIBILITY.
SERVICE AND SUPPORT
Visit our multi-language web site at https://www.asus.com/support/
2
E12914_DL101_UM_V3.indd 2
5/24/2017 18:00:09

Table of Contents
Package contents ......................................................................................................4
Product overview.......................................................................................................5
Front View.......................................................................................................................... 5
Back View........................................................................................................................... 6
Alarm information.......................................................................................................... 8
Safety notices................................................................................................................... 9
Getting started ...........................................................................................................10
Determining door status.............................................................................................. 10
Preparing your door ...................................................................................................... 11
Installing your ASUS DL101 ........................................................................................ 14
Unlocking the ASUS DL101......................................................................................... 20
Locking the ASUS DL101 ............................................................................................. 23
Programming the ASUS DL101 ................................................................................. 25
Restoring to factory settings...................................................................................... 31
Connecting to the ASUS Smart Home .................................................................... 32
Troubleshooting.........................................................................................................34
Drilling template (70 mm lockbolt).....................................................................41
Drilling template (60 mm lockbolt).....................................................................42
3
E12914_DL101_UM_V3.indd 3
5/24/2017 18:00:09

Package contents
NOTE:
• Ifanyofthefollowingitemsaredamagedormissing,contact
your retailer.
• Theillustrateditemsbelowareforreferenceonly.
• Specicationssubjecttochangewithoutnotice.
1 x ASUS DL101
interior unit
1 x ASUS DL101
exterior unit
1 x ASUS DL101
interior unit cover
1 x Mounting plate
1 x Strike plate
2 x Keys
1 x Deadbolt 1x Bag of screws
OPEN
4
E12914_DL101_UM_V3.indd 4
5/24/2017 18:00:09

Product overview
Front View
Keyhole
Touchscreen panel
Use your palm to touch the touchscreen panel, or place your
nger on the NFC logo for at least 1 second to activate the
keypad.
5
E12914_DL101_UM_V3.indd 5
5/24/2017 18:00:09

Back View
Thumbturn lever
LED status indicator
Join button
Reset button
Battery compartment
NOTE: Refer to LED information section for more details on the
LED status indicator.
6
E12914_DL101_UM_V3.indd 6
5/24/2017 18:00:10

LED information
The LED status indicator helps identify the current status of
your ASUS DL101. Refer to the following table for details:
Color Status Description
Solid Blue
Battery inserted LED lights up for 2 seconds and the alarm
makes Do-Re-Mi sound
Identifying
device
Use the companion app to identify which
device is connected to the gateway
NOTE: Ensure to connect your device
with the gateway before using this
feature through the companion app.
Blinking Blue Connecting
with gateway
Press Join button for 1 second
(LED blinks for 5 seconds)
Solid Red Disconnected
with gateway
Press Join button for 5 seconds to reset
(LED lights up for 5 seconds)
Blinking Red Low battery
warning
A warning sound will go o when you
lock/unlock, and the LED will blink red in
1 second intervals until the touchscreen
panel goes o.
NOTE: The ASUS HG100 gateway is sold separately, some
features are only available after connecting with the ASUS
HG100 gateway.
7
E12914_DL101_UM_V3.indd 7
5/24/2017 18:00:10

Alarm information
• Short beep last for 0.1 second, long beep lasts for 0.5
second, both are at 85 dB.
• Two short beeps indicates the operation is normal
or the setting is successful; one long beep indicates
abnormal operation or the setting is unsuccessful.
• Three long beeps indicates that system protection has
been activated, the touchscreen panel will be locked for
2 minutes; low power warning.
• Long beep for 30 seconds indicates anti-tamper
mechanism has been activated, use a password, user
card, or NFC phone to unlock.
• Keypad sound is enabled by default, you can manually
set the sound to be enabled or disabled (refer to
Programming the ASUS DL101 for more details).
8
E12914_DL101_UM_V3.indd 8
5/24/2017 18:00:10

Safety notices
• Replace all batteries immediately when the low-battery
warning sounds.
• DO NOT mix old batteries with new batteries, from
dierent brands, or alkaline and carbon-zinc batteries.
• Insert the batteries according to the correct polarity.
• DO NOT attempt to repair the product by yourself.
• Change your codes regularly.
• Minimize the exposure to moisture including wet hands
and direct contact with liquids.
• Use soft, dry cloth to clean and avoid cleaning with
water, alcohol or other chemicals, or clean or maintain
with lubricants to prevent damage to the circuit board
or the surface coating.
• DO NOT exert excessive force or use sharp objects on
the touchscreen panel.
• Usefour1.5VAAalkalinebatteriestomaintainastable
and long lasting power source.
• OnlyASUS-authorizedtechniciansshouldperform
repairs and maintenance for your device. Consult
an authorized ASUS service center for repairs and
maintenance.
9
E12914_DL101_UM_V3.indd 9
5/24/2017 18:00:10

Getting started
Determining door status
Take note of which direction your door will be opened before
installing your ASUS DL101, the orientation will be dierent
for left-handed doors and right-handed doors.
Left-handed door when
viewed from the outside.
Right-handed door when
viewed from the outside.
10
E12914_DL101_UM_V3.indd 10
5/24/2017 18:00:10

Preparing your door
NOTE: The installation steps shown in this manual is for a left-
handed door and for reference only.
1. Adjust the lockbolt
length to t your
door by rotating it
clockwise or anti-
clockwise (this product
supports 60mm or
70mm conguration,
the illustration on
the right is the 60mm
conguration).
2 - 3/8”(60mm)
2. Attach the drilling
template to the door
and mark it with a pen.
NOTE: Use the Drilling template attached in the manual to help
mark the drilling location.
11
E12914_DL101_UM_V3.indd 11
5/24/2017 18:00:10

3. Drill the holes as
indicated on the
template.
NOTE: The location of the holes will vary per thickness of the
door.
4. Insert the deadbolt
into the door and
mark the face plate.
WARNING! The cross-shaped opening in the deadbolt should
be orientated at the bottom (see red circle area).
12
E12914_DL101_UM_V3.indd 12
5/24/2017 18:00:10

5. Chisel out a 4 mm
recess along the
marked lines.
6. Insert the deadbolt
again and close the
door, then mark the
door frame with the
lock bolt and the face
plate.
WARNING! The cross-shaped opening in the deadbolt should
be orientated at the bottom.
7. Chisel out a 2 mm
recess for the strike
plate along the marked
lines, then drill a hole
25.4 mm in diameter,
and 26 mm in depth
(enough for the locking
bolt).
13
E12914_DL101_UM_V3.indd 13
5/24/2017 18:00:10

Installing your ASUS DL101
NOTE: The installation steps shown in this manual are for a left-
handed door and for reference only.
1. Insert the strike plate
into the door frame,
then secure it with the
bundled short screws.
2. Insert the deadbolt
into the door, then
secure it with the
bundled short screws.
14
E12914_DL101_UM_V3.indd 14
5/24/2017 18:00:10

3. Insert the blade on the ASUS DL101 exterior unit
horizontally into the cross shaped opening on the
deadbolt, then pass the cable through the opening on
top of the deadbolt.
WARNING! Ensure the blade on the ASUS DL101 exterior unit is
horizontally inserted (see red circle area).
15
E12914_DL101_UM_V3.indd 15
5/24/2017 18:00:10

4. Align the mounting plate and install it, then secure the
mounting plate with the bundled long screws.
NOTE: Ensure to pass the blade through the blade opening, and
pass the cable through the cable opening and place it on the
right side (see red circle area).
for metal doors
for wooden doors
16
E12914_DL101_UM_V3.indd 16
5/24/2017 18:00:11

5. Insert a at head screwdriver into the opening with
the tip pointing slightly upwards, then gently tilt the
screwdriver upwards (as shown below) to release the
cover.
17
E12914_DL101_UM_V3.indd 17
5/24/2017 18:00:11

6. Connect the cable of the exterior unit to the interior
unit, then align the interior unit and install it.
NOTE:
• Ensuretoconnectthecableinthecorrectorientation(black
to black and red to red), and placed at (A) as shown below
• Ensurethebladeishorizontallyalignedwiththethumbturn
lever as shown in (B) below.
• Ensurethatthethumbturnleverisintheopenposition.Turn
the thumbturn lever to make sure the lever turns the blade.
OPEN
OPEN
Right-handed doorLeft-handed door
18
E12914_DL101_UM_V3.indd 18
5/24/2017 18:00:11

7. Secure the interior unit with the bundled screws, then
install four 1.5V AA batteries and the cover.
NOTE: Ensure the batteries are installed in the correct polarity.
19
E12914_DL101_UM_V3.indd 19
5/24/2017 18:00:11

Setting lock direction
Enter master password (default:
0000) then press <OK> Press <0> then press <OK>
NOTE: Set the lock direction after your ASUS DL101 is installed.
When the ASUS DL101 is unlocked, touch the panel, then press
<OK> to enter programming mode. This setting must be set up
after installing the ASUS DL101 for the rst time, and ensure the
thumbturn lever is installed correctly.
Unlocking the ASUS DL101
You can unlock the ASUS DL101 with a user password, one
time password (OTP), user card, key, or remotely through the
companion app.
When an incorrect password has been entered ve times, the
alarm in the ASUS DL101 will go o, the touchscreen panel
will be locked for two (2) minutes, and a warning message
will be sent to all the family members connected to the ASUS
HG 100.
The DL101 comes with an anti-tamper mechanism, and the
alarm in the ASUS DL101 will go o for thirty (30) seconds
when an intrusion has been detected. Use an user password,
user card, or the companion app to disable the alarm.
NOTE: Refer to Programming the ASUS DL101 section for more
details.
20
E12914_DL101_UM_V3.indd 20
5/24/2017 18:00:11
Other manuals for DL101
1
Table of contents
Other Asus Door Lock manuals