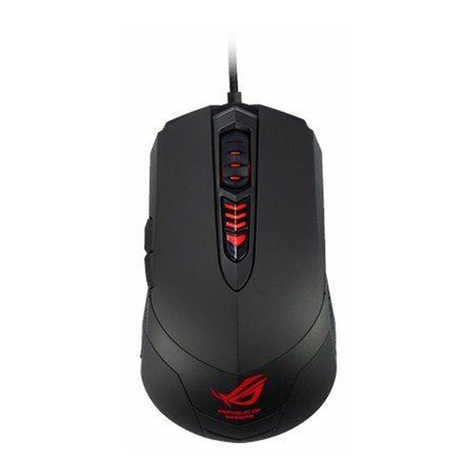
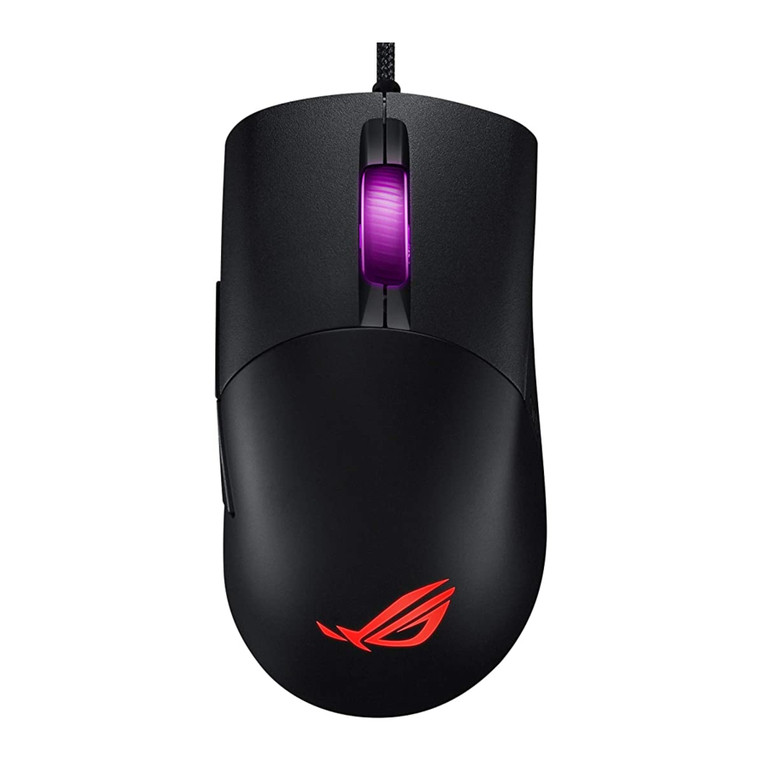
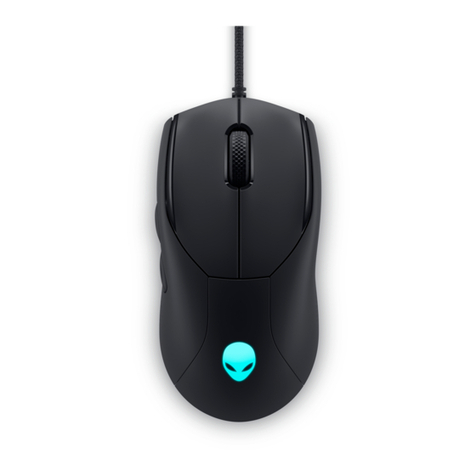
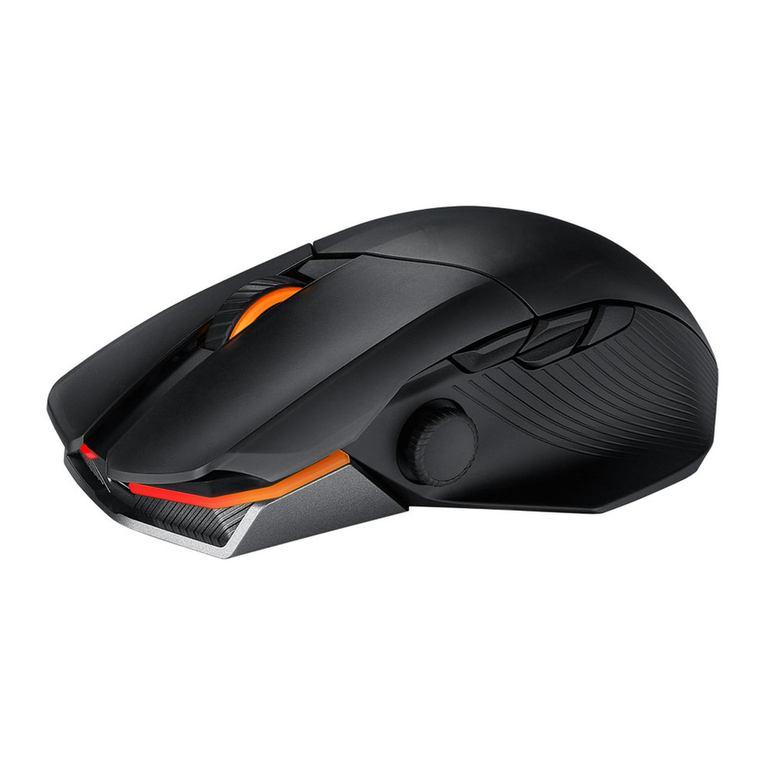
Asus MU201G User manual

User Manual
ASUS MU201G
USB GAMING MOUSE

2
ENGLISH
Contents
English.........................................................................3
19
36
Français .................................................................... 53
Deutsch.................................................................... 70
Pyccкий.................................................................... 87
한국어................................................................ 104
Italiano ...................................................................121
Português..............................................................139
Español...................................................................156

ENGLISH
3
E13741
First Edition
November 2017
Copyright © 2017 ASUSTeK Computer Inc. All Rights Reserved.
No part of this manual, including the products and software described in it, may be reproduced,
transmitted, transcribed, stored in a retrieval system, or translated into any language in any form
or by any means, except documentation kept by the purchaser for backup purposes, without the
express written permission of ASUSTeK Computer Inc. (“ASUS”).
Product warranty or service will not be extended if: (1) the product is repaired, modied or altered,
unless such repair, modication of alteration is authorized in writing by ASUS; or (2) the serial
number of the product is defaced or missing.
ASUS PROVIDES THIS MANUAL“AS IS”WITHOUT WARRANTY OF ANY KIND, EITHER EXPRESS
OR IMPLIED, INCLUDING BUT NOT LIMITED TO THE IMPLIED WARRANTIES OR CONDITIONS OF
MERCHANTABILITY OR FITNESS FOR A PARTICULAR PURPOSE. IN NO EVENT SHALL ASUS, ITS
DIRECTORS, OFFICERS, EMPLOYEES OR AGENTS BE LIABLE FOR ANY INDIRECT, SPECIAL, INCIDENTAL,
OR CONSEQUENTIAL DAMAGES (INCLUDING DAMAGES FOR LOSS OF PROFITS, LOSS OF BUSINESS,
LOSS OF USE OR DATA, INTERRUPTION OF BUSINESS AND THE LIKE), EVEN IF ASUS HAS BEEN
ADVISED OF THE POSSIBILITY OF SUCH DAMAGES ARISING FROM ANY DEFECT OR ERROR IN THIS
MANUAL OR PRODUCT.
SPECIFICATIONS AND INFORMATION CONTAINED IN THIS MANUAL ARE FURNISHED FOR
INFORMATIONAL USE ONLY, AND ARE SUBJECT TO CHANGE AT ANY TIME WITHOUT NOTICE, AND
SHOULD NOT BE CONSTRUED AS A COMMITMENT BY ASUS. ASUS ASSUMES NO RESPONSIBILITY OR
LIABILITY FOR ANY ERRORS OR INACCURACIES THAT MAY APPEAR IN THIS MANUAL, INCLUDING THE
PRODUCTS AND SOFTWARE DESCRIBED IN IT.
Products and corporate names appearing in this manual may or may not be registered trademarks or
copyrights of their respective companies, and are used only for identication or explanation and to
the owners’benet, without intent to infringe.
English

4
ENGLISH
Contact Information
ASUSTeK COMPUTER INC.
Address 4F, No. 150, Li-Te Rd., Peitou, Taipei 112, Taiwan
Telephone +886-2-2894-3447
Fax +886-2-2890-7798
Web site www.asus.com/
Technical Support
Telephone +86-21-38429911
Fax +86-21-5866-8722, ext. 9101#
Online support http://qr.asus.com/techserv
ASUS COMPUTER INTERNATIONAL (America)
Address 800 Corporate Way, Fremont, CA 94539, USA
Telephone +1-510-739-3777
Fax +1-510-608-4555
Web site http://www.asus.com/us/
Technical Support
Support fax +1-812-284-0883
Telephone +1-812-282-2787
Online support http://qr.asus.com/techserv
ASUS COMPUTER GmbH (Germany and Austria)
Address Harkort Str. 21-23, D-40880 Ratingen, Germany
Fax +49-2102-959931
Web site http://www.asus.com/de
Online contact http://eu-rma.asus.com/sales
Technical Support
Telephone +49-2102-5789555
Support Fax +49-2102-959911
Online support http://qr.asus.com/techserv

ENGLISH
5
Contents
Notices......................................................................................................................6
Package Contents.................................................................................................8
Specications Summary ....................................................................................8
Knowing your ASUS MU201G Gaming Mouse ..........................................9
Connecting your ASUS MU201G Gaming Mouse.................................. 10
Customizing your mouse (DPI values / Macro commands / Button
functions) ............................................................................................................. 10
Using the setup utility ..................................................................................... 10

6
ENGLISH
Notices
Safety Certications
• CEMarking
• ChinaRoHSEFUPLabeling-10Years
• RCM
• BSMICertication
Federal Communications Commission Statement
This device complies with Part 15 of the FCC Rules. Operation is subject to the following two
conditions:
• Thisdevicemaynotcauseharmfulinterference.
• Thisdevicemustacceptanyinterferencereceivedincludinginterferencethatmaycause
undesired operation.
This equipment has been tested and found to comply with the limits for a Class B digital device,
pursuant to Part 15 of the FCC Rules. These limits are designed to provide reasonable protection
against harmful interference in a residential installation. This equipment generates, uses and can
radiate radio frequency energy and, if not installed and used in accordance with manufacturer’s
instructions, may cause harmful interference to radio communications. However, there is no
guarantee that interference will not occur in a particular installation. If this equipment does cause
harmful interference to radio or television reception, which can be determined by turning the
equipment o and on, the user is encouraged to try to correct the interference by one or more of the
following measures:
• Reorientorrelocatethereceivingantenna.
• Increasetheseparationbetweentheequipmentandreceiver.
• Connecttheequipmenttoanoutletonacircuitdierentfromthattowhichthe
receiver is connected.
• Consultthedealeroranexperiencedradio/TVtechnicianforhelp.
CAUTION! Any changes or modications not expressly approved by the grantee of
this device could void the user’s authority to operate the equipment.
Complies with 21 CFR 1040.10 and 1040.11 except for deviations pursuant to Laser Notice No. 50,
dated June 24, 2007.

ENGLISH
7
DO NOT throw the mouse in municipal waste. This product has been designed to
enable proper reuse of parts and recycling. This symbol of the crossed out wheeled bin
indicates that the product (electrical and electronic equipment) should not be placed in
municipal waste. Check local regulations for disposal of electronic products.
REACH
Complying with the REACH (Registration, Evaluation, Authorisation, and Restriction of Chemicals)
regulatory framework, we published the chemical substances in our products at ASUS REACH
website at http://csr.asus.com/english/REACH.htm
ASUS Recycling/Takeback Services
ASUS recycling and takeback programs come from our commitment to the highest standards for
protecting our environment. We believe in providing solutions for you to be able to responsibly
recycle our products, batteries, other components, as well as the packaging materials. Please go
to http://csr.asus.com/english/Takeback.htm for the detailed recycling information in dierent
regions.
CE Mark Warning
This is a Class B product, in a domestic environment, this product may cause radio interference, in
which case the user may be required to take adequate measures.
Canada, Industry Canada (IC) Notices
This device complies with Canada licence-exempt RSS standard(s).
Operation is subject to the following two conditions: (1) this device may not cause interference,
and (2) this device must accept any interference, including interference that may cause undesired
operation of the device.
Canada, avis d’Industrie Canada (IC)
Le présent appareil est conforme aux normes CNR d’Industrie Canada applicables aux appareils radio
exempts de licence.
Son utilisation est sujette aux deux conditions suivantes : (1) cet appareil ne doit pas créer
d’interférences et (2) cet appareil doit tolérer tout type d’interférences, y compris celles susceptibles
de provoquer un fonctionnement non souhaité de l’appareil.

8
ENGLISH
Check your ASUS MU201G Gaming Mouse package for the following items:
• ASUSMU201GGamingMouse
• QSGx1
• WarrantyBookletx1
If any of the above items is damaged or missing, contact your retailer immediately.
Package Contents
Specications Summary
Model Name MU201G
Connectivity Technology Wired / USB
Tracking Optical
OS Support Windows® 8.1 / Windows® 8 / Windows® 7 / Windows® XP
Dimensions (mm) 123.7 x 67.6 x 40.0 mm (LxWxH)
Cable Length 1.8m
Buttons / Switches 1 x Left button / Right button / Scroll wheel
2 x DPI switch (programmable)
2 x Side buttons
Resolution 50 ~ 7200 dpi (adjustable)
Default: 800dpi (Level I), 1600dpi (Level II), 3200dpi (Level III),
6400dpi (Level IV)
Interface USB
Specications are subject to change without prior notice.

ENGLISH
9
Knowing your ASUS MU201G Gaming Mouse
Your ASUS MU201G Gaming Mouse comes with a left button, a right button, a scroll
wheel, two side buttons, and a two-way DPI switch.
Level Default DPI
I 800 dpi
II 1600 dpi
III 3200 dpi
IV 6400 dpi
DPI Level Default Settings
NOTE: MU201G has four levels of DPI resolution. You can choose Level I, II, III, or IV on
the MU201G driver. Visit ASUS ocial website www.asus.com for more information.
1Scroll wheel 5DPI - button
2Left button 6IE Forward button (default)
3Right button 7IE Backward button (default)
4DPI + button 8Optical sensor

10
ENGLISH
Using the setup utility
Do either of the following to launch the setup utility:
• ClicktheASUS MU201G GAMING MOUSE shortcut on the Windows®
desktop.
• ClickStart > All Programs > ASUS > ASUS MU201G GAMING MOUSE > ASUS
MU201G GAMING MOUSE .
• Right-clicktheicon from the Windows® taskbar, then select Launch MU201G
APP.
On Windows® 8, click ASUS MU201G GAMING MOUSE from the Start screen.
Customizing your mouse (DPI values / Macro
commands / Button functions)
Go to ASUS website at www.asus.com to download the latest driver and install it to
customize your mouse's DPI values, Macro commands, and button functions.
Connecting your ASUS MU201G Gaming Mouse
Connect your ASUS MU201G Gaming
Mouse to your computer’s USB port.

ENGLISH
11
Main menu

12
ENGLISH
Items Descriptions
1. Click to run the Macro Management
*Refer to Page 14 for detailed instructions.
2. Click to run the Button setting.
3. Select an item to change the Button setting.
4. Click the tab to display the prole menu.
5. Click to run the Lighting Setting. ASUS MU201G provides four preset LED modes. You
can change the brightness/Rotate speed /Tempo of the LED eect.
6. Click the tachometer to get the rough DPI resolution or key in the DPI resolution you
need in the column.
7. Click to reset all settings to the factory defaults.
8. Click to go to Advanced Setting.
9. Click to apply all settings.
10. Click to apply and save and exit the program.
11. Select an item to change the Lighting Setting.
12. You can click any color in the wheel or manually enter the RGB values to set the lighting
color.
13. Click this button to restore the lighting settings to its default values.
14. Click to apply the lighting setting.
15. Click to close the Lighting Setting screen.

ENGLISH
13
Button Settings
Continued on the next page
Category Items Descriptions
Internet
Page Forward When selected, press the button to go to the next page
you viewed.
Page Backward When selected, press the button to go to the previous
page you viewed.
Web Browser When selected, press the button to launch your default
web browser.
* This function only works under Windows® XP / Vista / 7
operating systems.
FastFindTM When selected, press the button to launch FastFindTM.
Media
Function
Media Player When selected, press the button to launch the default
media player of your system.
Volume Up When selected, press the button to increase the system
volume.
Volume Down When selected, press the button to decrease the system
volume.
Play/Pause When selected, these buttons become playback control
buttons in an active media player.
Next (Track)
Previous (Track)
Stop
Mute When selected, press the button to turn the volume’s mute
mode on/o.
Mouse
Function
L-Button Simulates the function of the left mouse button.
R-Button Simulates the function of the right mouse button.
M-Button Simulates the function of the middle mouse button.
Scroll Up Click to change the Scroll Up setting.
Scroll Down Click to change the Scroll Down setting.
Tilt Left When selected, press the button to scroll left.
Tilt Right When selected, press the button to scroll right.
Drag Lock When selected, press the button to lock the drag function.

14
ENGLISH
Continued on the next page
Category Items Descriptions
Mouse
Function
DPI [+] When selected, press the button to increase the DPI value.
DPI [ - ] When selected, press the button to decrease the DPI value.
Computer
Function
Maximize Window® When selected, press the button to maximize the window.
Minimize Window® When selected, press the button to minimize the window.
My Computer When selected, press the button to open My Computer
window.
Calculator When selected, press the button to launch the Calculator
application.
Control Panel When selected, press the button to launch the Control
Panel.
Start Button When selected, press the button to launch the Start menu.
Launch Program When selected, press the button to launch a program.
Application Switch When selected, press the button to enable the Application
Switch.
Windows® Flip-3D When selected, press the button to launch the Windows®
Flip-3D (for Window® 7).
When selected, press the button to switch between
running applications (for Window® 8).
Copy When selected, press the button to copy.
Paste When selected, press the button to paste.
Cut When selected, press the button to cut.
Undo When selected, press the button to undo.
Rapid Fire
3 times When selected, press the button to do a rapid re in a
click-to-attack game, which is the same as clicking the left
mouse for 3 / 5 times.
* Rapid re times (3x/5x) may vary with dierent game
settings.
5 times
Auto
Keyboard Allows you to combine/record three keys to the maximum.
Button O Disables the button function.
Launch MU201G APP When selected, press the button to launch this setup
utility.

ENGLISH
15
Macro Management
From the Main menu screen, click the Macro tab to enter Macro Management setup
screen.
Category Items Descriptions
Macro Macro List Allows you to select the Macro that you want to assign and
the Macro play mode.
* Refer to the table on the next page for the Macro play
mode.
Snap
Switch Click once Switch the DPI to specic resolution through just one click,
and click once again to shift to the original DPI.
Click and hold Click and hold the button to switch the DPI to specic
resolution. Release the button to go back to the original one.
Customized Click the button to switch the DPI to specic resolution
during customized period. The DPI would shift to the original
one automatically once the time is expired.
* If you use MU201G on another computer, some of the button functions that you
have previously congured on your computer will be reset to the default settings.
Please install the application and congure the button functions again.

16
ENGLISH
Items Descriptions
Timing Tick this item to record the time between pressing down and releasing a
button. (Default:10ms).
Insert When this item is ticked, the new instruction will be inserted before the
selected instruction. Otherwise, any new instruction will be given the rst
priority.
Start Click to start recording the keystrokes and/or mouse actions.
Stop Click to stop recording the keystrokes and/or mouse actions.
Clear Click to clear all the saved instructions.
Move up / down Click to move up/down the selected instruction.
Instruction cycle
time When Timing is not ticked, all the actions’delay time will be the value you
chose from the dropdown list.
Loop Sets the macro to run at a click and stop when you click again.
Macro Mode
Items Descriptions
Once per click Select to perform the selected Macro prole once when clicking the
mouse button.
Click to repeat , next
click to stop Select to repeat performing the selected Macro prole when clicking the
mouse button , and click the button again to stop.
Click to repeat From the dropdown list , select the number of times you want to repeat
performing the selected Macro prole when clicking the mouse button.
Press to repeat Select to repeat performing the selected Macro prole when pressing
down your mouse button and release the button to stop

ENGLISH
17
Advanced Setting
Category Items Descriptions
Angle Snapping* ON Select to enable the Angle Snapping.
OFF Select to disable the Angle Snapping.
Lift Height** High Select to adjust the Lift Height.
Low
Scroll Setting 1-100 Choose the number of lines per scroll.
USB Polling Rate
1000Hz
Select to change the Polling Rate.
500Hz
250Hz
125Hz
Double Click 1-10 Choose the stage of Double Click.
Snap Switch 50 ~ 7200 dpi Species the DPI value when the snap switch button
is activated.
* Angle Snapping brings smooth and straight mouse movements. By default, Angle
Snapping is disabled.
** The tracking function stops when you lift the mouse o the mouse pad or surface
higher than your selected Lift Height. If you encounter irregular mouse movements
when you are using your mouse on your mouse pad or surface, try selecting a level
higher than your selected Lift Height.
Items Descriptions
Click to add a new Macro Console.
Click to duplicate the existing Macro Console.
Click to delete the Macro Console.
Export Click to save the current macro to your hard disk drive.
Import Click to load a macro from your hard disk drive.
OK Click to apply the changes.
Cancel Click to exit the Macro Management.
* When a Macro function is not assigned to a mouse button, the Macro function
and its name are stored in your computer. If you assign the Macro function to your
mouse button and connect the mouse to anther computer , the assigned Macro
name changes automatically but does not aect the original Macro function.

18
ENGLISH
Test Arena
Items Descriptions
1. Click to start Precision Test.
2. Click to start Movement and Click Test.
3. Click to select the test lifespan.
4. Click to select target quantity of the test.
5. Test environment.
6. Test Area.
Taskbar menu
Items Descriptions
1. The MU201G mouse logo appears on the taskbar when the program is properly installed.
2. Click to launch the main menu of the MU201G mouse setup utility.
3. Click to exit the setup utility.

使用手冊
ASUS MU201G
USB 遊戲滑鼠
繁體中文

20
繁体中文
T13741
第 一 版
2017 年 11 月
Table of contents
Languages:
Other Asus Mouse manuals

Asus
Asus ROG Spartha User manual

Asus
Asus VivoMouse WT710 User manual

Asus
Asus Republic Of Gamers Strix Carry User manual

Asus
Asus ROG STRIX CARRY Operator's manual

Asus
Asus WT460 User manual

Asus
Asus Republic of Gamers Spatha L701 User manual

Asus
Asus ROG CHAKRAM User manual

Asus
Asus ROG Sica User manual

Asus
Asus ROG GX850 Guide

Asus
Asus ROG Spatha X User manual