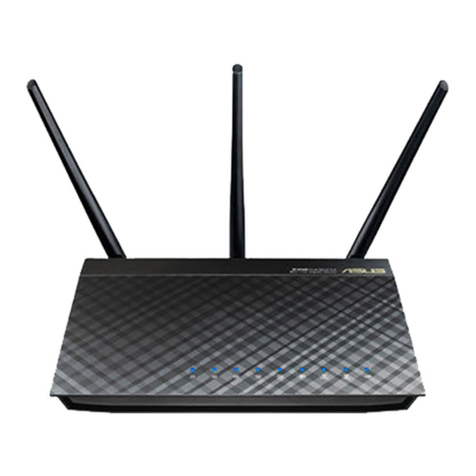
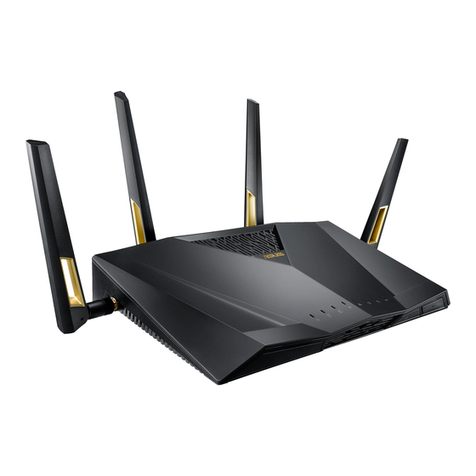
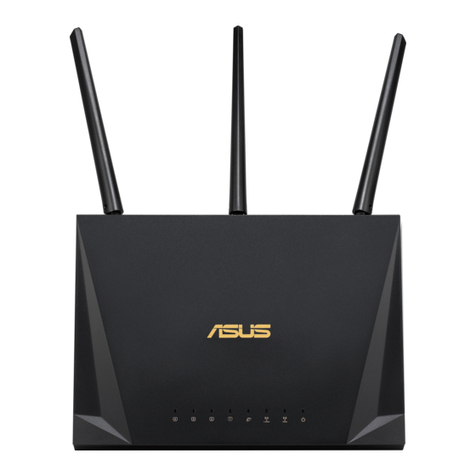
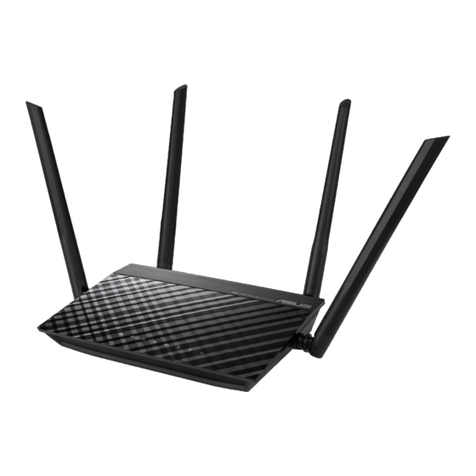
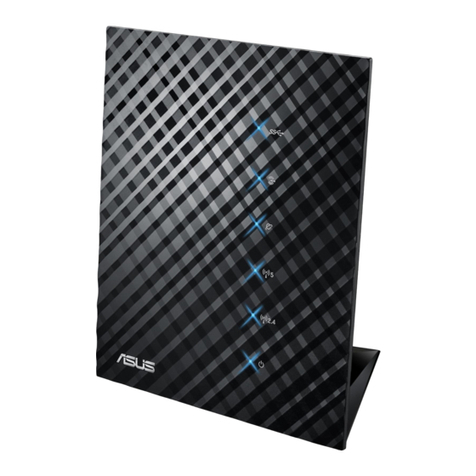
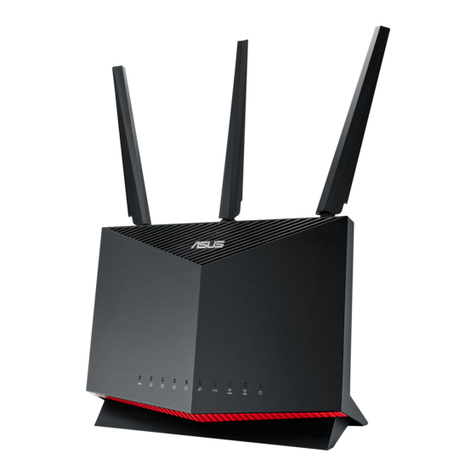
Asus RT-AC51U Instruction sheet

SNT Recommended Wireless Router Configuration Manual
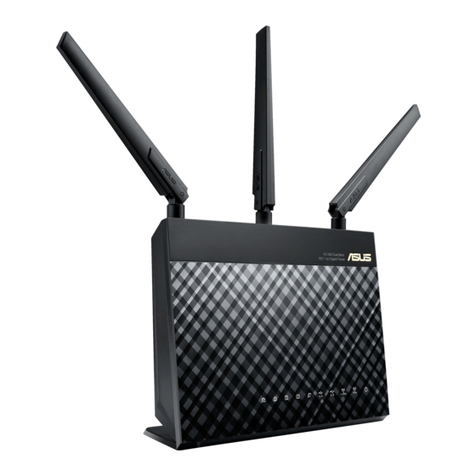
Configuring the Asus RT-AC51U and Asus RT-AC1200G for use on the UTwente network
Disclaimer
The Asus RT-AC51U and Asus RT-AC1200G wireless routers have been tested by SNT to be working on
the campus network without causing disturbances.
Important! SNT does not guarantee the routers will work, and only recommends them because they have
been successfully tested by SNT. For warranty and service issues, you have to contact the shop where you
bought your router.
Having said that, you are free to contact the SNT Helpdesk with questions regarding either of these two
wireless routers. The SNT Helpdesk has a testing unit of both and may be able to help you with your
problem. Other (wireless) routers are not supported by the SNT Helpdesk. If the SNT Helpdesk cannot help
you with your question, you will be forwarded to customer service of the manufacturer of your router.
Reasons to Buy Your Own Wireless Router
SNT always recommends using the already provided internet infrastructure (eduroam and the ethernet
(internet) outlets in your room) above using your own networking solution. Only if this is not feasible should
you buy your own networking equipment. If you decide to buy your own networking equipment, SNT
strongly recommends buying either the Asus RT-AC51U or Asus RT-AC1200G wireless router.
In general, there are only three good reasons to buy your own networking equipment instead of using the
infrastructure. If you only need more wired ethernet (internet) outlets, you should buy a network switch,
and not a (wireless) router. If you have bad wireless coverage in your room, or if any of your internet-
enabled devices do not support the authentication method of eduroam, buying your own wireless router
could be a solution.
Prerequisites & Scope of this Manual
This guide will help you correctly configure the Asus RT-AC51U and Asus RT-AC1200G for use on the
University of Twente network. Please check the box of your wireless router to make sure you have either
one of these models. The configuration steps are the same for both models. Configuring a wireless router
for use on the campus network can be tricky. Please follow the steps 1 through 4 completely in order to get
your new router working optimally.
This guide assumes that you are on the University of Twente campus, or in one of the buildings in the city
of Enschede that is part of the University of Twente network (The ITC Building, ITC International Hotel or
Stadsweide) and have access to an ethernet (internet) outlet in your room. This guide also assumes you
know how to use an internet browser on your computer, what a power adapter and an ethernet (internet)
cable is, and how to connect to a wireless network on your computer.
This guide will not cover connecting other devices (like your laptop, desktop computer or smartphone) to
your newly configured network. You can consult your device’s manual or the internet for help connecting
these devices to your newly configured network.
Unboxing your Wireless Router
In the box you will find your wireless router, a power adapter and an ethernet (network) cable. You will need
these three items in order to successfully configure your own network. If any of these are missing, please
contact the shop where you bought your wireless router.
Step 1
Connecting your Wireless Router
Connect your wireless router to an available ethernet outlet in your room using the ethernet cable that
came with your wireless router. Also plug the power adapter that came with your wireless router in a power
outlet and the power plug in your wireless router.
Important! Your wireless router has five ports that you can plug an ethernet cable into. Only connect your
ethernet outlet to the blue (RT-AC1200G) or black (RT-AC51U) ethernet ports on your wireless router.
Connecting any of the yellow ports to the ethernet outlet causes disturbances on the network and will lead
to SNT disconnecting your wireless router from the network.
If you need any further help with this step, please consult the product manual that came with your router.

Step 2
Changing the Default Username and Password
Your wireless router should turn on. There is an indicator light on the wireless router to indicate it is turned
on. Give the wireless router a few minutes to completely start.
You can now connect your computer to the wireless router in one of two different ways. Either you can
connect your computer to one of the yellow ethernet ports on the wireless router using another ethernet
cable (not included), or connect your computer wirelessly to the wireless router using the unsecured
“ASUS” wireless network the wireless router will automatically create.
Important! You won’t have a working internet connection just yet. Only after you successfully completed
step 1 through 3 of this manual will you be able to use the internet.
Once you’re connected to the wireless router via one of the two options above, you will have to open the
wireless router’s configuration interface. You can do this by opening a browser on your computer and
navigate to the website: http://192.168.1.1.
You’ll now be greeted with a website like the one below. Please make up a username and a good
password you will use later to login to the wireless router’s configuration interface and enter them. Click
Next to continue.
Important! This username and password are only used to login to the configuration interface, and not to
connect to the wireless network you will create in the next step. You don’t have to give these credentials to
anyone else.
If you need any further help with this step, please consult the product manual that came with your router.

Step 3
Configuring the Wireless Network
In this step you will configure the wireless network of your wireless router. Please make up a network name
for your wireless network, along with a good password. You will use the network name later to connect your
other devices to the network. If you ever want to allow other people on your wireless network, you will have
to give them the password you set in this step. Make sure you don’t use a password you also use
someplace else.
The difference between the 2.4GHz and 5GHz network are not important right now. The difference will be
explained later in this manual. For now, you can give them a different name following the example in the
image below. You can use the same password for both networks.
Important! From this point on, it is advised to use the 5GHz network whenever possible. The reason for
this will be explained later in the manual. For now, it is sufficient to know that the 5GHz network usually
provides better speed and stability, while at the same time improving the wireless ‘climate’ for your
neighbors.
Important! Please do not name your wireless network “SNT Router”, as per the example. If multiple people
in your environment also use an SNT recommended router and do the same, you can get confused by the
similarly called network names. Please use your own, original, network name.
Click Apply to save your configuration. At this point you will be shown a confirmation screen with the
settings you chose.
If you are connected wirelessly to the wireless router, you will have to connect again. You will notice the
unsecured “ASUS” network you used in Step 2 is now gone, and has been replaced with the secured
networks you just configured. Use the network name and password you just set to reconnect your router.
If you need any further help with this step, please consult the product manual that came with your router.

Step 4
Further Tweaking the Wireless Network
Point your browser to the website http://192.168.1.1 again to continue. Click on Wireless in the left menu
and the following page will appear.
Here we will change the Channel bandwith setting to 20 MHz. Then, set the Band to 5GHz and again
change the Channel bandwith to 20 MHz. Click Apply.
Next, change Band back to 2.4GHz. We’ll now take a look at the Control Channel.This “channel” setting
specifies the specific frequency your wireless network will use. In order to get the best possible coverage
using your wireless router, it is advisable to select a relatively ‘quiet’ channel. If you need help finding the
most quiet channel, you can follow this external manual: www.howtogeek.com/197268/.
Set the Control Channel to either 1, 6or 11 (depending on which channel you find to be most quiet in your
area). Please do not use any other channel. Again, change Band to 5GHz and set Control Channel to any
of the channels, which you find to be most quiet on 5GHz. For 5GHz, feel free to use any available channel.
Save your changes by clicking Apply.
If you have difficulty using an app to find the most quiet channel, or if you cannot find an app for your
computer or device, you can contact the SNT Helpdesk for further assistance.
At this point your wireless network is finished, congratulations! You can now enjoy better coverage using
your owner wireless router. If you wish to use IPv6 or IPTV from VCK, please see the additional steps.
Also, please take a look at the additional step describing disabling 2.4GHz to help LISA improve WiFi
coverage on the campus.

Step 5 (Optional)
Disabling 2.4GHz
Earlier in this manual you encountered a 2.4GHz and 5GHz network, and it was mentioned they would be
explained later on in the manual. This is that place.
In Step 4 you set the Control Channel, i.e. the specific frequency your wireless router will use to broadcast
your network. These specific frequencies are all in either the 2.4GHz and 5GHz frequency groups. The
technical specifics are irrelevant here, it is sufficient to know that both frequency groups have different
properties.
The 2.4GHz group has been in use for longer than 5GHz, and has been the standard since WiFi became a
thing. One of the properties of the 2.4GHz group is the superior range, as opposed to 5GHz. However, the
range of the 2.4GHz group is way longer than necessary. You may have noticed, on the campus or in a
previous residence, that you can often receive the signal of networks you know to be several houses away.
Because the range of the 2.4GHz group is so large, and thus so many networks reach your room, there is a
lot of interference between other people’s wireless network and your own. Interference means that the
wireless networks are conflicting with each other, thus reducing the stability and speed of your connection.
The solution to this is 5GHz. This frequency group has a shorter range, but provides better stability and
speed. Because the range is shorter, you don’t have nearly as much interference from neighbors as their
wireless network will not reach your room. This improves everyone’s wireless network quality. 5GHz is
taking over as the new standard, and various larger technology companies (including Apple) have already
announced 2.4GHz obsolete. Most newer devices support 5GHz network. If you can ‘see’ your 5GHz
network using any device, it usually supports it. If your device cannot ‘see’ your 5GHz network, you now
know the reason. This is also why it was useful to give your 2.4GHz and 5GHz network a different name.
If none of your devices use the 2.4GHz frequency group, SNT and LISA encourage you to disable 2.4GHz
on your router altogether, to improve the wireless ‘climate’ on the campus. To disable 2.4GHz on your
router, go to Wireless in the left menu, and click Professional in the top menu. Then, select the 2.4GHz
band and next to Enable Radio, select No. Then, click Apply on the bottom of the page. This disables the
2.4GHz signal. You can always re-enable the 2.4GHz signal if needed.

Step 6 (Optional)
Enabling Support for IPTV from VCK
If you wish to watch IPTV from your computer from behind your wireless routing, you need to enable a
setting known as Multicast Routing. Click LAN in the left menu and go to IPTV in the top menu. Next,
select Enable next to both Enable multicast routing and Enable efficient multicast forwarding. Click
Apply to save the changes.
For instructions on how to watch IPTV from your computer, please visit VCK’s website: www.vck.tv.
Important! IPTV only works over a wired connection. Watching IPTV over a wireless network won’t work
and is not supported.
Important! You can only watch IPTV from your room if your house has an IPTV subscription from VCK. For
more information, please visit VCK’s website: www.vck.tv.
Important! If you have a set-top-box from VCK to watch IPTV on your television, you must connect it
directly to the campus network. You cannot use it behind your wireless router without special configuration.
This manual does not cover this special configuration.

Step 7 (Optional)
Enabling IPv6 Support
Important! This is an advanced and optional step that only works with the current configuration of the
campus network. If you don’t need IPv6 support on your own wireless router, it is not necessary to enable
it. If, at any point in the future, IPv6 support via this step stops working, SNT will probably release an
update manual explaining the new steps you need to take. By using your wireless router to host your own
small network, you are using so called internal IPv4 addresses. These can be re-used in other networks
and are therefore not ‘running out’ as explained in the next paragraph.
IPv4 is currently the standard addressing and routing protocol on the internet. However, you may have
heard that ‘IPv4 addresses are running out’. Because of this, the internet is slowly switching to a newer
addressing and routing protocol, called IPv6. The campus network supports IPv6 and IPv4 natively, side-
by-side.
If you wish to add IPv6 support to your wireless network, select IPv6 from the left menu, and change the
Connection type to Passthrough. Click Apply to save your changes. You may need to reboot connected
devices afterwards
Other manuals for RT-AC51U
2
This manual suits for next models
1
Table of contents
Other Asus Network Router manuals

Asus
Asus BLUE CAVE User manual

Asus
Asus RT-AC1300UHP User manual

Asus
Asus RT-AC58U V3 User manual

Asus
Asus ZenWiFi Pro ET12 User manual

Asus
Asus DSL-N12HP User manual

Asus
Asus WL-AM604 User manual

Asus
Asus ROG Rapture GT-BE98 Pro User manual

Asus
Asus 4G-AX56 User manual

Asus
Asus RT-N600RU User manual

Asus
Asus RT-AC66U User manual
Popular Network Router manuals by other brands

NETGEAR
NETGEAR R6400v2 user manual

Enable-IT
Enable-IT 8440 user manual

Alcatel-Lucent
Alcatel-Lucent 7210 SAS E OS Service guide

Ruijie
Ruijie Reyee RG-EG105GWT Hardware installation and reference guide

D-Link
D-Link DSL-3890 user manual

Robustel
Robustel GoRugged R3000 Lite Installation and configuration quick guide