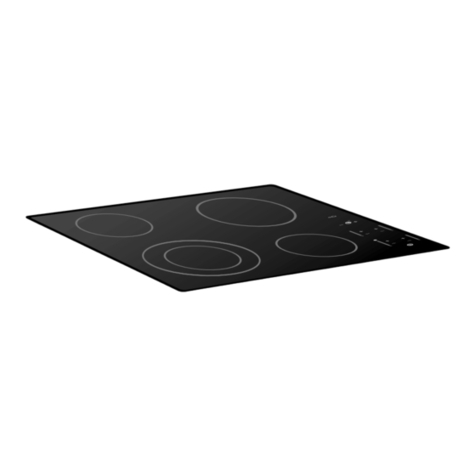
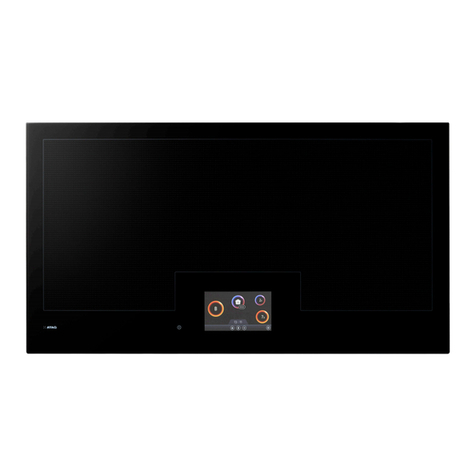
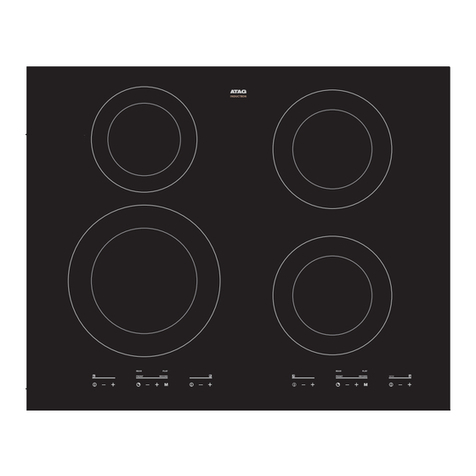
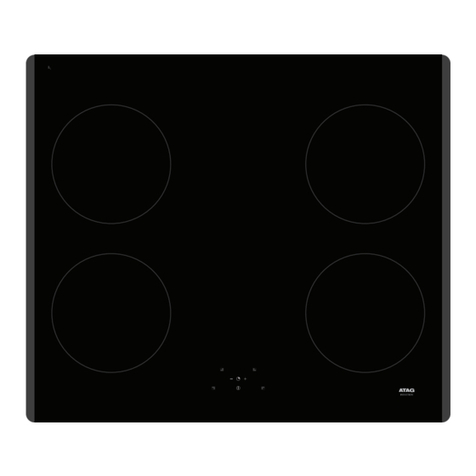
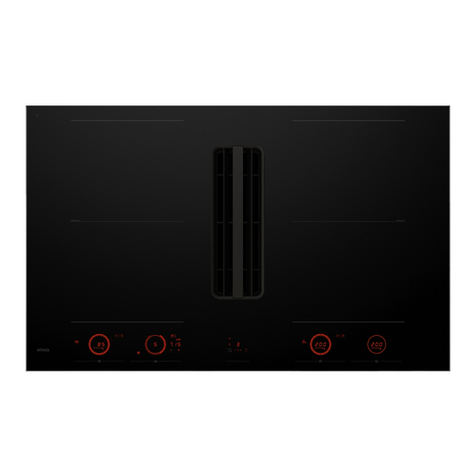
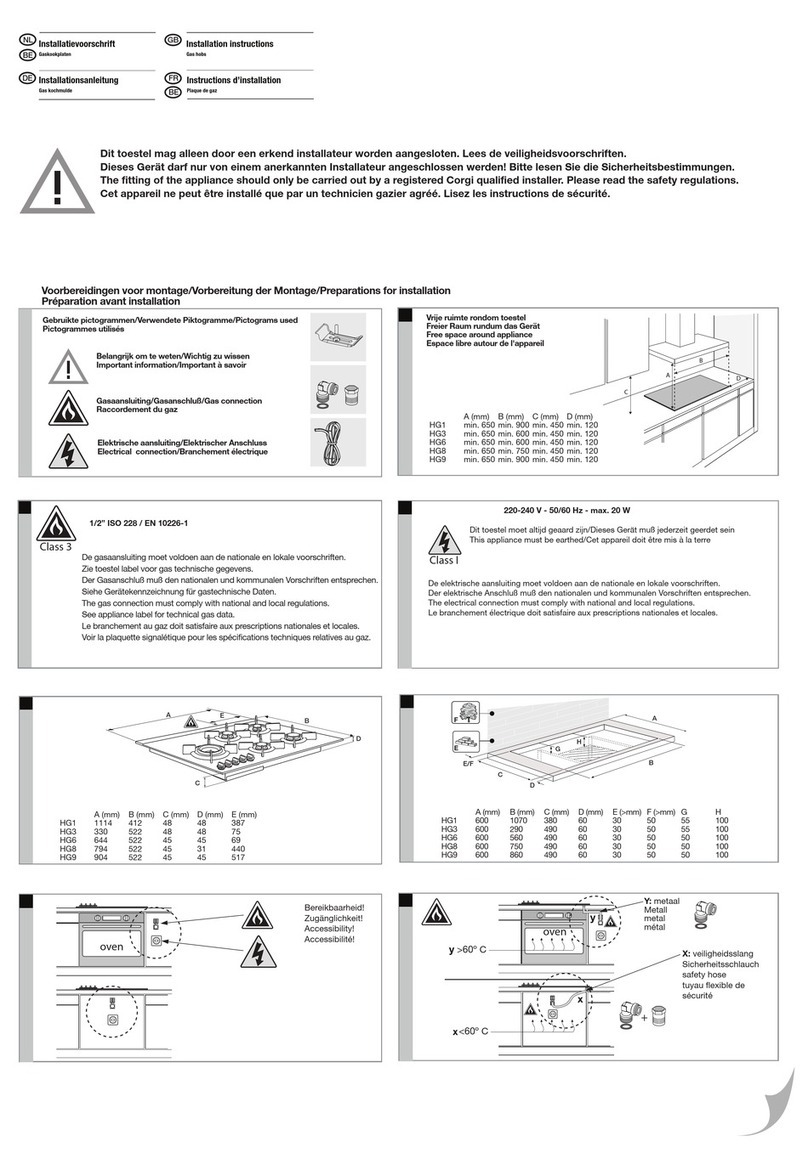
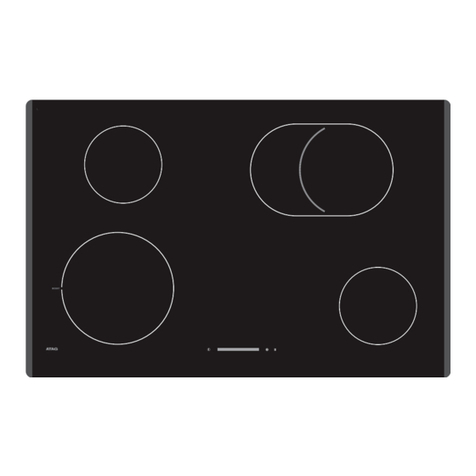
Atag HI21471 User manual

INSTRUCTIONS FOR USE
Induction hob
EN
HI21471/21472/23272/26428/
26471/26472/27471/27472/28471/28472/
28571/28572/29571/29671/29672SV
HI29672/28572SVI
HI29571/29572SVL
HI29571/29572SVM HI29572SVMI
HI26471SVR

3Safety ..........................................................
7Introduction ................................................
7Dear customer! ............................................
9Your hob .....................................................
9Induction hob ...............................................
10Use ..............................................................
10Using the touch controls ..............................
10Induction cooking ........................................
11How does induction work ............................
11Power management .....................................
12Pans .............................................................
13Induction noises ...........................................
14Power level settings .....................................
15Control panel ..............................................
16Indications on the display .........................
17Operation ....................................................
17Switching the hob on/off ..............................
17Child lock .....................................................
18Cooking ........................................................
18Standard cooking ........................................
19Move function ..............................................
19Automatic cooking zone bridging ................
19Chef mode ...................................................
20Pause ...........................................................
20Recall function .............................................
21Time functions ..............................................
22Hot cooking zone .........................................
22Overheat protection .....................................
23Cooking with the PLUS menu ......................
25Cooking with Celsius°Cooking™.................
26
Cooking with Celsius°Cooking™cookware
and Hestan Cue programs ..........................
30
Step-by-Step cooking guide on
CelsiusCooking.com ....................................
31Hood control ................................................
32ConnectLife and Wi-Fi ...............................
32ConnectLife-app and Wi-Fi connection ......
35Firmware Update ........................................
36Settings .......................................................
39Maintenance ...............................................
39Cleaning .......................................................
40Troubleshooting .........................................
40General ........................................................
42Troubleshooting Wi-Fi ..................................
43Installation ..................................................
43Safety ..........................................................
45Installing a built-in hob ..............................
47Air vents in the lower kitchen cabinet ..........
48Flush-mount installation into the worktop .....
51Fitting the foam gasket ................................
52Electrical installation .................................
52
Connecting the cooking hob to the power
mains ...........................................................
52Connection ...................................................
59Current limiter ..............................................
60Environmental aspects ..............................
60Disposal of packaging and appliance .........
61Compliance information ............................
Contents

WARNING!
Before use, read the Safety instructions first!
General safety instruction
The appliance is not intended to be operated by means of an external
timer or separate remote-control system.
If the supply cord is damaged, it must be replaced by the
manufacturer, its service agent or similarly qualified persons in order
to avoid a hazard (only for appliances supplied with connection
cord).
Do not use steam cleaners or high-pressure cleaners to clean the
appliance, as this may result in an electric shock.
CAUTION!
CAUTION: The cooking process has to be supervised. A short
term cooking process has to be supervised continuously.
Metallic objects such as knives, forks, spoons and lids should not
be placed on the hob surface since they can get hot.
After use, switch off the hob element by its control and do not rely
solely on the pan detector.
Danger of fire!
Danger of fire: Do not store items on the cooking surfaces.
Households with children and people with special needs
This appliance can be used by children aged from 8 years and
above and persons with reduced physical, sensory or mental
capabilities or lack of experience and knowledge if they have been
given supervision or instruction concerning use of the appliance in
a safe way and understand the hazards involved. Children shall not
play with the appliance. Cleaning and user maintenance shall not
be made by children without supervision.
3
Safety

Children should be supervised to ensure that they do not play with
the appliance.
WARNING!
WARNING: The appliance and its accessible parts become hot
during use. Care should be taken to avoid touching heating
elements. Children younger than 8 years of age shall be kept away
unless continuously supervised.
WARNING: Accessible parts may become hot during use. Young
children should be kept away.
WARNING: Accessible parts will become hot when in use. To
avoid burns and scalds children should be kept away.
Risk of electric shock!
WARNING!
WARNING: If the surface is cracked, switch off the appliance to
avoid the possibility of electric shock.
WARNING: Unattended cooking on a hob with fat or oil can be
dangerous and may result in fire. NEVER try to extinguish a fire
with water, but switch off the appliance and then cover flame e.g.
with a lid or a fire blanket.
WARNING: Danger of fire: do not store items on the cooking
surfaces.
Means for disconnection must be incorporated in the fixed wiring in
accordance with the wiring rules.
The appliance is intended for household use. Do not use it for any
other purpose, such as room heating, drying of pets or other animals,
paper, fabrics, herbs etc. As this may lead to injury or fire hazard.
The appliance may only be connected to the power mains by an
authorised service technician or expert. Tampering with the appliance
or non-professional repair thereof may result in risk of severe injury
or damage to the product.
4
Safety

If another electrical appliance is connected to an AC power socket
near the appliance, make sure the power cord does not come into
contact with hot cooking zones.
If the power cord is damaged, it should be replaced by the
manufacturer or an authorised service technician, in order to avoid
hazard.
Using the glass ceramic hob as a storage area may result in
scratches or other damage to it. Never heat food in aluminium foil
or in plastic containers on the cooking hob. Such foil or containers
may melt which can result in a fire or damage to the cooking hob.
Do not store temperature-sensitive items underneath the appliance,
such as cleaners or detergents, spray cans etc.
WARNING!
Carefully read the instructions for use before connecting the
appliance. Repair or any warranty claim resulting from incorrect
connection or use of the appliance shall not be covered by the
warranty.
Temperature safety
A sensor continuously measures the temperature of certain parts of
the hob. Every cooking zone is equipped with a sensor that measures
the temperature of the glass-ceramic cooking zone to avoid any risk
of overheating when a pan boils dry. In case of temperatures rising
too high, the power is reduced automatically, or the hob switches
off automatically.
Cooking-time limiter
The cooking-time limiter is a safety function of your cooking
appliance. It will operate if you forget to switch off your hob.
Depending on the setting you have chosen, the cooking time will be
limited as follows:
5
Safety

The cooking zone switches off automatically
after:
Setting
9 hours1 and 2
6 hours3, 4 and 5
4 hours6, 7 and 8
3 hours9
2 hours10
1 hour11 and 12
The cooking-time limiter switches the cooking zones off if the time
in the table has elapsed.
The cooking zone switches automatically to
setting 12 after:
Setting
10 minutesboost
Cooking-time limiter for specific cooking zone is reset after the user
has changed the cooking level of the specific cooking zone.
NOTE!
Cooking zone related timers take priority over the cooking-time
limiter.
6
Safety

Dear customer!
This hob has been designed for the real lover of cooking. Cooking on an induction hob has a number
of advantages. It is easy, because the hob reacts quickly and can also be set to a very low power
level. Because, moreover, it can also be set to a high power level, it can bring dishes to the boil very
quickly. The ample space between the cooking zones makes cooking comfortable.
Cooking on an induction hob is different from cooking on a traditional appliance. Induction cooking
makes use of a magnetic field to generate heat. This means that you cannot use just any pan on it.
The pans section gives more information about this.
For optimum safety the induction hob is equipped with several temperature protections and a residual
heat indicator, which shows which cooking zones are still hot.
This manual describes how you can make the best possible use of the induction hob. In addition to
information about operation, you will also find background information that can assist you in using
this product. You will also find cooking tables and maintenance tips.
Read the manual thoroughly before using the appliance, and store these instructions in a safe
place for future reference.
The manual also serves as reference material for service technicians. Please, therefore, stick the
appliance identification card at the back of the manual. The appliance identification card contains
all the information that the service technician will need in order to respond appropriately to your
needs and questions.
Enjoy your cooking!
7
Introduction

The following symbols are used throughout the manual and they have the following meanings:
INFORMATION!
Information, advice, tip, or recommendation
WARNING!
Warning –general danger
ELECTRIC SHOCK!
Warning –danger of electric shock
HOT SURFACE!
Warning –danger of hot surface
DANGER OF FIRE!
Warning –danger of fire
8
Introduction

Induction hob
(depending on the model)
Since the appliances for which these instructions were drawn up may have different features, some
functions or equipment may be described in the manual that may not be present in your appliance.
1. Cooking zone ø 18 cm - Max. 1.85 kW / 3.0 kW (boost)
2. Cooking zone ø 18 cm - Max. 1.4 kW / 3.0 kW (boost)
3. Cooking zone ø 21 cm - Max. 2.3 kW / 3.7 kW (boost)
4. Cooking zone ø 21 cm - Max. 2.3 kW / 3.0 kW (boost)
5. Cooking zone ø 26 cm - Max. 2.6 kW / 3.7 kW (boost)
6. Bridge induction cooking zone 18 x 22 cm - Max. 2.3 kW / 3.7 kW (boost)
7. Cooking zone Double Ring:
ø 18 cm - Max. 1.85 - 3.0 kW (boost)
ø 26 cm - Max. 2.60 - 5.5 kW (boost)
8. Control panel (visible only when the hob is turned on)
9. On/Off touch key
INFORMATION!
The maximum power output is depending on the type of cookware used and the thermal condition
of the appliance.
9
Your hob

Using the touch controls
•The touch controls may take some getting used to if you are used to other (rotary) controls. Place
the tip of your finger flat on the control to achieve the best results. You do not have to apply any
pressure.
•The touch sensors only react to the light pressure of a fingertip. Do not operate the controls with
any other objects.
•The cooking hob is operated by a slider. You can either touch the selected part of the slider or
slide in a circular motion clockwise to increase or anti-clockwise to decrease the power level
and temperature.
•To set the cooking zone power level, touch the desired spot on the slider. As you touch the slider,
the selected power level will appear on the cooking zone display unit.
•The selected part of the slider will be fully lit.
Induction cooking
Induction cooking is fast
In the beginning you will be surprised by the speed of induction cooking. Especially at higher settings,
foods and liquids will boil very rapidly.
It is best not to leave pans unattended to avoid them boiling over or boiling dry.
Always keep the lid on the pan when cooking, in order to avoid energy
loss, and therefore temperature loss.
Attention
Only put pans with a clean base on the cooking surface and always
pick pans up to move them.
Grains of sand, salt, sugar or crystals may cause scratches which
cannot be removed.
10
Use

How does induction work
A magnetic field is generated in the appliance. By placing a pan with
an iron base on a cooking zone, a current is induced in the pan base.
This induced current generates heat in the base of the pan.
Easy
The electronic controls are accurate and easy to set. On the lowest
setting, you can melt chocolate directly in the pan, for example, or cook
ingredients that you would normally heat in a bain-marie.
Fast
Thanks to the induction hob’s high power levels, bringing liquid to the
boil is very quick. Cooking food through takes just as long as for other
types of cooking.
Clean
The hob is easy to clean. Because the cooking zones do not get any
hotter than the pans themselves, food spills cannot be burnt on the
cooking zone.
Safe
The heat is generated in the pan itself. The glass top does not get any
warmer than the pan. This means that the cooking zone is considerably
cooler compared to that from a ceramic hob or a gasburner. Once a
pan has been taken away, the cooking zone cools down quickly.
Power management
This induction hob is equipped with a smart power management system. This system ensures a
maximum permissible power cannot be exceeded for safety reasons.
•The smart power management system will arrange the power distribution across the zones
automatically. This means the hob could automatically decrease the power on one zone when
the power level of another zone is increased. The level of activity of the power management
system depends on the available power per electrical phase, the setting of the current limiter
and the connected load.
•The power level of one zone can affect the power of another zone as the maximum available
power is distributed among the zones. If the combined zones reach the maximum available
power when a new power level is set, the power levels of one or more zones are automatically
reduced within the power limit. This is indicated by the flashing of the relevant control element.
•In case a zone is used for Celsius Cooking, this zone always gets highest priority.
•Intervention by the smart power management system is more likely when the current limiter is
set to a lower level.
•The current limiter setting must be set according to your connection and circuit breakers by a
registered and qualified installer (see ‘Current limiter’for the details on currents and electrical
installation).
11
Use

Pans
Pans for induction cooking
Induction cooking requires a particular quality of pan.
WARNING!
Pans that have already been used for cooking on a gas hob are no longer suitable for use on an
induction hob.
Only use pans that are suitable for induction cooking with a thick base (minimum 2.25 mm) and a
flat base.
•The best are pans with the ‘Class Induction’quality mark.
INFORMATION!
You can check for yourself whether your pans are suitable using a magnet. A pan is suitable if
the base of the pan is sufficiently attracted by the magnet.
UnsuitableSuitable
EarthenwareSpecial stainless steel pans
Stainless steelClass Induction
PorcelainHard-wearing enamelled pans
CopperEnamelled cast-iron pans
Plastic
Aluminium
WARNING!
Be careful with enamelled sheet-steel pans:
•the enamel may chip (the enamel comes loose from the steel), if you switch the hob on at a
high setting when the pan is (too) dry
•the base of the pan may warp - for example: Due to overheating
•heat up enamelled pans slowly
12
Use

WARNING!
Never use pans with a misshapen base. A hollow or rounded base
can interfere with the operation of the overheating protection, so that
the appliance becomes too hot. This may lead to the glass top
cracking and the pan base melting. Damage arising from the use
of unsuitable pans or from boiling dry is excluded from the guarantee.
Minimum pan diameter
The diameter of the bottom of the pan must be at least 12 cm. You will achieve the best results by
using a pan with the same diameter as the cooking zone. If a pan is too small the zone will not work.
Pressure cookers
Induction cooking is very suitable for cooking in pressure cookers. The cooking zone reacts very
quickly, and so the pressure cooker is quickly up to pressure. As soon as you switch a cooking zone
off, the heating process stops immediately.
Pan detection
The cooking zone automatically detects a suitable pan placed on a cooking zone. The cooking zone
display lights up.
Integrated pan recognition
If a certain power level is set for a cooking zone and there is no suitable pan or any pan on the
cooking zone, then the cooking zone will not deliver any power. After a certain period, the cooking
zone will switch off automatically.
Grill plates
The hob has a Grill function (depending on the model) for using a grill plate or teppan yaki. The
function keeps the grill plate or teppan yaki at an ideal temperature for grilling.
Induction noises
A ticking sound
This sound can be caused at lower power level settings or by the automatic pot detection.
Pans are making noise
Pans can make some noise during cooking. This is caused by the energy flowing from the hob to
the pan. This is perfectly normal for some pans. It will not damage either the pans or the hob.
The fan is making noise
To increase the lifespan and performance of the electronics, the appliance is equipped with fans.
During intense use of the appliance, the fan is activated to cool down the appliance and you will
hear a buzzing sound. The fan still runs for several minutes after the hob has been switched off.
13
Use

Power level settings
Because the settings depend on the quantity and composition of the contents of the pan, the table
below is intended as a guideline only.
PurposeLevel
Use settings 1 - 5 to: •simmer bouillon
•stew meats
•simmer vegetables
•melt chocolate
•poach
•melt cheese
Use settings 6 - 9 to: •complete the cooking of large quantities
•defrost hard vegetables
•fry thick slices of breadded meat
Use settings 10 - 11 to: •fry thick pancakes
•fry thick slices of breadded meat
•fry bacon (fat)
•cook raw potatoes
•make breadded fish
•cook through fish
•fry thin slices of breadded meat
Use setting 12 to: •sear meats,
•cook fish,
•cook omelettes,
•fry boiled potatoes,
•deep fry foods.
Use setting 'boost' to: •bring the food or liquid to the boil quickly
•shrink greens
Power distribution of cooking zones
•Depending on the type of hob, the cooking zones can affect each other. When several of these
cooking zones are switched on at the same time, the capacity is shared automatically between
them.
•When the maximum capacity of the combination of cooking levels is reached during setting, one
or more zones are automatically reduced to the highest possible setting at that moment. This is
indicated by the flashing of the relevant control element.
14
Use

(lay-out of user interface depends on model)
1. Wi-Fi/Connectivity
2. Pause
•Key lock for cleaning
•Pause and resume cooking
3. On/Off
•Child lock
4. Hood control
•Minus
•Fan
•Plus
•Lighting
•Display
5. Hestan Cue
•Heating up and frying
•Boiling/cooking with water
•Slow cooking or sous vide
6. PLUS programs
•Grill
•Frying/wok
•Heating up/keeping warm
7. Cooking Level or Temperature Display
•Residual Heat indication
•Boost indication
8. Time functions
•Stopwatch
•Kitchen timer
15
Control panel

StatusIn display
Power level ‘0’for a cooking zone
Power level that is set for a cooking zone; 1 = low / 12 = high
Boost function active
boost
Locking function is activated; the control panel is locked
Residual heat indicator; The hob has a residual heat indicator for each
cooking zone to show which cooking zones are hot after cooking zone is
turned off. Although the hob is switched off, the indicator will remain on
for as long as the cooking zone is hot! Avoid touching those cooking zones
when this indicator is lit. Danger! Risk of burns.
Error code; See chapter Troubleshooting
PLUS programs
Grill
Frying/wok
Heating up/keeping warm
Hestan Cue programs
Heating up and frying
Boiling/cooking with water
Slow cooking or sous vide
16
Indications on the display

Switching the hob on/off
Touch the on/off key to switch on the hob. A short beep will be emitted. Rings on all sliders will
light up, then slider will gradually fade out. Slider will only remain lit on the selected cooking zones
on which you have the pans placed. When the pan is removed, the slider will be switched off, while
all internal rings will remain lit.
INFORMATION!
When no cooking zone is active for 60 seconds, the cooking hob will power off.
Child lock
Cooking hob controls can be locked to prevent it from being switched on inadvertently.
Turn on the hob by pressing the on/off key. Touch the on/off key and hold it for 3 seconds. The
indication will appear on the display unit, and the hob controls will be locked. To unlock the
controls, proceed in the same way. The indication together with sliders will appear on all cooking
zone display on which pans are present, and the hob controls will be unlocked.
17
Operation

INFORMATION!
Child lock should be activated before the start of cleaning to avoid accidentally switching on the
hob.
Cooking
Three cooking modes are available:
1. Standard cooking with power levels
2. Cooking with the PLUS menu
3. Hestan Cue cooking by measuring cookware temperature
Standard cooking
Place the pan on a certain cooking zone. Set the power level as desired. Power level can be set by
sliding in circular motion or by directly touching an area or position on the slider. Slider elements
will be fully lit. To switch the cooking zone off slide backwards or touch the empty area on top of the
slider at the right side.
Boost
Rapid cooking, boost can be activated for any cooking zone. This will allow you to rapidly heat large
amounts of food using extra power. Boost is active for no more than 10 minutes; then, the power
level is automatically decreased to 12. If the cooking hob is not too hot, the boost can be reactivated
again for 10 minutes after it is switched off.
Activating boost
First activate power level 12 and then press the button for power level 12 a second time. "boost"
will appear on the display. The boost function is now activated.
Alternatively, the power level 12 can be activated clockwise and slide a little beyond the button 12.
If auto boost is activated (see chapter Settings), boost is always activated together with power level
12.
Deactivating boost
To deactivate the boost for the selected cooking zone, press level 12 again or any other power level
on the slider.
18
Operation

INFORMATION!
To avoid overheating, the electronic control system may automatically deactivate boost prematurely
and decrease the power level to 12.
If there is no suitable pan on the cooking zone, the set level of temperature will flash. After one
minute, the cooking zone will be switched off.
Move function
If you remove the pan from an active cooking zone and within 6 seconds place it on a different
cooking zone, all the timer and cooking-related settings can be transferred to the new cooking zone
by touching the slider of the new cooking zone. To indicate this possibility, the new cooking zone
displays copied settings on the slider. When the confirmation is done, the previous cooking zone is
deactivated.
Automatic cooking zone bridging
Two adjacent square cooking zones can be merged into a single large cooking zone. Pan position
recognition is activated automatically after the appliance is switched on. When a pan will be placed
on the hob, the pan recognition function will recognize its position and automatically connect the
bridge cooking zones depending on the size of the pan (only when hob was already switched on).
The power level or temperatures are displayed simutaneously on both bridged cooking zones, but
the power level or temperature can only be adjusted on the left or upper slider.
You can un-bridge or manualy bridge the cooking zone by touching the two corresponding sliders
at the same time.
Chef mode
(only on type models: HI29672SV HI29672SVI HI29671SV)
In this mode, all cooking zones are switched on simultaneously and the cooking hob is divided into
three zones.
•On all left-hand side cooking zones, power level 12 is automatically activated.
•On all middle cooking zones, power level 7 is automatically activated.
•On all right-hand side cooking zones, power level 1 is automatically activated.
Power levels can then be adjusted to any value.
19
Operation

To activate this mode, touch two sliders at the same time for 3 seconds. All zones must be inactive
and Celsius°Cooking™pans should not be assigned. To turn off this mode, tap any two sliders at
the same time.
In this mode, the hob does not warn of an empty cooking zone, even if there is no suitable pan
placed on any cooking zone. The hob switches off automaticaly, if there is no cooking pot detected
on the hob for 10 minutes.
INFORMATION!
Please lift pans when moving them from one zone to another, not slide them.
Pause
The pause function can be used to pause the operation of the entire cooking hob for up to 10
minutes. Thus, you can walk away from the appliance or safely clean the cooking hob, within a short
period of time, without losing your settings.
Switching on the pause
At least one cooking zone must be active.
Touch the pause button . You will hear a short beep. The settings on all active hobs are reduced
to level 2.
All timer functions are paused.
All keys are inactive except the pause and on/off key.
If no key is pressed within 10 minutes, all active hobs automatically turn off.
Hestan Cue programs are not paused since they are automatically operated.
Switching off the pause
Press the pause key again within 10 minutes.
The hob continues to operate with the same settings as before the break.
Timers are also unpaused.
Recall function
This feature allows you to recall all the settings of the cooking zones if the hob was accidentally
switched off.
Within 6 seconds the hob must be switched back on. Pressing anywhere on the slider within 6
seconds recalls all the settings from before the appliance was last switched off.
20
Operation
Other manuals for HI21471
1
This manual suits for next models
20
Table of contents
Other Atag Hob manuals

Atag
Atag KG6111P User manual

Atag
Atag HG7692A User manual

Atag
Atag HG3171MBB User manual

Atag
Atag HG511MX/T User manual

Atag
Atag HI3271MV Installation instructions

Atag
Atag HI170G User manual

Atag
Atag HI21471 User manual

Atag
Atag HG41 A/J Series User manual

Atag
Atag HI6071M User manual

Atag
Atag HI064 C Series User manual