atd models ATD002 User manual
Other atd models Toy manuals
atd models
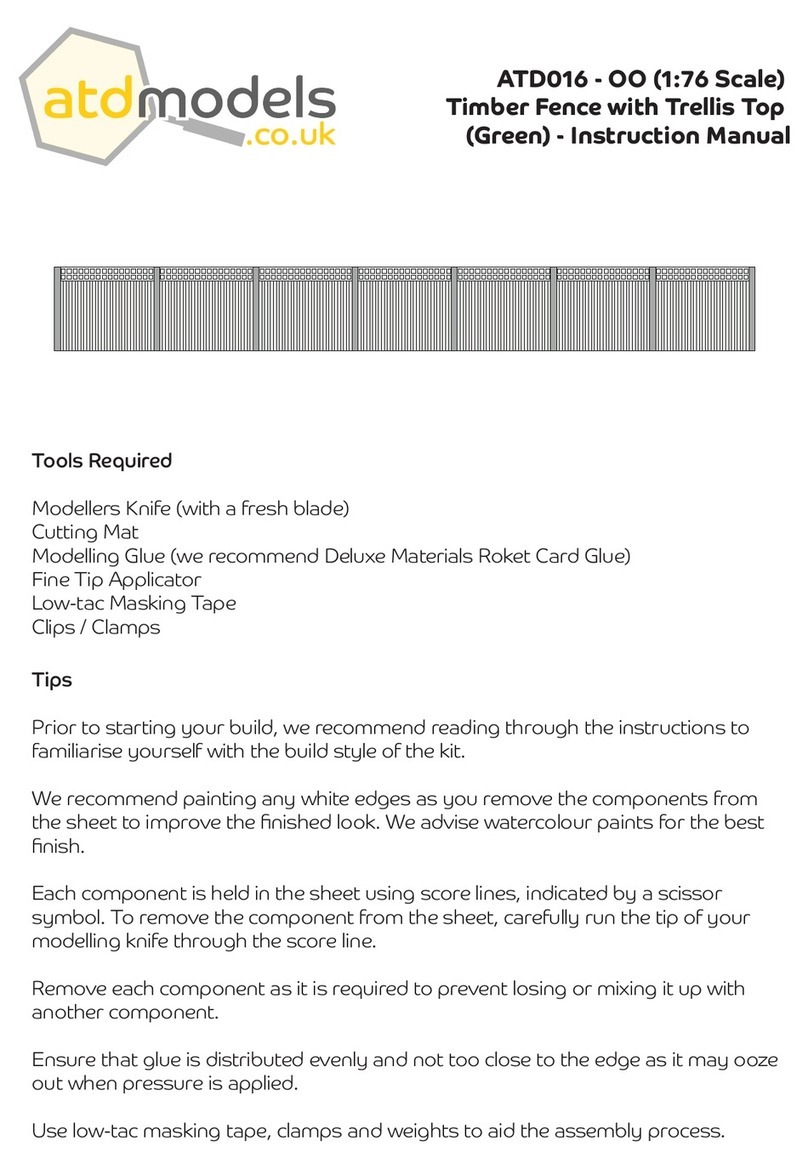
atd models ATD016 User manual
atd models
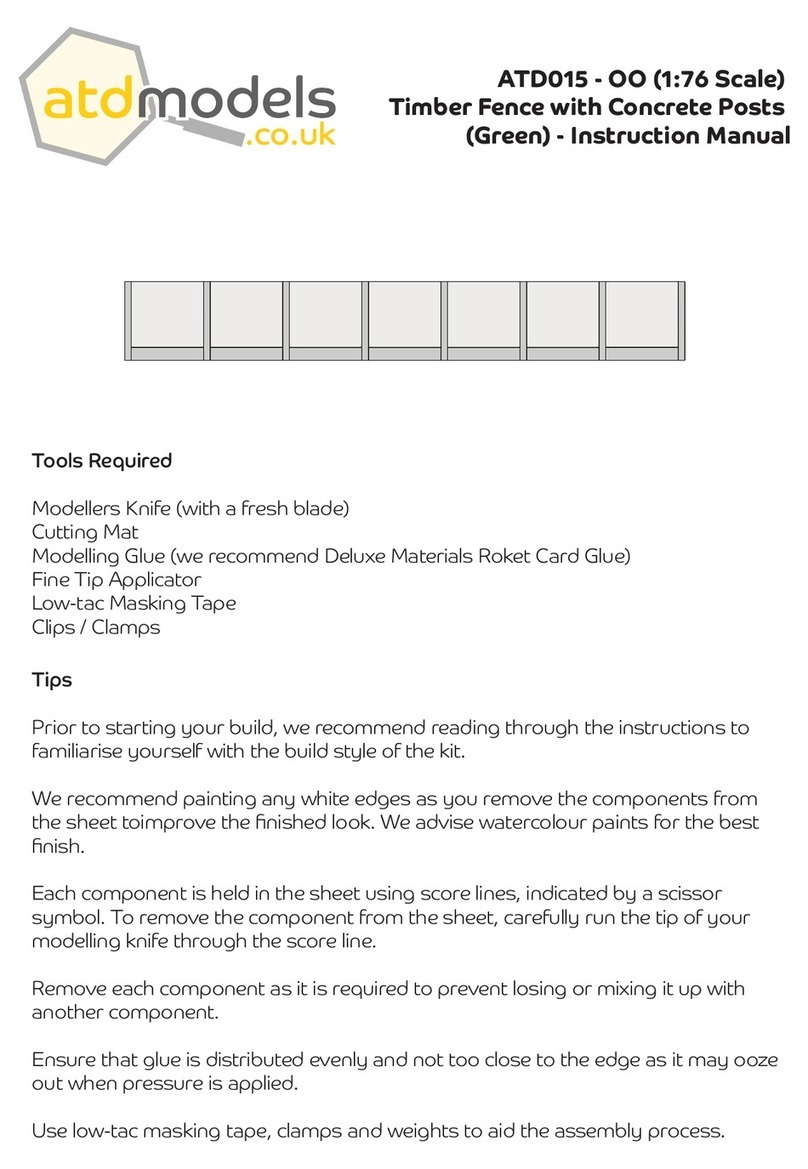
atd models ATD015 User manual
atd models
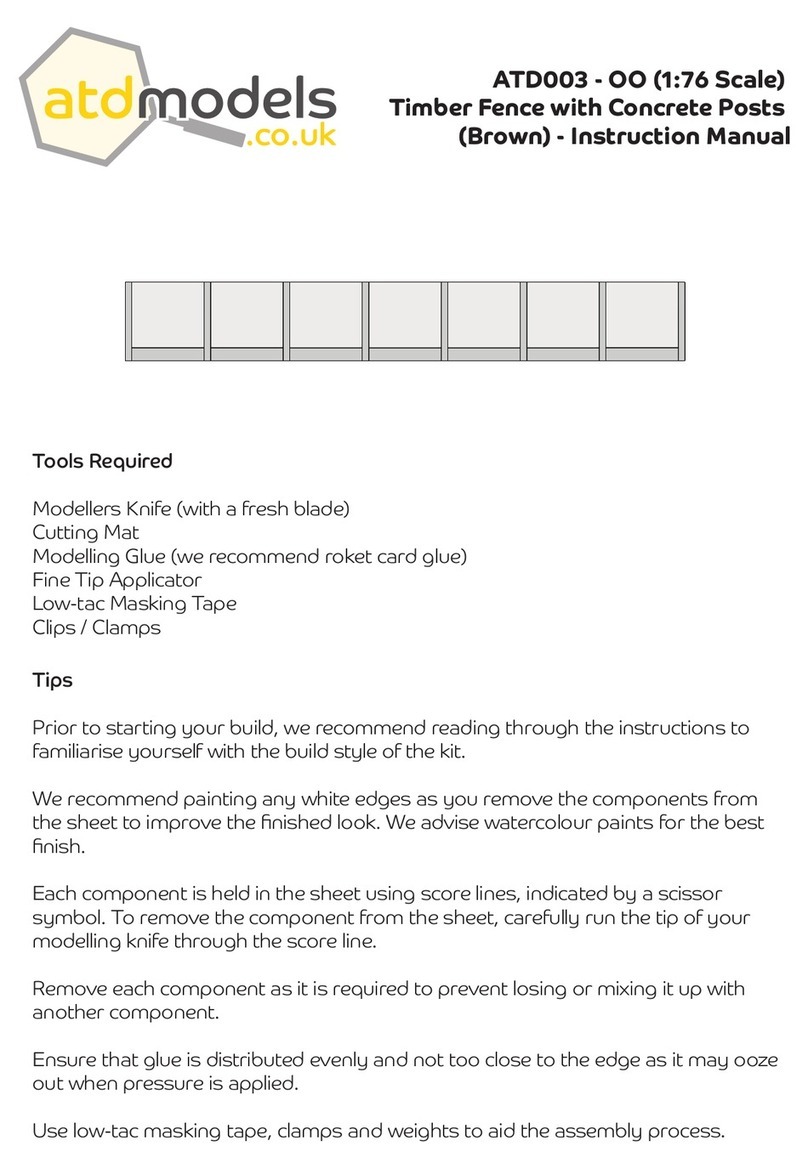
atd models ATD003-00 User manual
atd models
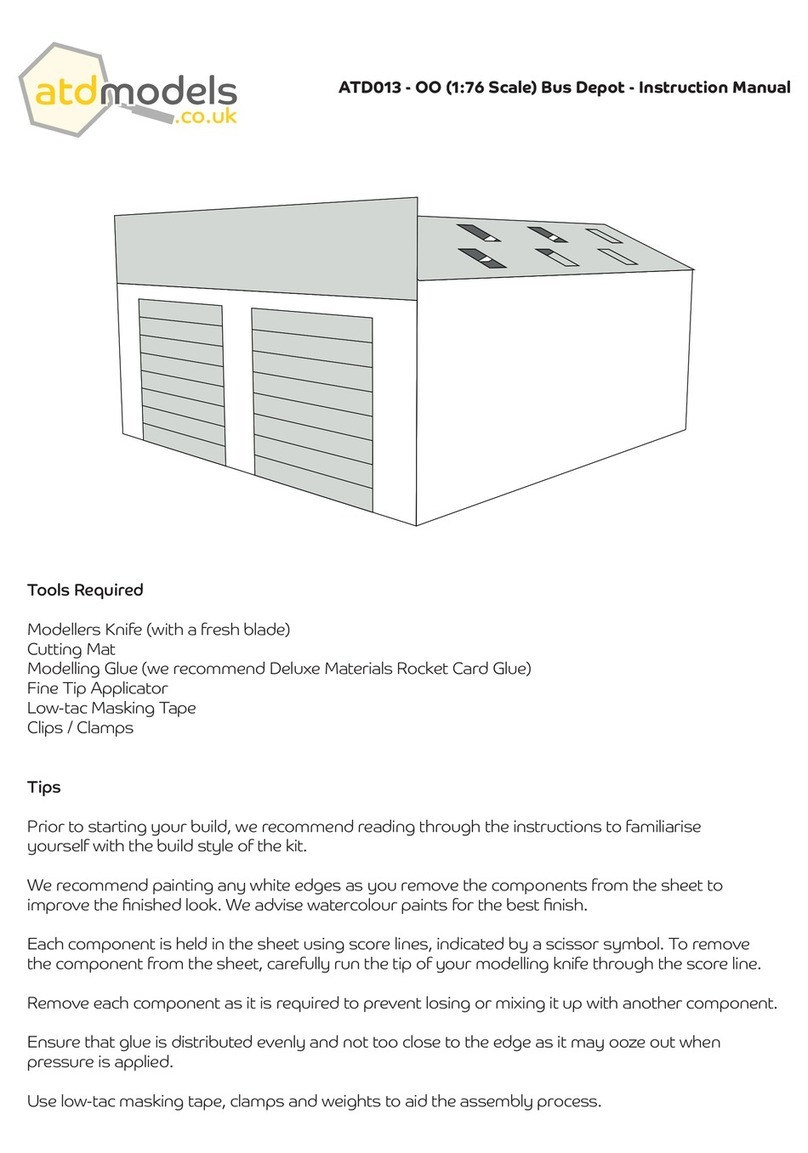
atd models ATD013 User manual
atd models
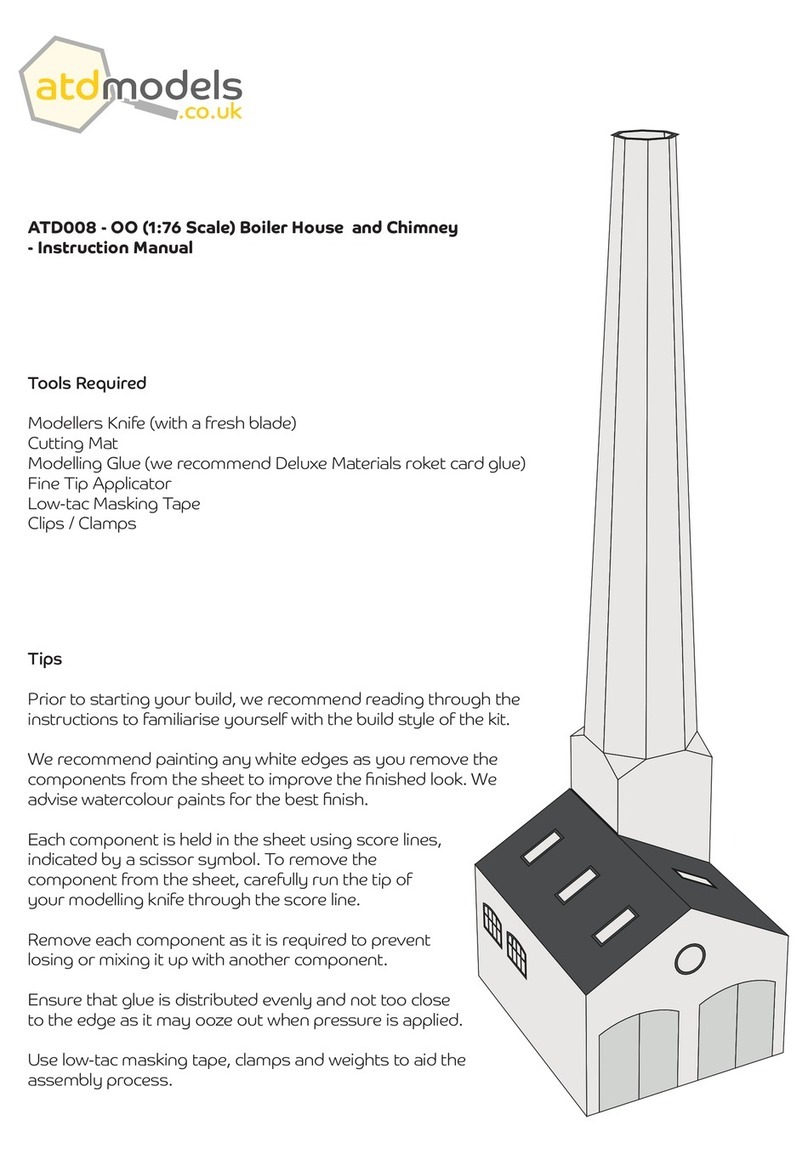
atd models ATD008 User manual
atd models
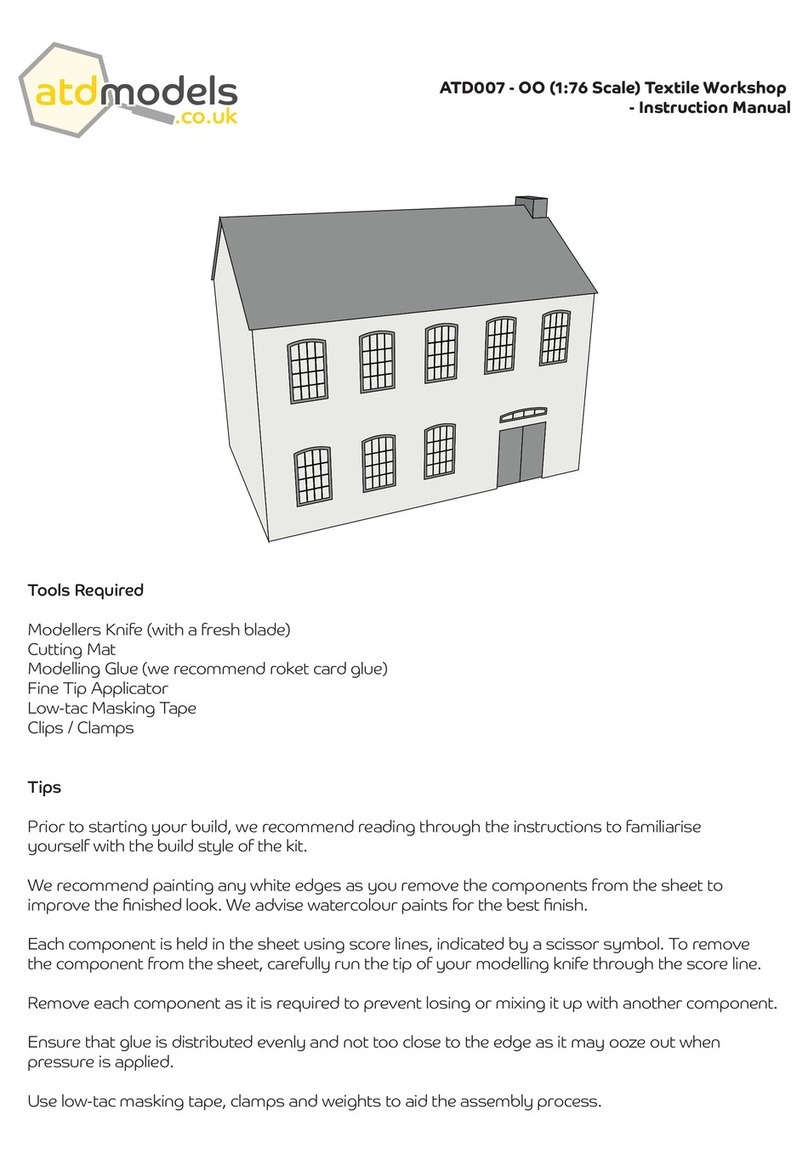
atd models ATD007 User manual

atd models
atd models ATD021 User manual
atd models
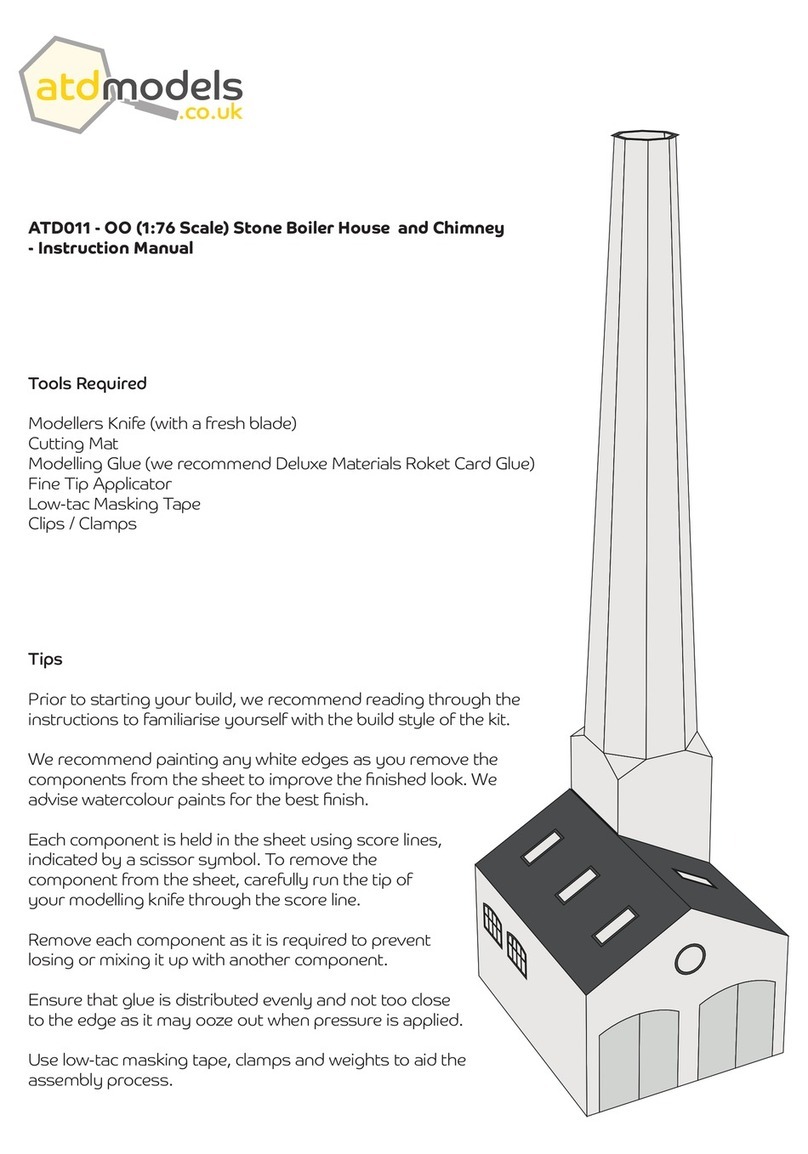
atd models Stone Boiler House and Chimney ATD011 User manual
atd models
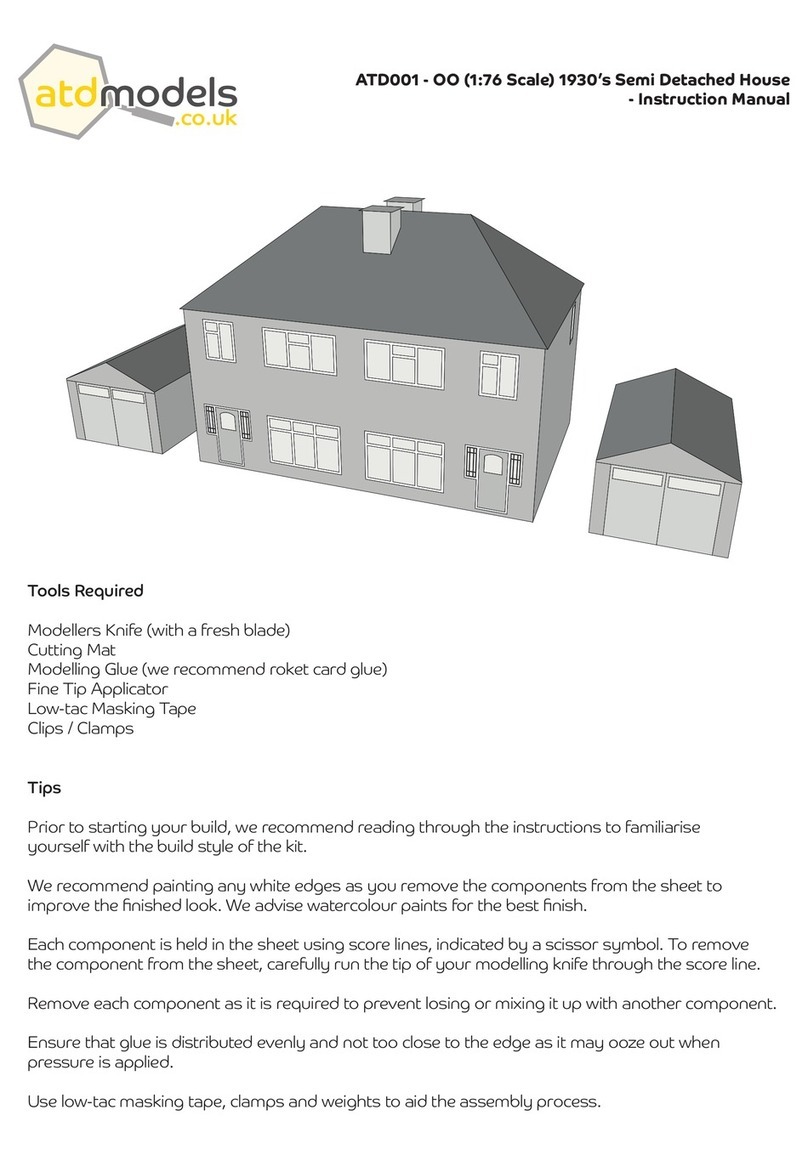
atd models ATD001 User manual
atd models
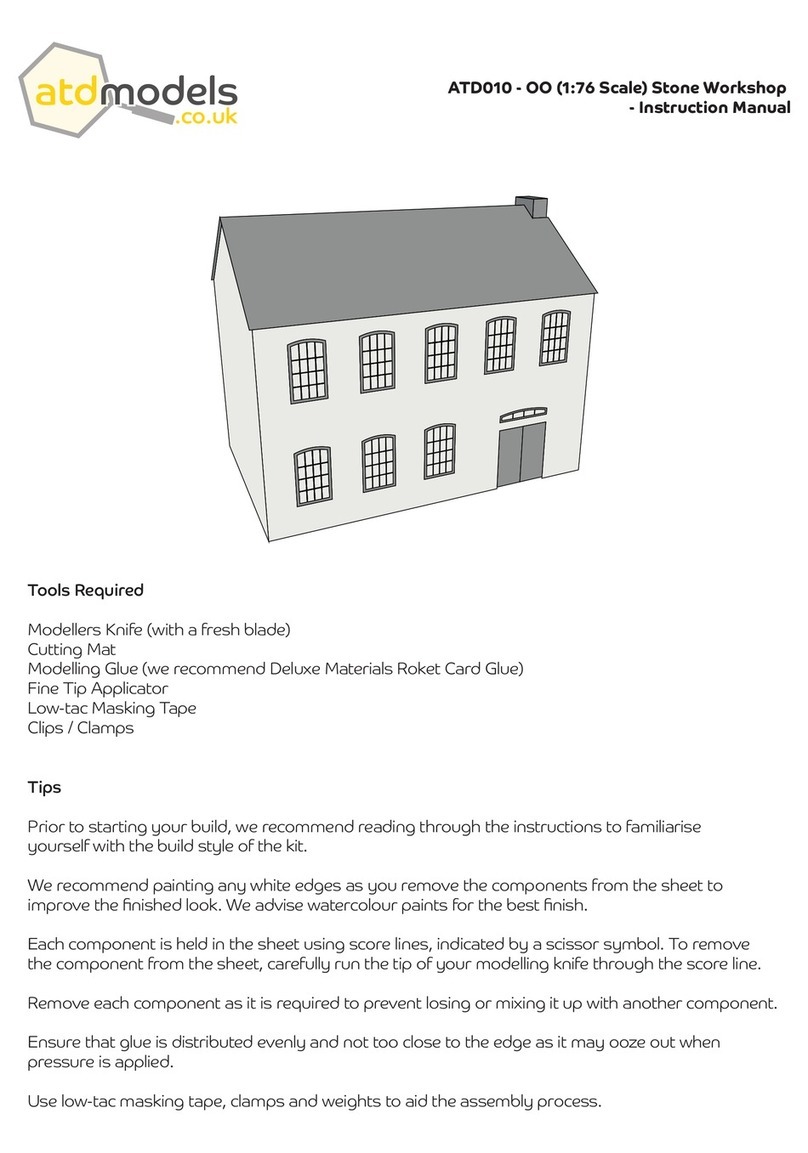
atd models Stone Workshop ATD010 User manual
Popular Toy manuals by other brands

FUTABA
FUTABA GY470 instruction manual

LEGO
LEGO 41116 manual

Fisher-Price
Fisher-Price ColorMe Flowerz Bouquet Maker P9692 instruction sheet

Little Tikes
Little Tikes LITTLE HANDIWORKER 0920 Assembly instructions

Eduard
Eduard EF-2000 Two-seater exterior Assembly instructions

USA Trains
USA Trains EXTENDED VISION CABOOSE instructions
