manuals.online logo
Brands
  1. Home
  2. •
  3. Brands
  4. •
  5. atd models
  6. •
  7. Toy
  8. •
  9. atd models Stone Boiler House and Chimney ATD011 User manual

atd models Stone Boiler House and Chimney ATD011 User manual

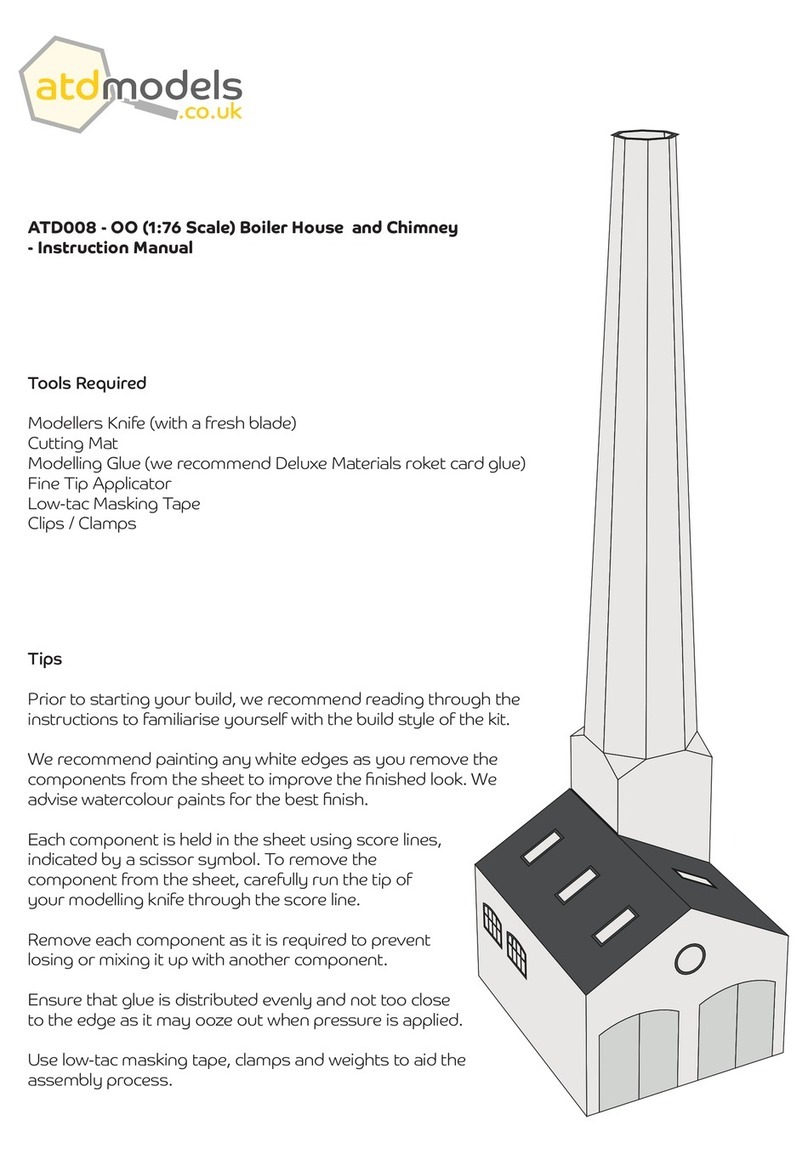
ATD011 - OO (1:76 Scale) Stone Boiler House and Chimney
- Instruction Manual
Tools Required
Modellers Knife (with a fresh blade)
Cutting Mat
Modelling Glue (we recommend Deluxe Materials Roket Card Glue)
Fine Tip Applicator
Low-tac Masking Tape
Clips / Clamps
Tips
Prior to starting your build, we recommend reading through the
instructions to familiarise yourself with the build style of the kit.
We recommend painting any white edges as you remove the
components from the sheet to improve the nished look. We
advise watercolour paints for the best nish.
Each component is held in the sheet using score lines,
indicated by a scissor symbol. To remove the
component from the sheet, carefully run the tip of
your modelling knife through the score line.
Remove each component as it is required to prevent
losing or mixing it up with another component.
Ensure that glue is distributed evenly and not too close
to the edge as it may ooze out when pressure is applied.
Use low-tac masking tape, clamps and weights to aid the
assembly process.
1. Detach component A and fold along the
crease lines. Then apply glue to the tab and
bond it to the inside of the wall.
2a. Detach component C and place it face down
on your work surface. Then locate the tab on
the right hand side, fold it over on itself and
glue.
Apply rm pressure on the tab until the glue
has semi-cured to stop it from lifting.
i
2b. Fold component C along the crease lines.
Then apply glue to the tab and bond it to the
inside of the wall.
2c. Detach component B (oor) and place it within
component A (this will ensure the height of
the oor is accounted for). Then apply glue to
the unprinted sides of component C and glue
it inside component A, as per the illustration
below.
3. Locate the glazing sheet and cut out both of
the arched windows. Then glue them into
position.
4. Detach component D and glue it within
component A, ensuring that there is even
spacing left and right of the component and
the top is ush.
5. Detach component E and glue it within
component A, ensuring that there is even
door surround visable from the outside.
6. Detach component F and glue it within
component A, ensuring that there is even
spacing left and right of the component and
the top is ush.
7. Detach component I (we’ve oered two
colour options) and glue it into position,
ensuring that the door is centre aligned from
the outside of the building.
8. Detach component G (we’ve oered two
colour options) and glue it into position,
ensuring that the doors are centre aligned
from the outside of the building.
If you would like an open look on the doors,
carefully cut along the pre-scored line.
i
9. Locate the glazing sheet and cut out one of
the circular windows and glue it into position.
Then, detach component F and glue it onto
component G, ensuring that there is even
spacing left and right of the component and
the top is ush.
10. Locate component B and glue it within
component A.
We recommend using ATD low-tac masking
tape to assist on this step whilst the glue
cures.
i
11a. Detach component L (x2) and glue them
together, back to back.
11b. Detach component J and K and glue them
within the building along with component
L, as per the illustration below.
Each truss should sit within a notch cut out
on the corresponding wallst.
i
12. Detach component O and fold it along the
crease lines, forming the chimney stack.
13a. Detach component N and fold it along the
crease lines. Then apply glue to the tab and
bond, forming a collar.
13b. Apply a bead of glue to the chimney feet
and the position them within the collar,
ensuring the bottom of the feet are ush with
the bottom of the collar.
14. Position the chimney stack just inside the
chimney base. Next carefully interlock the tabs
on the base with the chimney stack.
stack
push tab
in here to
interlock
tab
15. Detach component P (x4) and glue them
to the chimney to hide the white corners.
16. Detach component M and place it face down
on your work surface. Then locate the glazing
sheet, cut out the sky lights and glue them
to component M.
You have now completed the Boiler House & Chimney. We hope you enjoyed and
successfully built the kit! To view our other card kits, more products and nd your
local stockist, visit www.atdmodels.co.uk
We’d love to see photos of your nished models. Please send them to
[email protected] for a chance to be featured on our social media pages.
17. Apply a bead of glue across the top of the
walls and place the roof on the building.
We recommend using ATD low-tac masking
tape to assist on this step whilst the glue
cures.
18. Remove pieces Q, R, S and T from the sheet,
and them glue together in ascending order,
ensuring that all the pieces are centre aligned.
This will create the capping stones.
Next, apply a bead of glue to the bottom of
the capping stones and sit them on top of the
chimney stack. You may need to aid the shape
in which the top of the chimney naturally sits
in as you position the capping stones.
i
© Copyright ATD Models | All Rights Reserved

Other atd models Toy manuals

atd models ATD002 User manual

atd models

atd models ATD002 User manual

atd models ATD014 User manual

atd models

atd models ATD014 User manual

atd models ATD003-00 User manual

atd models

atd models ATD003-00 User manual

atd models ATD001 User manual

atd models

atd models ATD001 User manual

atd models ATD033 User manual

atd models

atd models ATD033 User manual

atd models ATD021 User manual

atd models

atd models ATD021 User manual

atd models ATD005 User manual

atd models

atd models ATD005 User manual

atd models Stone Workshop ATD010 User manual

atd models

atd models Stone Workshop ATD010 User manual

atd models ATD015 User manual

atd models

atd models ATD015 User manual
atd models ATD022 User manual

atd models

atd models ATD022 User manual

atd models ATD016 User manual

atd models

atd models ATD016 User manual

atd models ATD008 User manual

atd models

atd models ATD008 User manual

atd models ATD007 User manual

atd models

atd models ATD007 User manual

atd models ATD013 User manual

atd models

atd models ATD013 User manual

atd models ATD032 User manual

atd models

atd models ATD032 User manual
Popular Toy manuals by other brands

Canon Virgin atlantic AIRBUS A340-600 Assembly instructions

Canon

Canon Virgin atlantic AIRBUS A340-600 Assembly instructions

HOMCOM 844-687V00BK Assembly instructions

HOMCOM

HOMCOM 844-687V00BK Assembly instructions

Eduard Victor K.2 interior quick start guide

Eduard

Eduard Victor K.2 interior quick start guide

Phoenix ask-21 electric 3200 instruction manual

Phoenix

Phoenix ask-21 electric 3200 instruction manual

Fisher-Price H8179 instructions

Fisher-Price

Fisher-Price H8179 instructions

marklin 37958 user manual

marklin

marklin 37958 user manual

Fisher-Price POWER WHEELS M9779 Owner's manual & assembly instructions

Fisher-Price

Fisher-Price POWER WHEELS M9779 Owner's manual & assembly instructions

Smoby 720102 manual

Smoby

Smoby 720102 manual

Hornby CLASS 153 Operating and maintenance instructions

Hornby

Hornby CLASS 153 Operating and maintenance instructions

Mattel Barbie M0785-0920 instructions

Mattel

Mattel Barbie M0785-0920 instructions

HQ Kites & Design Delta Rainbow owner's manual

HQ Kites & Design

HQ Kites & Design Delta Rainbow owner's manual

Eduard Brassin MiG-23M/MF wheels manual

Eduard

Eduard Brassin MiG-23M/MF wheels manual

Faller GOATS AND SHEEP PATTING ZOO instructions

Faller

Faller GOATS AND SHEEP PATTING ZOO instructions

Faller 180330 manual

Faller

Faller 180330 manual

fischertechnik ROBO TX instruction manual

fischertechnik

fischertechnik ROBO TX instruction manual

Our Generation Row Your Boat Set BD37315Z instructions

Our Generation

Our Generation Row Your Boat Set BD37315Z instructions

Multiplex Space Scooter Building instructions

Multiplex

Multiplex Space Scooter Building instructions

TILLIG BAHN 96119 quick start guide

TILLIG BAHN

TILLIG BAHN 96119 quick start guide

manuals.online logo
manuals.online logoBrands
  • About & Mission
  • Contact us
  • Privacy Policy
  • Terms and Conditions

Copyright 2025 Manuals.Online. All Rights Reserved.