manuals.online logo
Brands
  1. Home
  2. •
  3. Brands
  4. •
  5. atd models
  6. •
  7. Toy
  8. •
  9. atd models Stone Workshop ATD010 User manual

atd models Stone Workshop ATD010 User manual

ATD010 - OO (1:76 Scale) Stone Workshop
- Instruction Manual
Tools Required
Modellers Knife (with a fresh blade)
Cutting Mat
Modelling Glue (we recommend Deluxe Materials Roket Card Glue)
Fine Tip Applicator
Low-tac Masking Tape
Clips / Clamps
Tips
Prior to starting your build, we recommend reading through the instructions to familiarise
yourself with the build style of the kit.
We recommend painting any white edges as you remove the components from the sheet to
improve the nished look. We advise watercolour paints for the best nish.
Each component is held in the sheet using score lines, indicated by a scissor symbol. To remove
the component from the sheet, carefully run the tip of your modelling knife through the score line.
Remove each component as it is required to prevent losing or mixing it up with another component.
Ensure that glue is distributed evenly and not too close to the edge as it may ooze out when
pressure is applied.
Use low-tac masking tape, clamps and weights to aid the assembly process.
1. Detach Wall A and place it face down on your work surface. Then fold the tabs over on themselves
and glue. Repeat this step for Wall B.
Apply rm pressure on the tabs until the glue is semi cured to stop them from lifting.
i
3a. Locate the Glazing Sheet, cut out the windows and then glue them into position, as per the
illustation below.
Ensure that you cut out the glazing along the outer black lines. This will allow an overhang on each
piece of glazing making them easier to glue into position.
i
2a. Detach Wall E and glue it to Wall A.
The window openings on Wall E are slightly
smaller than the window openings on Wall A.
2b. Detach Wall F and glue it to Wall B.
The window openings on Wall F are slightly
smaller than the window openings on Wall B.
i i
3b. Detach one of the doors (we’ve given two
colour options) and glue it to the inside of
Wall A.
We have scored the doors giving you the
option to have them open by carefully
running the blade across the score lines.
i
4. Fold the tabs on Wall C inwards by 90 degrees. Repeat this step for Wall D.
5a. Detach Wall G and glue it to Wall C.
Ensure there is an even gap between the
crease lines on component C and the edge
of Wall G.
5b. Detach Wall H and glue it to Wall D.
Ensure there is an even gap between the
crease lines on component D and the edge
of Wall H.
i i
6c. Glue Wall B to the tabs on Wall C and D. 7. Detach Wall I and glue to the inside of the
building. Repeat this step for Wall J.
6a. Glue the tab on Wall C to Wall A, as per the
illustration below.
6b. Glue the tab on Wall D to Wall A, as per the
illustration below.
i
8. Now turn the building on its side. Detach the
Ground Floor and glue it into the building.
You will notice that there are notches
cut out in the wall that will align with the tabs
on the oor like a jigsaw. There is no tab
where the oor sits behind the door.
You may nd it easier to apply glue inside
the notches before positioning the tabs.
9a. Detach the Ground Floor Chimney Breast
and then fold it along the crease lines.
9b. Glue the Chimney Breast into position, as
per the illustration below.
i
10. Detach the 1st Floor and glue it into position.
You will notice that there are notches
cut out in the wall that will align with the tabs
on the oor like a jigsaw. Before glueing the
component into position, ensure that the
notches line up with their corresponding tabs.
You may nd it easier to apply glue inside
the notches before positioning the tabs.
11a. Detach the chimney inlls and fold, as per the
illustration below.
11b. Detach the 1st Floor Chimney and fold the
upper tabs, as per the illustration below.
11c. Glue the inlls into position, as per the
illustration below.
11d. Fold the lower tabs, wrapping them around
the inlls and glueing together.
12. Glue the Chimney Breast into position, as
per the illustration below.
13. Detach the trussing (x2). Carefully glue them
together, back to back. Repeat this step for
the remaining trussing.
14. Glue the Trussing into position, as per the
illustration below.
15. Fold the chimney stack along the crease lines
and glue into position.
You have now completed the Stone Workshop. We hope you enjoyed and
successfully built the kit! To view our other card kits, more products and nd your
local stockist, visit www.atdmodels.co.uk
We’d love to see photos of your nished models. Please send them to
[email protected] for a chance to be featured on our social media pages.
i
16. Apply a bead of glue across the tops of the
walls. Then detach the roof and position it on
top of the building.
We recommend using ATD low-tac masking
tape to assist on this step whilst the glue
cures.
17. Detach the capping stones and place them
face down on your work surface. Glue
the smaller component, ensuring that it is
centre aligned.
18. Apply a bead of glue across the top of the
chimeny stack and then position the capping
stone face up, as per the illustration below.
© Copyright ATD Models | All Rights Reserved

Other atd models Toy manuals

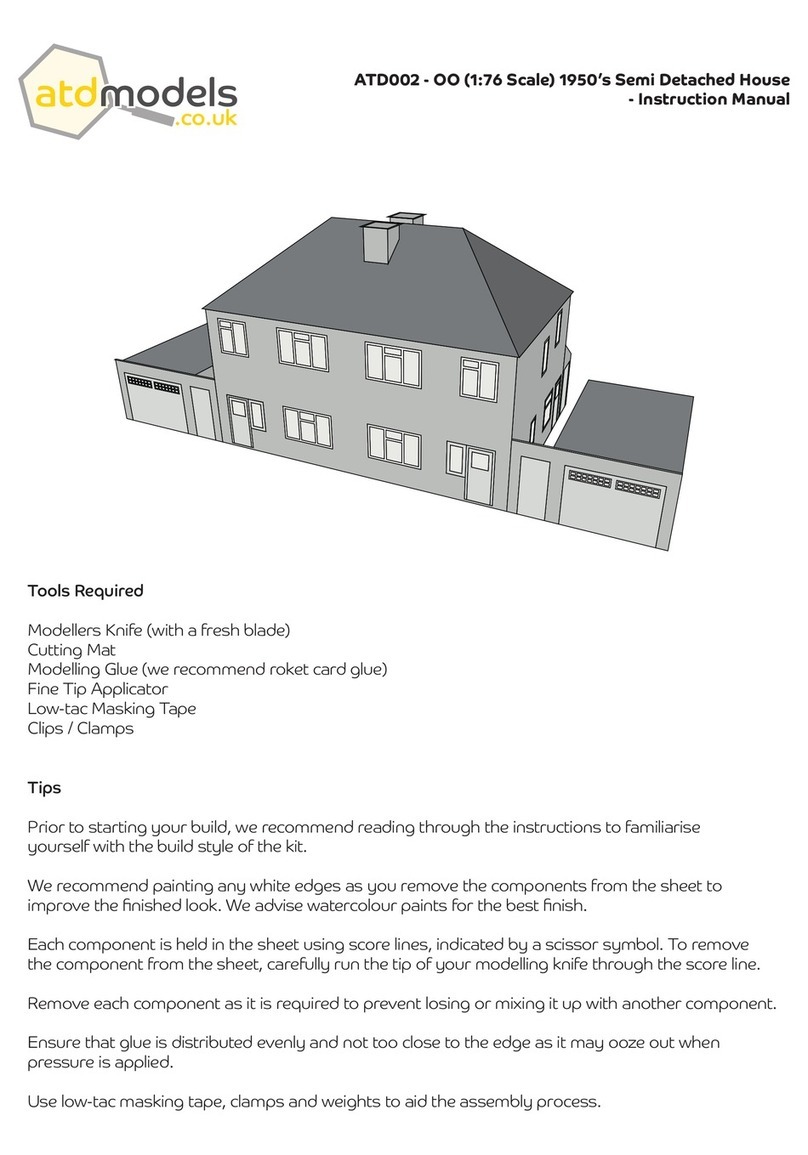
atd models ATD002 User manual

atd models

atd models ATD002 User manual

atd models ATD033 User manual

atd models

atd models ATD033 User manual

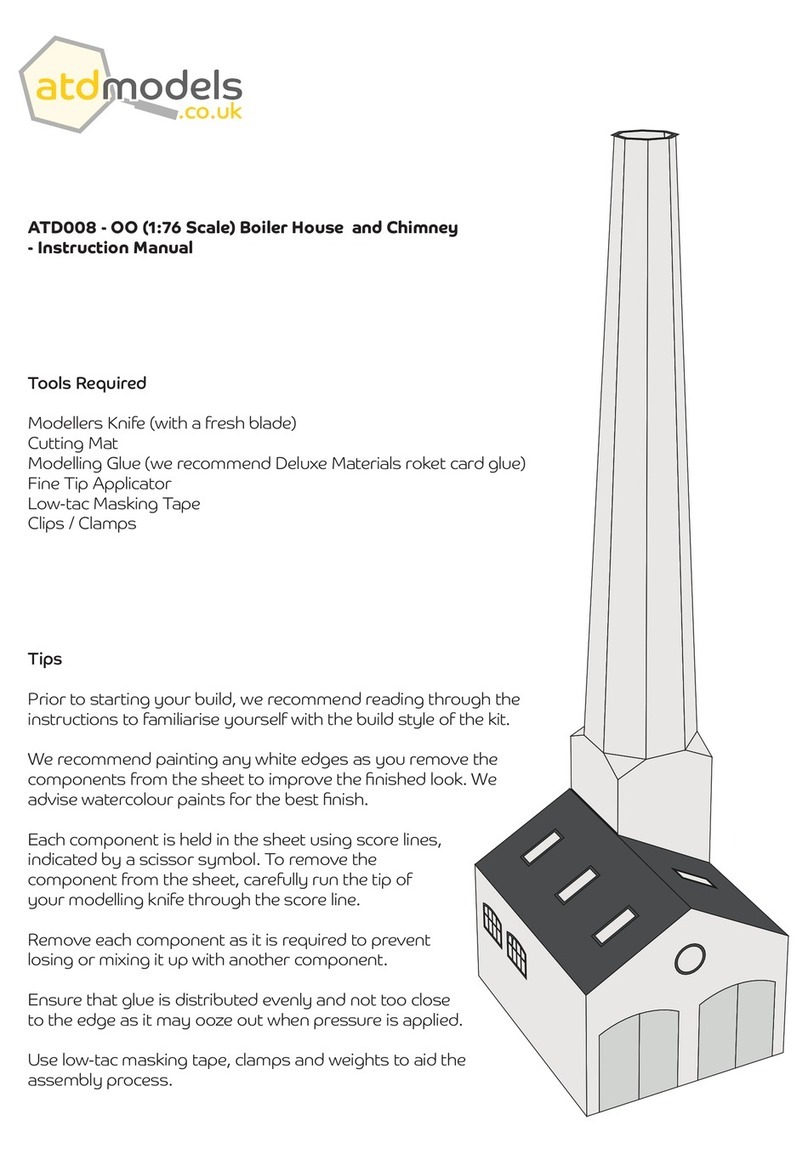
atd models ATD008 User manual

atd models

atd models ATD008 User manual

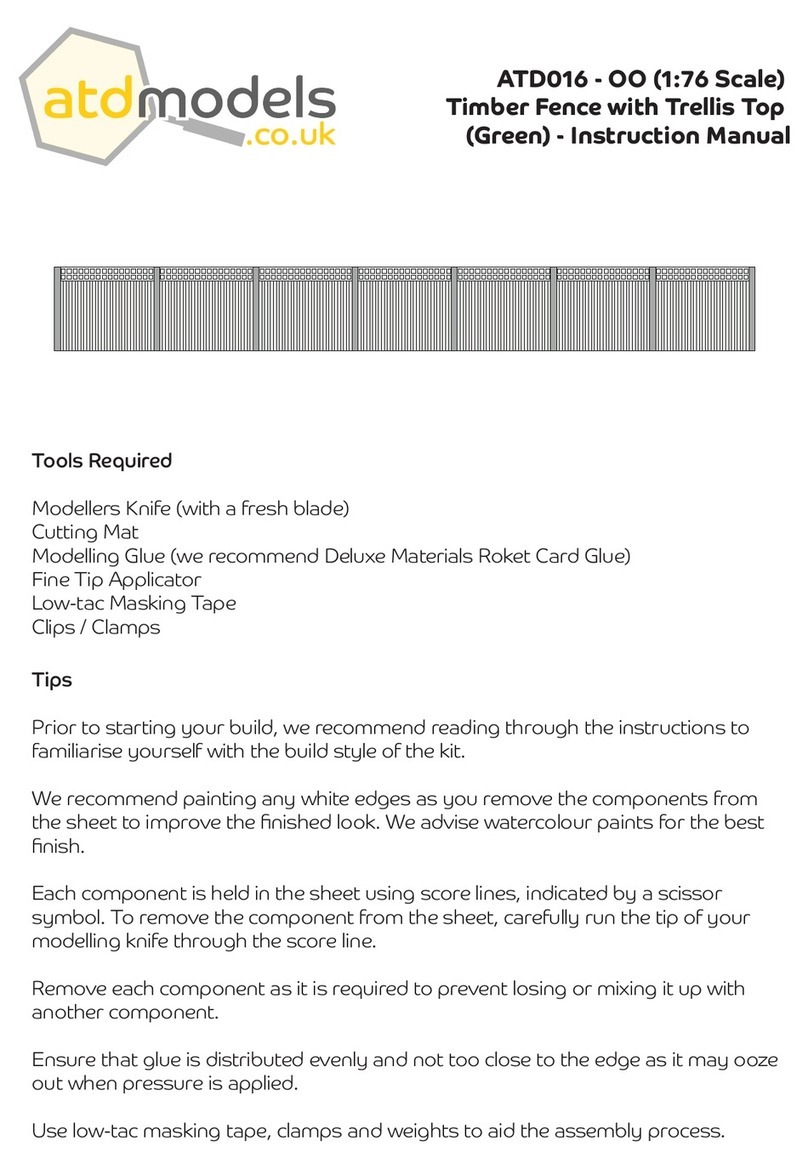
atd models ATD016 User manual

atd models

atd models ATD016 User manual

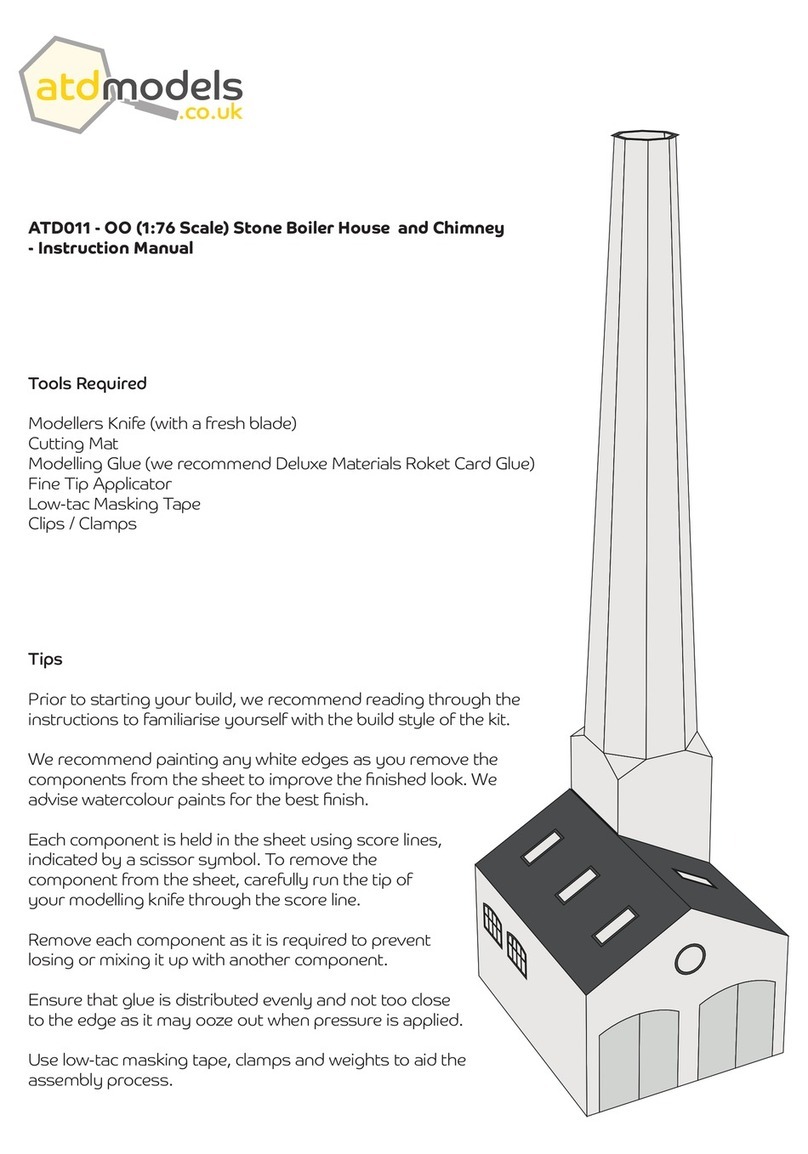
atd models Stone Boiler House and Chimney ATD011 User manual
atd models

atd models Stone Boiler House and Chimney ATD011 User manual

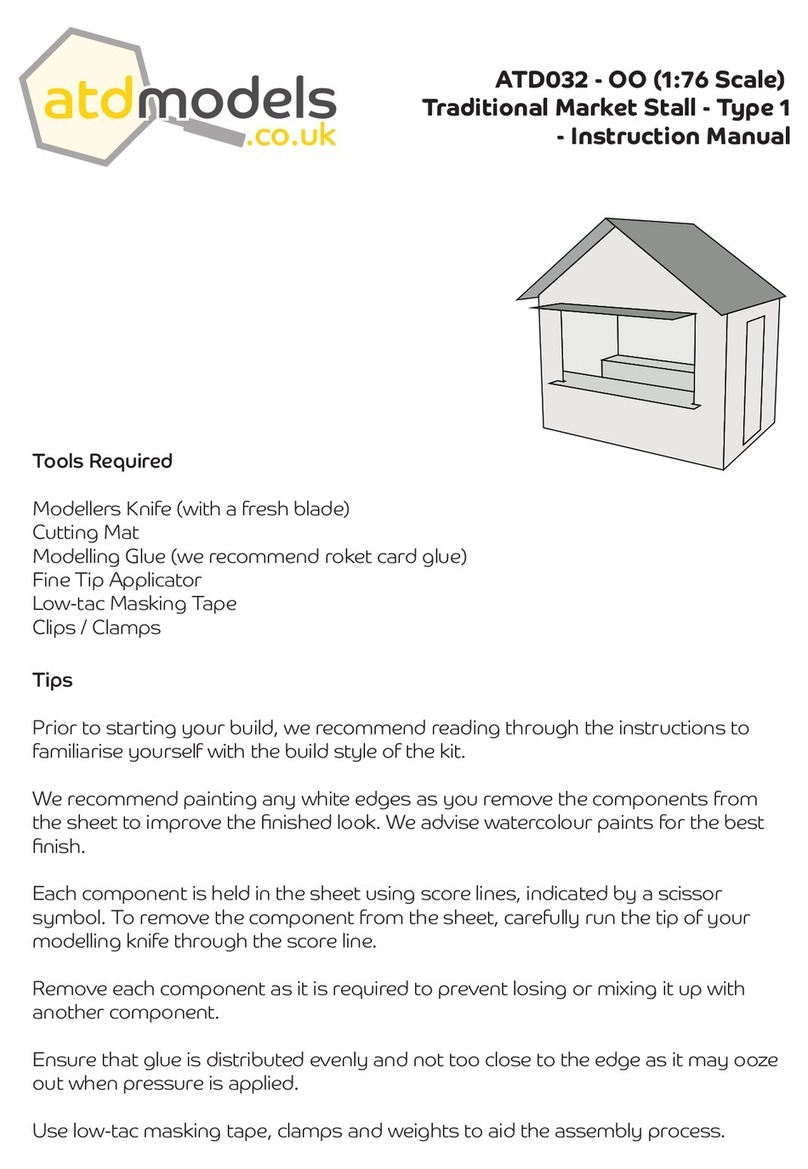
atd models ATD032 User manual

atd models

atd models ATD032 User manual

atd models ATD003-00 User manual

atd models

atd models ATD003-00 User manual
atd models ATD005 User manual

atd models

atd models ATD005 User manual

atd models ATD007 User manual

atd models

atd models ATD007 User manual

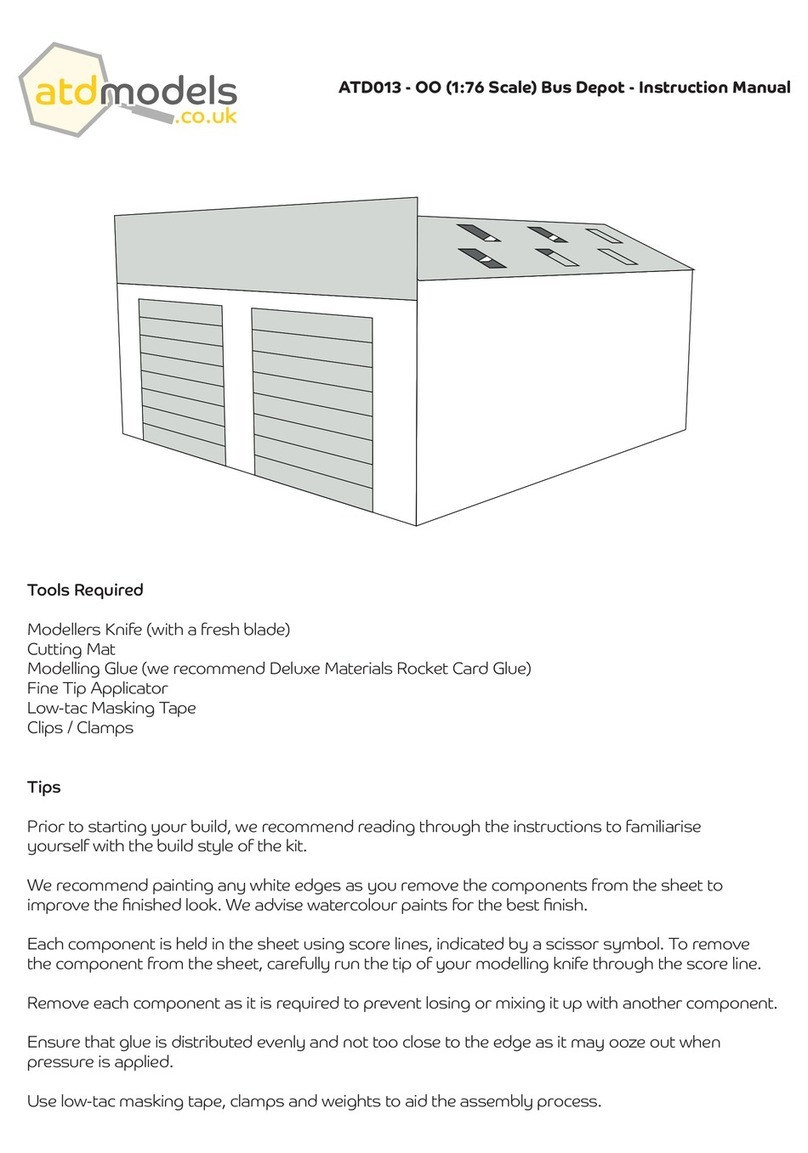
atd models ATD013 User manual

atd models

atd models ATD013 User manual

atd models ATD001 User manual

atd models

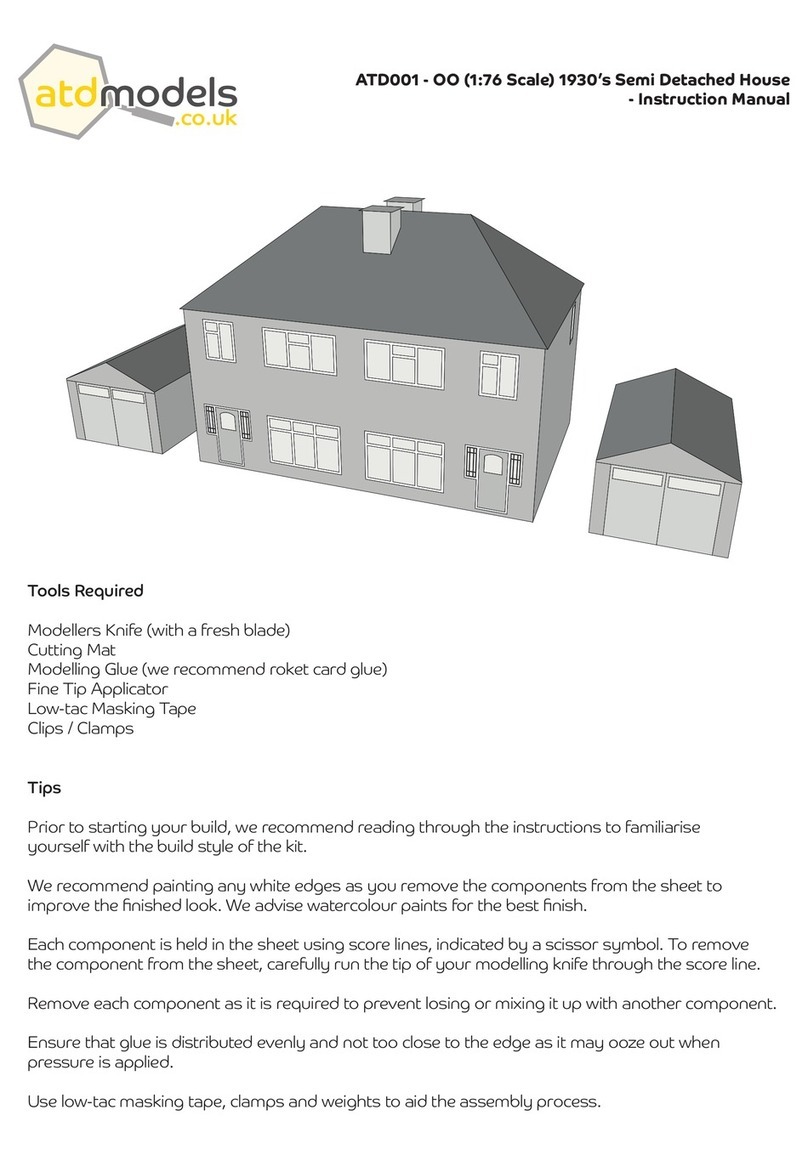
atd models ATD001 User manual

atd models ATD022 User manual

atd models

atd models ATD022 User manual
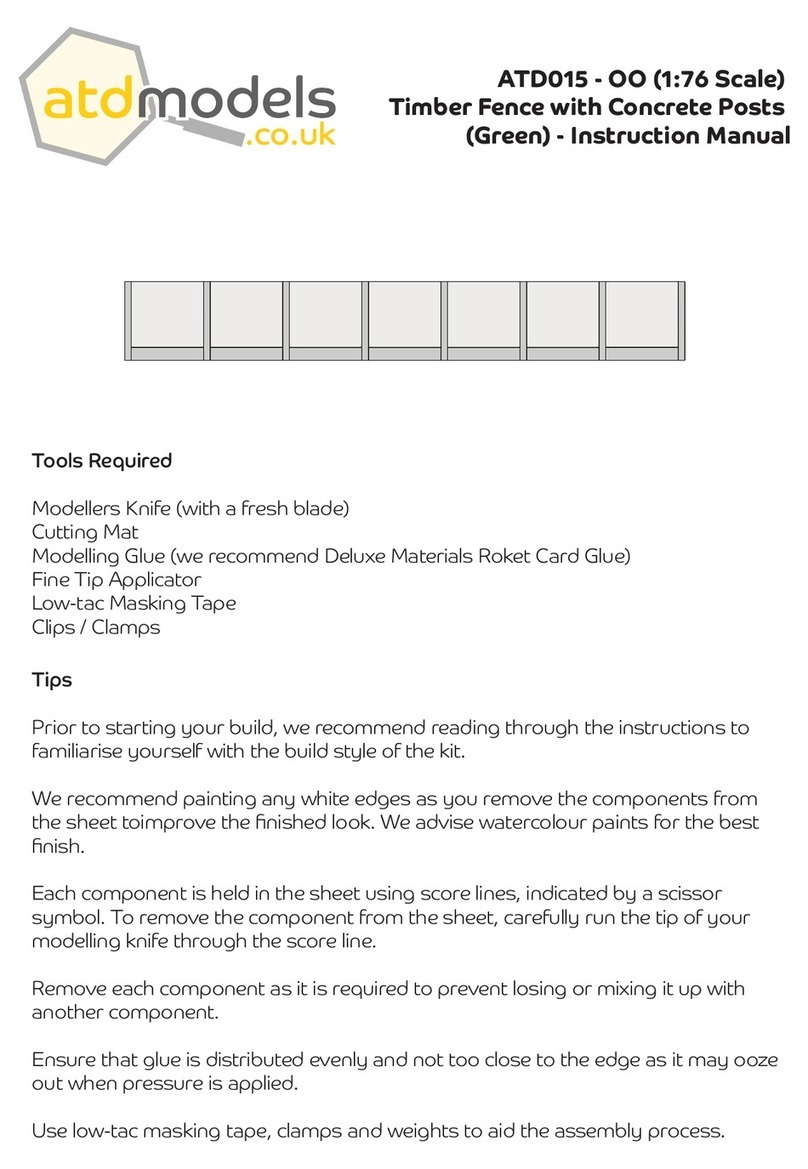
atd models ATD015 User manual

atd models

atd models ATD015 User manual

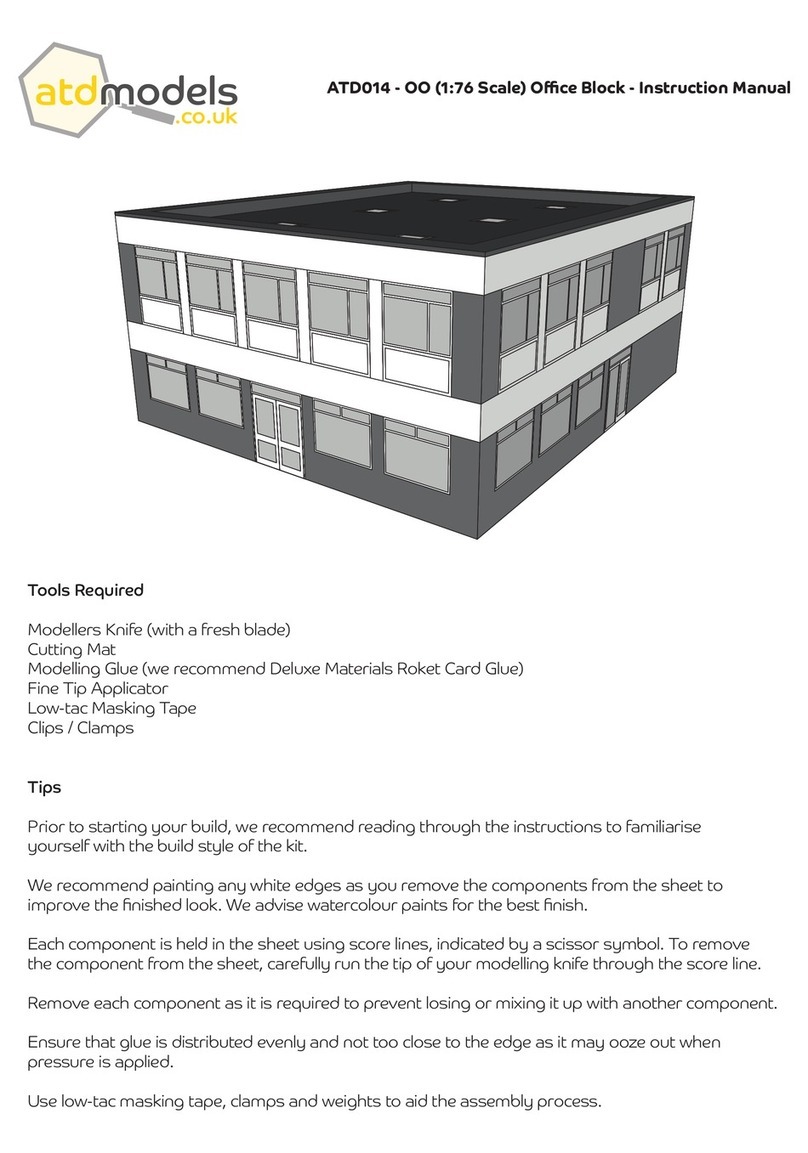
atd models ATD014 User manual

atd models

atd models ATD014 User manual

atd models ATD021 User manual

atd models

atd models ATD021 User manual

Popular Toy manuals by other brands

Faller 120488 manual

Faller

Faller 120488 manual

Beyblade Roller Defenser instructions

Beyblade

Beyblade Roller Defenser instructions

Electricwingman Kinetic Aerial Air-Ro Builder's guide

Electricwingman

Electricwingman Kinetic Aerial Air-Ro Builder's guide

Fisher-Price Y3630 manual

Fisher-Price

Fisher-Price Y3630 manual

Mattel RoseArt Charminis Jewelry Studio quick start guide

Mattel

Mattel RoseArt Charminis Jewelry Studio quick start guide

ROBBE Nano-Vector Assembly and operating instructions

ROBBE

ROBBE Nano-Vector Assembly and operating instructions

Fisher-Price Smithsonian 77897 instructions

Fisher-Price

Fisher-Price Smithsonian 77897 instructions

Old School Model Works GHOST Construction manual

Old School Model Works

Old School Model Works GHOST Construction manual

Dynam DY8957 Directions for assembly and adjustment

Dynam

Dynam DY8957 Directions for assembly and adjustment

LEADWARRIOR LW 35205 Assembly manual

LEADWARRIOR

LEADWARRIOR LW 35205 Assembly manual

Rollplay W348 Owner's manual and assembly instructions

Rollplay

Rollplay W348 Owner's manual and assembly instructions

Fisher-Price BOUNCE N GO G4815 instructions

Fisher-Price

Fisher-Price BOUNCE N GO G4815 instructions

Faller FOREST SUPERINTENDENT'S OFFICE manual

Faller

Faller FOREST SUPERINTENDENT'S OFFICE manual

Fisher-Price J0001 instruction sheet

Fisher-Price

Fisher-Price J0001 instruction sheet

PenBits PK004 Assembly instructions

PenBits

PenBits PK004 Assembly instructions

Avios Exra330 LX user manual

Avios

Avios Exra330 LX user manual

Mattel J0533 instructions

Mattel

Mattel J0533 instructions

Schleich 42110 Assembling

Schleich

Schleich 42110 Assembling

manuals.online logo
manuals.online logoBrands
  • About & Mission
  • Contact us
  • Privacy Policy
  • Terms and Conditions

Copyright 2025 Manuals.Online. All Rights Reserved.