manuals.online logo
Brands
  1. Home
  2. •
  3. Brands
  4. •
  5. Atera
  6. •
  7. Automobile Accessories
  8. •
  9. Atera 040 720 Operation manual

Atera 040 720 Operation manual

Other Atera Automobile Accessories manuals

Atera SIGNO Quick start guide

Atera

Atera SIGNO Quick start guide

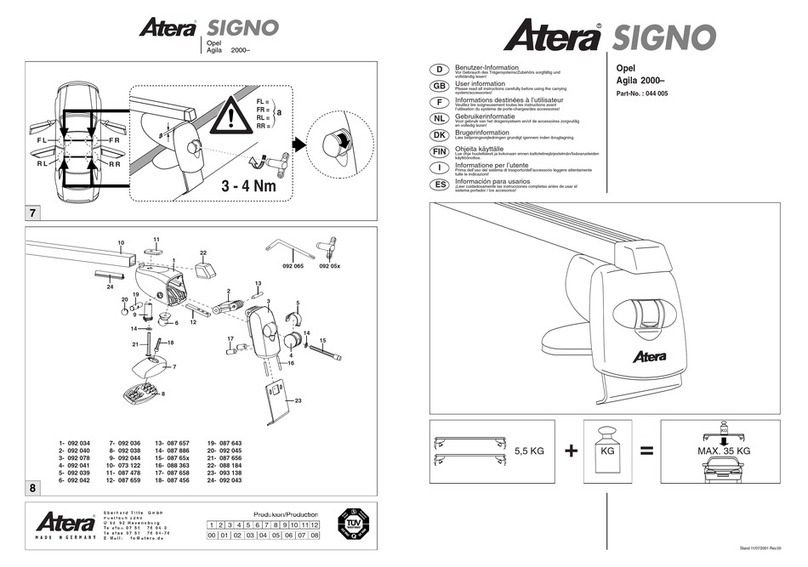
Atera SIGNO 044 005 User manual

Atera

Atera SIGNO 044 005 User manual

Atera Signo Operation manual

Atera

Atera Signo Operation manual

Atera SIGNO 044 115 Operation manual

Atera

Atera SIGNO 044 115 Operation manual

Atera Signo 044 298 User manual

Atera

Atera Signo 044 298 User manual

Atera SIGNO 044 034 Operation manual

Atera

Atera SIGNO 044 034 Operation manual

Atera STRADA 022610 User manual

Atera

Atera STRADA 022610 User manual

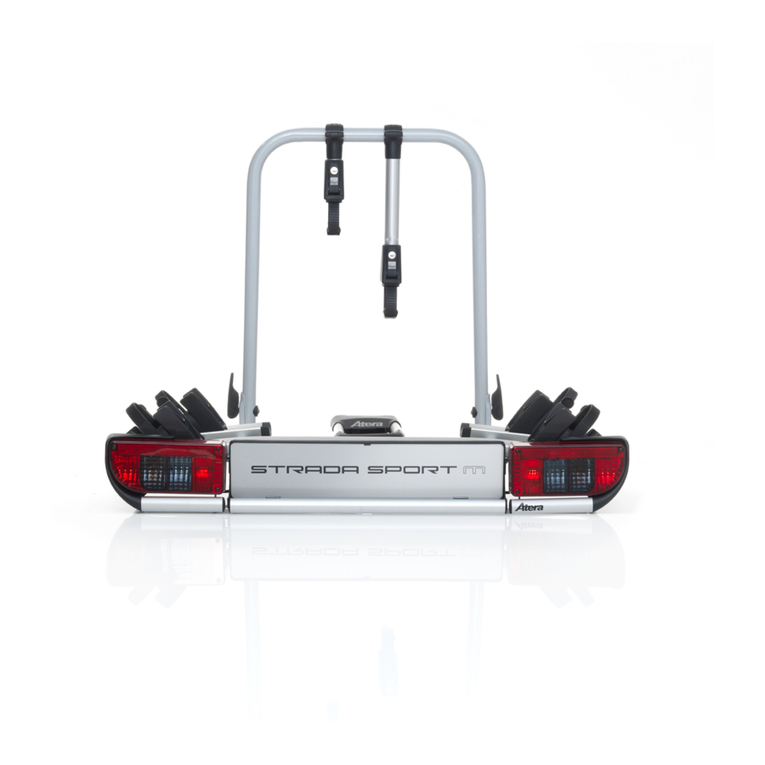
Atera STRADA SPORT M User manual

Atera

Atera STRADA SPORT M User manual

Atera 080 123 Operation manual

Atera

Atera 080 123 Operation manual

Atera STRADA EVO User manual

Atera

Atera STRADA EVO User manual

Atera SIGNO 044 057 Operation manual

Atera

Atera SIGNO 044 057 Operation manual

Atera SIGNO Operation manual

Atera

Atera SIGNO Operation manual

Atera SIGNO 044 301 User manual

Atera

Atera SIGNO 044 301 User manual

Atera SIGNO 044 144 Operation manual

Atera

Atera SIGNO 044 144 Operation manual

Atera SIGNO 044 010 Operation manual

Atera

Atera SIGNO 044 010 Operation manual

Atera STRADA SPORT M User manual

Atera

Atera STRADA SPORT M User manual

Atera SIGNO 044 391 User manual

Atera

Atera SIGNO 044 391 User manual

Atera Signo 044 056 Operation manual

Atera

Atera Signo 044 056 Operation manual

Atera Nova 4 Operation manual

Atera

Atera Nova 4 Operation manual

Atera SIGNO 044 013 Operation manual

Atera

Atera SIGNO 044 013 Operation manual

Atera SIGNO 044 365 User manual

Atera

Atera SIGNO 044 365 User manual

Atera SIGNO 044 314 User manual

Atera

Atera SIGNO 044 314 User manual

Atera SIGNO 045 035 Operation manual

Atera

Atera SIGNO 045 035 Operation manual

Atera SIGNO 044 125 Operation manual

Atera

Atera SIGNO 044 125 Operation manual

Popular Automobile Accessories manuals by other brands

Magneti Marelli AC161 Installation instruction

Magneti Marelli

Magneti Marelli AC161 Installation instruction

FDI uEZ GUI Start here

FDI

FDI uEZ GUI Start here

JCROffroad JT Install instructions

JCROffroad

JCROffroad JT Install instructions

Rostra VOXXElectronics 250-1930 owner's guide

Rostra

Rostra VOXXElectronics 250-1930 owner's guide

TOP VEHICLE TECH GR3FORD5 installation manual

TOP VEHICLE TECH

TOP VEHICLE TECH GR3FORD5 installation manual

Safe Fleet PRIME DESIGN AR-2000-BLK manual

Safe Fleet

Safe Fleet PRIME DESIGN AR-2000-BLK manual

Skoda Fabia Combi 5J Fitting instructions

Skoda

Skoda Fabia Combi 5J Fitting instructions

Camcar 40077 Al Mounting instructions

Camcar

Camcar 40077 Al Mounting instructions

Camcar 40089 AL Mounting instructions

Camcar

Camcar 40089 AL Mounting instructions

Impac Tradesman 2000 installation manual

Impac

Impac Tradesman 2000 installation manual

DVB OFFROAD BRSB-01 installation manual

DVB

DVB OFFROAD BRSB-01 installation manual

Safari Snorkel SS385HF installation guide

Safari Snorkel

Safari Snorkel SS385HF installation guide

ULTIMATE SPEED 279746 Assembly and Safety Advice

ULTIMATE SPEED

ULTIMATE SPEED 279746 Assembly and Safety Advice

SSV Works DF-F65 manual

SSV Works

SSV Works DF-F65 manual

ULTIMATE SPEED CARBON Assembly and Safety Advice

ULTIMATE SPEED

ULTIMATE SPEED CARBON Assembly and Safety Advice

Witter F174 Fitting instructions

Witter

Witter F174 Fitting instructions

WeatherTech No-Drill installation instructions

WeatherTech

WeatherTech No-Drill installation instructions

TAUBENREUTHER 1-336050 Installation instruction

TAUBENREUTHER

TAUBENREUTHER 1-336050 Installation instruction

manuals.online logo
manuals.online logoBrands
  • About & Mission
  • Contact us
  • Privacy Policy
  • Terms and Conditions

Copyright 2025 Manuals.Online. All Rights Reserved.

1
Dachlastenträger-Systeme
Roof Carrier Systems
Wichtig!
• Vor Erstgebrauch lesen!
• Montage nach dieser Vorlage durchführen!
• Dokument aufbewahren!
Important!
• Read before use!
• Observe installation instructions!
• Retain this document!
Technischer Stand:
Latest State:
Benutzer-Information
User information
DIN 8418 •ISO/IEC Guide 37 - 1983
Europa-Patent • DIN 75 302 • Australian Standard 1235-1991 •
®
Fahrzeugtyp/Car model: Baujahr/Model year: Zulässige Dachlast, verteilt: kg
Maximum load: kg distributed
Produktion/Production
1 2 3 4 5 6 7 8 9 10 11 12 02 03 04 05 06
19.09.2000
1993–
SP-Träger (vormontiert, inkl. Safety-Grip)
SP-carrier (assembled, incl. Safety-Grip)
Tragrohr/Crossbar: 32x22x1,25 mm
Länge/Length:
vorne/front: 940 mm
hinten/rear: 975 mm
Nettogewicht/Net weight: 5,8 kg
Art.-Nr.: 040 720
Renault Twingo
(ohne Glasschiebedach)
!
Der Träger muß vor der Beladung unbedingt auf dem Fahrzeug fest angezogen werden!
The carrier has to be tightened absolutely before each loading!
50
50
Nr.331
Tragrohr
crossbar
940 mm
071 094
Vorne/Front
6x 088 310
087 920
1000 mm
2x 088 317
088 144
088 115
1x Safet
y
-Grip
088 191
2x 088 371
088 143
2x 087 854
2x 077 331
2x 087 868
2x 087 852
2x 088 019
2x 088 017
Tragrohr
crossbar
975 mm
071 975
Hinten/Rear
Montagehilfe
Mounting tool
088 104
Nr.331
Nr.279
2x 087 279
Nr.279
Links/
left Rechts/
right
M8x35
087 805
M8x40
087 796
087 919
980 mm
➀Vor Montage auf dem Fahrzeugdach/Before mounting on car roof
➁
Fahrzeugdach/Roof Montagebereiche Fahrzeugdach vor jeder
Verwendung, ohne chemische Mittel reinigen
und trocknen!
(Lackschäden vermeiden!)
Before mounting the carrier:
Clean and dry roof at mounting positions!
Montagebereiche auf dem Fahrzeugdach
Mounting positions on roof.
Tip: Heckklappe insbesondere in Verbindung mit Fahrradträgern vorsichtig öffnen. (Beschädigung der Heckklappe)
Open the rear-flap especially in connection with racing racks carefully. (Damaging of the rear flap)
Werkstoleranzen:
Bei der Montage des Dachlastenträgers ist sicherzustellen, daß zwischen Türkante und Stützfuß ein Zwischenraum vorhanden ist.
Bei fehlendem Zwischenraum muß die betreffende Tür entsprechend nachgestellt werden.
Production-tolerances:
Make sure at the montage of the roof carrier, that there is a space between the upper door edge and the support. If there is no space, the
door, which is concerned, has to be regulated adjusted correctly.
Mitte B-Säule!
Middle of B-Support!
360 mm
14,2 inches 360 mm
14,2 inches
Pfeilmarkierungen
beachten!
Check the arrows!
2
Autodach
Roof
Fenstergummi
Rubber seal
Fenster
Window
An dieser Stelle
mit der Montagehilfe,
Fenstergummi nach
unten drücken!
Press down the
rubber seal with
the scraper!
Art.-Nr.: 040 720 Technischer Stand: 19.09.2000
Zum Festdrehen der Stützfüße Festigkeitsmesser
auf den Drehgriff aufsetzen und drehen bis der
Zeiger auf max. 3 steht (hauseigener Wert).
➂
➄
√Endkontrolle/Last check:
3
Diese Vormontage Punkt ➄bis ∆mit dem hinteren Tragbügel (ohne Windteiler) wiederholen.
Vorne/Front
Sollten Sie Ihren Dachlastenträger z.B. für die Reinigung oder den Ersatz von Teilen demontiert
haben, ist der Zusammenbau wie unter Punkt ➄bis ∆beschrieben durchzuführen.
Die Montage auf dem Fahrzeugdach erfolgt danach wie unter Punkt ➀ bis √dargestellt.
Zubehör/Accessory:
Schloßsatz/Locking set
Art.-Nr.: 083 018
Wichtig/Important!
Vor jedem Fahrtantritt alle Schraub-
verbindungen nochmals auf festen,
formschlüssigen Sitz kontrollieren
(Evtl. Schloßsatz vor der Kontrolle
entfernen!)
Before driving check that all screws
are fully tightened.
(Take away the locking-set before the
check.)
(ca.2-3 Nm)
Der Windteiler muß am vorderen Tragbügel,
parallel zum Dach eingestellt werden.
Mounting winddeflector on the front bow and
parallel to the roof.
Art.-Nr.: 040 720 Technischer Stand: 20.09.2000
Vorne rechts/
Front right •Träger zusammenstellen laut Ab-
bildung Seite 1 und dann vor-
montieren:
•Punkt B beachten
B: Regelmäßige Pflege der Gewinde
(fetten/ölen) wird empfohlen.
•Before mounting assemble the parts:
•Check item B!
B: Regular maintenance of threads
(oil/grease) is recommended.
B
•Träger zusammenstellen laut Ab-
bildung Seite 1 und dann vor-
montieren:
•Die Gewindestange auf dieSchrau-
be drehen, bis diese an der Mutter
M8 ansteht. Mit einem 13er Maul-
schlüssel die Mutter gegen die
Gewindestange drehen.
(Achten Sie darauf, daß sich dabei
die Gewindestange nicht mitdrehtt.
•Before mounting assemble the parts:
A: Tighten the threaded rod with the
nut.
Vorne links/Front left
A
Schloßschrauben-4kant 
muß in die Aussparung
des Fußes eingeführt 
werden!
4edge of the screw must
slip into the 4edge of 
the support.
≈
∆
(anziehen gemäß
Montagepunkt Nr.3/
refer to step no. 3)
© Copyright by Atera®
4
Hinweise:
1. Bei Nichtbenutzung (cW-Wert) und vor Benutzen einer Waschanlage Dachlastenträger vom
Fahrzeug abnehmen.
2. Für die Original-Lastenträger-Systeme sowie importierte Artikel übernimmt der Hersteller die
Gewährleistung nach aktueller gesetzlicher Regelung, soweit es sich um Werksfehler handelt.
Das beanstandete Teil muß dem Hersteller zwecks Prüfung kostenfrei zur Verfügung gestellt werden
und wird bei berechtigter Reklamation einschließlich der angefallenen Auslagen ersetzt.
Bei Reklamationen ist je eine Kopie der Benutzer-Information sowie des Kaufbelegs mit
einzusenden.
3. Veränderungen unserer Teile bzw. Vorgaben sowie zweckentfremdete Verwendung liegen außerhalb
unserer Verantwortung. Wir haften nicht für fehlerhaften Aufbau bzw. fehlerhafte Benutzung.
4. Änderungen jederzeit vorbehalten.
Warnungen!
1. Die Tragrohre müssen bei geschlossenen montierten Trägern so weit wie möglich in unsere
Stützfüße eingeschoben werden.
2. Beachten Sie verändertes Fahrverhalten bei montierten bzw. beladenen Dachlastenträgern
(z.B Seitenwind, Kurven- und Bremsverhalten!).
3. Beladung: Unbedingt auf verteilte Last (Durchbiegen der Tragrohre) und niederen Schwerpunkt
achten!
4. Die zulässige Dachlast gemäß Bedienungsanleitung des Fahrzeugherstellers oder eine
gegebenenfalls niedrigere Lastwertangabe des Trägerherstellers, dürfen nicht überschritten werden.
Zulässige Dachlast = Gewicht Dachlastenträger + Zubehör + Beladung.
5. Die Ladung stets gut mit speziellen Gurten sichern! Lange Lasten müssen auch am Fahrzeugbug
bzw. -heck befestigt werden.
Recommendations:
1. Remove the roof carrier from the car when not in use (cw-factor) or by using an automatically
car wash.
2. For the original roof carrier systems the producer will take over the full warranty, if it is a
question of defectivly produced material. The part inquestion have to be send back,
free of any charge, to all the expenses. In case of any claim, you have to send back the
users information and the purchase receipt.
3. For all changes out of our engineering instructions or purposes other then originally intend
we assume no responsibility. We are not responsible for incorrect montage or deficient use.
4. All changes at any time reserved.
Warnings!
1. Our crossbars have to be placed inside the plug field of our supports as much as possible.
2. The vehicle handles differently (vulnerability to side wind, cornering, breaking) when a roof
rack is fitted and especially when it is loaded.
3. The loading of the rack should distribute the weight evenly and produce the
lowest possible centre of gravity. Items of luggage must not protrude out from
the load-carrying surface to any great extent (danger of injury, damaging of the
rear-flap).
4. Do not exceed the licenced roof load indicated by the vehicle manufacturer
or by Atera. Licenced roof load = weight roof carrier + accessories + load.
5. For safety use special straps!
Hersteller/Manufacturer:
Eberhard Tittel GmbH
Postfach 2240 Telefon (0751) 7604-0 E-Mail: [email protected]
D-88192 Ravensburg Telefax (0751) 7604-76 Web: www.atera.de