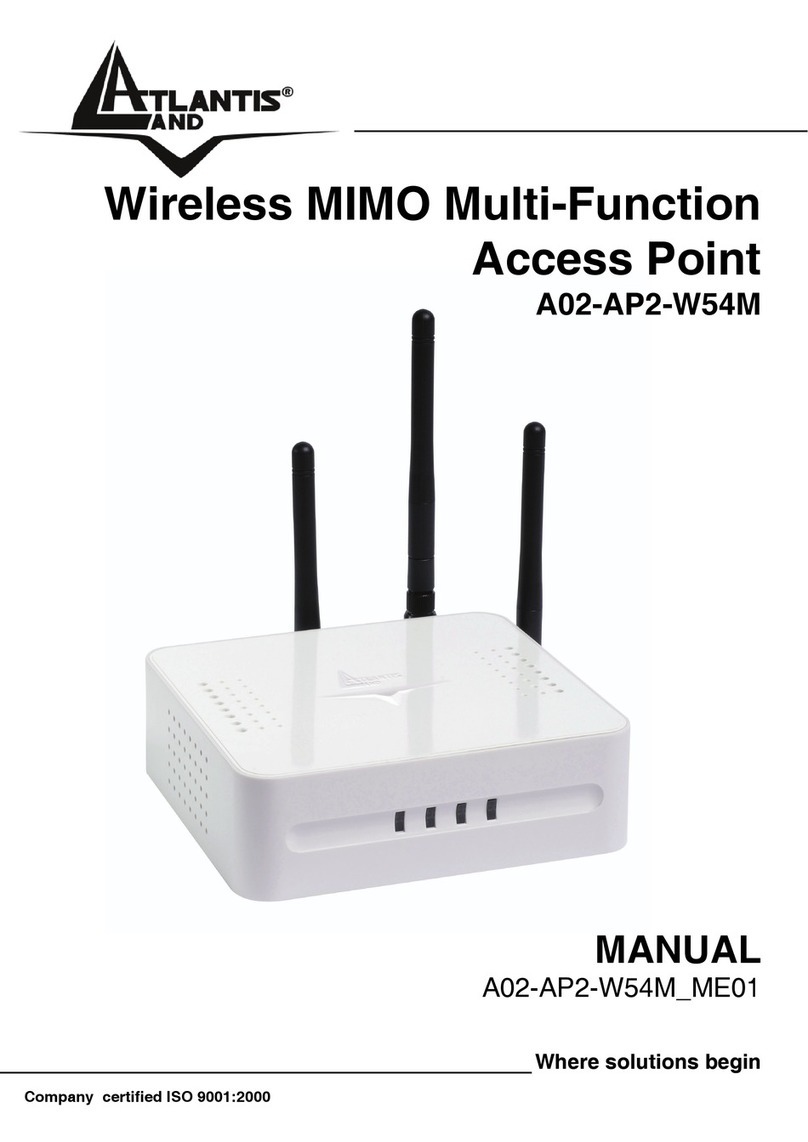
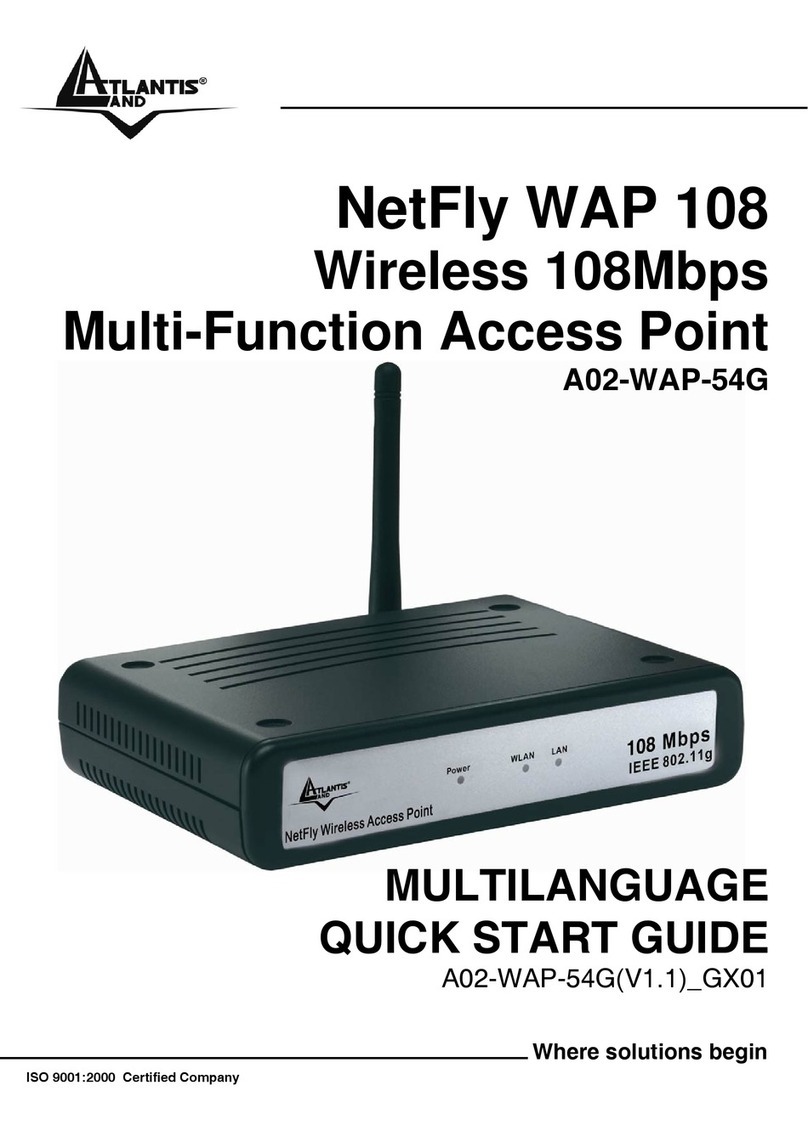
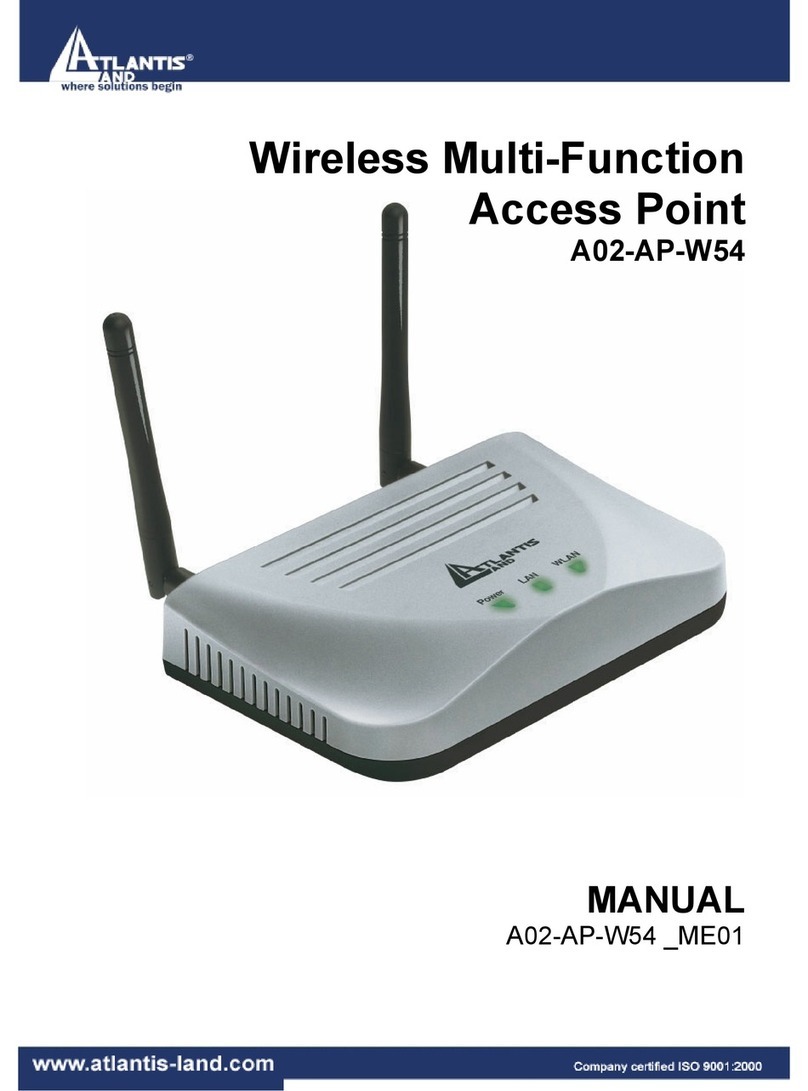
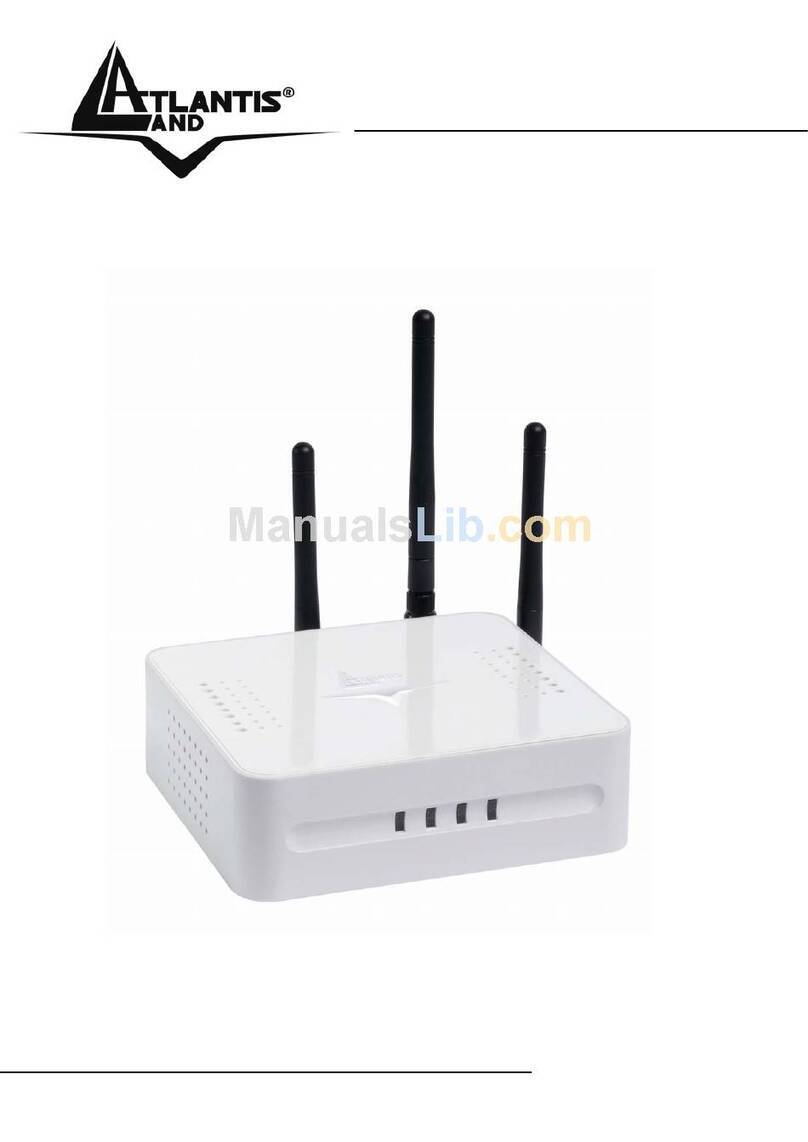
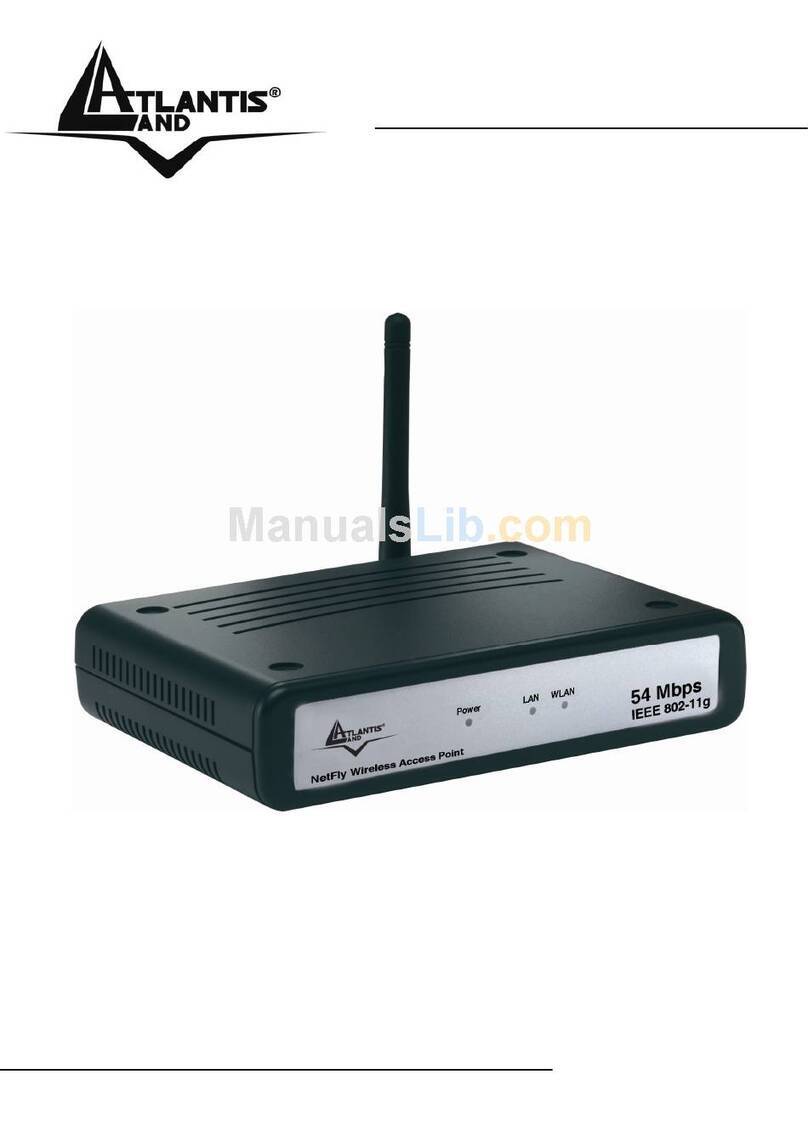
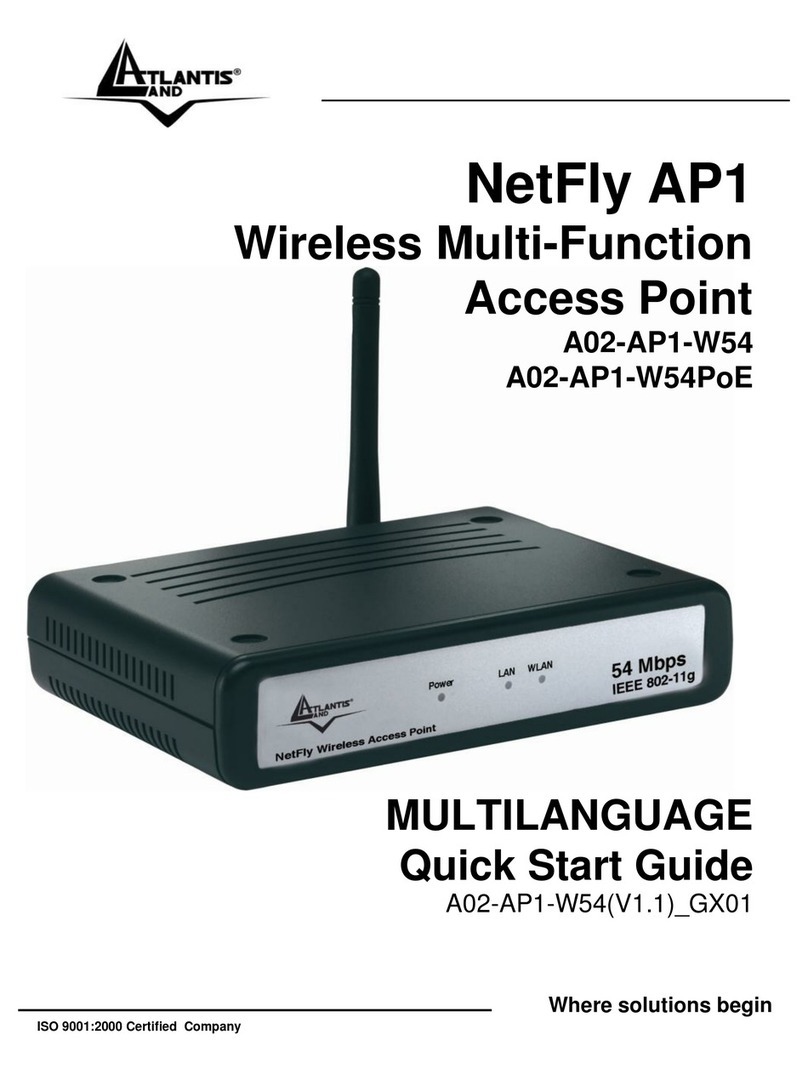
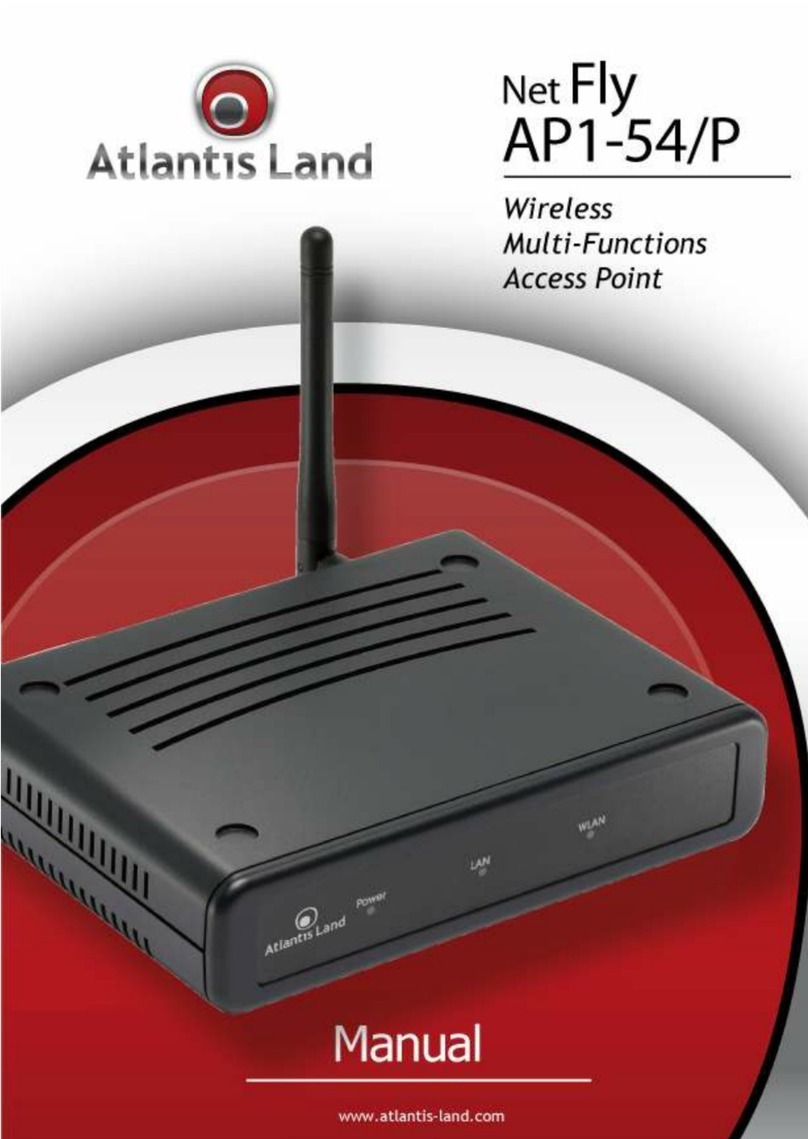
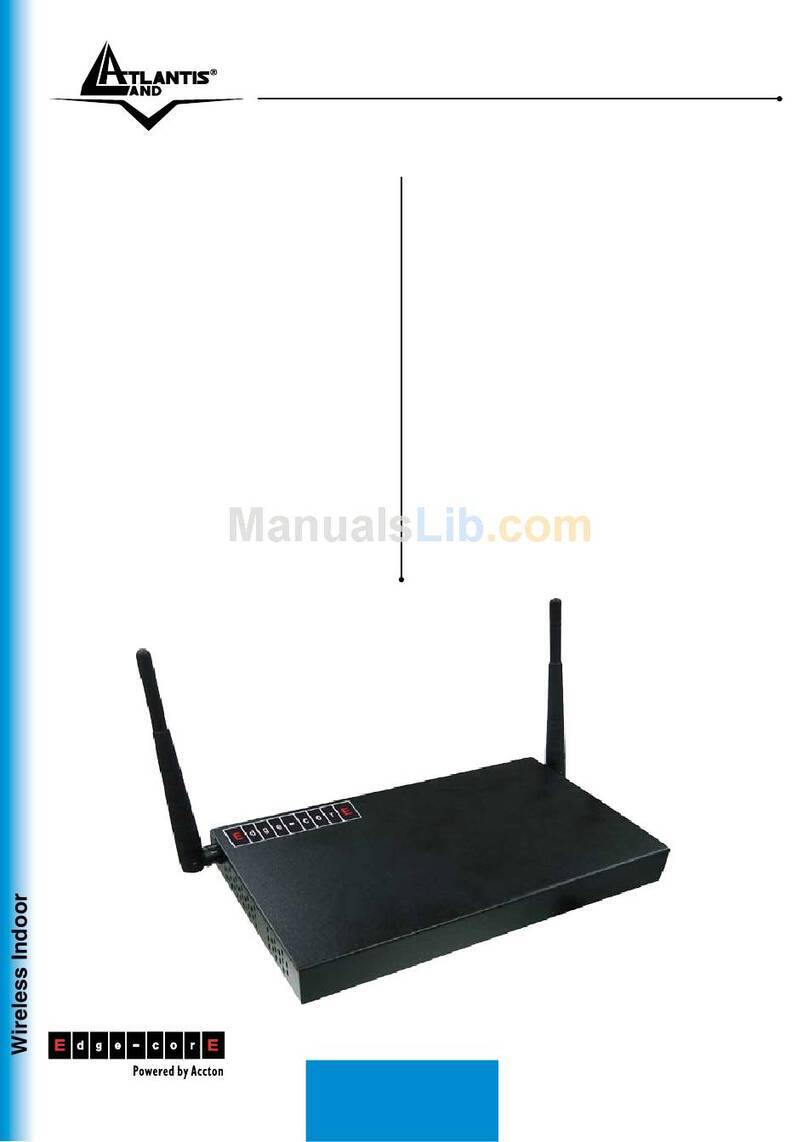
Atlantis Land FlyBoost CL100 User manual

FlyBoost CL100
A02-OCL100
USER MANUAL
A02-OCL100_ME01

Table of Contents
OVERVIEW THE PRODUCT..............................................................1
Introduction ................................................................................................... 1
Features and Benefits...................................................................................2
When to Use Which Mode...........................................................................3
Access Point Client Mode .......................................................................3
Wireless Routing Client Mode..................................................................3
PERFORM BASIC CONFIGURATION ..............................................5
Setup Management Port............................................................................. 5
To Setup DHCP Server.............................................................................11
View Active DHCP Leases .....................................................................17
Reserve IP Addresses for Predetermined DHCP Clients....................18
Delete DHCP Server Reservation..........................................................20
Setup WLAN.................................................................................................21
Configure the Basic Setup of the Wireless Mode...............................21
Scan for Site Survey.................................................................................26
View Link Information .............................................................................29
Align the Antenna...................................................................................31
Configure the Advanced Setup of the Wireless Mode ....................33
View the Statistics....................................................................................35
Setup your WAN..........................................................................................36
Setup Telnet / SSH.......................................................................................44
Access the TELNET Command Line Interface.....................................46
Access the Secure Shell Host Command Line Interface..................47
Set the WEB Mode......................................................................................48
Setup SNMP..................................................................................................49
Setup SNMP Trap.........................................................................................50
Use MAC Filtering........................................................................................51
Add a MAC Address to the MAC Address List ...................................52
Delete a MAC Address From All Access Points..................................55
Delete a MAC address from individual access point .......................57
Edit MAC Address from the MAC Address List....................................59
PERFORM ADVANCED CONFIGURATION..................................61
Setup Routing..............................................................................................61
Configure Static Routing........................................................................62
Use Routing Information Protocol.............................................................63
Use Network Address Translation..............................................................64
Configure Virtual Servers Based on DMZ Host ....................................65
Configure Virtual Servers Based on Port Forwarding.........................66

Configure Virtual Servers based on IP Forwarding ............................70
Control the Bandwidth Available ............................................................71
Enable Bandwidth Control ....................................................................71
Configure WAN Bandwidth Control.....................................................72
Configure LAN Bandwidth Control.......................................................73
Perform Remote Management................................................................75
Setup Remote Management................................................................75
Setup Email Notification.............................................................................76
Using Static Address Translation................................................................78
Dynamic DNS Setup...................................................................................79
To enable/disable Dynamic DNS Setup..............................................79
To manage Dynamic DNS List...............................................................80
USE THE WIRELESS EXTENDED FEATURES......................................84
Set Preferred APs.........................................................................................84
Get Long Distance Parameters ............................................................85
Set Wireless Multimedia..............................................................................87
SECURE YOUR WIRELESS LAN.......................................................90
Setup WEP....................................................................................................91
Setup WPA-Personal...................................................................................92
Setup 802.1x/RADIUS..................................................................................94
Setup WPA Enterprise.................................................................................96
CONFIGURE THE SECURITY FEATURES .........................................98
Use Packet Filtering.....................................................................................98
Configure Packet Filtering.....................................................................98
Use URL Filtering.........................................................................................101
Configure URL Filtering .........................................................................101
Configure the Firewall..............................................................................102
Configure SPI Firewall ...........................................................................102
Use the Firewall Log..................................................................................106
View Firewall Logs .................................................................................106
ADMINISTER THE SYSTEM.............................................................107
Use the System Tools.................................................................................107
Use the Ping Utility.................................................................................107
Use Syslog...............................................................................................108
Set System Identity................................................................................111
Setup System Clock..............................................................................112
Upgrade the Firmware with uConfig .................................................113
Upgrade the Firmware with Command Line Interface ..................115
Perform Firmware Recovery................................................................118
Backup or Reset the Settings...............................................................120
Reboot the System................................................................................123
Change the Password..........................................................................124
To Logout................................................................................................125
Use the HELP menu...................................................................................126
View About System...............................................................................126
APPENDIX: USE THE COMMAND LINE INTERFACE...................127

Page 1
Overview the Product
Introduction
The high-performance Wireless Network Access Point (AP) is designed
for enterprise and public access applications. Embedded with the
Atheros chipset, it boasts network robustness, stability and wider
network coverage. Based on 802.11, the access point supports high-
speed data transmission of up to 54Mbps in the 2.4GHz frequency
band.
The access point is capable of operating in different modes, which
makes it suitable for a wide variety of wireless applications, including
long-distance deployments.
Designed with an external SMA connector offering excellent electrical
performance and compatible with SMA antennas, the access point
can be used for a wide variety of wireless applications and allows you
to position the wireless antenna in a better signal-broadcasting
location for improved wireless coverage and signal strength or simply in
a more convenient location.
Moreover, its integrated Power over Ethernet (PoE) allows the access
point to be used in areas where power outlets are not readily
available.
To protect your security and privacy, the access point is armed with
many enhanced wireless security features such as WPA, WPA2 (with
Advanced Encryption Standard encryption) MAC Address Filtering, IEEE
802.1x Authentication and 64/128-bit WEP (Wired Equivalent Privacy) to
ensure privacy for the heterogeneous mix of users within the same
wireless network.
The access point also incorporates a unique set of advanced features
such as: Virtual AP to deliver multiple services; Long-Range parameter
fine-tuning which provide the access point with the ability to auto-
calculate parameters such as slot time, ACK time-out and CTS time-out
to achieve a longer range; and Spanning Tree Protocol (STP) which
provides extra redundancy and the ability to auto-reconfigure when
there are changes in the network topology.

Page 2
Features and Benefits
Highly Secured Wireless Network
The access point supports the highest available wireless security
standard: WPA2. WPA2 has two different modes: WPA2-Personal for
SOHO users and WPA2-Enterprise for Enterprise users. The access point
also supports IEEE 802.1x for secure and centralized user-based
authentication. Wireless clients are thus required to authenticate
through highly secure methods like EAP-TLS, EAP-TTLS, and EAP-PEAP, in
order to obtain access to the network.
STP
Spanning-Tree Protocol provides path redundancy while preventing
undesirable loops in the network. It forces certain redundant data
paths into a standby (blocked) state. If one network segment in the
Spanning-Tree Protocol becomes unreachable, or if Spanning-Tree
Protocol costs change, the spanning-tree algorithm reconfigures the
spanning-tree topology and re-establishes the link by activating the
standby path.
HTTPS
The access point supports HTTPS (SSL) in addition to the standard HTTP.
HTTPS (SSL) features additional authentication and encryption for
secure communication.
Telnet
Telnet allows a computer to remotely connect to the access point CLI
(Command Line Interface) for control and monitoring.
SSH
SSH (Secure Shell Host) establishes a secure host connection to the
access point CLI for control and monitoring.
WDS2
WDS2 (Wireless Distributed System 2) links up access points to create a
wider network in which mobile users can roam while still staying
connected to available network resources.

Page 3
When to Use Which Mode
Access Point Client Mode
In Access Point Client Mode the device acts as a wireless client.
When connected to an access point, it creates a network link between
the Ethernet network connected at this client device, and the wireless
Ethernet network connected at the access point.
In this mode it can only connect with another access point. Other
wireless clients cannot connect to it directly unless they are also
connected to the same access point – allowing them to communicate
with all devices connected to the Ethernet port of the access point.
In this example the workgroup PCs can access the printer connected
to the access point in Access Point Client Mode.
Optional additional feature:
Point-to-Point connection in this operation mode is also supported if
you specifically wish to connect with an access point only.
Please refer to the Point-to-Point setup section.
Wireless Routing Client Mode
In Wireless Routing Client Mode the Ethernet port of the access point
may be used to connect with other devices on the network while
Internet access would be provided through wireless communication
with a wireless ISP.

Page 4
Broadband Internet Access Type:
Static IP Address
Use Static IP Address if you have subscribed to a fixed IP address or to a
range of fixed IP addresses from your ISP.
Dynamic IP Address
With Dynamic IP Address the access point requests for, and is
automatically assigned an IP address by your ISP, for instance:
•Singapore Cable Vision
•@HOME Cable Services
PPP over Ethernet (PPPoE)
Use PPPoE if you are using ADSL services in a country utilizing standard
PPPoE authentication, for instance:
•Germany with T-1 Connection
•Singapore with SingNet Broadband or Pacific Internet
Broadband
PPTP
Use PPTP if you are using ADSL services in a country utilizing PPTP
connection and authentication.
Layer Two Tunneling Protocol (L2TP)
L2TP enables ISPs to operate Virtual Private Networks (VPNs)

Page 5
Perform Basic Configuration
Setup Management Port
At the Management Port Setup page, you may:
•Set Ethernet Link Speed and duplex settings.
•Automatically obtain IP address from DHCP server.
The default IP 192.168.168.1 is used until a new IP is obtained.
Access Point Clients also allows PCs connected to the Ethernet
port to obtain IP from the DHCP server at the access point end
network.
•Manually define IP address
Follow these steps to set Ethernet Link Speed and duplex settings.
S
St
te
ep
p
1
1:
:
Click on T
TC
CP
P/
/I
IP
P
S
Se
et
tt
ti
in
ng
gs
sfrom M
Ma
an
na
ag
ge
em
me
en
nt
tS
Se
et
tu
up
pfrom the C
CO
ON
NF
FI
IG
GU
UR
RA
AT
TI
IO
ON
Nmenu.
S
St
te
ep
p
2
2:
:
Select the desired E
Et
th
he
er
rn
ne
et
t
L
Li
in
nk
k
S
Sp
pe
ee
ed
dand duplex settings.
•Auto: Automatic Detection
•100 Full: 100BaseT Full-Duplex
•100 Half: 100BaseT Half-Duplex
•10 Full: 10BaseT Full-Duplex
•10 Half: 10BaseT Half-Duplex
S
St
te
ep
p
2
2:
:
Click the A
Ap
pp
pl
ly
ybutton.

Page 6
Follow these steps to automatically obtain the IP address from DHCP
server.
S
St
te
ep
p
1
1:
:
Click on T
TC
CP
P/
/I
IP
P
S
Se
et
tt
ti
in
ng
gs
sfrom M
Ma
an
na
ag
ge
em
me
en
nt
tS
Se
et
tu
up
pfrom the C
CO
ON
NF
FI
IG
GU
UR
RA
AT
TI
IO
ON
Nmenu.
S
St
te
ep
p
2
2:
:
Select to A
Au
ut
to
om
ma
at
ti
ic
ca
al
ll
ly
y
o
ob
bt
ta
ai
in
n
I
IP
P
a
ad
dd
dr
re
es
ss
s.
S
St
te
ep
p
3
3:
:
Select to either A
Au
ut
to
om
ma
at
ti
ic
ca
al
ll
ly
y
o
ob
bt
ta
ai
in
n
D
DN
NS
S
s
se
er
rv
ve
er
r
a
ad
dd
dr
re
es
ss
sor U
Us
se
e
t
th
he
e
f
fo
ol
ll
lo
ow
wi
in
ng
g
D
DN
NS
S
s
se
er
rv
ve
er
r
a
ad
dd
dr
re
es
ss
se
es
sand enter the parameters, if any.
In the M
Ma
an
na
ag
ge
em
me
en
nt
t
P
Po
or
rt
t
S
Se
et
tu
up
ppage, refer to the table below to replace the default
settings of Access point with appropriate values to suit the needs of your network.
If you choose to Automatically obtain DNS server address.

Page 7
If you choose to Use the following DNS server addresses.
S
St
te
ep
p
3
3:
:
Click on the A
Ap
pp
pl
ly
y
button to save your new parameters.

Page 8
This table describes the parameters that can be modified in the
Management Port Setup page if you select to Use the following DNS
server addresses.
Parameters Description
Primary DNS
IP Address Your ISP usually provides the IP address of
the DNS server.
Secondary
DNS IP
Address
This optional field is reserved for the IP
address of a secondary DNS server.

Page 9
Follow these steps to manually define the IP address.
S
St
te
ep
p
1
1:
:
Click on T
TC
CP
P/
/I
IP
P
S
Se
et
tt
ti
in
ng
gs
sfrom M
Ma
an
na
ag
ge
em
me
en
nt
tS
Se
et
tu
up
pfrom the
C
CO
ON
NF
FI
IG
GU
UR
RA
AT
TI
IO
ON
Nmenu.
S
St
te
ep
p
2
2:
:
Select to U
Us
se
e
t
th
he
e
f
fo
ol
ll
lo
ow
wi
in
ng
g
I
IP
P
a
ad
dd
dr
re
es
ss
s.
In the M
Ma
an
na
ag
ge
em
me
en
nt
t
P
Po
or
rt
t
S
Se
et
tu
up
ppage, refer to the table below to
replace the default settings of Access point with appropriate
values to suit the needs of your network.
The parameters are the same in routing mode.
S
St
te
ep
p
3
3:
:
Click on the A
Ap
pp
pl
ly
y
button to save your new parameters.

Page 10
This table describes the parameters that can be modified in the
Management Port Setup page.
Parameters Description
IP Address When the DHCP server of the access point is enabled (unless
you set a different DHCP Gateway IP Address), this LAN IP
Address would be allocated as the Default Gateway of the
DHCP client.
The IP address of your Access point is set by default to
192.168.168.1.
Network
Mask The Network Mask serves to identify the subnet in which your
Access point resides. The default network mask is
255.255.255.0.
Default
Gateway IP (Optional) As a bridge Access Point, the access point does
not usually communicate with devices on other IP subnets.
However, the Default Gateway a PC allows the access point
to communicate with devices on different subnets. For
instance, if you want to access the access point from the
Internet or from a router on the LAN, enter the router IP
address in the Default Gateway IP field.
The Default Gateway IP address of your access point is set to
nil by default.
Primary DNS
IP Address Your ISP usually provides the IP address of the DNS server.
Secondary
DNS IP
Address
This optional field is reserved for the IP address of a
secondary DNS server.

Page 11
To Setup DHCP Server
There are 3 DHCP Modes:
•NONE
By default, DHCP Mode is set to NONE. Leave the selection at this
mode if you do not wish to use DHCP.
•DHCP Server
Select this mode to setup a DHCP server.
•DHCP Relay
Select this mode to setup a DHCP relay.
By default, DHCP broadcast messages do not cross router
interfaces.
DHCP Relay supports DHCP Clients and DHCP Servers on different
networks by configuring the router to pass selective DHCP
messages.
Follow these steps if you do not wish to use DHCP.
S
St
te
ep
p
1
1:
:
Click on A
Ad
dv
va
an
nc
ce
ed
d
S
Se
et
tt
ti
in
ng
gs
sfrom M
Ma
an
na
ag
ge
em
me
en
nt
tS
Se
et
tu
up
pfrom
the C
CO
ON
NF
FI
IG
GU
UR
RA
AT
TI
IO
ON
Nmenu.
S
St
te
ep
p
2
2:
:
Set D
DH
HC
CP
P
M
Mo
od
de
eto N
NO
ON
NE
E.
S
St
te
ep
p
3
3:
:
Click on the A
Ap
pp
pl
ly
y
button.

Page 12
The following will guide you to setup the DHCP Server.
S
St
te
ep
p
1
1:
:
Click on A
Ad
dv
va
an
nc
ce
ed
d
S
Se
et
tt
ti
in
ng
gs
sfrom M
Ma
an
na
ag
ge
em
me
en
nt
tS
Se
et
tu
up
pfrom
the C
CO
ON
NF
FI
IG
GU
UR
RA
AT
TI
IO
ON
Nmenu.
S
St
te
ep
p
2
2:
:
Set D
DH
HC
CP
P
M
Mo
od
de
eto D
DH
HC
CP
P
S
Se
er
rv
ve
er
r.
In D
DH
HC
CP
P
S
Se
er
rv
ve
er
r
S
Se
et
tu
up
p, refer to the table below to set the
appropriate values to suit the needs of your network.
S
St
te
ep
p
3
3:
:
Click on the A
Ap
pp
pl
ly
y
button.

Page 13
This table describes the parameters that can be modified in DHCP
Server Setup.
Parameters Description
The fields DHCP Start IP Address and DHCP End IP Address fields allow you to
define the range of IP addresses from which the DHCP Server can assign an IP
address to the LAN.
DHCP Start IP Address
This is the first IP address that the DHCP server will
assign and should belong to the same subnet as
the access point. For example if the access point
IP address is 192.168.168.1 and the network mask is
192.168.168.1 and 255.255.255.0, the DHCP Start IP
Address should be 192.168.168.X, where X can be
any number from 2 to 254. It is pre-set to
192.168.168.100.
DHCP End IP Address
This is the last IP address that the DHCP server can
assign and should also belong to the same subnet
as your access point. For example if the access
point IP address is 192.168.168.1 and the network
mask is 192.168.168.1 and 255.255.255.0, the DHCP
End IP Address should be 192.168.168.X, where X
can be any number from 2 to 254. It is pre-set as
192.168.168.254.

Page 14
DHCP Gateway IP
Address
Though the DHCP server usually also acts as the
Default Gateway of the DHCP client, the access
point allows you to define a different Gateway IP
Address which will be allocated as the Default
Gateway IP of the DHCP client. The DHCP client
will thus receive its dynamic IP address from the
access point but will access to the Internet or the
other LAN through the Default Gateway defined
by the DHCP Gateway IP Address.
For instance if the access point in Access Point
Client mode connects to an Internet gateway X, a
PC wired to the access point will be unable to
obtain a dynamic IP address directly from X. But if
you enable the DHCP server of the access point
and set the IP address of Xas the DHCP Gateway
IP Address, the PC will obtain its IP address from
the access point and access the Internet through
X.
DHCP Lease Time
This is the length of time that the client may use
the assigned address before having to check with
the DHCP server to see if the Address is still valid.
Primary DNS IP Address
Your ISP usually provides the IP address of the DNS
server.
Secondary DNS IP Address
This optional setting is the IP address of a
secondary DNS server.

Page 15
The following will guide you to setup the DHCP Relay.
S
St
te
ep
p
1
1:
:
Click on A
Ad
dv
va
an
nc
ce
ed
d
S
Se
et
tt
ti
in
ng
gs
sfrom M
Ma
an
na
ag
ge
em
me
en
nt
tS
Se
et
tu
up
pfrom
the C
CO
ON
NF
FI
IG
GU
UR
RA
AT
TI
IO
ON
Nmenu.
S
St
te
ep
p
2
2:
:
Set D
DH
HC
CP
P
M
Mo
od
de
eto D
DH
HC
CP
P
R
Re
el
la
ay
y.
In D
DH
HC
CP
P
S
Se
er
rv
ve
er
r
S
Se
et
tu
up
p, refer to the table below to set the
appropriate values to suit the needs of your network.
S
St
te
ep
p
3
3:
:
Click on the A
Ap
pp
pl
ly
y
button.

Page 16
This table describes the parameters that can be modified in DHCP
Server Setup.
Parameters Description
DHCP Server IP
This is the IP address of the DHCP server.
DHCP Gateway IP
Though the DHCP server usually also acts as the
Default Gateway of the DHCP client, the access
point allows you to define a different Gateway IP
Address which will be allocated as the Default
Gateway IP of the DHCP client. The DHCP client
will thus receive its dynamic IP address from the
access point but will access to the Internet or the
other LAN through the Default Gateway defined
by the DHCP Gateway IP Address.
For instance if the access point in Access Point
Client mode connects to an Internet gateway X,
a PC wired to the access point will be unable to
obtain a dynamic IP address directly from X. But
if you enable the DHCP server of the access
point and set the IP address of Xas the DHCP
Gateway IP Address, the PC will obtain its IP
address from the access point and access the
Internet through X.
This manual suits for next models
1
Table of contents
Other Atlantis Land Wireless Access Point manuals

Atlantis Land
Atlantis Land A02-AP2-W54M User manual

Atlantis Land
Atlantis Land A02-AP1-W54 User manual

Atlantis Land
Atlantis Land I-Fly i I-Fly Wireless Access Point User manual

Atlantis Land
Atlantis Land A02-AP-W54 User manual

Atlantis Land
Atlantis Land A02-AP-W54 User manual

Atlantis Land
Atlantis Land A07-WA6102X-2 User manual

Atlantis Land
Atlantis Land NetFly WAP 108 A02-WAP-54G(V1.1)_GX01 User manual

Atlantis Land
Atlantis Land NetFly AP1-54/P User manual

Atlantis Land
Atlantis Land A02-AP1-W54 User manual

Atlantis Land
Atlantis Land I-Fly A02-WAP-54G/G2 User manual