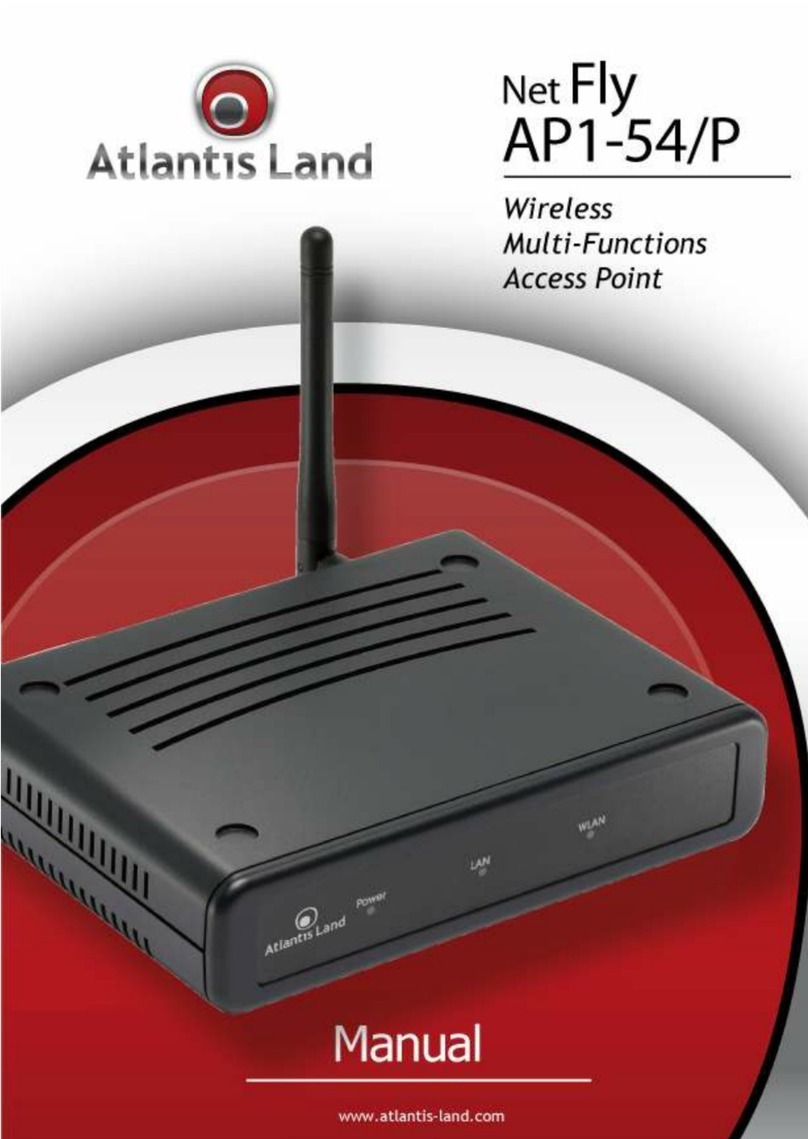
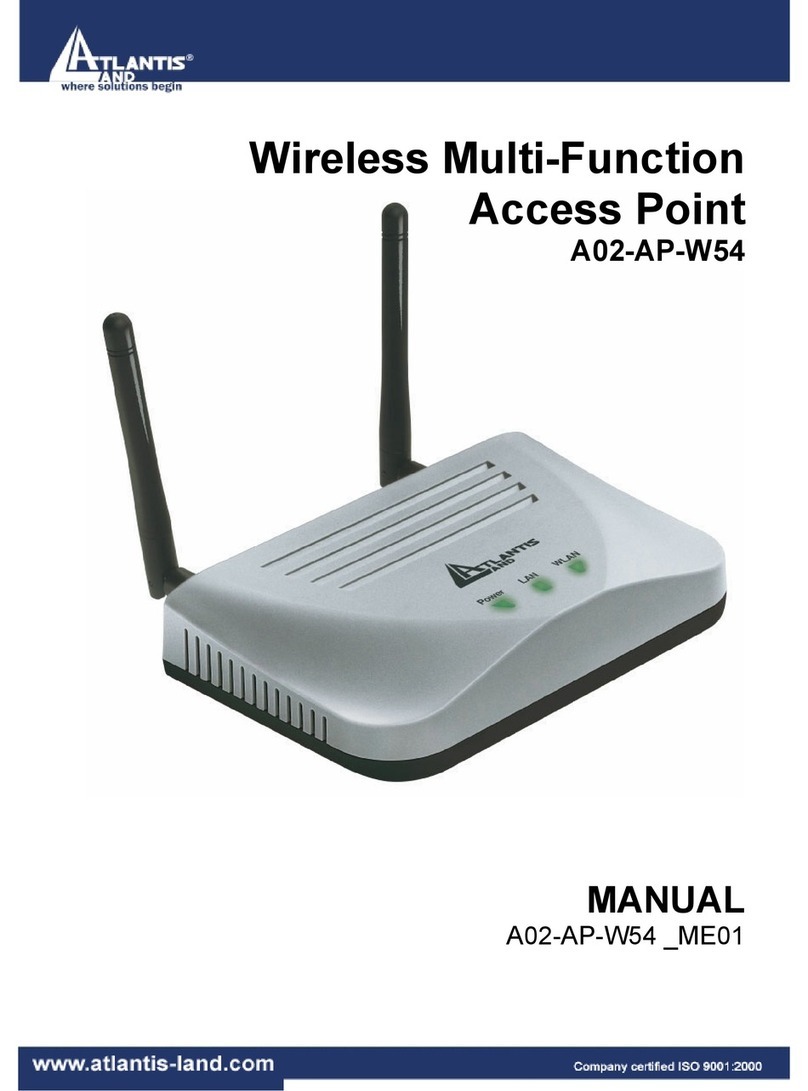
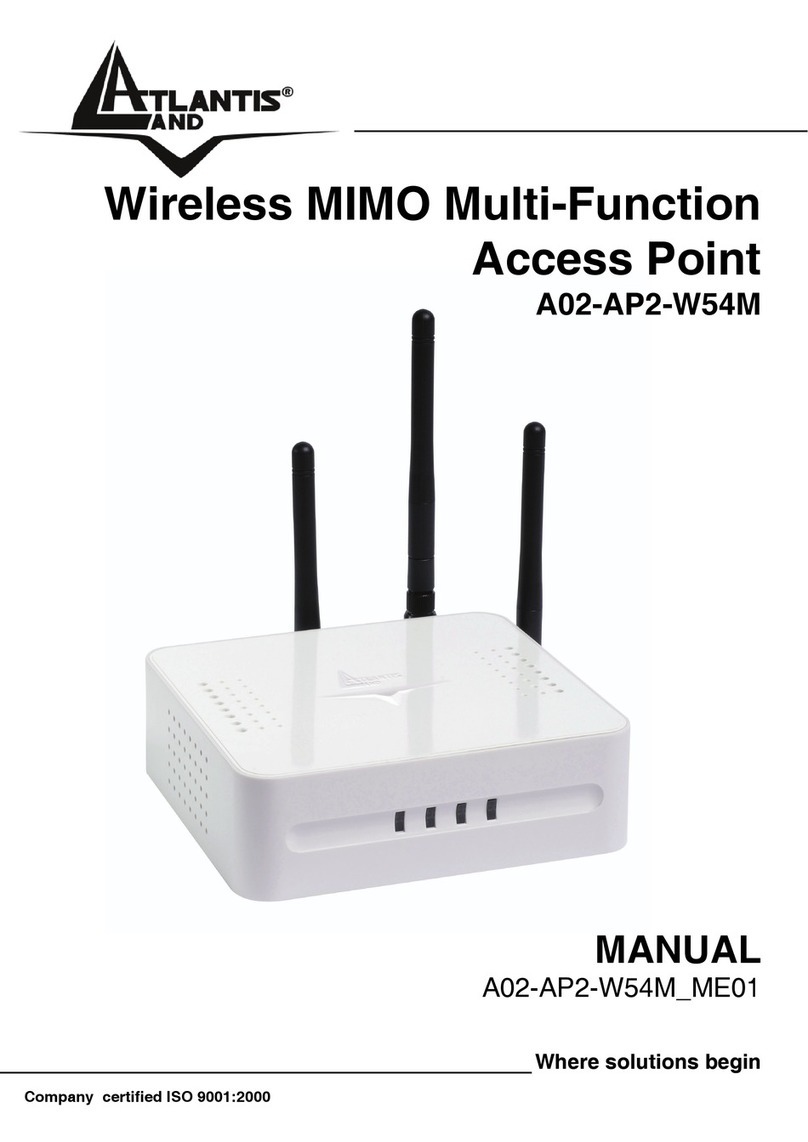
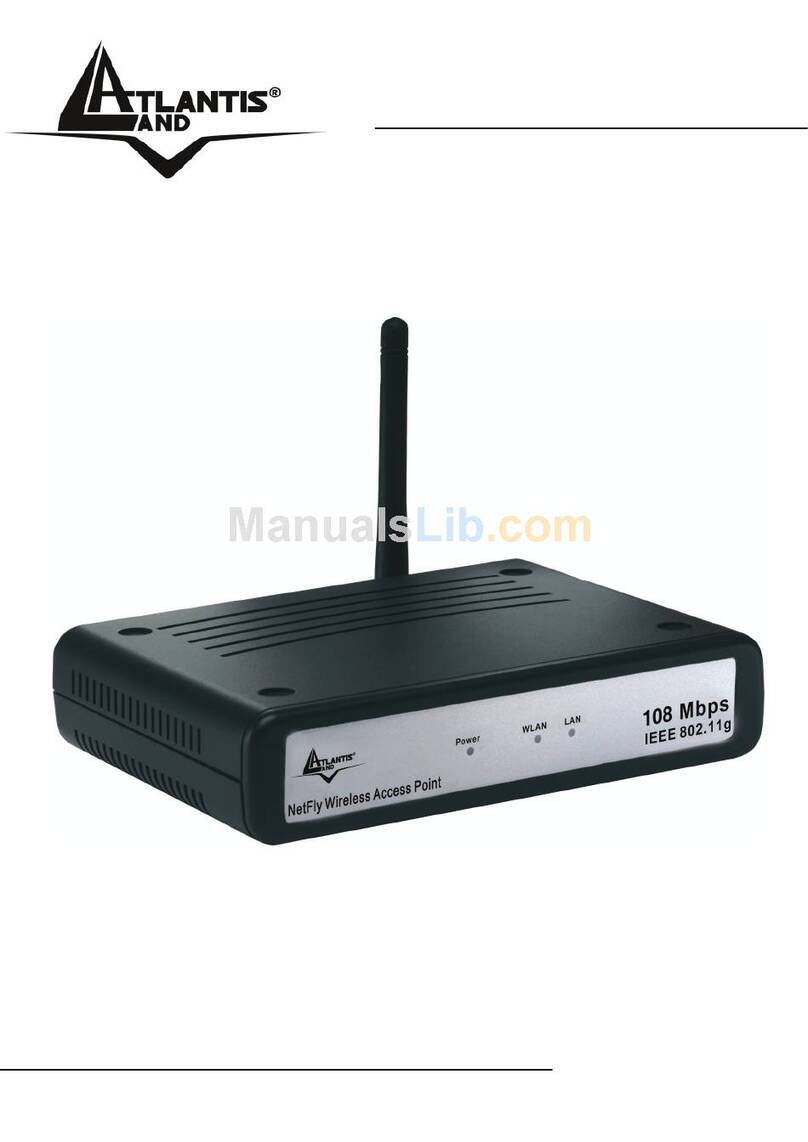
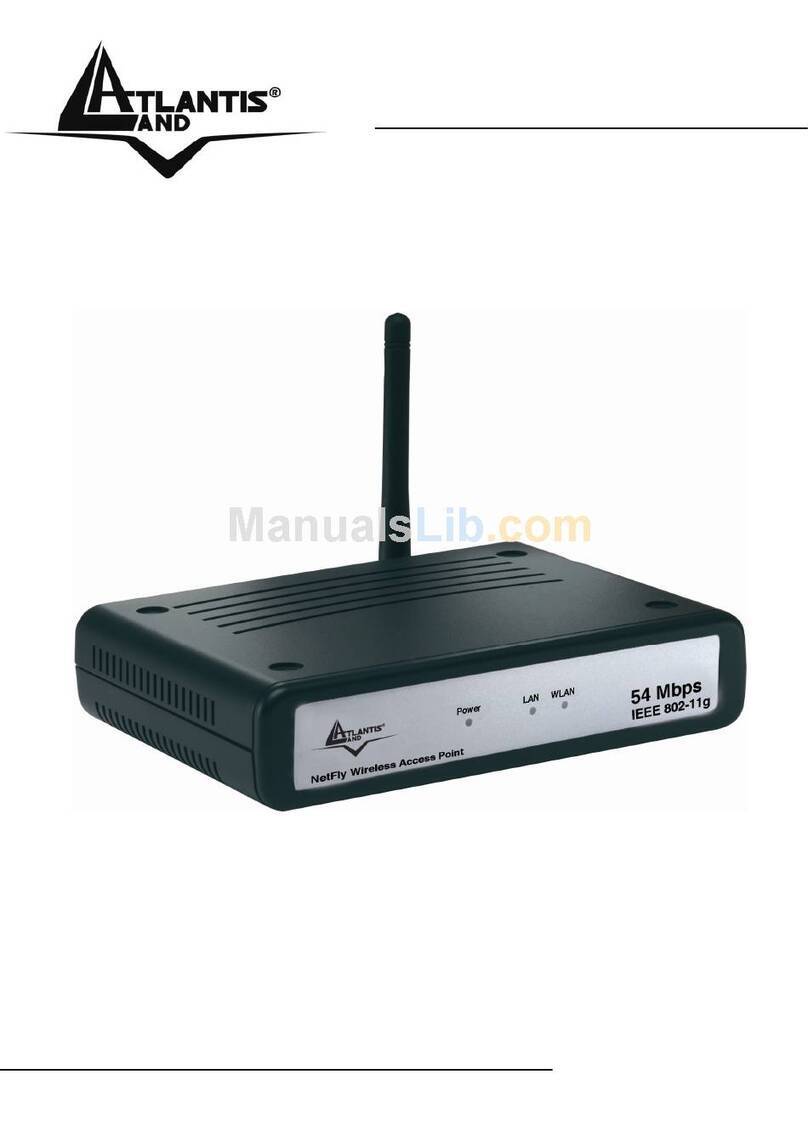
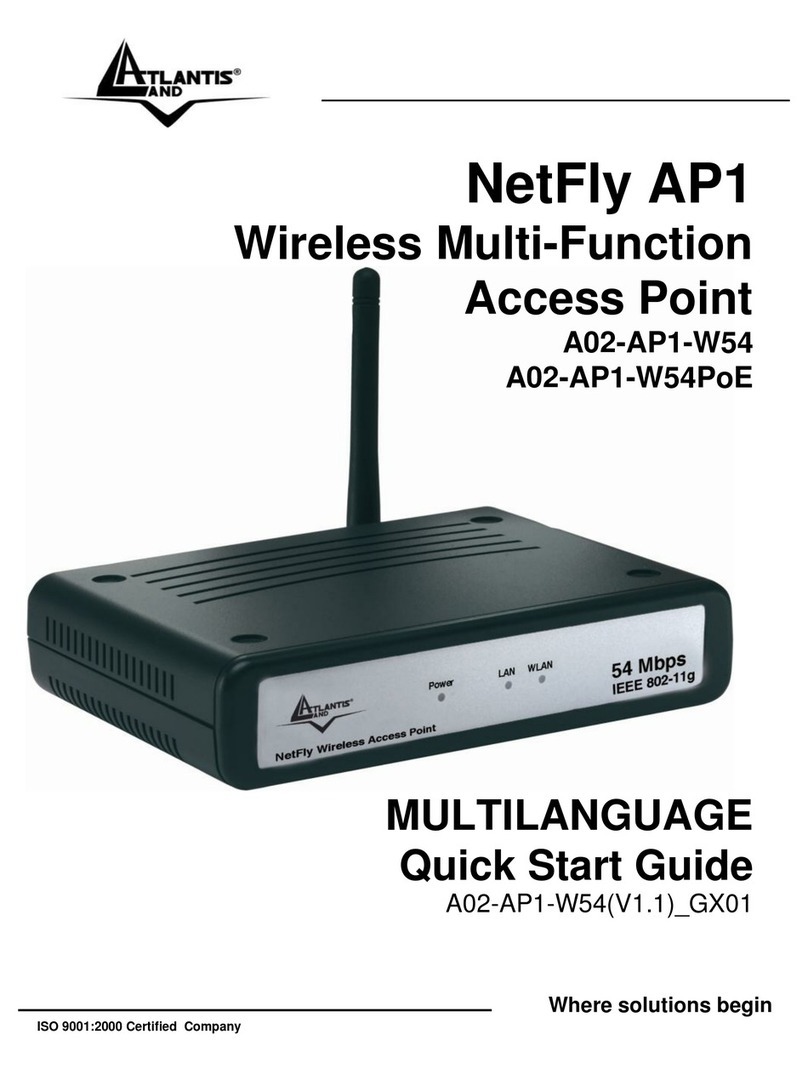
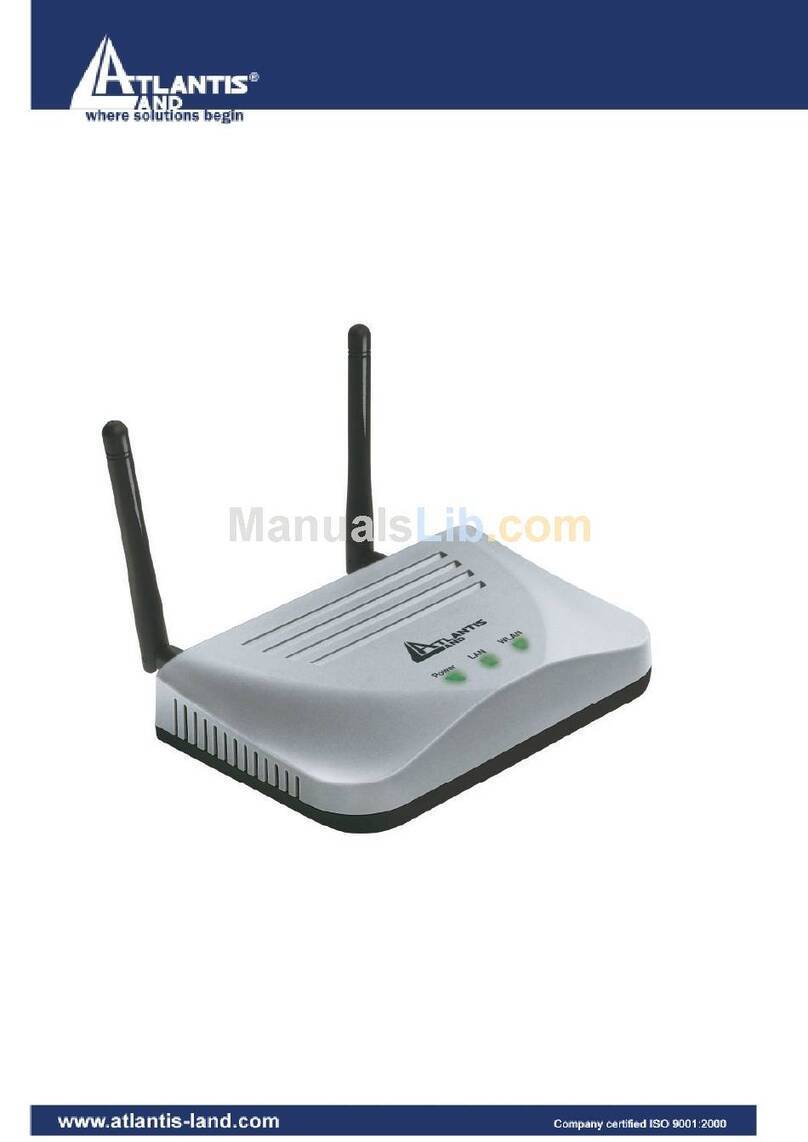
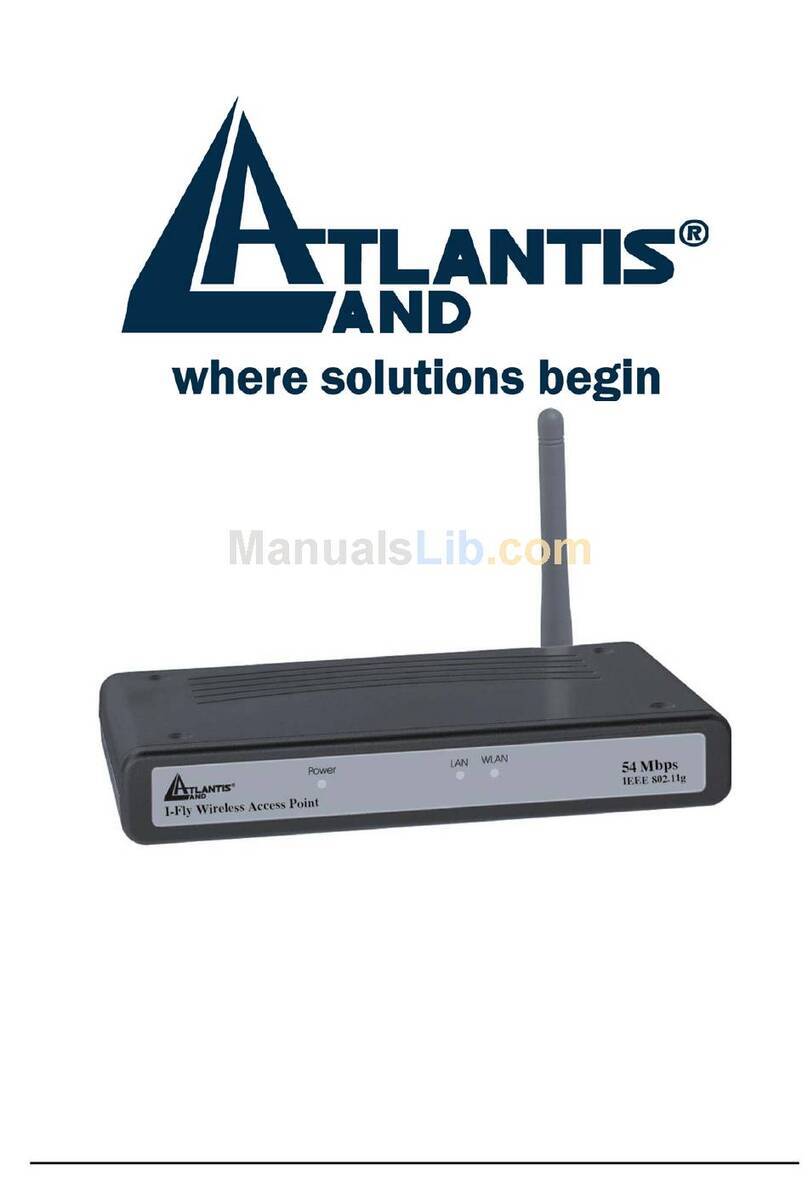
Atlantis Land NetFly AP1-54 User manual

Where solutions begin
Company certified ISO 9001:2000
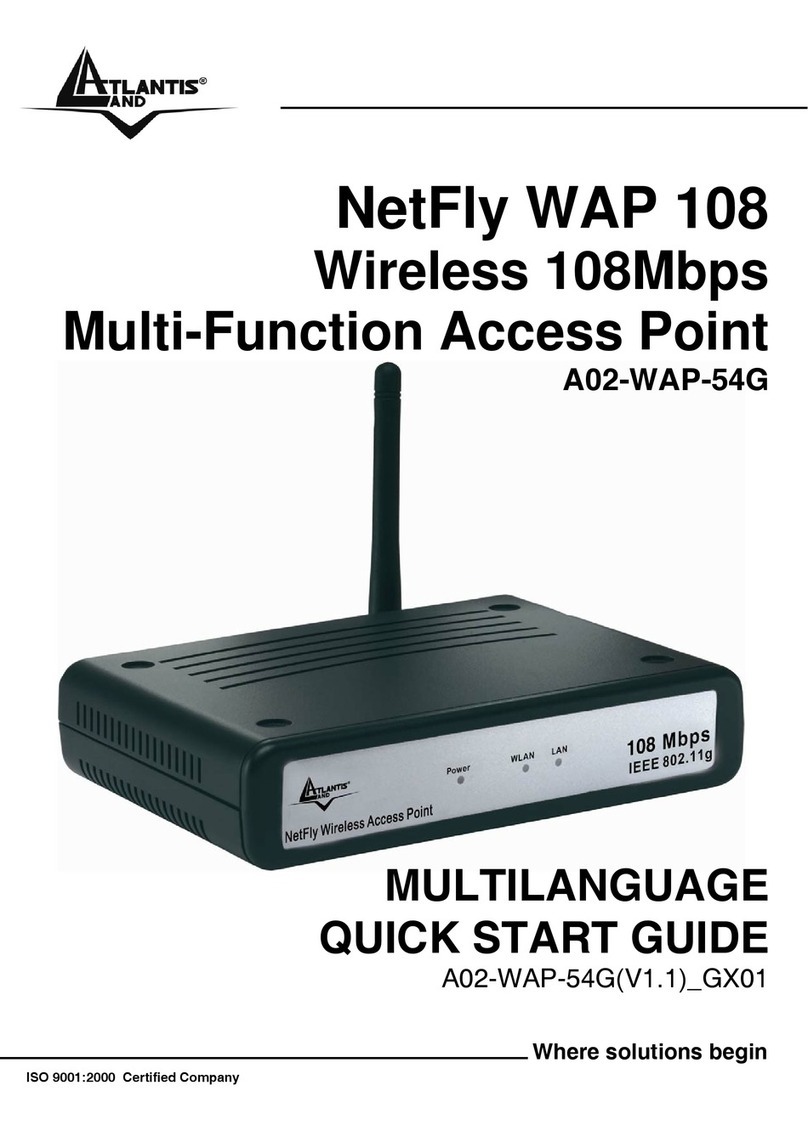
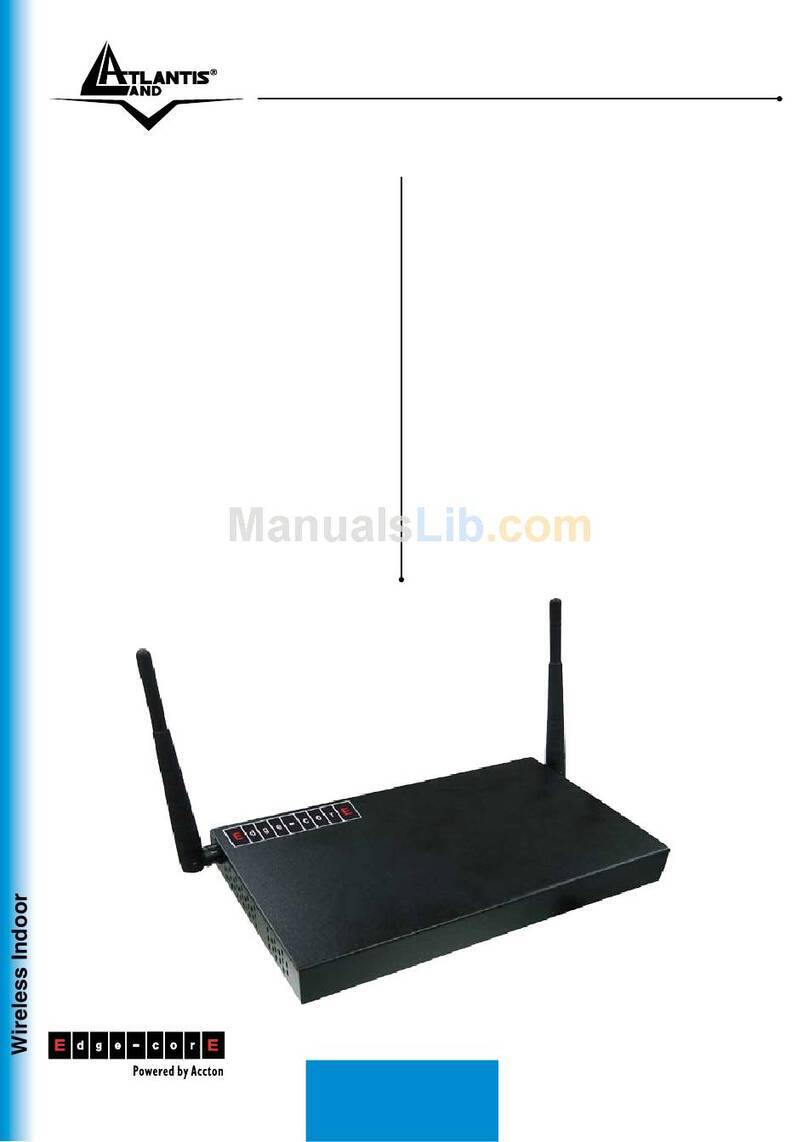
NetFly AP1-54
Wireless Multi-Function
Access Point
A02-AP1-W54
MULTILANGUAGE
QUICK START GUIDE
A02-AP1-W54_GX01

Where solutions begin
Company certified ISO 9001:2000
ITALIANO
Questo prodotto è coperto da garanzia Atlantis Land Fast
Swap della durata di 3 anni. Per maggiori dettagli in merito o
per accedere alla documentazione completa in Italiano fare
riferimento al sito www.atlantis-land.com.
ENGLISH
This product is covered by Atlantis Land 3 years Fast Swap
warranty. For more detailed informations please refer to the web
site www.atlantis-land.com.
For more detailed instructions on configuring and using this
device, please refer to the online manual.
FRANCAIS
Ce produit est couvert par une garantie Atlantis Land Fast
Swap de 3 ans. Pour des informations plus détaillées, référez-
vous svp au site Web www.atlantis-land.com.
DEUTSCH
Dieses Produkt ist durch die Atlantis Land 3 Jahre Fast Swap
Garantie gedeckt. Für weitere Informationen, beziehen Sie sich
bitte auf Web Site www.atlantis-land.com.
ESPAÑOL
Este producto està cubierto de garantía Atlantis Land Fast Swap
por 3 años. Para una información más detallada, se refiera por
favor al Web site www.atlantis-land.com.

Where solutions begin
Company certified ISO 9001:2000
The award of the information is facultative, but its lack will
prevent ATLANTIS LAND® from starting the Guarantee process
requested.
Copyright
The Atlantis Land logo is a registered trademark of Atlantis Land
SpA. All other names mentioned mat be trademarks or
registered trademarks of their respective owners. Subject to
change without notice. No liability for technical errors and/or
omissions.
R
R
Re
e
eg
g
gi
i
is
s
st
t
te
e
er
r
r
y
y
yo
o
ou
u
ur
r
r
p
p
pr
r
ro
o
od
d
du
u
uc
c
ct
t
t!
!
!
w
w
ww
w
ww
w
w.
.
.a
a
at
t
tl
l
la
a
an
n
nt
t
ti
i
is
s
s-
-
-l
l
la
a
an
n
nd
d
d.
.
.c
c
co
o
om
m
m
Registration on the web site
www.atlantis-land.com
within 15 days
from the purchase of the product dismiss
the customer from showing a valid proof of
purchase (Sale Receipt or Invoice) in case
of the request of intervention. For further
information we invite you to look at our web
site at the section WARRANTY.

MULTILANGUAGE QUICK START GUIDE
4
ITALIANO
1.1 Contenuto della confezione ............................... 7
1.2 I LED frontali......................................................... 7
1.3 Le porte posteriori................................................ 8
1.4 Cablaggio.............................................................. 8
1.5 Settaggi di Default ............................................... 9
1.6 Configurazione di IE.......................................... 10
1.7 Configurazione del PC...................................... 10
Configurazione del PC in Windows 95/98/ME .......10
Configurazione del PC in Windows NT4.0.............11
Configurazione del PC in Windows 2000..............11
Configurazione del PC in Windows XP.................12
1.8 Configurazione Router...................................... 12
Quick Wizard Setup ...............................................13
ENGLISH
1.1 Package contents .............................................. 17
1.2 The Front Panel LEDs ...................................... 17
1.3 The Rear Ports................................................... 18
1.4 Cabling ................................................................ 19
1.5 Default Settings.................................................. 19
1.6 IE Configuration ................................................. 21
1.7 TCP/IP Configuration ........................................ 21
Configuring PC (Windows 95/98/ME) ....................21
Configuring PC (Windows NT4.0)........................21
Configuring PC (Windows 2000)...........................22
Configuring PC (WindowsXP)..............................22
1.8 Browser configuration ....................................... 23
Quick Wizard Setup ...............................................24
MULTILANGUAGE QUICK START GUIDE
5
FRANCAIS
1.1 Contenu de la boîte........................................... 28
1.2 Face avant .......................................................... 28
1.3 Face arrière ........................................................ 29
1.4 Câblage............................................................... 29
1.5 Configuration initiale.......................................... 30
1.6 Configuration du TCP/IP................................... 31
Configuration sous Windows 95/98/ME .................31
Configuration sous Windows NT4.0.......................32
Configuration sous Windows 2000 ......................32
Configuration sous Windows XP..........................33
1.7 Vérification .......................................................... 33
1.8 Configuration avec le Browser......................... 34
Quick Wizard Setup ...............................................35
DEUTSCH
1.1 Inhalt der Verpackung....................................... 40
1.2 Die frontalen LED .............................................. 40
1.3 Die Hinterturen ................................................... 41
1.4 Verdrahtung........................................................ 41
1.5 Einstellung des Default..................................... 42
1.6 Die IE Konfiguration .......................................... 43
1.7 Konfiguration des PC........................................ 43
Konfiguration des PC in Windows 95/98/ME .........43
Konfiguration des PC in Windows NT4.0...............44
Konfiguration des PC in Windows 2000................44
Konfiguration des PC in Windows XP....................45
1.8 Konfiguration des Router.................................. 45
Quick Wizard Setup ...............................................46

MULTILANGUAGE QUICK START GUIDE
6
ESPANOL
1.1 Contenido de la caja ......................................... 50
1.2 Los LED frontales .............................................. 50
1.3 Los puertos posteriores.................................... 51
1.4 Cableado............................................................. 52
1.5 Configuración de fábrica................................... 52
1.6 Configuración de Internet Explorer................. 53
1.7 Configuración del PC ........................................ 53
Configuración del PC en Windows 95/98/ME ........53
Configuración del PC en Windows NT 4.0.............54
Configuración del PC en Windows 2000...............55
Configuración del PC en Windows XP..................56
1.8 Configuración del Punto de Acceso ............... 56
Asistente de Configuración ....................................57
A02-AP1-W54_GX01(V1.0 May 2006)

ITALIANO
7
Questo manuale è inteso come una guida rapida,
pertanto per ulteriori dettagli sulla configurazione fare
riferimento al manuale esteso presenti sul CDRom
allegato.
1.1 Contenuto della confezione
Atlantis Land WirelessMulti-Function Access Point, CDRom
contenente il manuale, Guida di Quick Start, antenna
esterna da 2 dBi, Alimentatore esterno (7.5V, 1A).
1.2 I LED frontali
LED INFORMAZIONE
POWER Acceso quando connesso alla rete
elettrica.
WLAN
Acceso fisso quando il modulo wireless è
correttamente caricato.
Lampeggiante quando vi è
trasmissione/ricezione.
LAN
Acceso quando connesso ad un dispositivo
Ethernet
Verde= connessione a 10 o 100Mbps
Lampeggiante quando vi è

ITALIANO
8
trasmissione/ricezione.
1.3 Le porte posteriori
PORTE UTILIZZO
POWER Jack Connettere l’alimentatore a questo
jack.
LAN Connettere con un cavo UTP.
Reset Dopo che il dispositivo è acceso,
premere per effettuare il reset per
almeno 5 secondi, rilasciare e
questo punto il bottone. Tutti i LED
si accenderanno e poi il sistema
effettuerà un reboot caricando i
parametri di default.
Reverse SMA Collegare l’antenna fornita in
dotazione.
1.4 Cablaggio
Anzitutto collegare la porta RJ45 alla Lan e collegare
l’alimentatore all’Access Point ed alla presa elettrica. Una
volta effettuati tutti i collegamenti il prodotto effettuerà una
diagnostica la cui durata è di circa una decina di secondi.

ITALIANO
9
Terminata questa fase il Led POWER sarà acceso verde
fisso ed il i Led LAN/WLAN saranno accesi (a seconda dei
collegamenti fatti) o lampeggianti .
In figura è possibile osservare una tipica installazione
domestica in modalità Access Point.
1.5 Settaggi di Default
Prima di iniziare la configurazione dell’Atlantis Wireless
Multi-Function Access Point è necessario conoscere quali
siano i settaggi di default. Lasciando questi settaggi e
impostando sui PC un idirizzo IP statico privato (come da
istruzioni seguenti) è possibile utilizzare l’Atlantis Wireless
Multi-Function Access Point in pochissimo tempo. L’indirizzo
IP, normalmente appartenente ad una classe privata, deve
stare nella classe 192.168.1.x con Subnet 255.255.255.0.
Anzitutto è necessario preparare i PC inserendovi (qualora
non vi fosse già) la scheda di rete / Adattatore Wireless. E’
necessario poi installare il protocollo TCP/IP. Qualora il
TCP/IP non fosse correttamente configurato, seguire gli
steps successivi. Per una configurazione più dettagliata fare
riferimento al manuale presente sul CD. Le configurazioni di
Default dell’Atlantis Wireless Multi-Function Access Point
sono:
•Username:admin

ITALIANO
10
•Password: admin
•Indirizzo IP LAN: (192.168.1.1), Subnet Mask
(255.255.255.0)
•DHCP Server: disabilitato
•SSSID= default, Channel=6, WEP/WAP=disabilitato
1.6 Configurazione di IE
A questo punto è necessario lanciare IE, andare nel menù
strumenti, poi scegliere la sezione Connessioni e spuntare
una delle seguenti voci:
•Non utilizzare mai connessioni remote
•Usa connessione remota se non è disponibile una
connessione di rete
1.7 Configurazione del PC
Configurazione del PC in Windows 95/98/ME
1. Andare in Start/Settings/Control Panel. Cliccare 2
volte su Network e scegliere Configuration.
2. Selezionare TCP/IP->NIC F/E, o qualsiasi Network
Interface Card (NIC) del PC.
3. Cliccare su Properties.
4. Selezionare l’opzione Specify an IP address (dopo
aver scelto IP Address) ed introdurre un indirizzo IP del
tipo 192.168.1.x (X compreso tra 2 e 254 escluso 1 che
è l’IP utilizzato del Wireless Multi-Function AP) e subnet
mask 255.255.255.0.
5. Andare su DNS Configuration.

ITALIANO
11
6. Selezionare l’opzione Enable DNS ed introdurre
l’indirizzo IP del server DNS. Premere su OK per
terminare la configurazione.
Riavviare il PC affinché i cambiamenti abbiano effetto.
Configurazione del PC in Windows NT4.0
1. Andare su Start/Settings/ Control Panel. Cliccare per
due volte su Network e poi cliccare su Protocols .
2. Selezionare TCP/IP Protocol e poi cliccare su
Properties.
3. Selezionare l’opzione Specify an IP Address e ed
introdurre un indirizzo IP del tipo 192.168.1.x (X
compreso tra 2 e 254 escluso 1 che è l’IP utilizzato del
Wireless Multi-Function AP)e subnet mask
255.255.255.0. Premere OK per terminare.
Configurazione del PC in Windows 2000
1. Andare su Start/Settings/Control Panel. Cliccare due
volte su Network and Dial-up Connections.
2. Cliccare due volte su Local Area Connection.
3. In Local Area Connection Status cliccare Properties.
4. Selezionare Internet Protocol (TCP/IP) e cliccare su
Properties.
5. Selezionare l’opzione Use the Following IP address ed
introdurre un indirizzo IP del tipo 192.168.1.x (X
compreso tra 2 e 254 escluso 1 che è l’IP utilizzato del
Wireless Multi-Function AP) e subnet mask
255.255.255.0.

ITALIANO
12
6. Successivamente scegliere Use the Following DNS
server address (chiedere tale informazione al proprio
ISP) ed introdurre l’indirizo IP dei server DNS.
7. Premere su OK per terminare la configurazione
Configurazione del PC in Windows XP
1. Andare su Start e poi Control Panel. Cliccare due
volte su Network (in Classic View) Connections.
2. Cliccare due volte su Local Area Connection.
3. In Local Area Connection Status cliccare Properties.
4. Selezionare Internet Protocol (TCP/IP) e cliccare su
Properties.
5. Selezionare l’opzione Use the following IP address ed
introdurre un indirizzo IP del tipo 192.168.1.x (X
compreso tra 2 e 254 escluso 1 che è l’IP utilizzato del
Wireless Multi-Function AP) e subnet mask
255.255.255.0.
6. Successivamente Use the following DNS server
addresses (chiedere tale informazione al proprio ISP)
ed introdurre l’indirizzo IP dei server DNS.
7. Premere su OK per terminare la configurazione.
1.8 Configurazione Router
Digitare nel browser web il seguente indirizzo IP:
http://192.168.1.1 e premere il tasto invio.

ITALIANO
13
Utilizzare admin (come nome utente) e admin (come
password). Premere OK per continuare.
Apparirà a questo punto la configurazione Wizard che
consente una configurazione guidata dell’apparato.
Chiudendo la Wizard è possibile accedere al Menù
Principale dove è possibile configurare dettagliatamente il
dispositivo (si rimanda al manuale completo presente su
CDRom). Nel caso il Wizard non fosse presente è
sufficiente cliccare sull’apposita voce per avviarlo.
Quick Wizard Setup
Grazie a questo Wizard è possibile configurare il dispositivo
in brevissimo tempo. Apparirà l’immagine di sotto (qualora
non fosse così, cliccare sul bottone Wizard). Cliccare su
Next per proseguire.

ITALIANO
14
Step 1: Modifica Password
E’ possibile adesso cambiare la password, cliccare poi su
Next per passare al prossimo step.
Step 2: Set Wireless LAN connection
Introdurre il valore di SSID (deve essere identico in tutti i
dispositivi) e scegliere il canale su cui opererà il dispositivo.

ITALIANO
15
Cliccare poi su Next per passare al prossimo step.
Step 3: Set WEP Encryption
Per abilitare la cifratura WEP spuntare enable, scegliere la
lunghezza della chiave WEP tra 64 e 128 bit ed immettere la
chiave nel campo Key. Cliccare su Next per proseguire.

ITALIANO
16
Step 6: Restart
A questo punto la configurazione è terminata, riavviare il
Wireless Multi-Function Access Point premendo su Restart.
Cliccando invece su exit tutti i settaggi impostati non
verranno salvati.
Provare ad effettuare una prova di navigazione.
In caso di problemi fare riferimento al manuale esteso
presente sul CDRom allegato.

ENGLISH
17
For more detailed instructions on configuring and using
the Wireless Multi-Function Access Point, please refer
to the online manual.
1.1 Package contents
Atlantis Land WirelessMulti-Function Access Point, CDRom
with manual, Quick Start Guide, External 2 dBi Antenna,
Power Adapter AC-DC (7.5V, 1A).
1.2 The Front Panel LEDs
LED MEANING
POWER This indicator lights green when the hub
is receives power, otherwise it is off.
WLAN
This indicator lights green when there
are wireless devices connected and
transmitting data to the Wireless Access
Point.
LAN
These indicators light green when the
LAN ports were connected successfully.
These indicators blink green while the
LAN ports were transmitting data.

ENGLISH
18
1.3 The Rear Ports
PORT MEANING
POWER Jack Connect the supplied power
adapter to this jack.
LAN Connect an UTP Ethernet cable to
one of the four LAN ports when
connecting to a PC or an
office/home network of 10Mbps or
100Mbps.
Reset After the device has turned on,
press it to reset the device or
restore to factory default settings.
Use a pin-shape item to push to
reset this device to factory default
settings. It will be useful too when
the manager forgot the password
to login, but the setting will be back
to default setting.
Reverse SMA There is one 2dBi Gain Antenna in
the rear panel for wireless
connection.

ENGLISH
19
1.4 Cabling
Connect to the Switch/Hub
1. Plug in one end of the RJ45 network cable to the
Switch/Hub port,
2. Plug in the other end of the RJ45 network cable to
the Wireless Access Point.
Check the installation
The LEDs of the Access Point are clearly visible and the
status of the network link can be seen instantly:
•With the power source on, once the device is
connected, the Power, LAN and WLAN port LEDs
will light up indicating a normal status.
•If the LAN Port’s Link indicator does not light up then
check the RJ-45 cable if it is firmly feed to the RJ45
port, while the LAN is link up to the Switch/Hub, the
LAN port’s LED will light up.
1.5 Default Settings
The Wireless Multi-Function Access Point can be configured
with your Web browser. The web browser is included as a
standard application in following operation systems, UNIX,
Linux, Mac OS, Windows 95/98/NT/2000/Me, etc. The

ENGLISH
20
product provides a very easy and user-friendly interface for
configuration.
Before Configuration
This section describes the configuration required by LAN-
attached PCs that communicate with the Wireless Multi-
Function Access Point, either to configure the device or for
network access. These PCs must have an Ethernet interface
(or wireless adapter) installed properly, be connected to the
Wireless Multi-Function Access Point either directly or
through an external repeater hub or by wireless, and have
TCP/IP installed and configured with a fixed IP address that
must be in the same subnet of the Wireless Multi-Function
Access Point. The default IP address of the Wireless Multi-
Function Access Point is 192.168.1.1 and subnet mask is
255.255.255.0. For example, when the default network
address of the default IP address of the AP is 192.168.1.1,
then the manager PC should be set at 192.168.1.x (where x
is a number between 2 and 254), and the default subnet
mask is 255.255.255.0.
Please follow the steps below for PC’s network environment
installation. First of all, please check your PC’s network
components. The TCP/IP protocol stack and Ethernet
network adapter must be installed. If not, please refer to MS
Windows related manuals.
Before you configure this Wireless Multi-Function Access
Point, you need to know the following default settings:
•Username:admin
•Password:admin
•IP LAN address: (192.168.1.1), Subnet Mask
(255.255.255.0)
•DHCP Server: disable
•SSSID= default, Channel=6, WEP/WAP=disable
This manual suits for next models
1
Table of contents
Languages:
Other Atlantis Land Wireless Access Point manuals

Atlantis Land
Atlantis Land A02-AP2-W54M User manual

Atlantis Land
Atlantis Land FlyBoost CL100 User manual

Atlantis Land
Atlantis Land A02-AP-W54 User manual

Atlantis Land
Atlantis Land A07-WA6102X-2 User manual

Atlantis Land
Atlantis Land A02-AP1-W54 User manual

Atlantis Land
Atlantis Land A02-AP2-W54M User manual

Atlantis Land
Atlantis Land NetFly AP1-54/P User manual

Atlantis Land
Atlantis Land NetFly WAP 108 A02-WAP-54G(V1.1)_GX01 User manual

Atlantis Land
Atlantis Land I-Fly A02-WAP-54G/G2 User manual

Atlantis Land
Atlantis Land I-Fly i I-Fly Wireless Access Point User manual