2
• HighQualitylightintensifiertube
•Superfastlenssystemprovidestheuser
with a clear and sharp image
•Built-inInfra-Redilluminatorletsyousee
even in total darkness
•Interchangeablelensesfordifferentmag-
nification
•Ruggedandversatiledesign
•Singleswitchknoboperation
•Camera/camcorder-adaptable
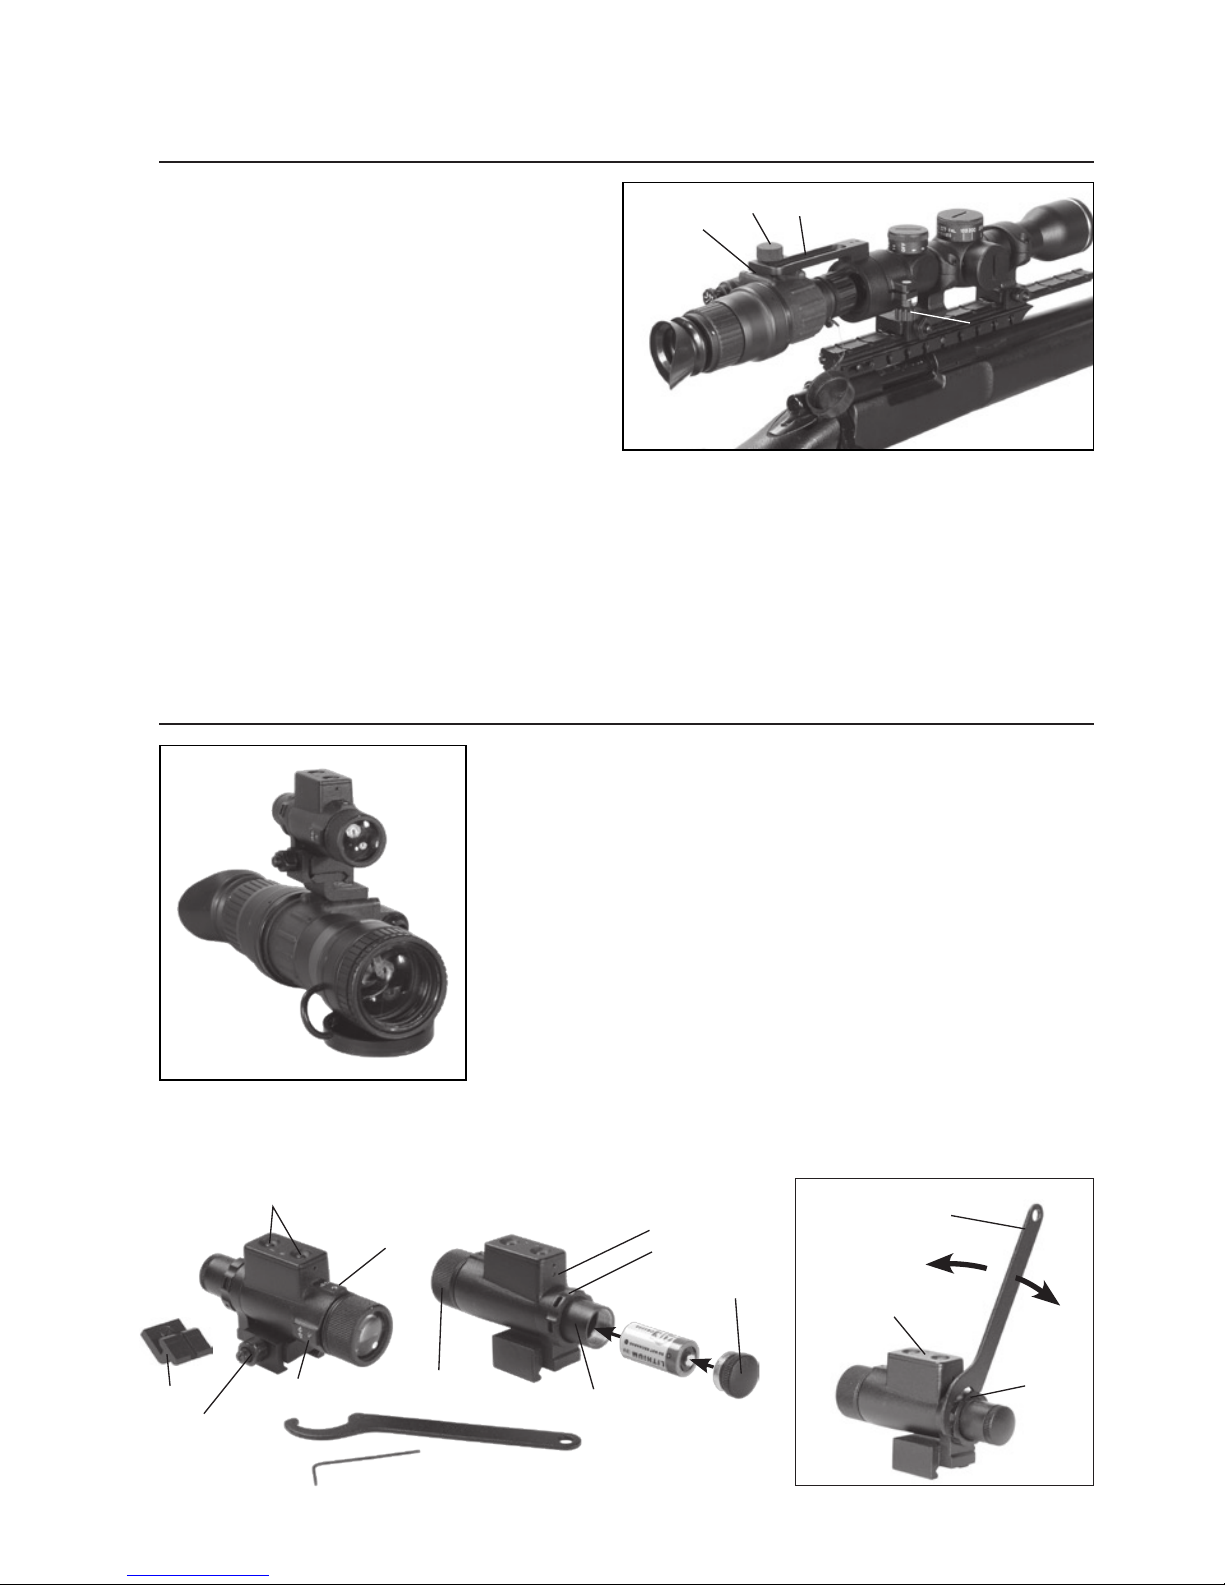
•Weaponmountable
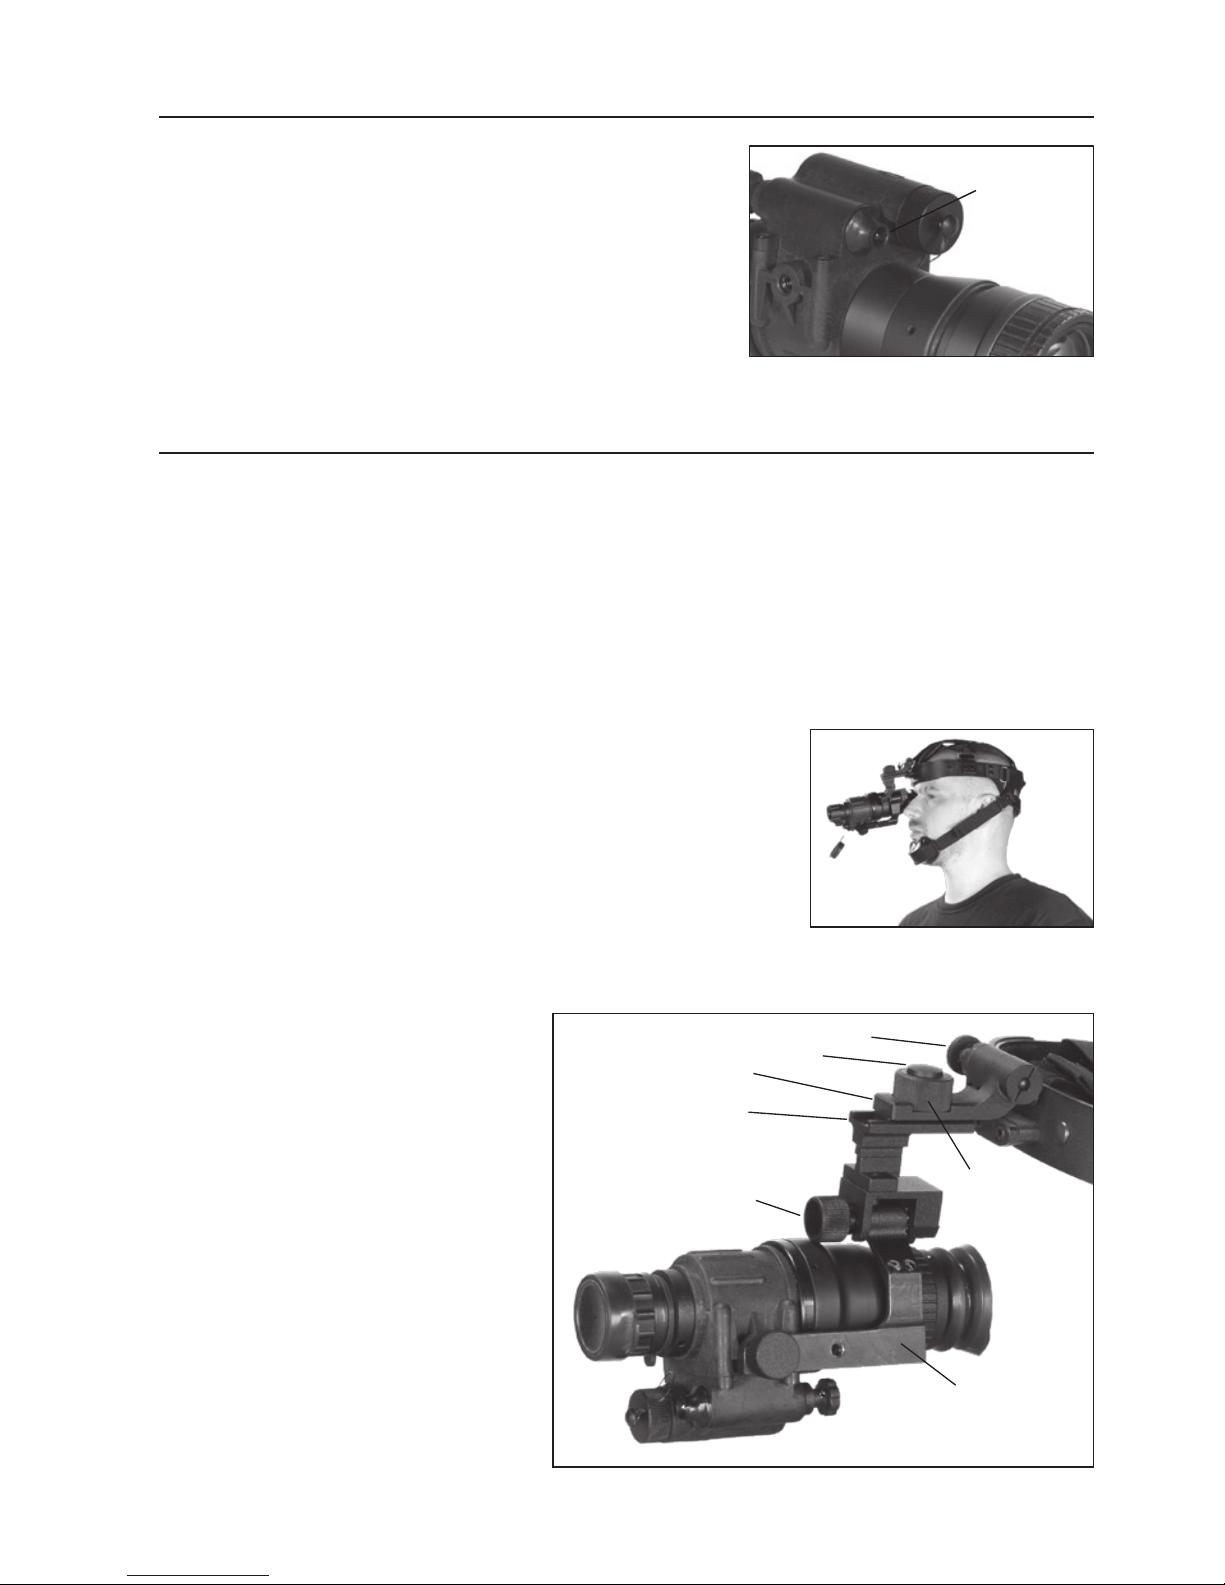
•Headmountableforhands-freeusage
•Flexiblecarryingcase
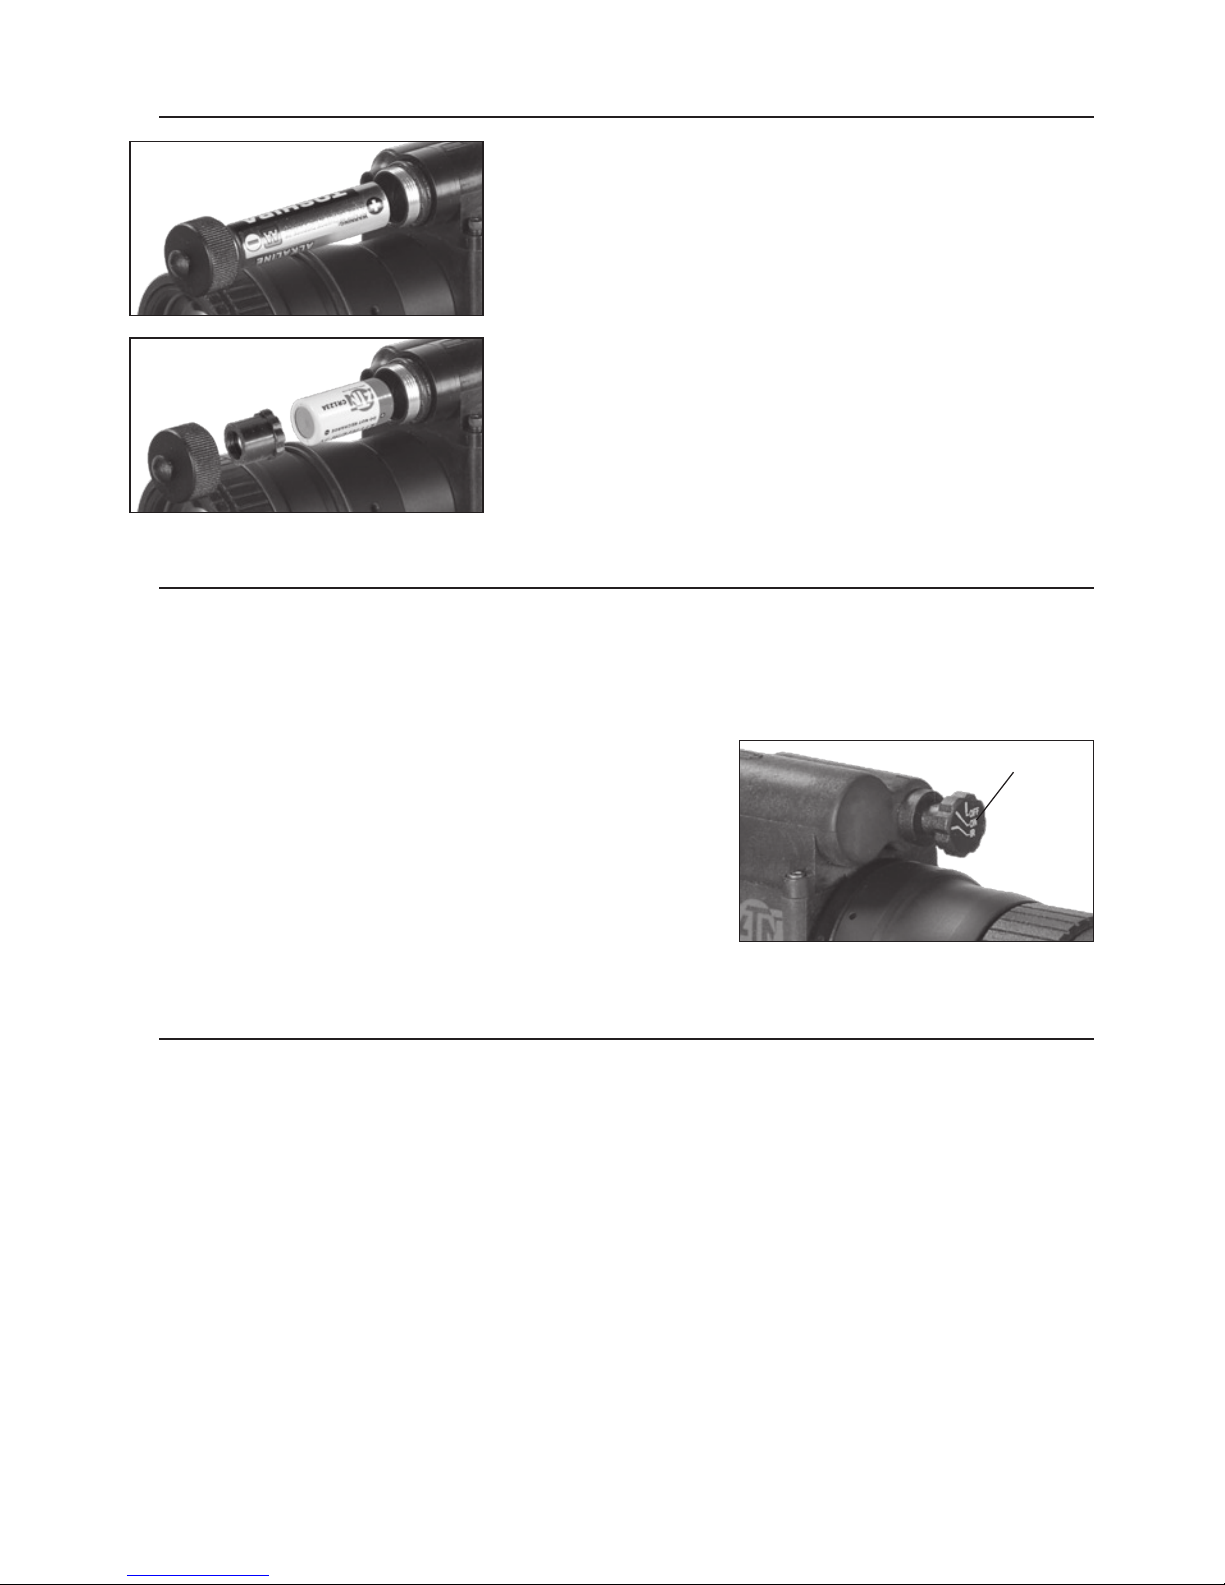
•UsesoneAAorLithiumbattery
•Weatherresistant
SPECIFICATIONS
Magnification ................................................. 3X (optional 5X)
Lens System .................................................. 50mm F1:1.2
Field of view ................................................... 18°
Diopter adjustment ......................................... ±5
Range of Focus .............................................. 3m to infinity
Power Supply ................................................. 1.5V AA or 3V CR123A Lithium battery
Battery Life ..................................................... 30 hours (15 hours w/IR illuminator)
Operating Temperature .................................. -40°C to +50°C
Storage Temperature ..................................... -50°C to +70°C
Weather resistant ........................................... Yes
Dimensions .................................................... 210x75x60 mm (8.2” x 2.9” x 2.3”)
Weight ............................................................ 0.65kg (1.4 lb)
* ATN reserves the right to change the above specifications at any time without notice
APPLICATION
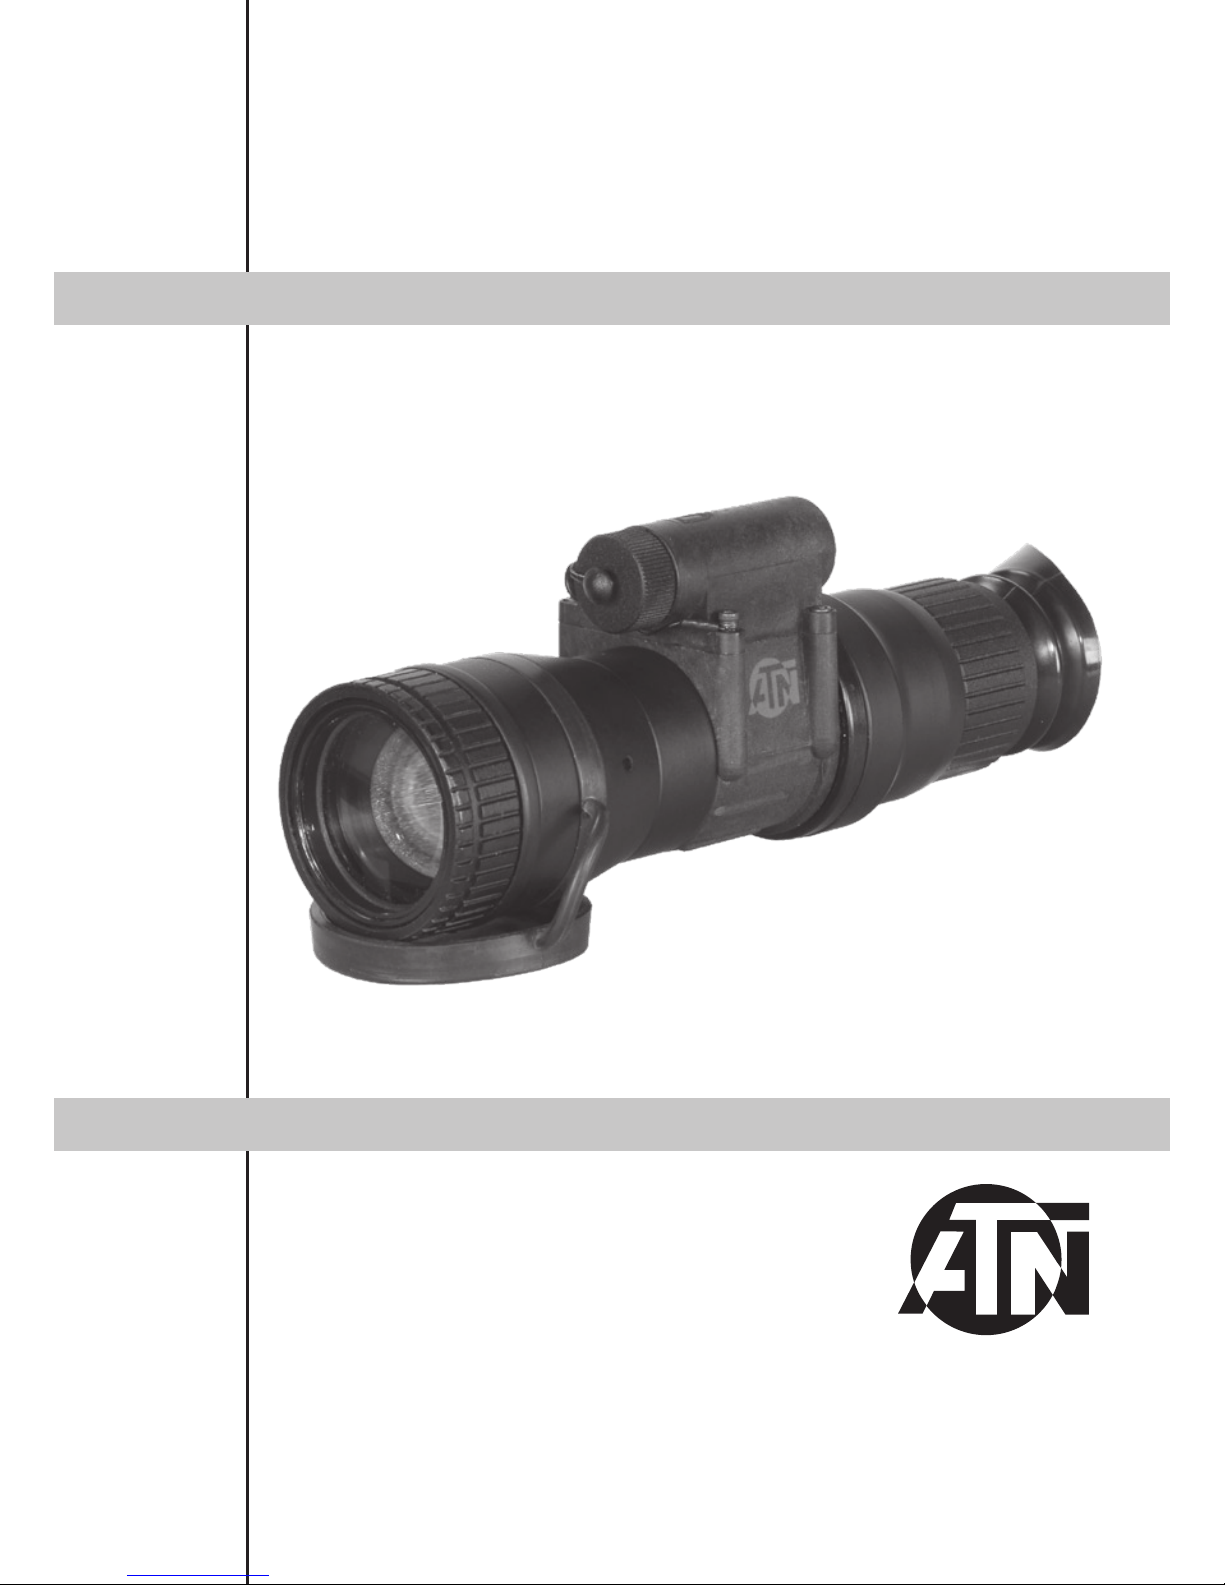
The Night Spirit is rugged and lightweight night vision monocular. It utilizes multicoated optics
specially coated to gather light to provide bright and clear images. Couple these optics with
state of the art quality image intensifier tubes and the Night Spirit is an excellent compact pocket
scope. The Night Spirit is an amazing combination of versatility, performance, and price.
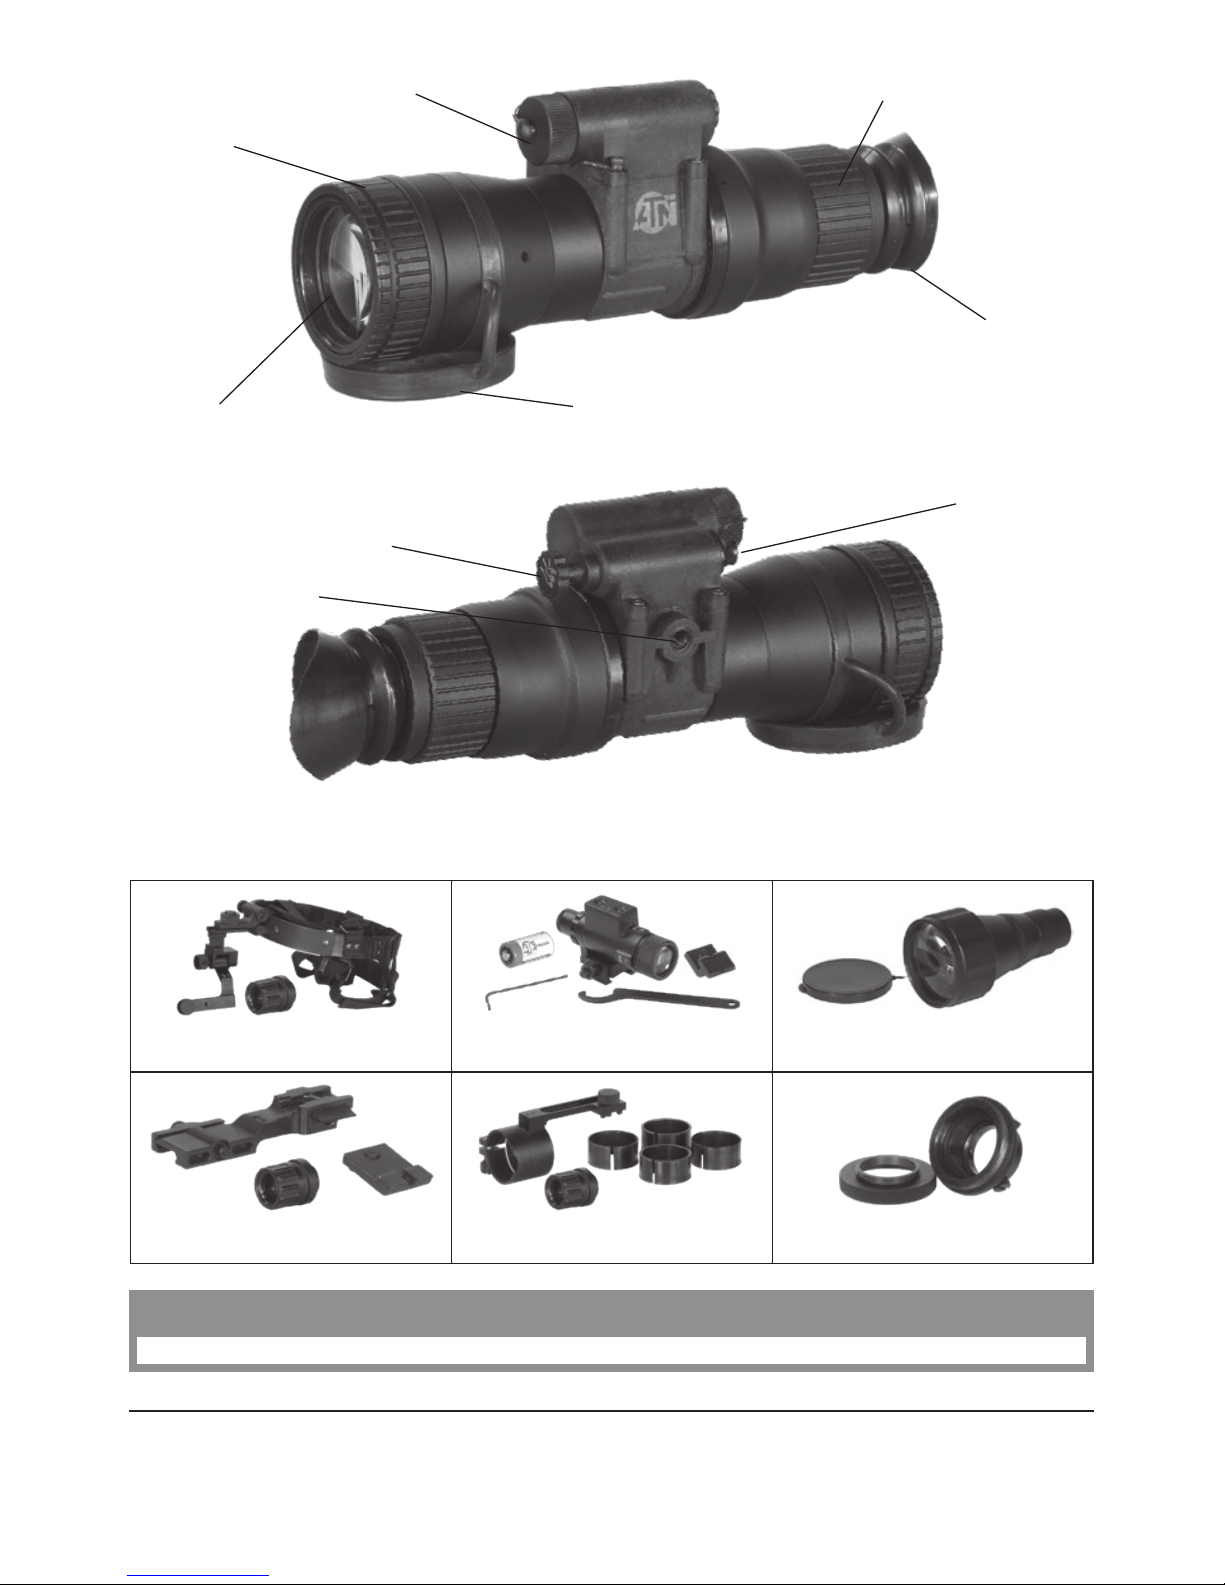
The Night Spirit night vision monocular is a complex electro-optical system for individual use.
The device consists of the objective lens assembly, eyepiece and the body. The body contains
an image intensifier tube assembly with an integrated high voltage power source and the bat-
tery housing.
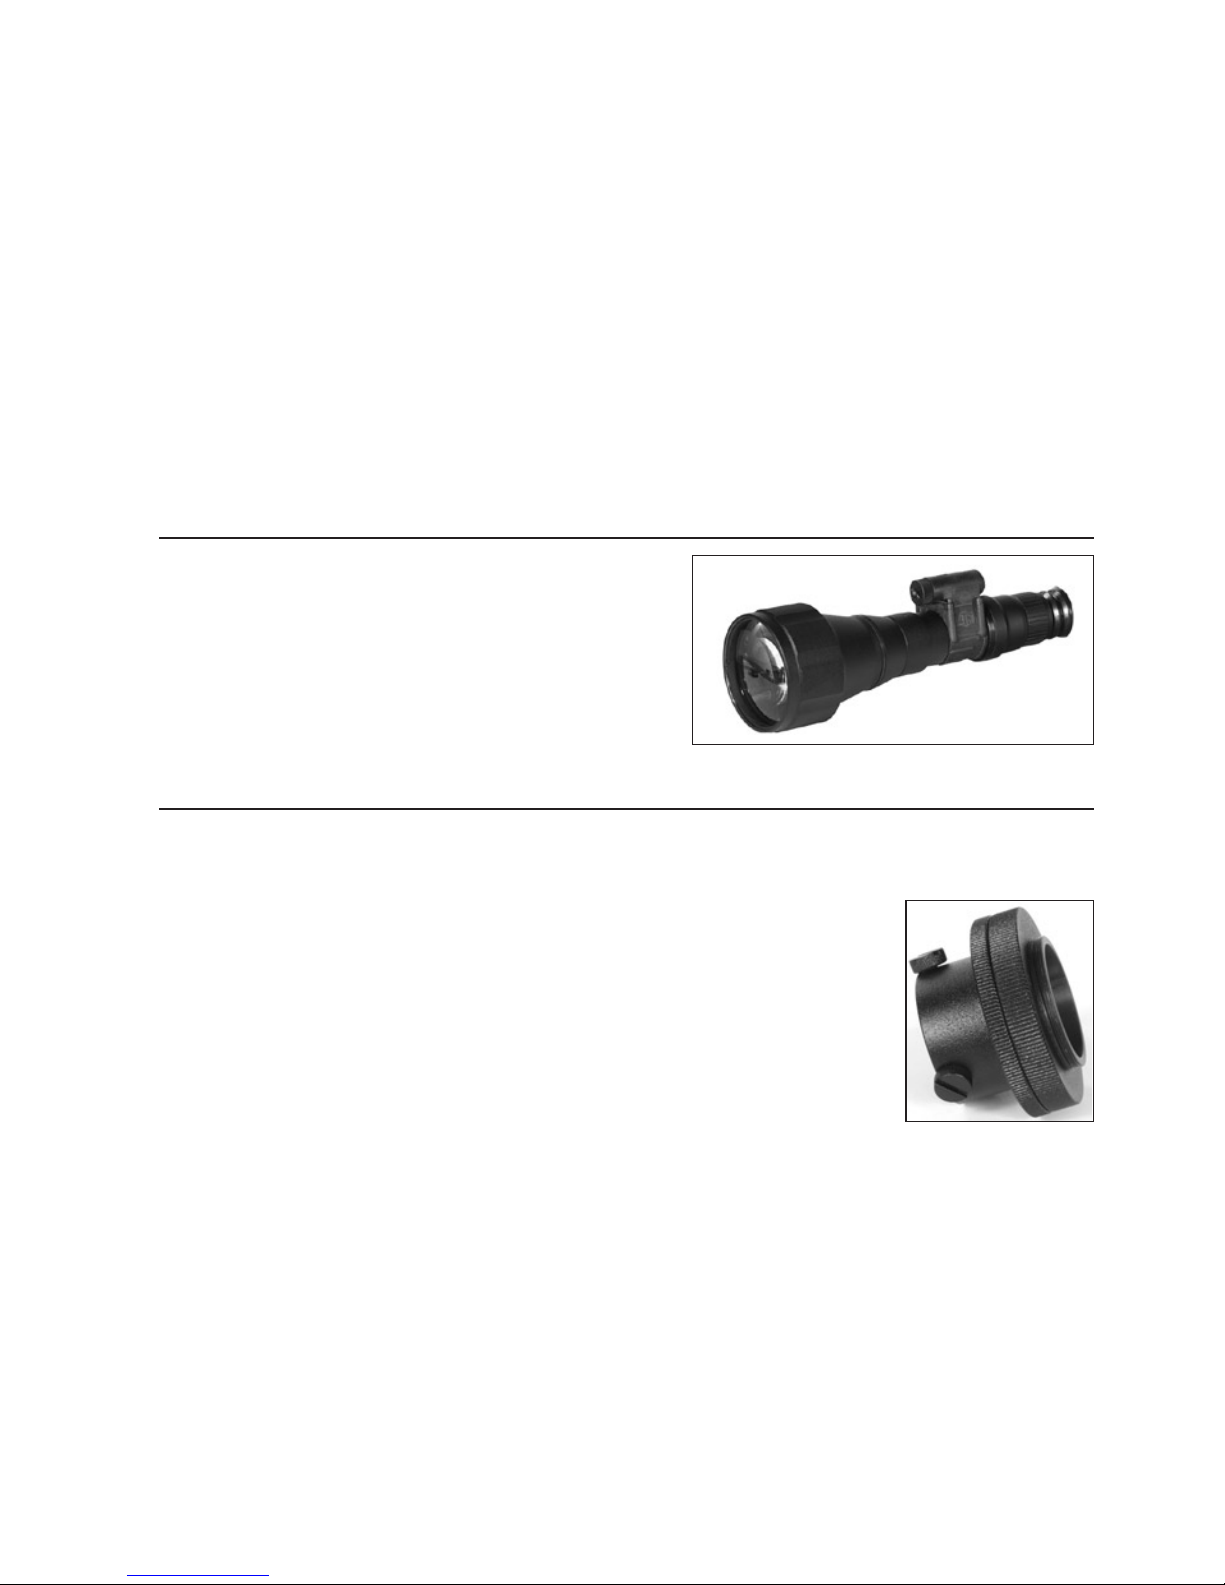
Objective lens protective cover is intended to protect the objective lens from dust and
scratches. It also acts as a daylight filter, allowing you to test the scope in daylight or other
bright light situations. The pinhole in the center of the protective cover allows the user to check
the operation ability of the device in daylight conditions.
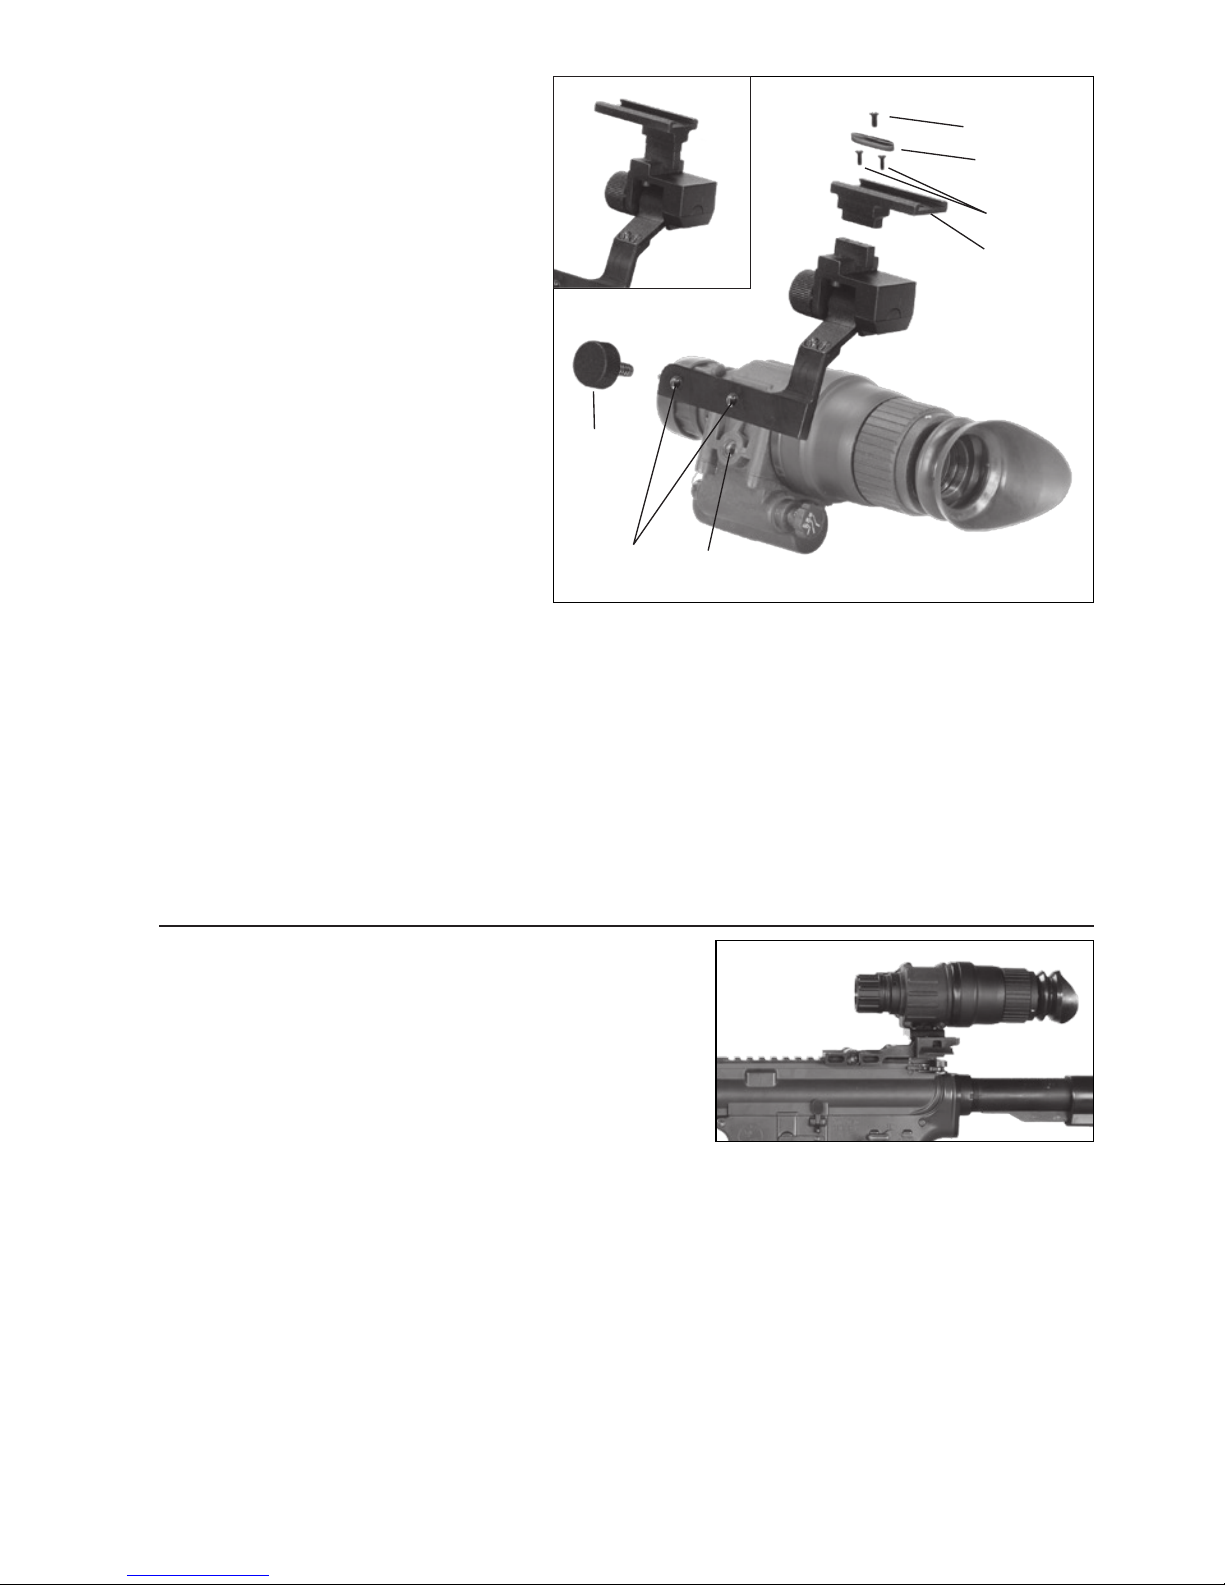
The headgear of goggle kit secures the goggles to the user’s head for night viewing, and pro-
vides freehand support for use with a weapon, protective mask or other purposes. It is adjust-
able and cushioned.
NOTE: Do not test the scope in daylight conditions even with the daylight filter/lens cap on for
more than ten (10) minutes.
FEATURES