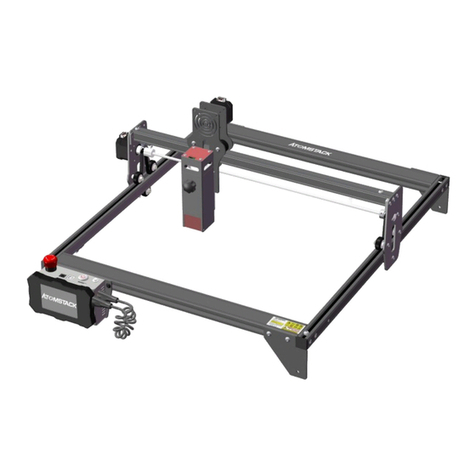
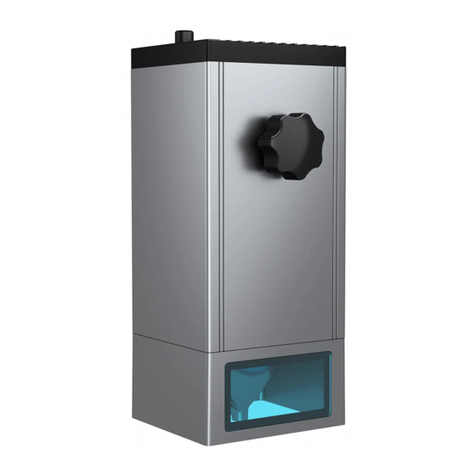
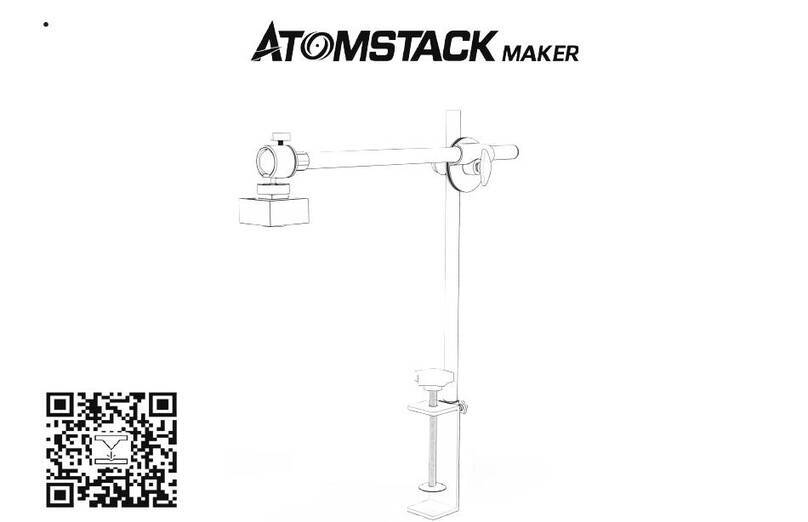
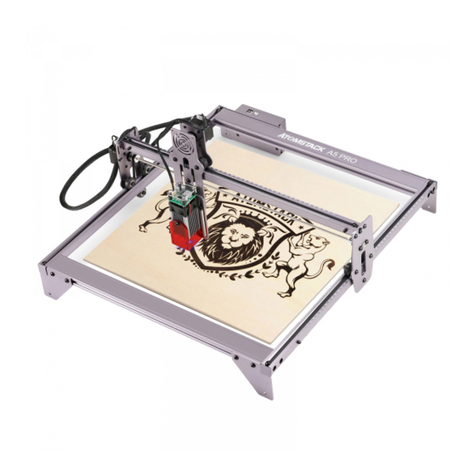
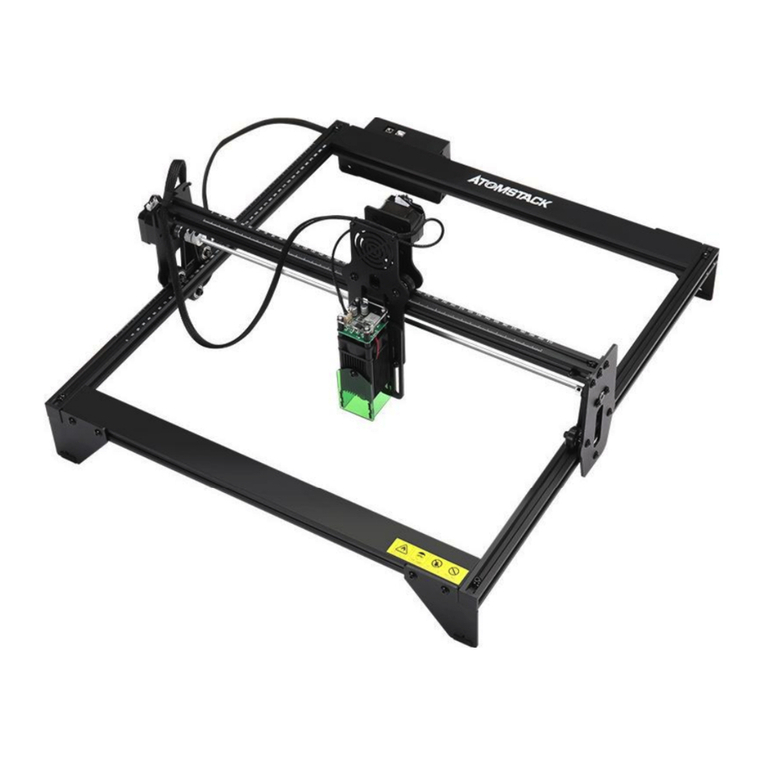
ATOMSTACK A5 M50 Pro User manual

ATOMSTACK Air Assist Kit User Manual
Note: The picture is for reference only, the actual product shall prevail. F03-0046-0AA1 Version:C
For more information, please scan the QR code
English
Deutsche
Français

Parts List
NO. 1 2pcs
This is parts collection for various models, not each model will use all parts in the sheet.
Pump trachea M3 self-tapping
screws
Inner hexagon
screwdriver
PH1 Phillips
screwdriver
Set screw
NO. 1-1 NO. 1-2 NO. 1-3 NO. 2 NO. 2-1
Power
Adapter
Foot pad 2pcs

11
Atomstack A5 10W
Atomstack A5 20W
Atomstack A5 30W
Atomstack A5 Pro Installation of Air Guide Hood for Four Models
1. Remove the current acrylic
shields 2. Rotate the laser backward 180° 3. Remove the set screw 4. Rotate the current air guide hood
counterclockwise to remove it.
5. Find NO.1 from the accessories.
Install it as shown
The air
guide
hood tube
mouth is
on the left
6. Tighten the self-tapping screws
with a PH1 Phillips screwdriver
7. Find NO.1-1 from the accessories
and install it as shown.
8. Insert the tube and fixed
it with a tie

11
Installation of Air Guide Hood
for Eight Models
Atomstack A5
M50 Pro AtomStack P9 M40 Atomstack X7 Pro AtomStack P9
M50
AtomStack A10 PRO Atomstack A5 M50 Atomstack S10 Pro Atomstack X7
1. Remove the set screw
from the right side of the
laser and remove the
current filter glass or
acrylic shield.
2. Remove the
current air guide
hood.
3. Find NO.1 and NO.1-2 from the
accessories and install them at the
same time as shown.
4. Fix the air guide
hood as well as the
filter glass.
5. Insert the tube.

11
1. Remove the
set screw from
the right side of
the laser and
remove the
current filter
glass or acrylic
shield.
2. Remove the
current air guide
hood.
5. Insert the tube.
NO. 1 NO. 1-3 NO. 2 NO. 2-1
Combination one Combination two
locate the
combination which
contains the wind
deflector matches
your model( If the
bottom surface of
the glass and the
laser is flush after
assembly, proves
this wind deflect
matches your
model), choose this
combination.
3-1 3-2
4. Install the
combination matches
your model, mount the
air guide hood and the
glass at the same time.
If your model is AtomStack A5 Pro+ or AtomStack P7 M40, you need to choose one of
the following 2 combinations to support your model.

Equipment installation and use
11
1. Tear off the adhesive protect
paper from the silicone pad, align
the positioning posts on the
silicone pad with the mounting
holes on the pump, and paste the
silicone pad to pump body.
2. Insert the air tube into the
air pump port
3. The tube on the machine needs
be fixed with the connecting line by
the nylon tie. Be careful not to fix it
too tight to block the tube.
DC power
interface
Speed-
adjusting(switch)
knob

Precautions for Use
Be careful not to get the tube stucked by the
wheels.
Please do not bend the tube too
much to make the tube blocked.
Please note the tube cannot be bent
too much to make the tube blocked.
After using the air guide hood of air assist ,please clean the adhesions on the air outlet to prevent
from accumulating for a long time to affect the further use.

Customer Service:
Ø For detailed warranty policy,please visit our official
website at: www.atomstack.com
Ø For technical support and service,please email
:
support@atomstack.com
Manufacturer: Shenzhen AtomStack Technologies Co., Ltd.
Address: 17th Floor, Building 3A, Phase II, Intelligent Park, No. 76,
Baohe Avenue, Baolong Street, Longgang Dist., Shenzhen, 518172,
China.
Scan the code to enter the discussion group.
Scanner APPLICATION:
QR code reader/ Barcode scanner or any APP with scanner.

ATOMSTACK Air Assist Kit Benutzerhandbuch
Hinweis: Das Bild dient nur als Referenz, das tatsächliche Produkt hat Vorrang
Für weitere Informationen scannen Sie bitte den QR-Code
English
Deutsche
Français

Liste der Einzelteile
NEIN. 1 2St
Dies ist eine Teilesammlung für verschiedene Modelle, nicht jedes Modell verwendet alle Teile im Blatt.
Pumpe Luftröhre
M3
selbstschneiden
de Schrauben
Innensechskant-
Schraubendreher
PH1Kreuzschlitzs
chraubendreher
Feststells
chraube
NEIN. 1-1 NEIN. 1-2 NEIN. 1-3 NEIN. 2 NEIN. 2-1
Netzteil
Fußpolster 2St

11
Atomstack A5 10W
Atomstack A5 20W
Atomstack A5 30W
Atomstack A5 Pro Installation der Luftführungshaube für vier Modelle
1. Entfernen Sie die
aktuellen
Acrylabschirmungen
2. Drehen Sie den Laser um 180° nach
hinten
3. Entfernen Sie die
Stellschraube
4. Drehen Sie die aktuelle Luftführung
gegen den Uhrzeigersinn, um es zu
entfernen
5. Finden Sie NEIN. 1 aus dem
Zubehör. Wie abgebildet installieren
Die
Rohrmünd
ung der
Luftführun
gshaube
befindet
sich auf der
linken Seite
6. Ziehen Sie die Parkerschrauben mit
einem Kreuzschlitzschraubendreher
PH1 fest
7. Finden Sie NEIN.1-1 aus dem
Zubehör und installieren Sie es wie in
der Abbildung gezeigt
8. Führen Sie das Rohr ein
und befestigen Sie es mit
einem Kabelbinder

11
Installation der Luftführungshaube
für acht Modelle
Atomstack A5
M50 Pro AtomStack P9 M40 Atomstack X7 Pro AtomStack P9
M50
AtomStack A10 PRO Atomstack A5 M50 Atomstack S10 Pro Atomstack X7
1. Entfernen Sie die
Feststellschraube von der
rechten Seite des Lasers
und entfernen Sie das
aktuelle Filterglas oder die
Acrylabschirmung.
2. Entfernen Sie die
aktuelle Luftführung.
3. Suchen Sie NO.1 und NO.1-2
aus dem Zubehör und installieren
Sie sie gleichzeitig wie gezeigt.
4. Befestigen Sie die
Luftführung sowie
das Filterglas.
5. Setzen Sie das Rohr ein.

11
1. Entfernen Sie die
Feststellschraube
von der rechten
Seite des Lasers und
entfernen Sie das
aktuelle Filterglas
oder die
Acrylabschirmung.
2. Entfernen Sie
die aktuelle
Luftführung.
5. Setzen Sie das Rohr
ein
NEIN. 1 NEIN. 1-3 NEIN. 2 NEIN. 2-1
Kombination eins Kombination zwei
Suchen Sie die
Kombination, die
den
Windabweiser
enthält, der zu
Ihrem Modell
passt (Wenn die
Unterseite des
Glases und der
Laser nach der
Montage bündig
sind, beweist,
dass dieser
Windabweiser zu
Ihrem Modell
passt), wählen Sie
diese
Kombination.
3-1 3-2
4. Bauen Sie die
Kombination passend
zu Ihrem Modell ein,
montieren Sie
gleichzeitig die
Luftführung und das
Glas.
Wenn Ihr Modell AtomStack A5 Pro+ oder AtomStack P7 M40 ist, müssen Sie eine der
folgenden 2 Kombinationen auswählen, um Ihr Modell zu unterstützen.

Geräteinstallation und -nutzung
11
1. Reißen Sie das
Klebeschutzpapier von der
Silikonunterlage ab, richten Sie die
Positionierungspfosten auf der
Silikonunterlage mit den
Befestigungslöchern an der
Pumpe aus und kleben Sie die
Silikonunterlage auf den
Pumpenkörper.
2. Stecken Sie den
Luftschlauch in den
Luftpumpenanschluss
3. Der Schlauch an der Maschine
muss mit der
Verbindungsleitung durch den
Nylonbinder befestigt werden.
Achten Sie darauf, es nicht zu
fest anzuziehen, um das Rohr zu
blockieren.
DC-Leistungsschnittstelle
Drehzahleinstellkno
pf (Schalter).

Vorsichtsmaßnahmen für die Verwendung
Achten Sie darauf, dass der Schlauch nicht von den
Rädern erfasst wird.
Bitte biegen Sie den Schlauch nicht
zu stark, um den Schlauch zu
blockieren.
Bitte beachten Sie, dass das Rohr
nicht zu stark gebogen werden darf,
um das Rohr zu blockieren.
Reinigen Sie nach der Verwendung der Luftführungshaube von Air Assist die Anhaftungen am Luftauslass,
um zu verhindern, dass sie sich für längere Zeit ansammeln und die weitere Verwendung beeinträchtigen.

Kundendienst:
Ø Für detaillierte Garantiebestimmungen besuchen Sie
bitte unsere offizielle Website unter:
www.atomstack.com
Ø Für technischen Support und Service senden Sie
bitte eine E-Mail
:
support@atomstack.com
Hersteller: Shenzhen AtomStack Technologies Co., Ltd.
Die Anschrift: 17th Floor, Building 3A, Phase II, Intelligent Park, No.
76, Baohe Avenue, Baolong Street, Longgang Dist., Shenzhen,
518172, China
Scannen Sie den Code, um die Diskussionsgruppe zu betreten.
Scanner ANWENDUNG:
QR-Code-Leser / Barcode-Scanner oder jede APP mit Scanner.

ATOMSTACK Air Assist Kit Manuel d'utilisation
Remarque : l'image est fournie à titre indicatif uniquement, le produit réel prévaudra
Pour plus d'informations, veuillez scanner le code QR
English
Deutsche
Français

Liste des pièces
NON. 1 2 pièces
Il s'agit d'une collection de pièces pour différents modèles, chaque modèle n'utilisera pas toutes les pièces de la feuille.
Pompe trachée Visautotaraudeu
ses M3
Tournevis
hexagonal intérieur
Tournevis
cruciforme PH1
Vis de réglage
NON. 1-1 NON. 1-2 NON. 1-3 NON. 2 NON. 2-1
Adaptateur
secteur
Repose-pied 2
pièces

11
Atomstack A5 10W
Atomstack A5 20W
Atomstack A5 30W
Atomstack A5 Pro
Installation du capot de guidage d'air pour quatre
modèles
1. Retirez les boucliers acryliques
actuels
2. Faire pivoter le laser de 180° vers
l'arrière
3. Retirez la vis de réglage 4. Faire pivoter le guide d'air actuel
dans le sens inverse des aiguilles
d'une montre pour le retirer.
5. Trouvez NON.1 parmi les
accessoires. Installez comme indiqué
L'embouc
hure du
tube du
capot de
guidage
d'air est à
gauche
6. Serrez les vis autotaraudeuses
avec un tournevis cruciforme PH1
7. Trouvez NON.1-1 parmi les
accessoires et installez-le comme
indiqué sur l'image
8. Insérez la trachée et
fixez-la avec un lien

11
Installation du capot de guidage
d'air pour huit modèles
Atomstack A5
M50 Pro AtomStack P9 M40 Atomstack X7 Pro AtomStack P9
M50
AtomStack A10 PRO Atomstack A5 M50 Atomstack S10 Pro Atomstack X7
1. Retirez la vis de réglage
du côté droit du laser et
retirez le verre filtrant
actuel ou le bouclier
acrylique .
2. Retirer le guide
d'air actuel.
3. Trouvez NO.1 et NO.1-2 parmi
les accessoires et installez-les en
même temps comme indiqué.
4. Fixez le guide
d'air ainsi que le
verre filtrant.
5. Insérez le tuyau.
This manual suits for next models
7
Table of contents
Languages:
Other ATOMSTACK Engraver manuals

ATOMSTACK
ATOMSTACK X20 Pro User manual

ATOMSTACK
ATOMSTACK Befon A5 Pro Plus User manual

ATOMSTACK
ATOMSTACK P7 Series User manual

ATOMSTACK
ATOMSTACK A 5 Pro User manual

ATOMSTACK
ATOMSTACK A6 PRO User manual

ATOMSTACK
ATOMSTACK A5 User manual

ATOMSTACK
ATOMSTACK A5 10W User manual

ATOMSTACK
ATOMSTACK X7 Pro Series User manual

ATOMSTACK
ATOMSTACK M100 User manual
ATOMSTACK
ATOMSTACK MAKER AC1 User manual