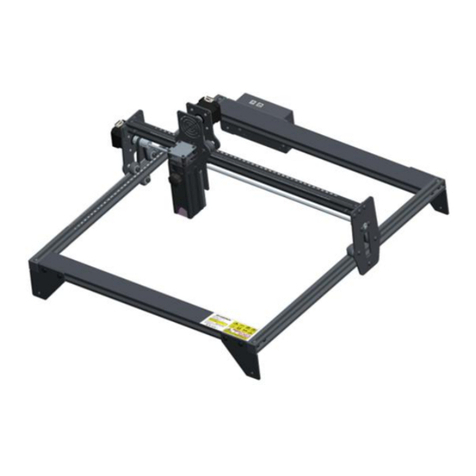
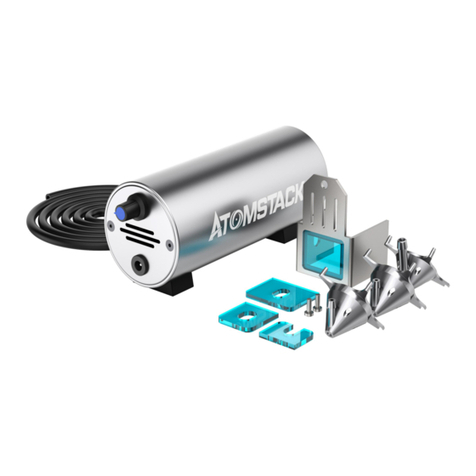
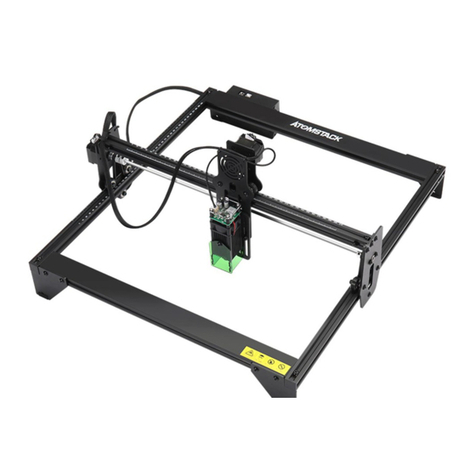
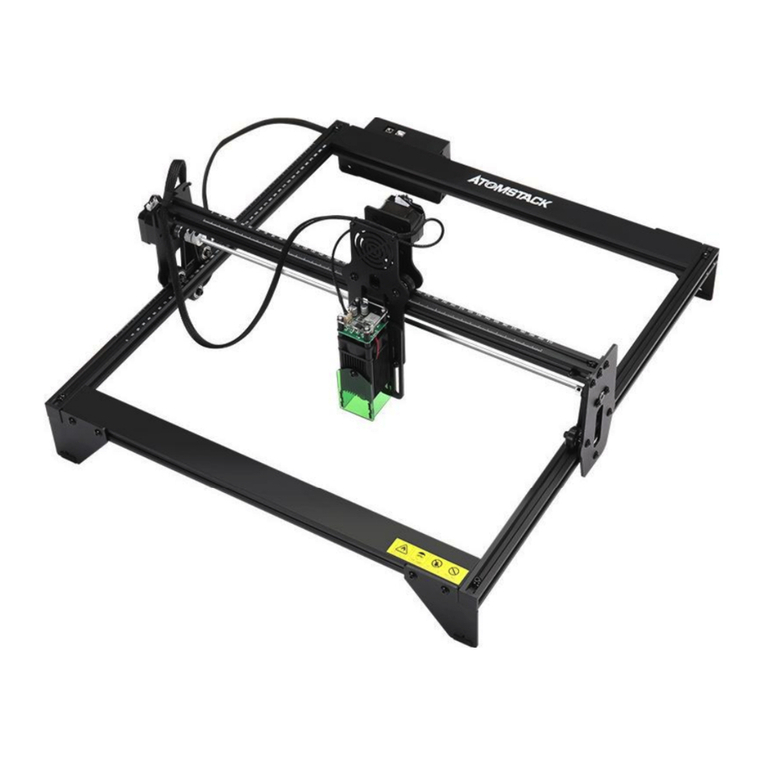
ATOMSTACK A6 PRO User manual

F03-0223-0AA1 Version:A
A6\A12\A24 PRO
English Deutsche Français
Italiano
Español
User Manual
Note: Images are for reference only, please refer to the actual product.

Customer service:
For detailed warranty policy, please visit our official website: www.atomstack.com
For technical support and service, please email support@atomstack.com
Manufacturer:
Shenzhen AtomStack Technologies Co.,Ltd
Address:
17th Floor, Building 3A, Phase II, Intelligent Park, No. 76, Baohe Avenue,
Baolong Street, Longgang District, Shenzhen, Guangdong, China
Zip code: 518172
QR code reader/barcode scanner or any app with a scanner
Scan QR code:

Safety Declaration Before Installation
List of items
User Safety Statement
Disclaimer and Warning
Machine introduction and component installation
Control mode
Fixed focus method
01
03
04
06
11
01
10
Introduction to the basic functions of offline 22
Déclaration de sécurité avant l’installation
Liste des éléments
Déclaration de sécurité de l’utilisateur
Clause de non-responsabilité et avertissement
Introduction de la machine et installation des composants
Mode de contrôle
Méthode de mise au point fixe
58
59
61
63
68
58
67
Introduction aux fonctions de base de Offline 79
Declaración de seguridad antes de la instalación
Lista de artículos
Declaración de seguridad del usuario
Descargo de responsabilidad y advertencia
Introducción de la máquina e instalación de componentes
Modo de control
Método de enfoque fijo
116
117
119
121
126
116
125
Introducción a las funciones básicas de offline 137
English
Liste der Artikel
Sicherheitserklärung vor der Installation
Sicherheitserklärung für Benutzer
Erklärung zur Benutzersicherheit
Maschineneinführung und Komponentenmontage
Methode mit festem Fokus
Steuerungsmodus
30
31
33
35
40
30
39
Einführung in die Grundfunktionen von Offline 51
Deutsche
Dichiarazione di sicurezza prima dell'installazione
Elenco degli articoli
Dichiarazione di sicurezza dell'utente
Disclaimer e avvertenze
Introduzione della macchina e installazione dei componenti
Metodo di messa a fuoco fissa
Modalità di controllo
87
88
90
92
97
87
96
Introduzione alle funzioni di base di offline 108
ltaliano
Español
Français
Directory Verzeichnis Répertoire Directory Directorio

Directory Verzeichnis Répertoire Directory Directorio
4. The laser itself has a protective cover. The protective cover is fastened by screws. When the laser is installed on the laser engraver, the protective cover
should be checked to be reliably locked, and can not be removed in the energized state.
5. The housing of the laser engraver should have an interlock function. When the housing is opened or removed, the laser can be automatically turned off.
6. The laser engraver should have an emergency stop button, which can immediately stop the output of the laser when pressed under unexpected circum-
stances.
7. The laser engraver should have a reset button, which can resume work under the condition of confirming safety after lifting the interlock or emergency
stop.
8. Laser engraver should use physical keys, dongle, password system and other ways to manage and control, to prevent personnel without security training
operation of this kind of equipment.
9. On the laser engraver any window or channel that can actively observe or passively receive the laser radiation should be set up warning marks.
10. If the laser burns the skin or eyes, please go to a nearby hospital for examination and treatment immediately.
Laser can harm human eyes and skin. Do not expose your eyes or skin directly to the laser. The laser product has an optical lens and emits a straight laser beam. The light
emitted by the product, whether direct or reflected, is extremely harmful because it can spread over long distances while maintaining high light density. When handling the
product, you must wear appropriate eye protection goggles (OD5+) to protect your eyes from laser (including reflected and scattered light) damage. Reflected and scattered
light spilled into unexpected areas should be attenuated and/or absorbed.
User Safety Statement
Before operating the Atomstack A6 Series Laser Engraver, please read the manual carefully and follow the instructions for assembly and operation. If
this manual does not effectively solve your problem, please contact our support team.
1. This product is a laser engraver system .Components, must be installed in other manufacturers of laser engraver for use. The product belongs to Class 4 laser
products. The laser system itself must meet the requirements of IEC 60825-1 latest version, otherwise the product is prohibited to be used.
2. Your laser engraver shall have a protective housing which, when in place, prevents human access to laser radiation.
3. If a protective housing is equipped with an access panel which provides "walk-in" access then:
a) means shall be provided so that any person inside the protective housing can prevent activation of a laser hazard that is equivalent to Class 3B or Class 4.
b)a warning device shall be situated so as to provide adequate warning of emission of laser radiation equivalent to Class 3R in the wavelength range below
400 nm and above 700 nm, or of laser radiation equivalent to Class 3B or Class 4 to any person who might be within the protective housing.
c) where “walk-in” access during operation is intended or reasonably foreseeable, emission of laser radiation that is equivalent to Class 3B or Class 4 while
someone is present inside the protective housing of a Class 1, Class 2, or Class 3R product shall be prevented by engineering means.
Security Statement and Warning
NOTE: Methods to prevent human access to radiation when persons are inside the protective housing can include pressure sensitive floor mats,
infrared detectors, etc.
01

Disclaimer and warning
This product is not a toy and is not suitable for people under 15 years of age. Do not allow children to touch the laser Module. Please be careful when operating in aituation
invotving children.
This product is a laser module, visit http://www.atomstack.com/laserengraverdownload for complete "user manual" and the latest instructions and warnings. Aurorasea Limited
reserves the right to update this Disclaimer and Safe Operation Guidelines.
Please be sure to read this document carefully before using the product to understand your legal rights, responsibilities and safety instructions; Otherwise, it may bring property
loss, safety accident and hidden danger of personal safety. Once you use this product, you shall be deemed to have understood and accepted all terms and contents of this
document. User undertakes to be responsible for his or her actions and all consequences arising therefrom. User agrees to use the Product only for legitimate purposes and
agrees to all terms and contents of this document and any relevant policies or guidelines that AtomStack may establish. You understand and agree that AtomStack may not be
able to provide you with the cause of the damage or accident and provide you with AtomStack’s after-sale service unless you provide the original engraving or cutting files,
engraving software configuration parameters used, operating system information, video of the engraving or cutting process, and operational steps prior to the occurrence of a
problem or failure.
AtomStack is not liable for any and all losses arising from the user's failure to use the product in accordance with this manual.
AtomStack has the ultimate right to interpret the document, subject to legal compliance. AtomStack reserves the right to update, modify, or terminate the Terms without prior
notice.
2.1 Laser Safety
We have installed a laser protection cover on the laser, which can greatly filter out the diffuse reflection of the laser spot. However, when using a laser engraving machine, it is
recommended that you wear laser protective goggles. Avoid exposing your skin to a Class4 laser beam, especially at close range. Teenagers must be supervised by their parents
during use. Do not touch the laser engraving module when the machine is starting.
2.2 Fire Safety
Cutting burns the substrate, and high-intensity laser beams generate extremely high temperatures and a large amount of heat. Some materials may catch fire during cutting,
generating gas and smoke inside the equipment. When the laser beam hits the material, a small flame usually appears at this point. It will move with the laser and will not be on
continuously when the laser passes. Do not leave the machine unattended during the engraving process. After use, be sure to clean the debris, and flammable materials in the
laser cutting machine. Be sure to have a fire extinguisher nearby to ensure safety. When using a laser engraving machine, smoke, steam, particles, and potentially toxic materials
(plastics and other combustible materials) are generated, which may harm health.
2.3 Material Safety
Do not engrave materials with unknown properties. Recommended materials: wood, bamboo, leather, plastic, fabric, paper, opaque acrylic, glass, metal. Materials not recommend-
ed: gems, transparent materials, any reflective materials, including reflective metals, etc. Glass and reflective metal materials can only be engraved after they turn black.
2.4 Use Safety
The engraving machine can only be used in a horizontal position and must be firmly fixed to prevent fires caused by accidental movement or falling from the workbench during
the working process. It is forbidden to point the laser at people, animals, or any flammable objects, whether they are in working condition or not.
2.5 Electrical Safety
To prevent accidents such as fires and electric shocks, the laser engraving machine provides a power adapter with a ground wire. When using the laser engraving machine, plug
the power plug into a grounded power socket.
2.6 Environmental Safety
When installing engraving and cutting equipment, please ensure that the workplace in clean, and there are no flammable and explosive materials around the equipment. When
engraving or cutting, a metal plate must be placed below the bottom.
02
FCC STATEMENT
This device complies with Part 15 of the FCC Rules. Operation is subject to the following two conditions:
(1) This device may not cause harmful interference, and
(2) This device must accept any interference received, including interference that maycause undesired operation.
Warning: Changes or modifications not expressly approved by the party responsible forcompliance could void the user's authority to operate the equipment.
NOTE: This equipment has been tested and found to comply with the limits for a Class B digital device, pursuant to Part 15 of the FCC Rules. These limits are designed to
providereasonable protection against harmful interference in a residential installation. This equipment generates uses and can radiate radio frequency energy and, if not
installed and used in accordance with the instructions, may cause harmful interference to radio communications. However, there is no guarantee that interference will not occur
in a particular installation. If this equipment does cause harmful interference to radio or television reception, which can be determined by turning the equipment off and on,
the user is encouraged to try to correct the interference by one or more of the following measures:
(1)Reorient or relocate the receiving antenna.
(2)Increase the separation between the equipment and receiver.
(3)Connect the equipment into an outlet on a circuit different from that to which thereceiver is connected.
(4)Consult the dealer or an experienced radio/TV technician for help.
03

List of items
Wire anchor
M4 thumb
screw 2PCS
H3、H2.5 hexagon
L-shaped wrench
Laser head
WIFI antenna
Fixed focus lens
Cable clamp
(M4*6) 4PCS
04
Slider
Flash drive
Frame

05
Power cable
Power adapter 24V, 5A Switch key
User manual
Silicone hose (air hose)
One-to-two
TYPE C cable
100*30 lint-
free cloth
X-axis link cable Goggles
F03-0216-0AA1 Version:A
A6\A12\A24 PRO
English Deutsche
F
rançais
I
taliano
Español
User Manual
Note:Images are for reference only, please refer to the actual product.

TYPE-C: Connect to the PC via Lightburn or
LaserGRBL control
OUTPUT : Power supply for the air pump
INPUT: Power supply for the machine
Machine introduction and component installation
Y-INTERFACE: Used for switching chuck/roller/conveyor
USB : Insert a USB flash drive for firmware flashing and program testing
HDMI : Connect the display screen for offline control
lock: Safety lock, requires a key to unlock and use the machine
ALARM: Tilt and flame triggered alarm
Emergency : Machine power switch
RESET : Restart the machine
Y-INTERFACE: For switching between Y-axis motor interface and machine Y-axis motor
06
LASER: Laser cable input port
EXPAND INTERFACE: Expansion interfaces, accessories(chucks, rollers, conveyors)output ports
LIGHT 2:When the blue light is on, the laser is coming out.
LIGHT 1:When the red light is on, it means that it is working normally.

07
542*533*120 mm
365*305mm
533mm
542mm
120 mm
Engraving range:
Machine size:

Machine introduction and component installation
Install the laser head
Install the slider
M4 thumb
screw
M4*6
08

Machine introduction and component installation
Install a WIFI antenna
Install the tubing and X-axis link lines
trachea
X-axis link line
09

Cutting mode fixed focus
Method 3
Method 2
There are three fixed focus methods, after the fixed focus, the fixed focus is taken out, and the fixed focus is completed
Engraving mode fixed focus
(Take off protective cover)
Method 1
Fixed focus method
10

如何使用机器
1.PC Software :
3.Mobile APP :
Download "AtomStack" App from the Apple and Android app stores
2.Offline:
Use with Atomstack touch screen controller Read the following instructions for use
Mac OS:LightBurn
Download LightBurn from below website :
https://lightburnsoftware.com/pages/trial-version-try-before-you-buy
Windows:LightBurn & LaserGRBL
Download LaserGRBL from below website : http://lasergrbl.com/download/
Control mode
01
02
03
11

Installation and Use of LightBurn Software
LightBurn Installation
Connect the Machine to LightBurn
1. Plug in the power and USB cable, and turn on the machine.
* LightBurn is a paid software. After the trial period ends, you need to purchase it.
2. Connect the machine to the computer.
2.1.2 Select "Create Manually" 2.1.3 Select "GRBL" 2.1.4Select "USB"
2.1.1 Click on "Devices"
Download and install the software from the LightBurn official website or the link below:
https://lightburnsoftware.com/pages/trial-version-try-before-you-buy
12
2.1 How to import device configurations

2.1.6 Disable the auto-home function. 2.1.7 Click "Finish" to complete the setup.
Using LightBurn
1. Select "File" and click "Import" to open the image for engraving. 2. Right-click on the image and select "Adjust Image" to
set the appropriate parameters.
2.1.5 Set the device name and the
length of the X/Y axis.
1
2
13
365
365
305
305
365 305
2.2.1 Device Settings - > "Baud Rate" setting 115200; 2.2.2 Select "COM7", "ATOMSTACK", "Console" in sequence -> Confirm
is displayed, and the machine buzzer sounds.
2.2 How lightburn goes online
115.200
ok
Console COM7 ATOMSTACK
Auto”home” your laser on startup
Finish

12
3
14
3. Adjust the engraving parameters by double-clicking on the image layer on the right side.For specific parameters, refer to the parameter
table, road passage https://www.atomstack.com/pages/material-setting.Engraving and cutting parameters refer to the website-
https://atomstack.com/

15
4. Set the laser starting position.

16
1
2
5. Select the image and click "Frame" to preview the engraving area.

17
6. Select the image and click "Start" to begin the engraving.
1
2
Other manuals for A6 PRO
1
This manual suits for next models
2
Table of contents
Languages:
Other ATOMSTACK Engraver manuals

ATOMSTACK
ATOMSTACK X20 Pro User manual

ATOMSTACK
ATOMSTACK A5 User manual

ATOMSTACK
ATOMSTACK A5 10W User manual

ATOMSTACK
ATOMSTACK P7 Series User manual

ATOMSTACK
ATOMSTACK A 5 Pro User manual

ATOMSTACK
ATOMSTACK Befon A5 Pro Plus User manual

ATOMSTACK
ATOMSTACK X7 Pro Series User manual

ATOMSTACK
ATOMSTACK MAKER AC1 User manual

ATOMSTACK
ATOMSTACK M100 User manual

ATOMSTACK
ATOMSTACK A5 M50 Pro User manual