manuals.online logo
Brands
  1. Home
  2. •
  3. Brands
  4. •
  5. Auber Instruments
  6. •
  7. Controllers
  8. •
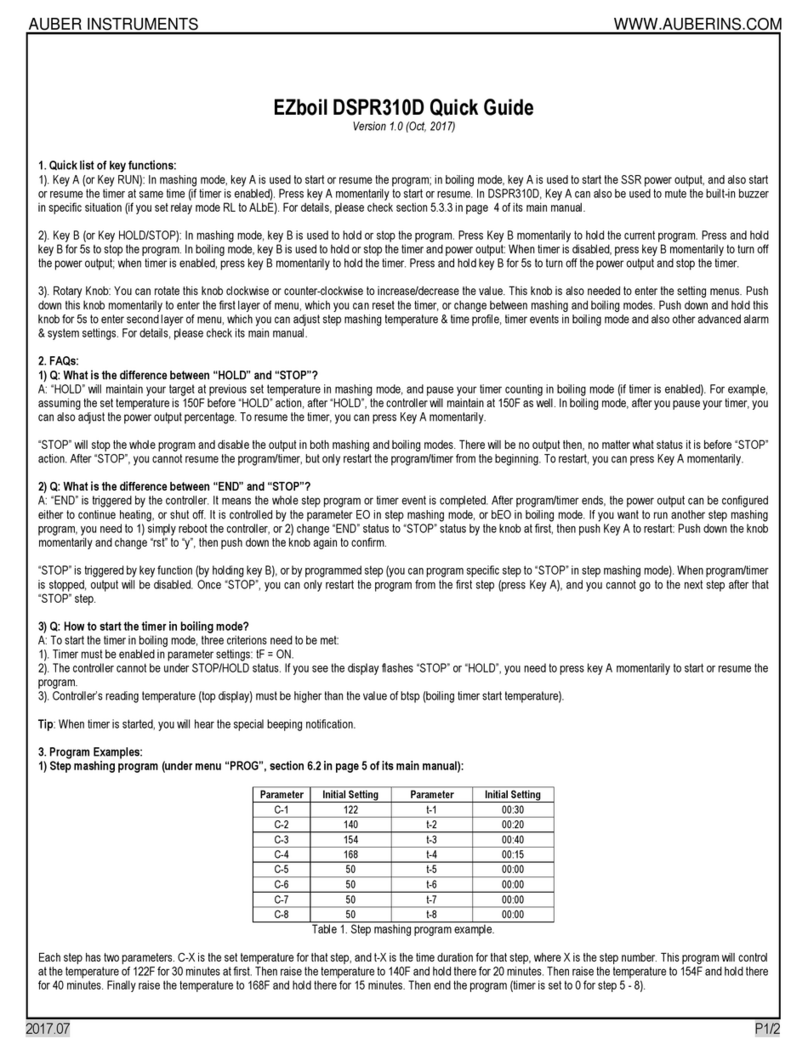
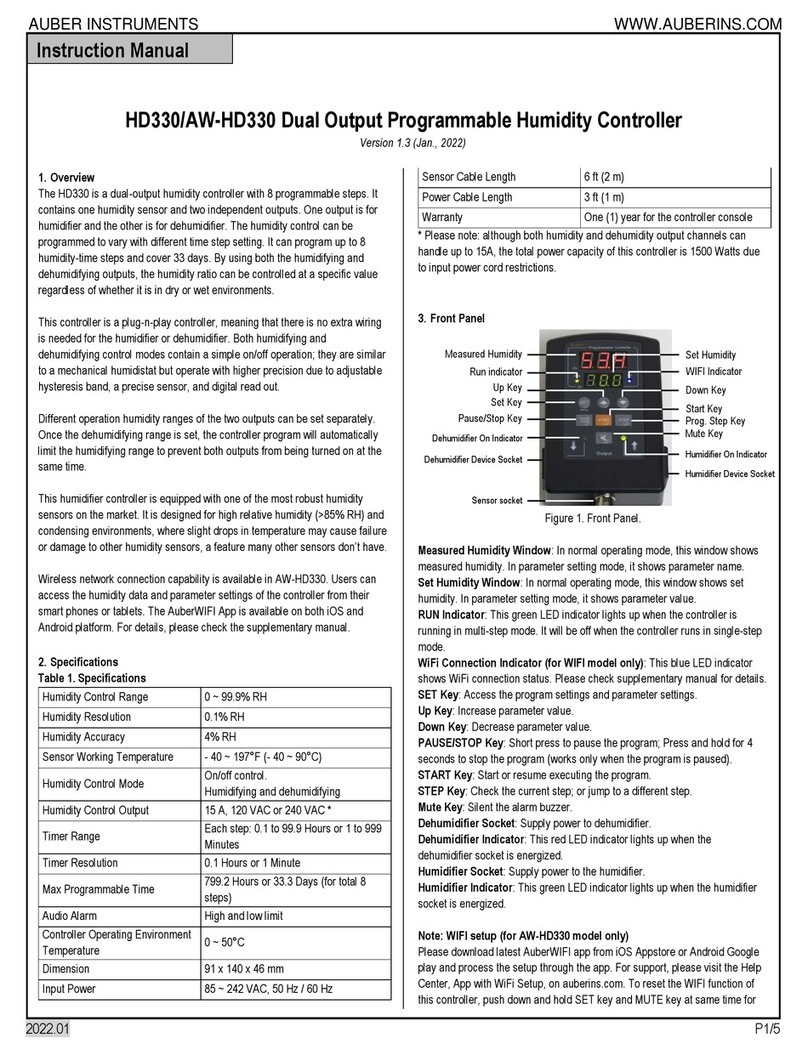
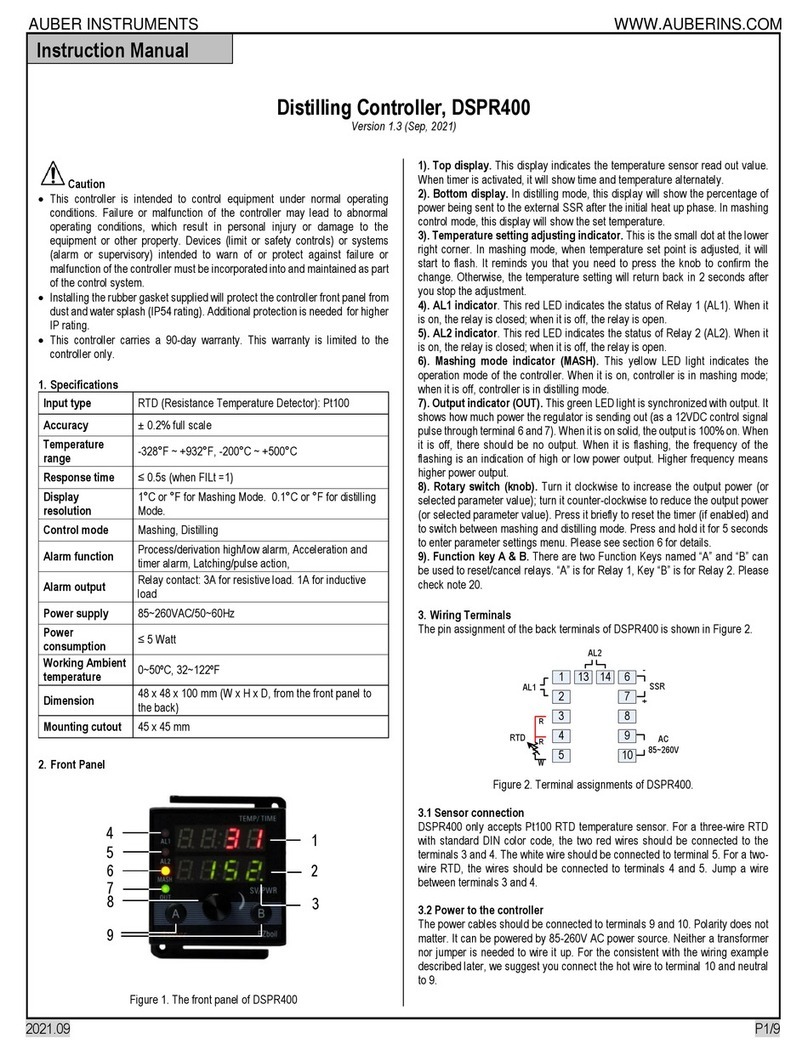
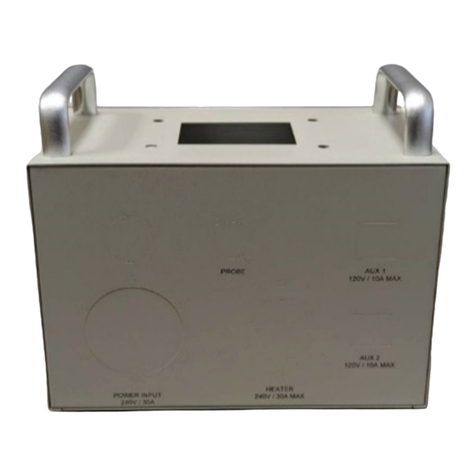
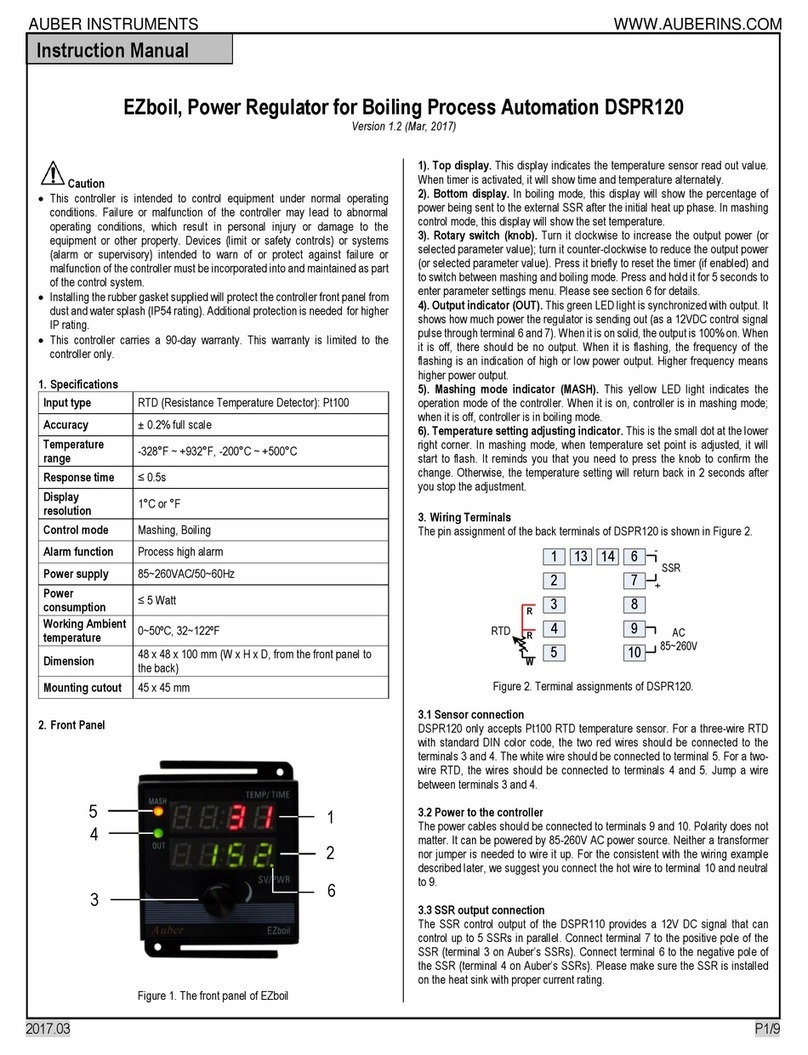
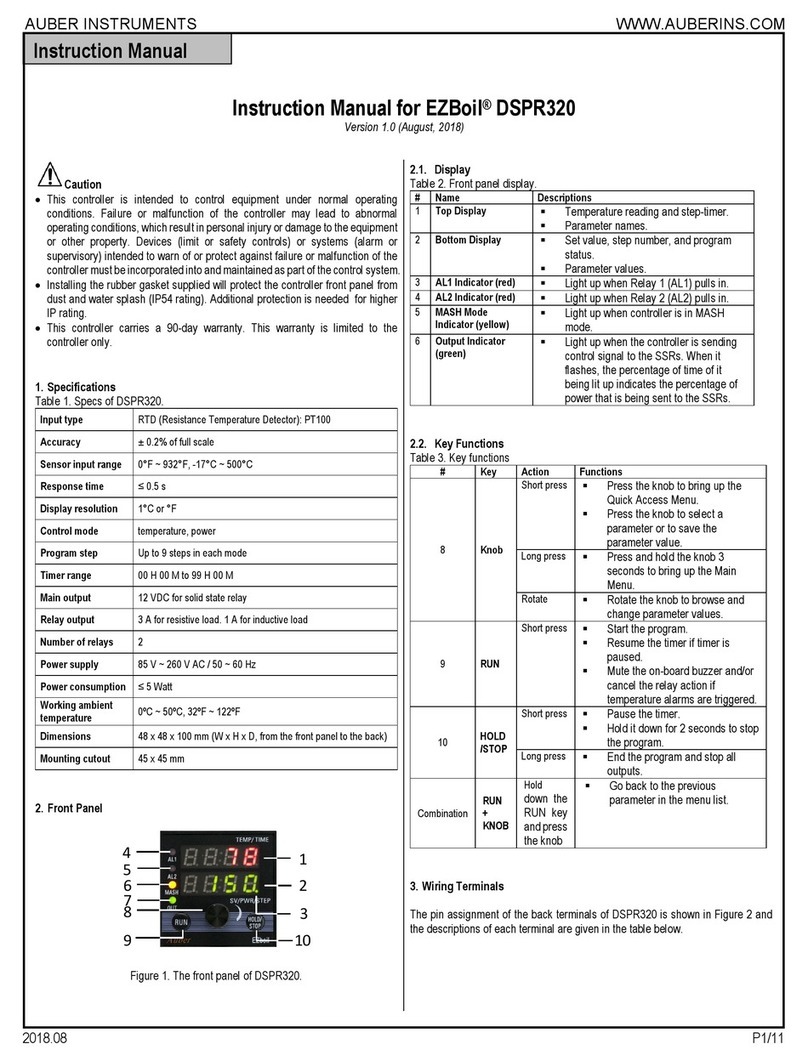
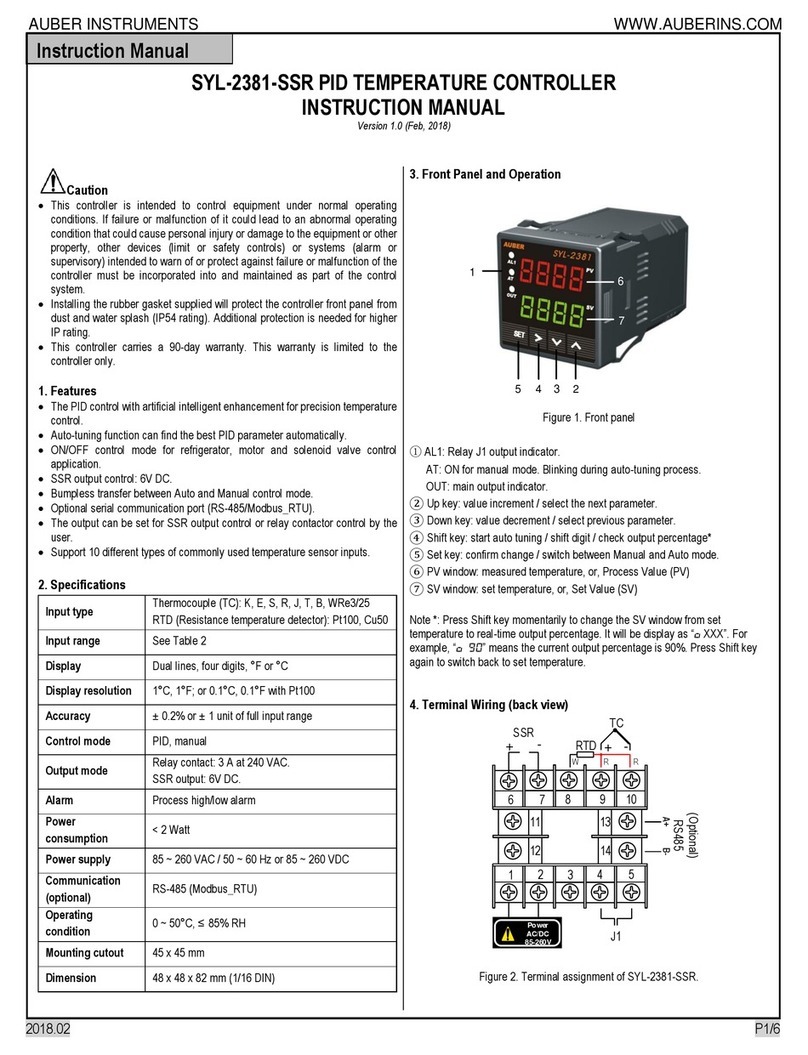
  9. Auber Instruments HD220-W Instructions and recipes

Auber Instruments HD220-W Instructions and recipes

AUBER INSTRUMENTS WWW.AUBERINS.COM
2021.06 P1/5
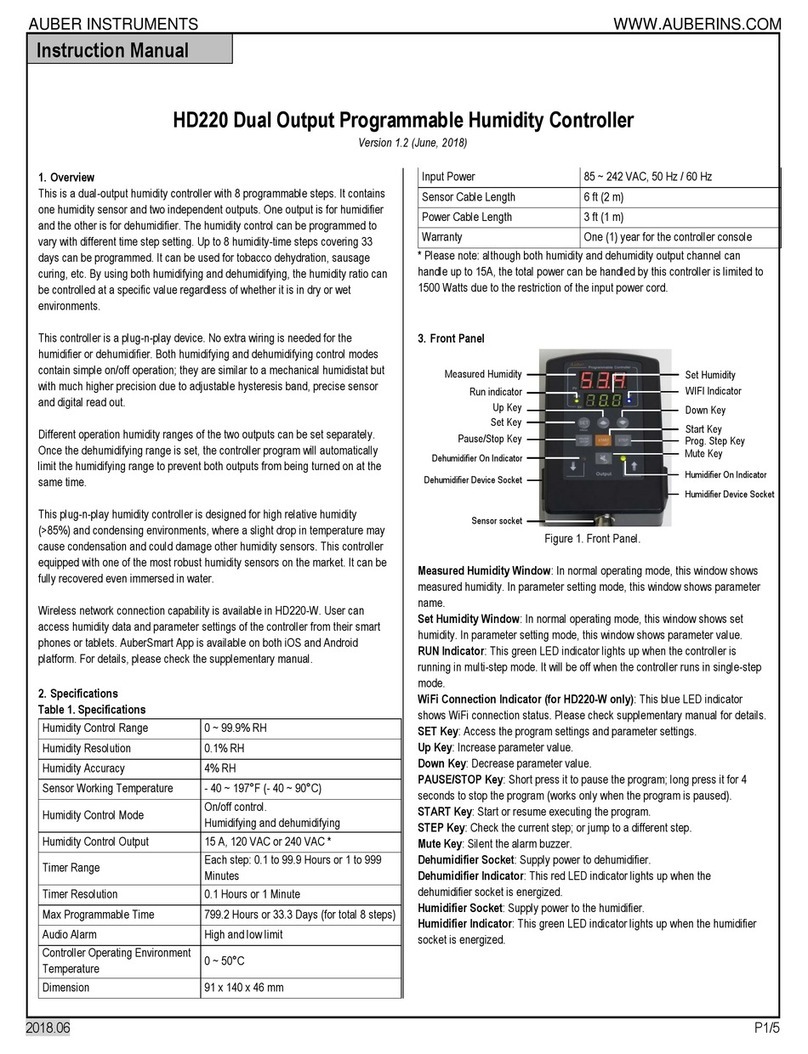
Supplementary Manual for HD220-W/HD330-W
Wireless Dual Output Programmable Humidity Controller
Version 1.1 (June, 2021)
1. Overview
Auber’s HD220-W is a two-stage programmable humidity controlling device
with Wi-Fi network connection capability, which allows its users to monitor and
control humidity remotely from a smart phone or a tablet. Once set up, users
can access the humidity data and change parameter settings even he/she is
thousands of miles away from the device.
This guide provides instruction on how to use the AuberSmart app to connect
to the HD220-W/HD330-W controller. For basic operations of the controller,
please check the main manual of HD220/HD330.
2. Wireless connection
2.1. Specifications
Frequency Range
2.412 GHz - 2.484 GHz
Standards
802.11b/g/n
Output Power
802.11b: 16dBm
802.11g: 14dBm
802.11n: 13dBm
Receiving
Sensitivity
802.11b < -78dBm
802.11g < -68dBm
802.11n < -66dBm
Data Rates
[email protected], [email protected], [email protected]
Security
Encryption Standards: WEP/WEPA/WPA2
Encryption Algorithms: WEP64/WEP128/TKIP/AES
Wi-Fi Type
STA/AP
Note
This device complies with Part 15 of the FCC Rules. Operation is subjected to
the two following conditions: (1) this device may not cause harmful
interference, and (2) this device must accept any interference received,
including interference that may cause undesired operation. HD220-W contains
radio module. FCC ID: 2ACDZ-3301-SBSL.
2.2. Requirements
•Users must have a smart phone/tablet with AuberSmart app
installed (available for Android 4.4 or above and for iOS 10).
•Users must have a 2.4Ghz Wi-Fi network, the network’s name
(SSID) and the password.
•During the initial set up, users’ smart phone/tablet must connect to
the designated Wi-Fi network.
•The device HD220-W must be under the good coverage of the
designated Wi-Fi network all the time.
2.3. Wireless connection indicator
There is a blue LED indicator that shows the status of the wireless connection.
It is located at the lower right corner of the display window. Different blinking
frequencies indicate different communication status.
Fast blinking (4Hz): initializing/reset wireless connection.
Slow blinking (0.5Hz): wireless signal out-of-range; device lost wireless
connection.
Short single or multiple pulses: device is communicating with user’s
phone/tablet.
2.4. Initial set up
When the device is first power up, the wireless connection indicator will blink
fast, which means the device is not connected to any Wi-Fi signal yet. Users
can configure the device from his/her smart phone/tablet with the AuberSmart
app is installed. The indicator will stop blinking after wireless connection is set
up successfully or if the user has not set up the wireless connection during the
first 30 minutes. Users will have to reset the Wi-Fi module manually when
he/she wants to re-configure the wireless connection.
2.5. Reset wireless connection
If this controller was configured to a Wi-Fi signal and was later taken to a new
place that is under a different Wi-Fi signal, the wireless module must be reset
and re-configured for this new router.
1) Place the device under the coverage of the new Wi-Fi signal. When
the device is powered up, the blue indicator will start blinking slowly
(0.5Hz) due to the original Wi-Fi signal being out-of-range.
2) On the device, hold both the SET key and Mute key for 2 seconds
until the blue LED start fast blinking (4Hz).
3) If the device is still on your device list, go into your AuberSmart app
and select “delete this device”. Then proceed to add a new device.
A step by step instruction can be found in section 4.
Note:
After resetting the wireless connection, other users need to delete the device
from Device List and add it back to their AuberSmart app. However, users do
not need to reset the Wi-Fi module on the device. If other users do not delete
the device and re-configure it, they may still be able to connect to the device
when their phones and device are both connected to the original Wi-Fi network.
But they will not be able to connect the device once when they leave the Wi-Fi
network.
3. Getting started
1) Download and install the latest AuberSmart app through Google Play
store or iOS Appstore. The Android version app can also be downloaded
as an apk installation file from Auber’s website.
2) Take the device to a location that is under the coverage of a Wi-Fi
network signal and make sure you have access to the Wi-Fi network
name (SSID) and password. Power up the device and you should see
the blue indicator start blinking.
3) Make sure you have turned on the Wi-Fi connection in your smart
phone/tablet, and are connected to the Wi-Fi signal that you have the
password. You can go to “Settings”, then “Wi-Fi” in your phone/tablet to
set it up.
4) Add a new device. Open the AuberSmart app, at “Device list” page, click
the plus icon “+” on the top right corner to add a new device (see Figure
1).
5) On the Add Device page (Figure 2), enter your current Wi-Fi network
name (SSID) and password. If the SSID does not show up automatically
or correctly, please manually enter the SSID. Once you have entered
Instruction Manual
Instruction Manual
AUBER INSTRUMENTS WWW.AUBERINS.COM
2021.06 P2/5
these information, click “Connect Device”. This step may take up to 1
minute.
6) The new device should have been added to the Device List (shown in
Figure 3). The model number of the device, current program step, and
current probe reading will be displayed. Multiple devices can be added
to AuberSmart app.
Figure 1. Device List page of AuberSmart (left: Android version; right
iOS version).
Figure 2. Add Device page. (Left: Android version; right iOS version).
Figure 3. When the device is added successfully, the app will return
back to Device List page. (Left: Android version; right iOS version).
7) To view the detailed information about the device, tap on the device
name/info. To rename this device or delete it from the device list, long
tap on the device name/info. To refresh the information, tap the refresh
button on the top right corner.
Figure 4. Available operations when long tap on the device tab.
8) To exit the app, tap the return button twice on your Android phone; or tap
the top right corner to bring up the menu list and select “Exit” (see Figure
5).
Figure 5. Menu list.
4. Navigating AuberSmart app
The AuberSmart app is constructed in three main layers: device list, device
information page, and settings.
4.1 Device list page
The Device List page show a list of devices that has been paired with this
smart phone/tablet. This gives users a quick view of the current status of
devices on this list. Users also can add new devices or remove added devices
from this page.
AUBER INSTRUMENTS WWW.AUBERINS.COM
2021.06 P3/5
1 2
4
3
5
6 7
8
Figure 7. Device List page.
(1) Add a new device.
(2) App menu button.
(3) Refresh device list.
(4) Device quick-view. Short tap it to view the device information page;
long tap it to bring up a quick action menu.
(5) Device name.
(6) Current program step number.
(7) Current probe reading.
(8) Device sticky to the top of the list.
(9) Quick action menu.
(10) App menu.
4.2 Device information page
The device information page shows the current device status, past data
collection, and allows users to change program running status. This page can
be divided into four sections: A) quick access bar, B) data plot, C) device
working status, and D) program details.
A. Quick access bar
(1) Return back to the Device List page.
(2) Change program status to Run/Pause/Stop. This action is password
protected.
(3) Mute alarm buzzer.
(4) Configuration button. Go to Device Settings and App Preferences.
These options are password protected.
B. Data plot
(5) Plot legend.
(6) Plot time scale selection. Plot’s time scale can be changed between 2
hours, 6 hours, 24 hours, 7 days, or 30 days (see Figure 9).
(7) Humidity data plot. Tap on the plot to check information on specific data
points (see Figure 10).
C. Working status
(8) Current humidity reading.
(9) Set value at current step.
(10) Current program step.
(11) Progress bar.
D. Program status
(12) Program status. Show whether the program is running/paused/stopped
(13) Step time. It shows how much time has passed in the current step and
how much is the total time of the current step.
(14) Total time shows the total passed time and total time of the entire
program.
(15) Device run time shows how much time has passed since the device
was powered on.
Section A
Section B
Section C
Section D
12 43
56
7
8
9 10
11
12
13
14
15
Figure 7. Device information page.
6
Figure 9. Change the time scale of the data plot.
7
Figure 10. Check a data point on the plot.
4.3 Device settings and app preferences
To check or change the device settings or app preferences, click on the
Configuration button on the Quick Access Bar of the Device Info page.
AUBER INSTRUMENTS WWW.AUBERINS.COM
2021.06 P4/5
A
B
Figure 11. Press the configuration button to go to settings or preferences.
A. Settings
These parameters, which can also be accessed from the device, are
relevant to how the device should operate. All parameters and program
settings of the device can be changed from the app and are synchronized
to the device. Settings are password protected, but users can change
password to any personal 3-digit code. Users can also choose to save
the code to avoid entering the code every time they try to access the
parameter settings.
B. Preferences
These additional settings are only available on AuberSmart app, not on
the device itself.
1
2
3
4
5
1
2
5
Figure 12. Preferences setting page.
1) Device Alias. Users can rename the device in order to differentiate it
from other devices.
2) Lock Device. This setting determines whether a new user can find and
add this device to his/her AuberSmart app. When this feature is turned
on, other users of AuberSmart App won’t be able to connect to the
device. But users that have already established the connection won’t
be affected. By default, this feature is set to “off”.
3) Sticky On Top (not available for iOS). When this feature is set to “on”,
this device will stay on top of the device list.
4) Export Data. Humidity data recorded on the device can be downloaded
as a CSV file on user’s phone or tablet.
5) Delete Device. By tapping on this button, users can remove this device
from AuberSmart app.
5. FAQs (regarding wireless connection)
1) Can I add more than one HD220-W to AuberSmart app?
Yes. You can add multiple devices to AuberSmart app. For example, if
you have two devices under the coverage of the same wireless network,
you have the ability to add both devices to your AuberSmart at the same
time.
2) Can multiple smart phones or tablets connect to the same device?
Yes. A device (HD220-W) can connect with more than one smart phone
or tablet.
3) How can I prevent other AuberSmart app users from adding my device?
First of all, the other user must know your Wi-Fi password in order to add
the device. Secondly, you can choose to “Lock” the device so new users
won’t be able to add the device even if they has the Wi-Fi password.
Please note that this “Lock Device” feature won’t block users that are
already connected with the device.
4) How can I prevent other users from changing my settings on the device?
The parameter settings and app preferences are password protected.
Users who do not know the password won’t be able to access the
parameter or preference settings. However, changing parameter settings
from the device itself doesn’t require password.
5) My device picked up other people’s wireless signal instead of mine.
The device automatically picks up the strongest Wi-Fi signal around it.
You can manually input the Wi-Fi signal’s name (SSID). Or you can move
the device to a location that is closer to your Wi-Fi router during the initial
set up. Once the connection is established, you can move the device
back to where it was as long as it is under the coverage of the same
Wi-Fi signal.
6) Can I access the device info without Wi-Fi network?
Once your phone/tablet has successfully connected with the device, you
can access the device via cellular signal.
7) Can I access the device info from a Wi-Fi network that is different from
my home Wi-Fi network?
If you are connecting the device for the first time, your phone/tablet and
the device must be under the coverage of the same Wi-Fi network. Once
your phone/tablet has successfully connected with the device, you can
access the device from a different Wi-Fi network as long as it has internet
access.
8) I can see and access the device from AuberSmart app when I was home,
but when I was away from home I cannot connect to it.
Please try 1) delete the device from the app, 2) reset the Wi-Fi module by
holding the SET and Mute key, and 3) add the device again.
AUBER INSTRUMENTS WWW.AUBERINS.COM
2021.06 P5/5
Possible reasons for this: You may have added the device while the
device was configured to your home Wi-Fi network. And later the device
was reset and configured to another Wi-Fi network.
Then the device was reset and configured to your home Wi-Fi network
again by someone else, not by you. In that case, you can connect to the
device while you are connecting to your home Wi-Fi network, but you
won’t be able to connect to the device when you are not using your home
Wi-Fi (i.e., using cellular signal or using a different Wi-Fi network).
9) After I installed the app and added my device, my phone constantly
shows “connection error”.
You probably didn’t exit your AuberSmart App properly and it is still
running in the background. To exit the app, tap return button (for Android
user) or tap the app menu and select “exit”.
10) Where does the AuberSmart save exported data?
The default file path is
“/storage/emulated/0/Android/data/com.auberins/files/”.
11) Can I use HD220-W without internet?
Yes. HD220-W is a standalone unit that functions as the normal HD220
that doesn’t have wireless connection capability. You can use its front
keypad to control it.
(End)
Auber Instruments
5755 North Point Parkway, Suite 99
Alpharetta, GA 30022, USA
www.auberins.com
Copyright © 2021 Auber Instruments Inc. All rights reserved.
No part of this datasheet shall be copied, reproduced, or transmitted in any way without the prior,
written consent of Auber Instruments. Auber Instruments retains the exclusive rights to all information
included in this document.

This manual suits for next models

1

Other Auber Instruments Controllers manuals

Auber Instruments KIT-CUBE2S User manual

Auber Instruments

Auber Instruments KIT-CUBE2S User manual

Auber Instruments Auberins KIT-GGP User manual

Auber Instruments

Auber Instruments Auberins KIT-GGP User manual

Auber Instruments DSPR300 User manual

Auber Instruments

Auber Instruments DSPR300 User manual

Auber Instruments AW-SYL-2352 User manual

Auber Instruments

Auber Instruments AW-SYL-2352 User manual

Auber Instruments SYL-53 2P Series User manual

Auber Instruments

Auber Instruments SYL-53 2P Series User manual

Auber Instruments EZboil DSPR310D User manual

Auber Instruments

Auber Instruments EZboil DSPR310D User manual

Auber Instruments TH220A User manual

Auber Instruments

Auber Instruments TH220A User manual

Auber Instruments EZboil DSPR120 User manual

Auber Instruments

Auber Instruments EZboil DSPR120 User manual

Auber Instruments SYL-2362B User manual

Auber Instruments

Auber Instruments SYL-2362B User manual

Auber Instruments SYL-3615 User manual

Auber Instruments

Auber Instruments SYL-3615 User manual

Auber Instruments EZboil DSPR310D User manual

Auber Instruments

Auber Instruments EZboil DSPR310D User manual

Auber Instruments RDK-300B User manual

Auber Instruments

Auber Instruments RDK-300B User manual

Auber Instruments EZboil DSPR320 User manual

Auber Instruments

Auber Instruments EZboil DSPR320 User manual

Auber Instruments HD220 User manual

Auber Instruments

Auber Instruments HD220 User manual

Auber Instruments WS-1500A Administrator Guide

Auber Instruments

Auber Instruments WS-1500A Administrator Guide

Auber Instruments SYL-3615 User manual

Auber Instruments

Auber Instruments SYL-3615 User manual

Auber Instruments EZboil DSPR310 User manual

Auber Instruments

Auber Instruments EZboil DSPR310 User manual

Auber Instruments DSPR400 User manual

Auber Instruments

Auber Instruments DSPR400 User manual

Auber Instruments HD330 User manual

Auber Instruments

Auber Instruments HD330 User manual

Auber Instruments WS-1500EPM Administrator Guide

Auber Instruments

Auber Instruments WS-1500EPM Administrator Guide

Auber Instruments Cube 5E User manual

Auber Instruments

Auber Instruments Cube 5E User manual

Auber Instruments AUB6500 User manual

Auber Instruments

Auber Instruments AUB6500 User manual

Auber Instruments KIT-RSPb User manual

Auber Instruments

Auber Instruments KIT-RSPb User manual

Auber Instruments SYL-2615 User manual

Auber Instruments

Auber Instruments SYL-2615 User manual

Popular Controllers manuals by other brands

Moeller Home-Manager operating instructions

Moeller

Moeller Home-Manager operating instructions

Dimplex RXPW4 quick start guide

Dimplex

Dimplex RXPW4 quick start guide

Johnson Controls FEC26 Series installation instructions

Johnson Controls

Johnson Controls FEC26 Series installation instructions

ABB ACS150 series user manual

ABB

ABB ACS150 series user manual

Gardena 1892 Operator's manual

Gardena

Gardena 1892 Operator's manual

Jenny Science XENAX Xvi 48V8 instruction manual

Jenny Science

Jenny Science XENAX Xvi 48V8 instruction manual

Zennio MAXinBOX 16 Technical documentation

Zennio

Zennio MAXinBOX 16 Technical documentation

IAI X-SEL Operation manual

IAI

IAI X-SEL Operation manual

Evco EVD HP Installer manual

Evco

Evco EVD HP Installer manual

Ultra Products Fan Commander ULT31810 Specifications

Ultra Products

Ultra Products Fan Commander ULT31810 Specifications

Zero Zone Carel Programming instructions

Zero Zone

Zero Zone Carel Programming instructions

Danfoss ECL Comfort 296 operating guide

Danfoss

Danfoss ECL Comfort 296 operating guide

Omron SYSMAC CS1W-EIP21 Operation manual

Omron

Omron SYSMAC CS1W-EIP21 Operation manual

Mitsubishi Electric CR750 Series manual

Mitsubishi Electric

Mitsubishi Electric CR750 Series manual

Parker Pneumatic P3N Series Installation and service instructions

Parker Pneumatic

Parker Pneumatic P3N Series Installation and service instructions

Varian Turbo-V 301 instruction manual

Varian

Varian Turbo-V 301 instruction manual

ascon G2 Series user manual

ascon

ascon G2 Series user manual

Ewellix CAHB-10 Installation, operation and maintenance manual

Ewellix

Ewellix CAHB-10 Installation, operation and maintenance manual

manuals.online logo
manuals.online logoBrands
  • About & Mission
  • Contact us
  • Privacy Policy
  • Terms and Conditions

Copyright 2025 Manuals.Online. All Rights Reserved.