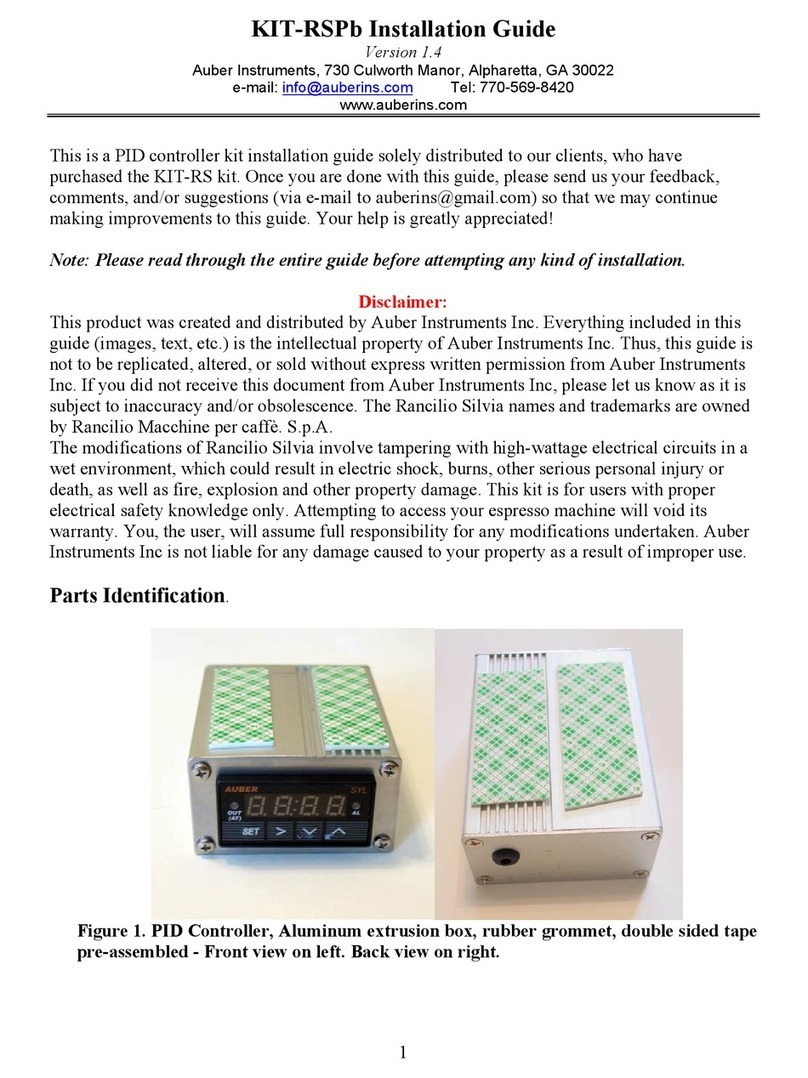
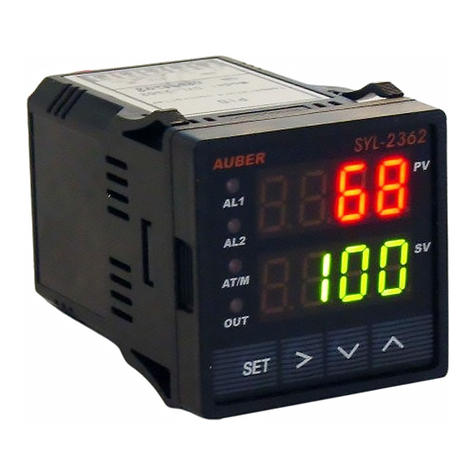
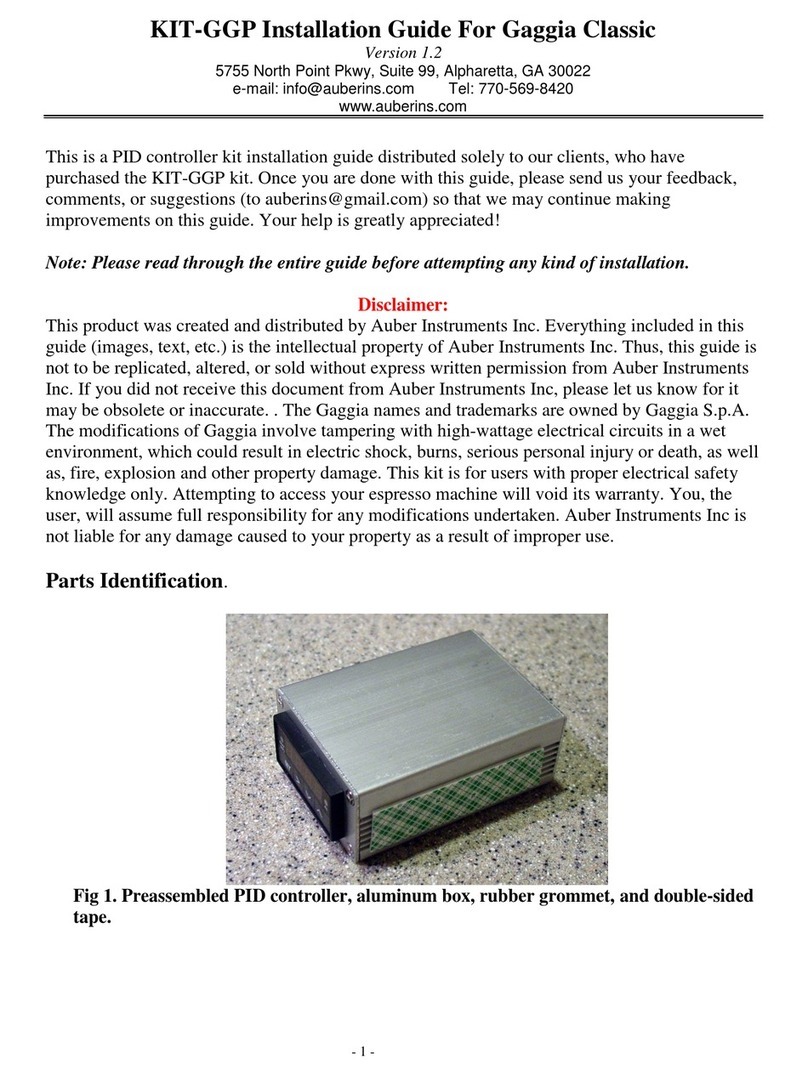
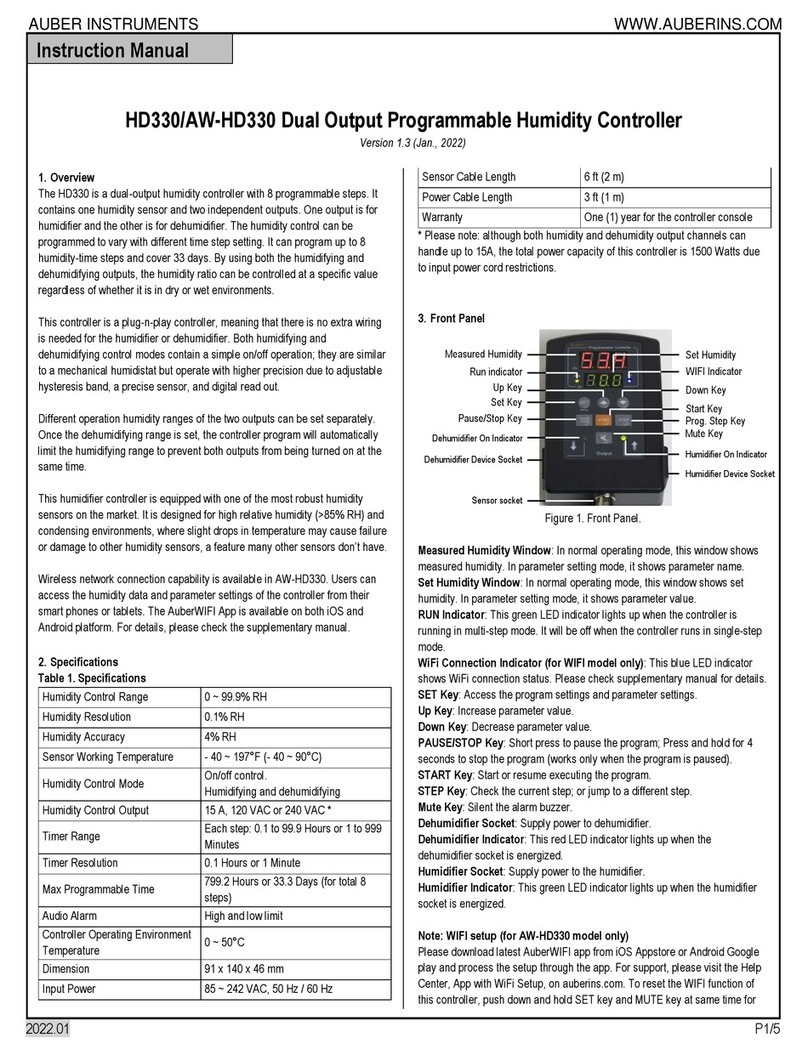
manuals.online logo
Brands
  1. Home
  2. •
  3. Brands
  4. •
  5. Auber Instruments
  6. •
  7. Controllers
  8. •
  9. Auber Instruments KIT-CUBE2S User manual

Auber Instruments KIT-CUBE2S User manual

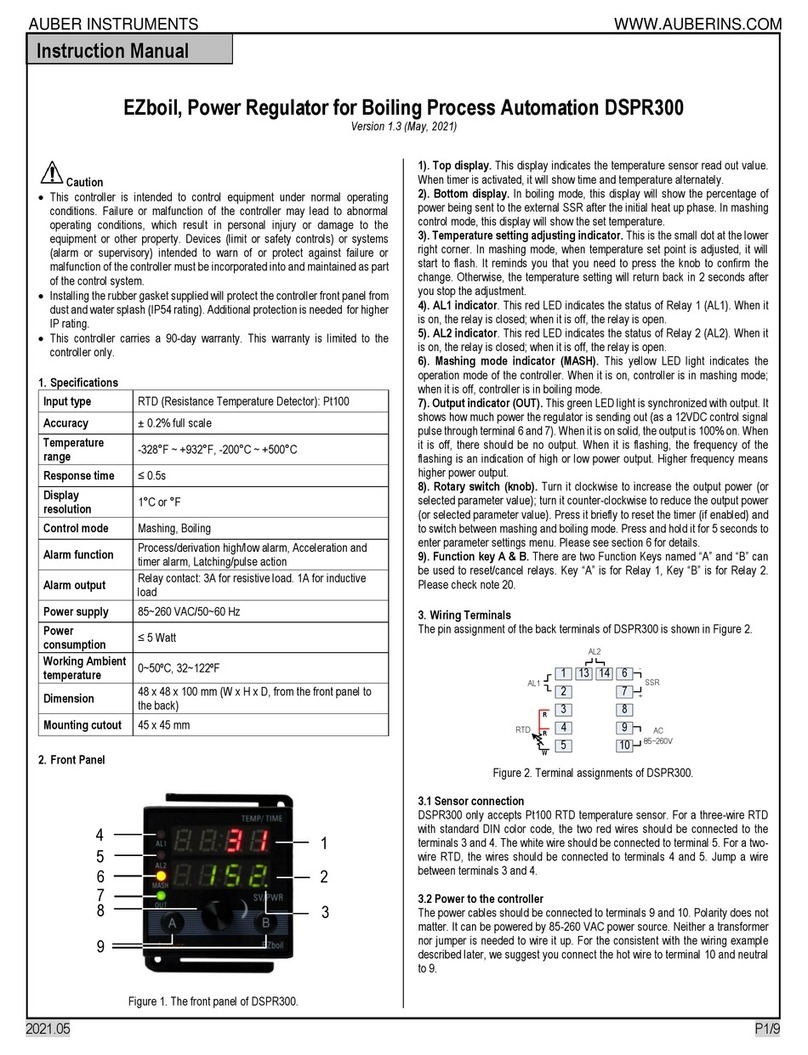
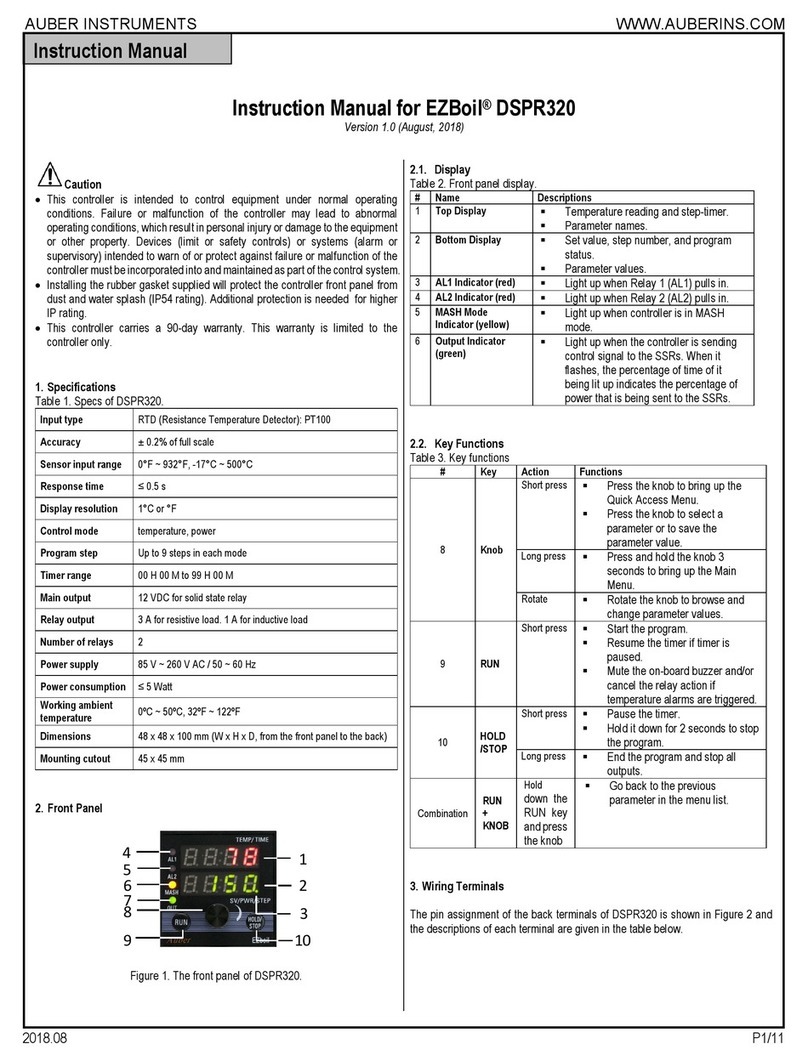
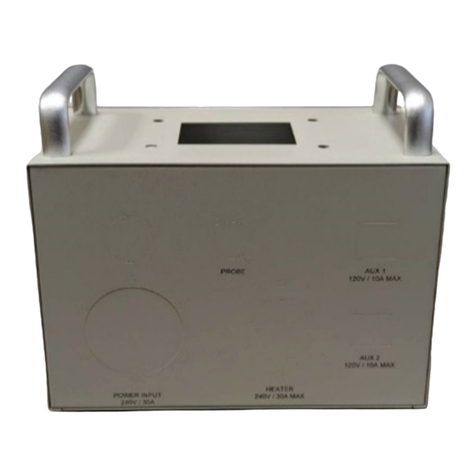
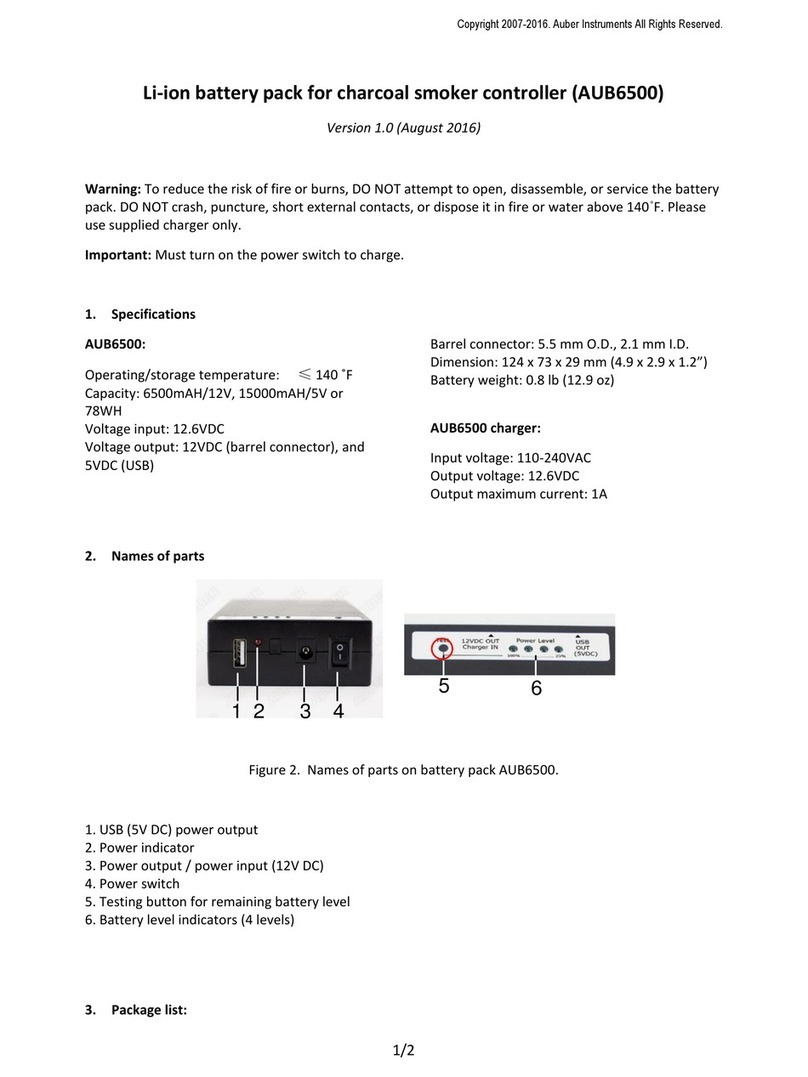
AuberInstruments v1.2 6/12/2019
1

KIT-CUBE2S Installation Guide

1. Enclosure
Disassemblingallthescrewsandtheenclosurewillbespittedintofourpieces:


Figure1.TopandBodyofQbox1.


Figure2.RearPlateofQbox1.
AuberInstruments v1.2 6/12/2019
2

Figure3.FrontPlateofQbox1.

Figure4.BottomPlateofQbox1.


Tips:Duetothespaceinsidetheenclosureislimited,werecommendyoutostartwith
theinstallationofheatsink,SSR,fuseholdersandminirelaysfirst,andthencomplete
thewiringfortheparts.Duringallthewiringprocess,theenclosureshouldbekept
upsidedown;thebottomplateshouldbeassembledbacklastly.
AuberInstruments v1.2 6/12/2019
3

2. HeatSinkandSolid‐StateRelay(SSR)

Thereare(4)M6screwsofferedtomounttheheatsinkonthetopofCUBEbox.
Figure5.Topviewofheatsinkinstallation.
Figure6.Bottomviewofheatsinkinstallation.
HeatSink
AuberInstruments v1.2 6/12/2019
4

Figure7.ApplySiliconGreaseuniformlybeforemountingtheSSR.
Figure8.Using(2)M4screwsprovidedtomounttheSSRontheheatsink.

Apply silicon
grease at this
area.
SSR
AuberInstruments v1.2 6/12/2019
5

3. FuseHoldersandMiniRelays.
NOTE:TwopairsofM3screwandnutsareprovidedtomounteachfuseholderintheKIT.

Figure9.(2)pairsofM3screwandnutsareprovidedformountingeachminirelay,(1)pairof
M3scewandnutsareprovidedformountingeachfuseholder.

Figure10.Locatethe(8)smallholespre‐drilledandstarttomountyour(2)minirelaysand(2)
fuseholders.
AuberInstruments v1.2 6/12/2019
6


Figure10.OutsideView(Screwcapshouldbefacingoutside).

Figure11.Insideview(allnutsshouldbeinstalledinside).
Tips:ifyouhaverivets
andrivetgun,youcan
alsouseittomountthe
fuseholderinsteadof
usingM3screwandnut.
AuberInstruments v1.2 6/12/2019
7

4. WirePreparation

Table1.Thetotallengthofeachwireneeded.
WireColor 10AWG 14AWG 22AWG
Green 2ft 2ft 0ft
White 0ft 3ft 3ft
Black 3ft 5ft 3ft
Red 3 ft 0ft 1ft
Yellow 0ft 0ft 1ft
RTDExtensionWire ThisisofferedinthekitandsolderedwithblackXLRmaleconnector.

Table2.Thetotalnumberofconnectorsneeded.
ConnectorTypes QTY For
YellowStudRingTerminal(12‐10AWG) 4 Ground
RedInsulatedFemaleDisconnectSquare(22‐18AWG) 8 5‐15Rsocket&MiniRelay
BlueInsulatedFemaleDisconnectSquare(16‐14AWG) 4 MiniRelay
Blue#6StudLockingSpade/ForkTerminal(22 ‐ 18 AWG) 8 Controllerand SSRinput
Yellow#8StudLockingSpade/ForkTerminal(12‐10AWG) 2 SSROutput
BlueVinylFullyInsulatedFemaleWireDisconnect(16–14AWG)4 Fuseholder

Pleasecutandstripyourwiretorecommendedlength,andcrimpthemwithappropriate
connectors.
 Figure13.Groundandneutralwires. 
AuberInstruments v1.2 6/12/2019
8


Figure14.10‐AWGhotwires.


Figure15.14‐AWGhotwires.
AuberInstruments v1.2 6/12/2019
9


Figure16.Othercontrolwires.


Figure17.Wiringharnessofilluminatedswitches.Removetheunnecessarygreenwiresbyinsertapairof
tweezersintothecorrespondingslots(forgreenwires)andpullthemoutgentlybyhandatthesametime.
Ifthewirescannotberemovedeasily,thatmeansthetweezersmaynotbeinsertedintotherightslots.
AuberInstruments v1.2 6/12/2019
10

5. PartsWiring.


Figure17.Rearplateassemblyandgroundwiring.(Note:L6‐30Rheateroutputshouldbemountwith
the(2)M4screws;XLRCON‐M connectorneeds (2)pairsofM3screwsandnuts.)

Figure18.Continuewithhotandneutralwireslikethephoto.Leavethehotwirestobeconnected
later.
Note:using8‐32nutas
GroundingPost.
L6‐30R
Heater
Outlet
XLRCON‐M
Connector
AuberInstruments v1.2 6/12/2019
11

Figure19.Startfrontpanelfrom switches andEZBoil.

Figure20.Addwiringharnesstotheswitchesandmountbreakerbracket.


AUX2
AUX1
Slo
p
e
AuberInstruments v1.2 6/12/2019
12

Figure21.Pushthetwosidelegsoutsothatitcanclamponthefrontpanelfirmly.

Figure22.Wirethebreakerswitchbeforefititintothebracket,andcontinuethewiringforEZboiland
hotL1busforfrontplatelikethephoto.
AuberInstruments v1.2 6/12/2019
13


Figure23.Connectthewiresbetweenfrontplatewithrearplate.

Figure24.Placefuseintothefuseholder,andjumpwireforeachminirelayfromitspinNOtothe
correspondingfuseholder.
L14‐30P
Breaker
Switch
AUX2MiniRela
y
AUX1MiniRela
y
AUX2FuseHolder
AUX1FuseHolder
L6‐30R
AuberInstruments v1.2 6/12/2019
14


Figure25.Whileassemblingthefrontplateandrearplatewithenclosurebody,finishtheSSRwiring.

Figure26.Completethewiringofminirelaysandfuseholders.

Tips:Duetothelimitspace
insidetheenclosure,
pleasedonottightenthe
M3screwsontherear
platebeforeconnecting
theSSRwires.
AuberInstruments v1.2 6/12/2019
15

6. Testing.

Beforeclosingtheenclosurewithbottomplate,youcandoasimpletestwith240Vinputpower
andload.Forexample,wiringa220Vlightbulbtotesttheheateroutputandusea120Vlampto
testthepumpoutput.
TheEZBoilDSPR320hasinitialstatustobestop;oneneedstopresstherunbuttononcetostart
heating.Andpleaseremembertoplugthesensorwhiletesting.
Inthecaseifthereisnopowerfromtheheateroutlet,pleasecheckSSRindicatorandcontroller
OUTlightaction;theyshouldworksynchronously.
IfnopowerfromthepumpoutletwhenswitchisatONposition,pleasecheckiffusehasbeen
placedfirst.
Aftertest,applyhotglueorsiliconsealantforcontrollerandthe5‐15Rpumpoutlets;these
partsdonotcomewithmountingscrew,sotheymaygolooseaftertime.
Intheend,closetheenclosurebyfasteningthescrewsonthebottomplateandyoucanenjoy
brewingwithit.

Appendix.ToolsRecommendation
 Philipscrewdriversets.
 Flatheadscrewdriversets.
 Rulerandcaliper.
 Tweezer
 Wirecutter.
 Wirestripper.
 Wirecrimper.
 Hotgunormultipurposesealant.
 Multimeter.

AuberInstrumentsInc.
5755NorthPointParkway,Suite99,
Alpharetta,GA30022
www.auberins.com
Email:info@auberins.com
Tel:770‐569‐8420

Copyright2007‐2019,AuberInstrumentsAllRightsReserved.
Nopartofthismanualshallbecopied,reproduced,ortransmittedinanywaywithout
theprior,writtenconsentofAuberInstruments.AuberInstrumentsretainsthe
exclusiverightstoallinformationincludedinthisdocument

Other Auber Instruments Controllers manuals
Auber Instruments WS-1500EPM Administrator Guide

Auber Instruments

Auber Instruments WS-1500EPM Administrator Guide

Auber Instruments HD330 User manual

Auber Instruments

Auber Instruments HD330 User manual

Auber Instruments RDK-300B User manual

Auber Instruments

Auber Instruments RDK-300B User manual

Auber Instruments SYL-3615 User manual

Auber Instruments

Auber Instruments SYL-3615 User manual

Auber Instruments Cube 5E User manual

Auber Instruments

Auber Instruments Cube 5E User manual

Auber Instruments EZboil DSPR310 User manual

Auber Instruments

Auber Instruments EZboil DSPR310 User manual

Auber Instruments EZboil DSPR310D User manual

Auber Instruments

Auber Instruments EZboil DSPR310D User manual

Auber Instruments KIT-RSPb User manual

Auber Instruments

Auber Instruments KIT-RSPb User manual

Auber Instruments HD220 User manual

Auber Instruments

Auber Instruments HD220 User manual

Auber Instruments Auberins KIT-GGP User manual

Auber Instruments

Auber Instruments Auberins KIT-GGP User manual

Auber Instruments EZboil DSPR320 User manual

Auber Instruments

Auber Instruments EZboil DSPR320 User manual

Auber Instruments WS-1500A Administrator Guide

Auber Instruments

Auber Instruments WS-1500A Administrator Guide

Auber Instruments SYL-3615 User manual

Auber Instruments

Auber Instruments SYL-3615 User manual

Auber Instruments DSPR400 User manual

Auber Instruments

Auber Instruments DSPR400 User manual

Auber Instruments DSPR300 User manual

Auber Instruments

Auber Instruments DSPR300 User manual

Auber Instruments SYL-53 2P Series User manual

Auber Instruments

Auber Instruments SYL-53 2P Series User manual

Auber Instruments TH220A User manual

Auber Instruments

Auber Instruments TH220A User manual

Auber Instruments SYL-2381-SSR User manual

Auber Instruments

Auber Instruments SYL-2381-SSR User manual

Auber Instruments KIT-Cube5E User manual

Auber Instruments

Auber Instruments KIT-Cube5E User manual

Auber Instruments HD220-W Instructions and recipes
Auber Instruments

Auber Instruments HD220-W Instructions and recipes

Auber Instruments EZboil DSPR120 User manual
Auber Instruments

Auber Instruments EZboil DSPR120 User manual

Auber Instruments SYL-2362B User manual

Auber Instruments

Auber Instruments SYL-2362B User manual

Auber Instruments AUB6500 User manual

Auber Instruments

Auber Instruments AUB6500 User manual

Auber Instruments SYL-2615 User manual
Auber Instruments

Auber Instruments SYL-2615 User manual

Popular Controllers manuals by other brands
Videotec DTRX1 operating instructions

Videotec

Videotec DTRX1 operating instructions

elsner elektronik Cala Touch KNX quick start guide

elsner elektronik

elsner elektronik Cala Touch KNX quick start guide

socomec ATyS C25 quick start guide

socomec

socomec ATyS C25 quick start guide

Haier YCZ-A004 Operation & installation manual

Haier

Haier YCZ-A004 Operation & installation manual

Mitsubishi Electric AJ65BT-D75P2-S3 user manual

Mitsubishi Electric

Mitsubishi Electric AJ65BT-D75P2-S3 user manual

Datakom D-500 MK3 user manual

Datakom

Datakom D-500 MK3 user manual

Carrier 40VMD 006 Installation and maintenance instructions

Carrier

Carrier 40VMD 006 Installation and maintenance instructions

RCS OMEGA-3v9s manual

RCS

RCS OMEGA-3v9s manual

Festo CMXR-C1 System manual

Festo

Festo CMXR-C1 System manual

Auto Ingress LOGICSLIDE LogicSwing Owner operating instructions

Auto Ingress

Auto Ingress LOGICSLIDE LogicSwing Owner operating instructions

Siemens Simatic S7-1500 Equipment manual

Siemens

Siemens Simatic S7-1500 Equipment manual

Mitsubishi Electric MELSEC iQ-R Series user manual

Mitsubishi Electric

Mitsubishi Electric MELSEC iQ-R Series user manual

Drawmer MC 3.1 manual

Drawmer

Drawmer MC 3.1 manual

inVENTer sMove S4 Long Installation and operating instructions

inVENTer

inVENTer sMove S4 Long Installation and operating instructions

Fisher FIELDVUEDVC6200f instruction manual

Fisher

Fisher FIELDVUEDVC6200f instruction manual

PhaseOne iX MK 5 Installation and operation guide

PhaseOne

PhaseOne iX MK 5 Installation and operation guide

Meech 977HL operating manual

Meech

Meech 977HL operating manual

S&P MULTI-REG CONTROL 2841 Series manual

S&P

S&P MULTI-REG CONTROL 2841 Series manual

manuals.online logo
manuals.online logoBrands
  • About & Mission
  • Contact us
  • Privacy Policy
  • Terms and Conditions

Copyright 2025 Manuals.Online. All Rights Reserved.