manuals.online logo
Brands
  1. Home
  2. •
  3. Brands
  4. •
  5. Aumuller
  6. •
  7. Control Unit
  8. •
  9. Aumuller M-COM Click Training manual

Aumuller M-COM Click Training manual

!
!
Warranty claims require proper and profes-
sional assembly, installation and maintenance
in accordance with national regulations and
manufacturer‘s instructions of the drives.
The safety instructions in the supplied pro-
duct documentation are to be observed.
Strictly observe the information given in this
and in the instructions for installation of
drives when mounting the M-COM® Click.
Details can be found on our website
www.aumueller-gmbh.de
Keep this instruction over the lifetime of the
product.
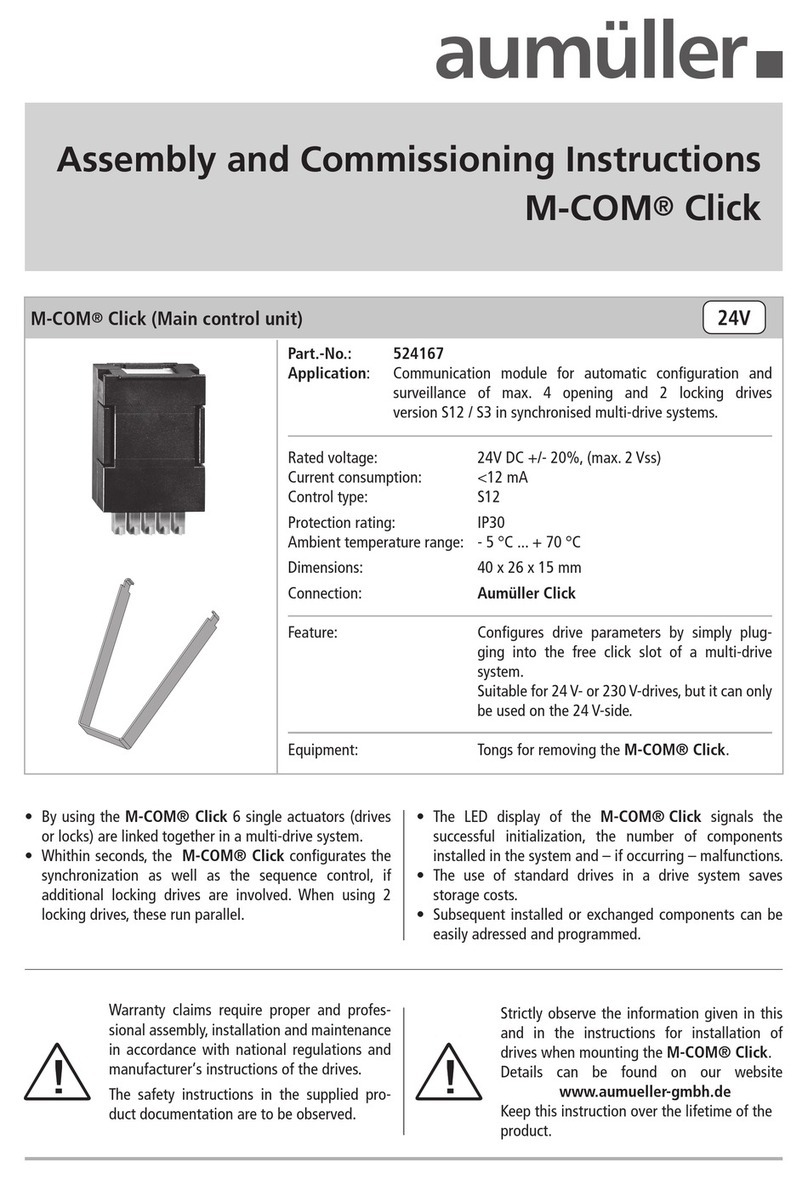
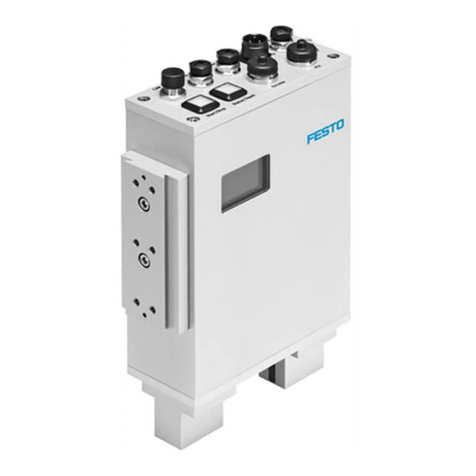
M-COM®Click (Main control unit) 24V
• By using the M-COM® Click 6 single actuators (drives
or locks) are linked together in a multi-drive system.
• Whithin seconds, the M-COM® Click links and pro-
grammes the synchronized driverunnint mode and one
sequentce control, if additional locks are involved.
When using 2 locking drives, these run parallel.
• The LED display of the M-COM® Click signals the
successful initialization, the number of components
installed in the system and – if occurring – malfunctions.
• The use of standard drives in a drive system saves
storage costs.
• Subsequent installed or exchanged components can be
easily adressed and programmed.
Assembly and Commissioning Instructions
M-COM®Click
Rated voltage: 24V DC +/- 20%, (max. 2 Vss)
Current consumption: <12 mA
Control type: S12
Protection rating: IP30
Ambient temperature range: min. - 5 °C ... + 70 °C
Dimensions: 40 x 26 x 15 mm
Connection: for Aumüller chain drives
with AUMÜLLER-Click plug solution.
Feature: able to congurate drive parameters by simple
plug-on into the single or last drive of the
multi-drive system.
Suitable for 24V- or 230V-drives, but it can only
be used on the 24V-side.
Equipment: Tongs for removing the M-COM® Click.
Part.-No.: 524167
Application: Communication module for automatic conguration and
surveillance of max. 4 opening and 2 locking drives version S12 / S3 (software
version SW-V2) in synchronised multi-drive systems.
Assembly Instruction
M-COM®Click
COMMISSIONING / TEST RUN
INSTALLATION STEP 1: FIRST COMMISSIONING
INSTALLATION STEP 2:
TEST RUN, MALFUNCTION, TROUBLSHOOTING
¢Switch on the supply voltage - in CLOSE direction.
¢Observe the LED reaction of the M-COM®Click.
¢Insert M-COM®Click Œin the drive.
¢Switch on the supply voltage - in CLOSE direction.
¢Observe the LED reaction of the M-COM®Click Œ.
¢LED blinks red (Factory settings).
¢LED starts blinking red / green. The communication
- to the multi-drive operation - is running.
¢LED blinks green, for each participator once. The pro-
cess is complete.
¢Compare the numer of devices with the numer of
identied participants.
¢Check the operation of the multi-drive system according
the instructions for installation the drives.
TROUBLSHOOTING: LED blinks red.
¢Check wiring and the system.
¢Eliminate faults.
¢Reset the M-COM®Click (see chapter „Reset and re-
initialisation of M-COM®Click)“.
Series connection with M-COM®Click
DRIVE
M-COM®Click
NOTE
To install the M-COM®Click Œcorrectly,
note the screws •of the drive and of the
M-COM®Click Œ.
Turn the M-COM®Click Œand the drive so,
that the screws •are visible above.
1
2
LED
Screws •of the drive in the upper area
Screws •of the M-COM® Click are visible above
2
LED display
Display State
3s
lights red
Factory settings
(M-COM®Click is reset).
0,5s - 0,5s
blinks red / green (10 times)
Communication - to the multi-drive
operation - becomes set up.
0,5s - 0,5s - 3s
blinks green (X times)
X drives identied
(1 time blinks = identied one drive).
LED display
Display State
0,5s - 0,5s - 3s
blinks green (per drive 1 time)
System is o.k. (can be operated)
drives identied
(1 time blinks = identied one drive).
0,5s - 0,5s - 3s
blinks red (X-times)
When the number of the
learned drives does not coin-
cide with the number of drives
now recognized.
FAULT: System is NOT o.k.
X drives identied
(1 time blinks = identied one drive).
< <<
Assembly Instruction
M-COM®Click
RESET / DEMOUNTING
RESET AND REINITIALISATION OF M-COM®
Click
¢To reset the system: press the pushbutton within the
drilling •for about 5 seconds - using a wire (max.
Ø 1mm). The supply voltage is applied.
¢The LED starts blinking red and lights after successful
reset permanently red.
¢The factory setting is reached, the learning process will
automatically restart.
DEMOUNTING THE M-COM®CLICK
IN CASE EXCHANGING AFAULTY DRIVE
In case of exchange a faulty drive, demout and reset the
M-COM®Click.
¢Switch off the supply voltage.
¢Disconnect the connection cable from the faulty drive.
¢Demount the faulty drive.
¢Remove the M-COM®Click Œfrom the drive.
Squeezing the locking hooks at the M-COM®Click Œ
and pulled out the M-COM®Click Œfrom the drive
- using the tongs Ž.
¢Mount the new / repaired drive and connect it.
¢M-COM®Click Œin den Antrieb einstecken.
¢Switch on the supply voltage - in CLOSE direction.
¢Reset the M-COM®Click (see chapter „Reset and re-
initialisation of M-COM®Click)“.
¢Disposing of faulty equipment according to the instal-
lation instructions of drives.
DRIVE
NOTE The tongs Žis included in the scope of
delivery of M-COM®Click.
1 3
squeeze both locking hook
3
LED display
Display State
0,5s - 0,5s
blinks red (6 times)
M-COM®Click is waiting.
continuous
lights red
M-COM®Click is reset
(Factory settings).
DRIVE M-COM®Click
1
4
wire max. ø1 mm
14 mm immersion depth
AUMÜLLER AUMATIC GMBH
Gemeindewald 11
86672 Thierhaupten
Tel. +49 8271 8185-0
Fax
+49 8271 8185-250
info@aumueller-gmbh.de
www.aumueller-gmbh.de
AUMÜLLER AUMATIC GMBH
Gemeindewald 11
86672 Thierhaupten
Tel. +49 8271 8185-0
Fax
+49 8271 8185-250
info@aumueller-gmbh.de
9000021701_V0.1_KW20/16
TROUBLSHOOTING
TROUBLSHOOTING:
Exchanging a faulty drive in the multi-drive
system:
TROUBLSHOOTING:
M-COM®Click take off under voltage:
¢Switch off the supply voltage.
¢Disconnect the connection cable from the faulty drive.
¢Demount the faulty drive.
¢Mount the new / repaired drive and connect it.
¢Switch on the supply voltage - in CLOSE direction.
¢Reset the M-COM®Click (see chapter „Reset and re-
initialisation of M-COM®Click)“.
No adjustment is carried out in case of ex-
change of drives with special program-
ming (e.g. stroke, speed)!
In case of repair please order an exchange drive with the
same parameter assignment as that of the faulty drive.
If the M-COM®Click is removed under voltage and the
drives move, then the drives stop immediately.
¢Insert M-COM®Click again into the drive.
¢Put the system back into operation.
!
4

Other Aumuller Control Unit manuals

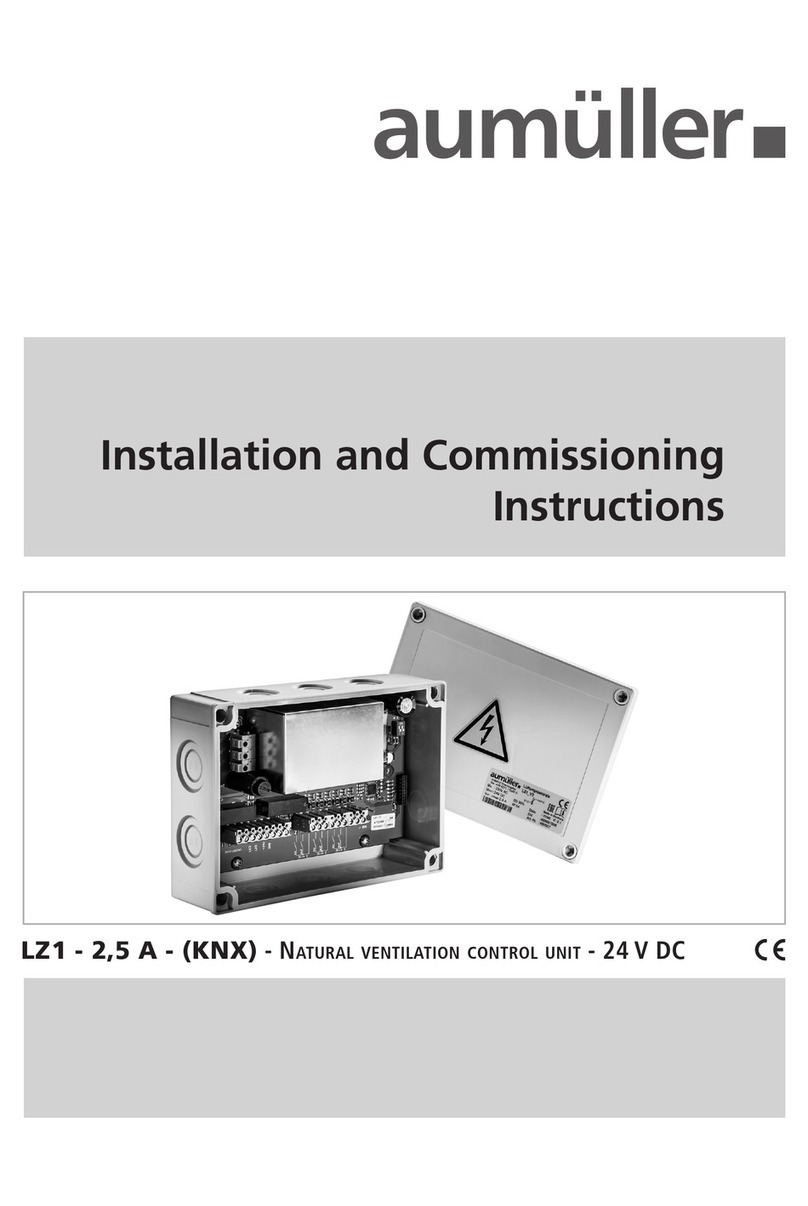
Aumuller LZ1-2,5A-KNX Installation and operation manual

Aumuller

Aumuller LZ1-2,5A-KNX Installation and operation manual

Aumuller M-COM Training manual

Aumuller

Aumuller M-COM Training manual

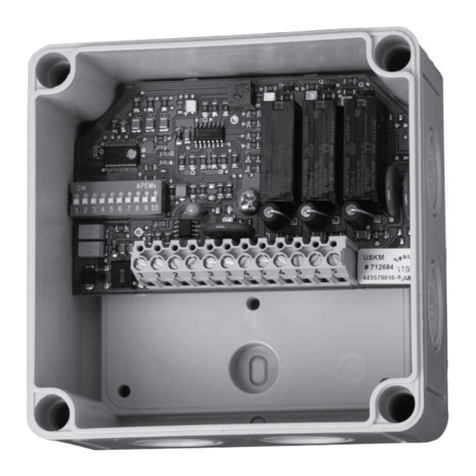
Aumuller USKM Training manual

Aumuller

Aumuller USKM Training manual

Aumuller EMB 7300 Installation and operation manual

Aumuller

Aumuller EMB 7300 Installation and operation manual

Aumuller M-COM Click Training manual

Aumuller

Aumuller M-COM Click Training manual

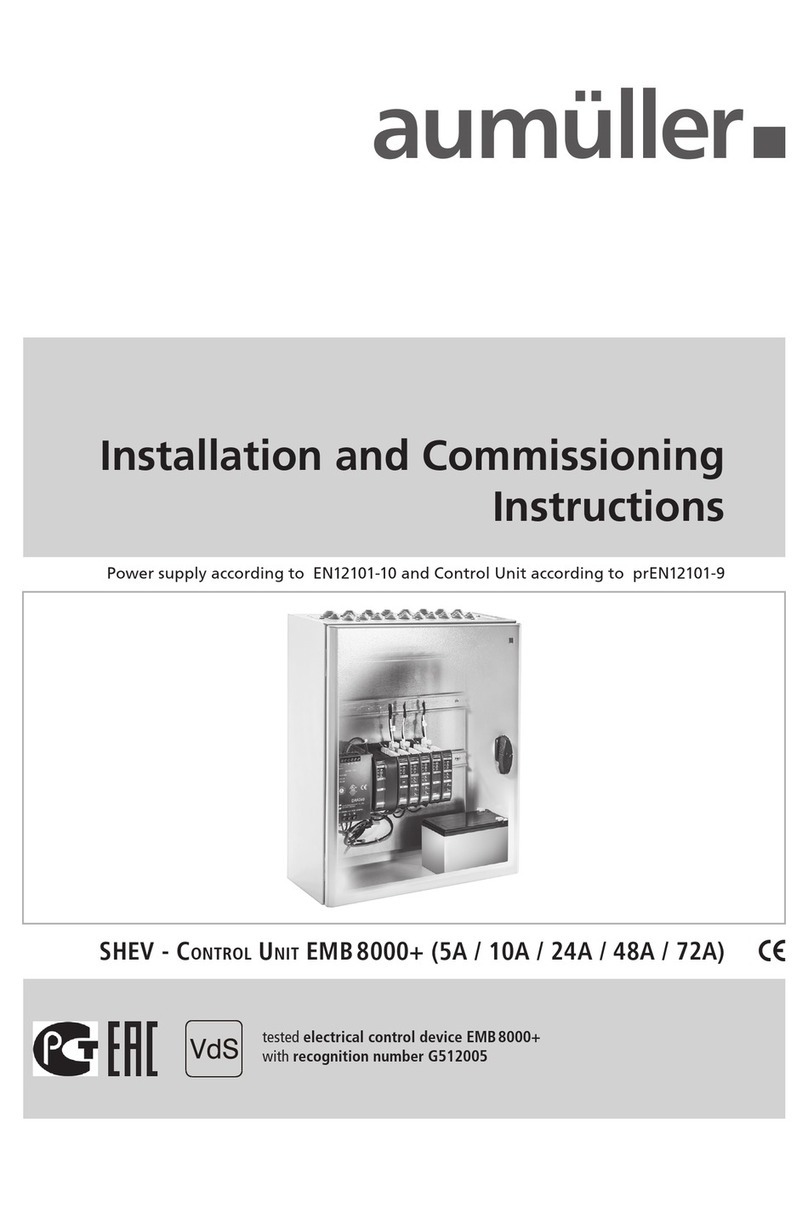
Aumuller SHEV EMB 8000+ Series Installation and operation manual

Aumuller

Aumuller SHEV EMB 8000+ Series Installation and operation manual

Aumuller SHEV EMB 8000+ Series Installation and operation manual

Aumuller

Aumuller SHEV EMB 8000+ Series Installation and operation manual

Aumuller EMB 7300 Series Installation and operation manual

Aumuller

Aumuller EMB 7300 Series Installation and operation manual

Popular Control Unit manuals by other brands

Multiplex M-Link HFMG1 operating instructions

Multiplex

Multiplex M-Link HFMG1 operating instructions

Aura ASR1202-OO installation manual

Aura

Aura ASR1202-OO installation manual

Siemens 6EP1935-6MC01 operating instructions

Siemens

Siemens 6EP1935-6MC01 operating instructions

Auta DIGITAL 600013 manual

Auta

Auta DIGITAL 600013 manual

Keithley KUSB-3100 user manual

Keithley

Keithley KUSB-3100 user manual

ProSoft Technology PS69-DPM user manual

ProSoft Technology

ProSoft Technology PS69-DPM user manual

Bosch CM255B Installer's reference guide

Bosch

Bosch CM255B Installer's reference guide

Anritsu MN4765B Operation manual

Anritsu

Anritsu MN4765B Operation manual

Pololu Zumo Shield user guide

Pololu

Pololu Zumo Shield user guide

GEM 673 Installation, operating and maintenance instructions

GEM

GEM 673 Installation, operating and maintenance instructions

SMC Networks VXS23 Installation and maintenance manual

SMC Networks

SMC Networks VXS23 Installation and maintenance manual

Allmatic BIOS1 BRT Manual for installation

Allmatic

Allmatic BIOS1 BRT Manual for installation

Plura RUBIDIUM Series manual

Plura

Plura RUBIDIUM Series manual

NEC LED-E012i user manual

NEC

NEC LED-E012i user manual

M-system R3-ND1 instruction manual

M-system

M-system R3-ND1 instruction manual

TP-Link Omada SM311LS V5 installation guide

TP-Link

TP-Link Omada SM311LS V5 installation guide

Belden Miranda DENSITE Series Guide to installation and operation

Belden

Belden Miranda DENSITE Series Guide to installation and operation

Flowserve Valtek Installation, operation & maintenance instructions

Flowserve

Flowserve Valtek Installation, operation & maintenance instructions

manuals.online logo
manuals.online logoBrands
  • About & Mission
  • Contact us
  • Privacy Policy
  • Terms and Conditions

Copyright 2025 Manuals.Online. All Rights Reserved.