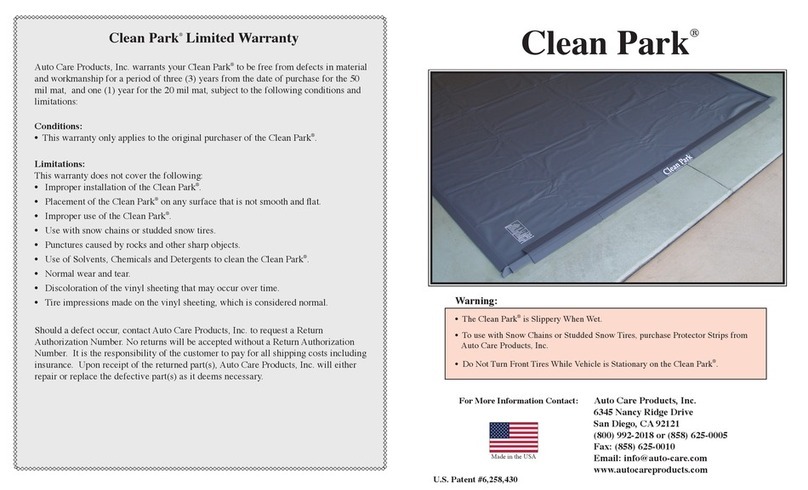
Warning:
Rocks and other sharp objects may puncture the Clean Park®. To avoid punctures, regularly
remove debris by sweeping with a soft bristle broom.
Cleaning Instructions:
Remove one or more of the end pieces closest to the garage door. Be careful not to puncture or cut
the vinyl sheeting with the edge of the top piece as you pull it off. Sweep the Clean Park®with a soft
bristle broom. Hose off the Clean Park®. Use a soft bristle broom to push water towards the open
area, off of the Clean Park®. Only a mild dish soap may be used on the Clean Park®. Do Not Use
Solvents, Harsh Chemicals, Abrasive Cleaners or Bleach.
Name:__________________________________________________________________
Address:________________________________________________________________
City:____________________ State/Province:___________Zip/Postal Code:__________
Country:___________Phone: _______________ Email address:____________________
Park Smart®Clean Park®Model or Size: _______________ Purchase Price:____________
Purchased From:__________________________________Date of Purchase:__________
NOTE: All Clean Parks®can be shortened by 2ʼincrements just by omitting long V-Shaped side pieces
and cutting the vinyl sheeting, as described in Step 2.
Sweep or vacuum garage floor. Repair
or cover (with duct tape) any cracks in
garage floor.
1. Attach long V-Shaped pieces to left and right sides. Start at the edge closest to the street. See figure 1.
2. On the end farthest away from the street, cut down the vinyl sheeting so it protrudes 1½” inches
beyond the last long V-Shaped side piece. See figure 2.
3. On the side farthest away from the street, attach the short V-Shaped pieces. See figure 3.
4. Next, lay the flat parts with the tube on the floor, under the edge of the vinyl sheeting, closest to
the street. The left and right flat parts should rest on top of the flat area, of the left and right long
V-Shaped side pieces. See figure 4.
5. Each kit has two ramp sections with a rounded corner. These ramp sections snap on top of the
vinyl sheeting, with the rounded corner next to the long V-Shaped side pieces. See figures 5 & 6.
First, snap down the ramp sections with the rounded corners, on the left and right sides of the
Garage Mat. The ramp sections snap over the vinyl sheeting, onto the flat parts with the tube.
See figure 7.Next, start at the left side, and snap down the remaining top ramp sections.
Discoloration of the vinyl sheeting may occur over time and does not affect the integrity of
the material. Tire imprints due to the weight of your vehicle on the vinyl sheeting may occur
and will not affect your Clean Park®.
Assembly Instructions
Figure 2 Figure 3
Figure 5
Figure 4
Figure 1
Figure 7
Figure 6
Complete the Warranty Registration Form below and mail it within fourteen (14) days of purchase.
13848_Auto 213848_Auto 2 8/11/06 9:22:20 PM8/11/06 9:22:20 PM


