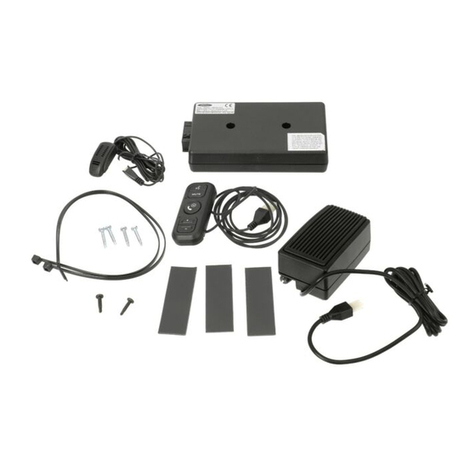
AutoMaxi SILVER line 104 User manual

L1
10 mn
+
FIX BAR
X
4
X
2
F
IX
B
AR
X
4
X
2
104
104
FIX POINT
1
2 3
Fi the feet on the bars
Adjust the distance Tighten
Ref. Imp. 053334/A8-1
D
AUTOMAXI
INTERNATIONAL
24 rue Claude Bernard
CS 61768
35 417 Saint-Mal Cedex
FRANCE
Tél : +33 (0)2 99 21 12 70
Fax : +33 (0)2 99 21 12 71
www.aut maxi.fr

104
FIX POINT
x4
x8
x4
x4
x4
x4
x1
x1
8
Put the theft
protection covers
and lock with the
keys.
8
9
Fixation
accessories in the
rail: Unclip an end.
Remove the central
part of snap ring .
Fasten the acces-
sory in the rail,
reclip the ends.
910
Read and
follow instruc-
tions for
mounting and
use.
Keep tools,
keys, packag-
ing, mounting
instructions for
future uses.
10
7
Check the cor-
rect position and
the appropriate
fastening of the
bars (in the event
of problem, redo
the mounting of
the bars).
7
6
Cut the obtura-
tor O and clip it on
in the apertures
located under the
bars.
6
o
V2
P
CP
5
Put the tabs P
against the roof.
Hold the counter-tabs
CP with one hand,
tighten strongly the
screws V2 (5 N.m)
with the other hand
and using the tool
alternatively
.
5
Put the tabs
P between the
hooks and
engage com-
pletely the count-
er-tabs CP under
the hooks.
4P
CP
4
J
Put the bars
into place
according to the
diagram oppo-
site.
Check the orien-
tation of the
aerodynamic
deflector of the
snap rings J.
3

1
2
34
Assembly conveys
Assembly bars
104
FIX POINT
5
67
ENGLISH
1a
DAEWOO
– FORD Escort
van & Sierra -
OPEL
-
RENAULT
:
Make slide the
traps to
release gut-
ters.
Adjust the bars
in the gutters.
1b
Y
X
Y
X
1
1a
3b- FORD
Fiesta – MAZDA 121
:
Unclip cautiously the
roof caps to release
gutters.
Adjust the bars in the
gutters according to
the following dis-
tances: 3 doors: X :
400 mm, Y : 300 mm
4 and 5 doors: X :
260 mm, Y : 425 mm
Check these dis-
tances on the right-
hand and left-hand
sides of the vehicle.
1b
MITSUBISHI
Remove the
screws, then the
traps to release
the gutter.
Adjust the bars
into the gutters.
1
DAEWOO - FORD Es ort van & Sierra
- OPEL - RENAULT
FORD Fiesta
MAZDA 121
MITSUBISHI
x
4
x
4 x 8 x
4
x 4 x 4 x 4
CLIC !
CLIC !
DAEWOO
Nexia 3, 4, 5 (9) 95➔75 A
FORD
Escort
livraison / van
3 (9) 91➔75 A
Fiesta 3 89➔01 75 A
Fiesta 4 00➔01 75 A
Fiesta 5 89➔04/02 75 A
Sierra 4 87➔99 75 A
MAZDA
121 3, 5 1996➔75 A
MITSUBISHI
Carisma 4, 5 (9) 96➔75 A
Galant 4 (9) 88➔92 75 A
Galant liftback 5 (9) 93➔97 75 A
OPEL /VAUXHALL /CHEVROLET
Astra 3, 4, 5 (9) 92➔97 75 A
Astra II 3, 4/5 (9)98➔02/04 75 A
Calibra 3 (9) 90➔98 75 A
Corsa 3, 5 (9) 93➔99 75 A
Corsa III 3, 5 (9) 00➔09/06 75 A
Kadett 3, 5 (9) 84➔91 75 A
Tigra 3 (9) 94➔75 A
Zafira 5 (2)(9) 99➔08/05 75 B
RENAULT
Mégane break 5 (9) 99➔09/03 75 A
KGKG KG
SUITAB E FOR A VEHIC E

DEUTSCH NEDERLANDS POLSKI FRANÇAIS ESPAÑOL ITALIANOENGLISH PORTUGUES
prawdê
czy gumowa
listwa J ustaw-
iona jest
owiewkà w
kierunku jazdy .
Controleer
de richting van de
aërodynamische
spoiler van de
biezen J.
Ausrichtung
des aerodynami-
schen Deflektors
der Rohre J prü-
fen.
Vérifier lʼo-
rientation du
déflecteur aérody-
namique des
joncs J.
Verificar la
orientación del
deflector aerodi-
námico de los
anillos J.
Verificare
l'orientamento
del deflettore
aerodinamico dei
cerchi J.
Check the
orientation of the
aerodynamic
deflector of the
snap rings J.
Verificar a
orientação do
deflector aerodi-
nâmico das jun-
tas de retenção
J.
22 2 2 2 2 2 2
J
2
V2
P
CP
3
DociÊnij ∏apki
P do dachu.
Jednà r´kà trzymaj
kontr∏apki CP w
bolcach, drugà
r´kà za pomocà
klucza dokr´ç
Êruby V2 (5 Nm).
Przywróç pier-
wotne po∏o˝enie
uszczelek .
Plaats met één
hand de haakjes CP
tegen het plafond,
draai met de andere
hand
de schroeven V2 ste-
vig aan (5 N.m) met
behulp van het gereed-
schap, om en om
aan de linker- en rech-
terkant van het voer-
tuig.
Klemmen P gegen
das Dach drücken.
Mit einer Hand die
egenklemmen CP um
die Kontakte halten,
mit der anderen Hand
Schrauben V2 mit Hilfe
des Werkszeugs fest
anziehen (5 N.m).
Dichtungen des
Fahrzeugs wieder
anklipsen.
Plaquer les
pattes P contre le
pavillon.
Maintenir dʼune
main les contre-
pattes CP autour
des plots, serrer
fortement de lʼaut-
re main les vis V2
(5 N.m) à lʼaide de
lʼoutil.
Reclipser les joints
du véhicule.
Colocar las patas
P contra el techo.
Mantener con una
mano las contrapatas
CP alrededor de los
plots, apretar fuerte-
mente con la otra
mano los tornillos V2
(5 N.m) con la ayuda
de la herramienta.
Reenclipsar las juntas
del vehículo.
Immobilizzare le
patte P contro il padiglio-
ne. Mantenere con una
mano le contro patte CP
intorno ai punti di fissa-
zione e stringere con l'al-
tra mano le viti V2 forte-
mente (a 5 N.m) per
mezzo dell'apposito
attrezzo in dotazione.
Richiudere i clip dei giunti
del veicolo.
Put the tabs P
against the roof.
Hold the counter-tabs
CParound the
anchors with one
hand, tighten strongly
the screws V2 (5
N.m) with the other
hand and using the
tool.
Reclip the joints of
the vehicle.
Segurar as patil-
has P contra o tejadil-
ho. Manter as contra-
patilhas CP com uma
das mãos em volta
dos cravos. Apertar
fortemente com a
outra mão os parafu-
sos V2 (5 N.m) com o
auxílio da ferramenta.
Repor as juntas do
veículo.
33 3 3 3 3 3 3
Zamontuj os∏ony
zabezpieczajàce
przed kradzie˝à i
zamknij za pomocà
kluczy.
Zet de kappen
met slot weer op
hun plaats en ver-
grendel ze met
behulp van de
sleutels.
Diebstahlsichere
Kappen wieder
anordnen und mit
Hilfe der
Schlüssel festzie-
hen.
Remettre en
place les capots
antivol et les ver-
rouiller à lʼaide
des clefs.
Reenclipsar las
tapas interiores.
Volver a colocar en
su sitio las tapas anti-
hurto y bloquearlas
con la ayuda de las
llaves.
Richiudere i clip
dei cofani interni.
Rimettere a posto i
cofani antifurto e
bloccarli per mezzo
delle apposite chiavi.
7
Put the theft
protection covers
and lock with the
keys.
Reencaixar as
protecções interiores.
Repor as protecções
antifurto no lugar e
travá-las com o auxí-
lio das chaves.
7 7 7 7 7 7 7 7
Zamocowanie
akcesoriów na
belce: Odepnij kapsel.
Odetnij cz´Êç Êrodkowà
gumowej listwy.
Zamocuj akcesoria na
belce , zaciÊnij kapsle.
Bevestiging van de
accessoires in de rail:
Klik een dop los.
Verwijder het middenge-
deelte van de
bies.Bevestig het acces-
soire in de rail, klik de
doppen weer vast.
Befestigung von
Zubehör in der Schiene:
ein Endstück abklip-
sen.Mittelteil des Rohrs
entfernen.
Zubehör in der Schiene
befestigen, Endstücke
wieder anklipsen.
Fixation dʼac-
cessoires dans le
rail :
Déclipser un
embout, enlever la
partie centrale du
jonc, fixer lʼacces-
soire, reclipser
lʼembout.
Fijación de acce-
sorios en el riel :
Desenclipsar un extre-
mo.
Retirar la parte central
del anillo.
Fijar el accesorio en el
riel, reenclipsar los
extremos.
Fissazione di
accessori sul binario :
aprire i clip di uno dei
puntali.
Togliere la parte centra-
le del cerchio.
Fissare l'accessorio sul
binario e richiudere i
clip del puntale.
8
Fixation
accessories in the
rail: Unclip an end.
Remove the central
part of snap ring .
Fasten the accesso-
ry in the rail, reclip
the ends.
Fixação de aces-
sórios no trilho :
Desencaixar uma das
capas.
Retirar a parte central
da junta de retenção.
Fixar o acessório no
trilho, reencaixar as
capas.
8 8 8 8
Przeczytaj i
przestrzegaj
instrukcji monta˝u i
u˝ytkowania.
Zachowaj klucze,
opakowanie i
instrukcj´ monta˝u
do ponownego
u˝ytkowania.
Lees de mon-
tage- en gebruiksin-
structies goed door
en neem deze in
acht.
Bewaar het gereed-
schap, de sleutels,
de verpakking en de
montagehandleiding
voor
later gebruik.
Montage- und
ebrauchsanweisu
ngen lesen und
beach-
ten.Werkzeug,
Schlüssel,
Verpackung,
Montageanweisun
g für zukünftige
Verwendungen
aufbewahren.
Lire et
respecter les
instructions de
montage et dʼu-
tilisation
Conserver outil,
clefs, embal-
lage, notice de
montage pour
les utilisations
futures.
Leer y res-
petar las instruc-
ciones de monta-
je y de utilización
Conservar la
herramienta, las
llaves, el emba-
laje y el manual
de montaje para
las utilizaciones
futuras.
Leggere e
rispettare le istru-
zioni di montaggio
e d'utilizzazione.
Conservare per
un utilizzo futuro
l'attrezzo e le
chiavi in dotazio-
ne, nonché l'im-
ballaggio e le
istruzioni di mon-
taggio.
9
Read and
follow instruc-
tions for mount-
ing and use.
Keep tools,
keys, packag-
ing, mounting
instructions for
future uses.
Ler e cum-
prir as instruções
de montagem e
utilização
Conservar a
ferramenta, as
chaves, a emba-
lagem e as ins-
truções de mon-
tagem para utili-
zações futuras.
9 9 9 9 9 9 9 9
6
prawdziç
prawid∏owe ustaw-
ienie i zamocow-
anie belek(w razie
nieprawid∏owoÊci,
nale˝y ponownie
wykonaç monta˝
belek).
Controleer of
de stangen goed
op hun plaats en
stevig vast zitten
(voer bij
problemen de mon-
tage van de stan-
gen opnieuw uit).
Die richtige
Anordnung und
Festigkeit der
Stangen prüfen
(bestehen
Probleme,
Stangen neu
montieren).
Vérifier le bon
positionnement et
la bonne tenue
des barres
(en cas de pro-
blème, recom-
mencer le mon-
tage des barres).
Verificar el
correcto posiciona-
miento y la correcta
sujeción de las barras
(en caso de proble-
mas, reintentar el
montaje de las
barras).
Verificare il
buon posiziona-
mento e la buona
tenuta delle barre
(in caso di proble-
mi, ricominciare il
montaggio delle
barre).
Check the cor-
rect position and
the appropriate
fastening of the
bars (in the event
of problem, redo
the mounting of
the bars).
Verificar o bom
posicionamento e
a boa fixação das
barras (em caso
de problema, reco-
meçar a monta-
gem das barras).
66 6 6 6 6 6 6
5
Odetnij
uszczelk´ O i
wciÊnij w otwory
znajdujàce si´ pod
belkami.
Maak de
afsluiter los en
klik deze vast in
de gaten onder
de stangen.
Verschluss O
abschneiden und
in die unter den
Stangen befindli-
che Schlitze klip-
sen.
Couper lʼobtu-
rateur O et clipser
le dans les lumiè-
res situées sous
les barres.
Cortar el obtu-
rador O y enclip-
sarlo en las luces
situadas debajo de
las barras.
Tagliare l'ottu-
ratore O e fissarlo
con i clip nelle luci
situate al di sotto
delle barre.
Cut the obtu-
rator O and clip it
on in the apertures
located under the
bars.
Cortar o obtu-
rador O e encaixá-
lo nas luzes situa-
das sob as barras.
55 5 55 5 5 5
Wystawanie
belek z
prawej/lewej
strony musi byç
identyczne
Dokr´ç Êruby V1
(8 Nm) za
pomocà klucza.
Zorg dat de
stangen links en
rechts evenveel uit-
steken.
Draai de schroeven
V1 stevig aan
(8 N.m) met behulp
van het gereed-
schap. Zet de bie-
zen terug op hun
plaats en klik de
doppen weer vast.
Rechten/linken
Überstand der
Stangen ausglei-
chen.
Schrauben V1 mit
dem Werkzeug
fest anziehen
(8 N.m).
Rohre wieder ein-
setzen und
Endstücke wieder
anklipsen.
Equilibrer le
débordement
droite/gauche des
barres.
Serrer fortement
les vis V1 (8 N.m)
à lʼaide de lʼoutil.
Equilibrar el
desborde derecho
/izquierdo de las
barras.
Apretar fuerte-
mente los tornillos
V1 (8 N.m) con la
ayuda de la
herramienta.
Equilibrare la
fuoriuscita delle
barre dal lato
destro e dal lato
sinistro. Stringere
fortemente le viti
V1 (a 8 N.m) per
mezzo dell'apposi-
to attrezzo.
Balance the
jutting out of the
bars from the
right/left side of
the vehicle.
Strongly tighten
the screws V1
(8 N.m) using
the tool.
Equilibrar as
transposições
direita / esquerda
das barras.
Apertar fortemente
os parafusos V1
(8 N.m) com o
auxílio da ferra-
menta.
44 4 4 4 4 4 4
4
8 8 8 8
Other AutoMaxi Automobile Accessories manuals
AutoMaxi
AutoMaxi SUPRA 44 User manual
AutoMaxi
AutoMaxi AXIS XXL User manual
AutoMaxi
AutoMaxi SILVER Line KIT FIX 118 User manual
AutoMaxi
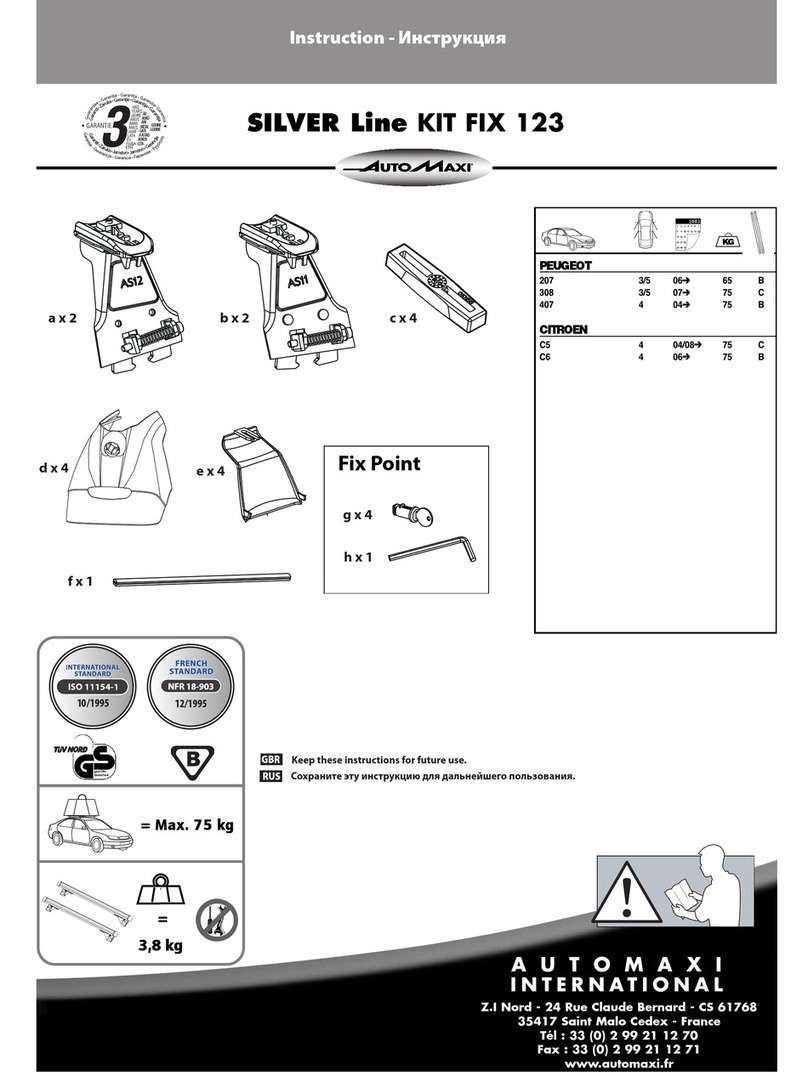
AutoMaxi SILVER Line KIT FIX 123 User manual
AutoMaxi
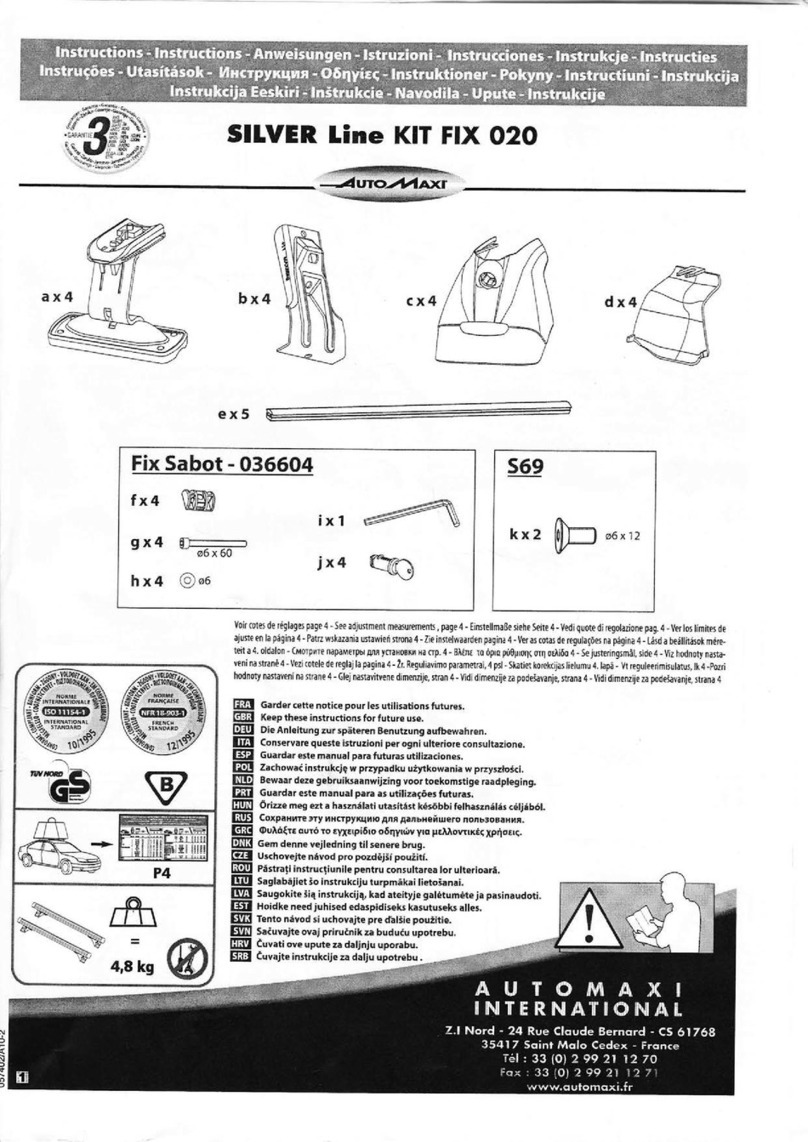
AutoMaxi SILVER Line KIT FIX 020 User manual
AutoMaxi
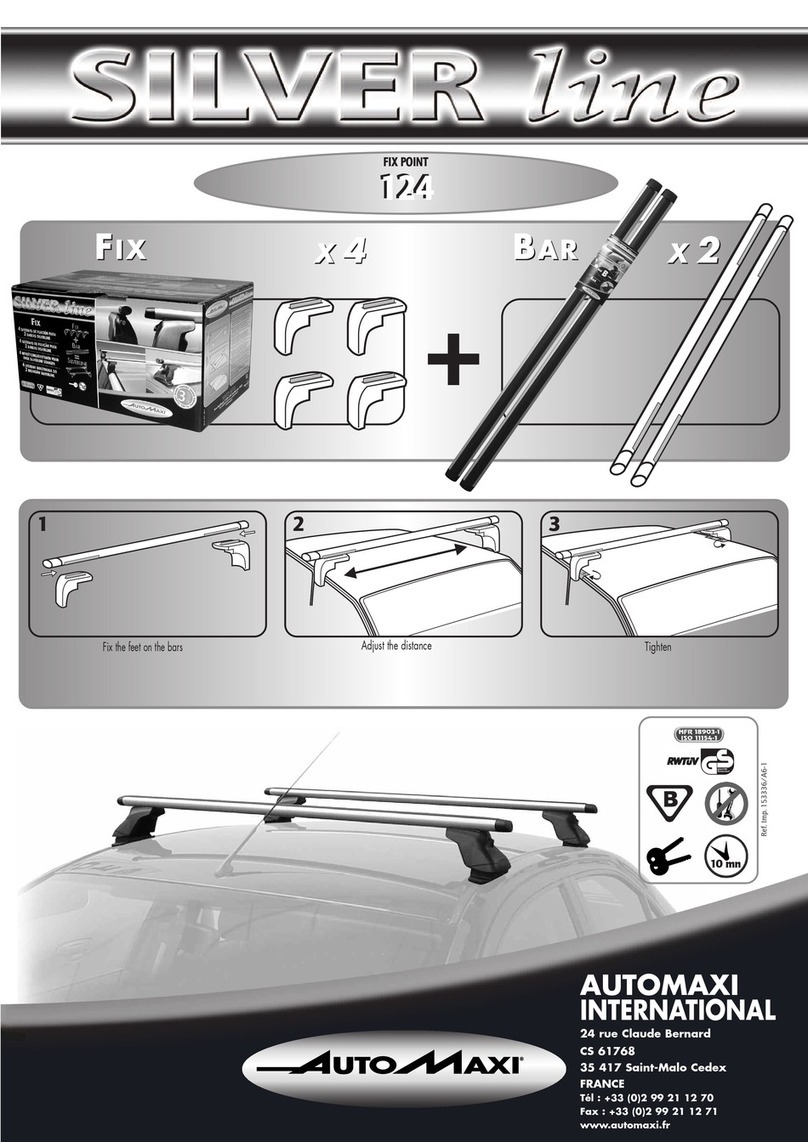
AutoMaxi SILVER line FIX POINT 124 User manual
AutoMaxi
AutoMaxi Super Rider User manual
AutoMaxi
AutoMaxi PRO Deck 509 User manual
AutoMaxi
AutoMaxi SKI PRO User manual
