manuals.online logo
Brands
  1. Home
  2. •
  3. Brands
  4. •
  5. AVLink
  6. •
  7. Media Converter
  8. •
  9. AVLink MaitreView 4KPro User manual

AVLink MaitreView 4KPro User manual

MaitreView™ 4KPro
User Manual
UM-MaitreView™ 4KPro-v15
MaitreView™ 4KPro User Manual 2
Before You Begin
▪Follow all instructions during use.
▪Provide proper ventilation and air circulation and do not use near water.
▪It is better to keep it in a dry environment.
▪Place the device on a stable surface (for example cart, stand, table, etc.).
▪The device should be installed indoors only. Install either on a sturdy rack or desk in a well-ventilated place.
▪Make sure the rack is level and stable before extending a device from the rack if necessary.
▪Make sure all equipment is installed on the rack including power strips and other electrical connectors are
properly grounded.
▪Only use the power cord supported with the device.
▪Do not use liquid or aerosol cleaners to clean the device.
▪Always unplug the power to the device before cleaning.
▪Unplug the power cord during lightning or after a prolonged period of non-use to avoid damage to the
equipment.
▪Do not stand on any device while installing the device to the rack.
▪Do not attempt to maintain the device yourself, for any faults, please contact your vendor.
▪Save this manual properly for future reference.
Copyright and Trademark
All rights reserved by AV LINK GROUP LTD. No part of this document may be reproduced in any form or by any
means without written permission from the product manufacturer. Changes are periodically made to the
information in this document. They will be incorporated in subsequent editions. The product manufacturer may
make improvements and /or changes in the product described in this document at any time.
All the registered trademarks referred to in this manual are belonging to their respective companies.
Contact Information
AV LINK GROUP LTD.
Headquarters: 13F.-1, No. 2, Jian 8th Rd., Zhonghe Dist., New Taipei City 235, Taiwan (R.O.C.)
TEL: 886-2-8226-2268
FAX: 886-2-8226-2269
E-mail: sales@cctch.com.tw
Website: https://avlinksystem.com
For Warranty:
Please follow the warranty policy according to AV LINK’s local offical distributor; during the warranty
period, it is recommended to keep your proof of purchase, accessories, and packaging in place.
MaitreView™ 4KPro User Manual 3
Table of Contents
1OVERVIEW 4
1.1 PACKING 5
1.2 APPLICATIONS 6
1.3 FEATURES 6
1.4 INTRODUCING MAITREVIEW™ 4KPRO 7
2 SPECIFICATIONS 11
3 CONNECTIONS 13
3.1 INPUT CARD CONNECTION 14
3.2 OUTPUT CARD CONNECTION 15
3.3 CONTROLLER CONNECTION 16
3.4 POWER CONNECTION 17
4WINDOWS APP 18
4.1 MAIN PAGE FOR WINDOWS APP 19
4.2 LINK OR UNLINK SWITCH 20
4.3 OUTPUT CONFIGURATIONS 22
4.4 MENU 27
4.5 OTHER 48
5ANDROID APP 57
5.1 DEVICE LIST 57
5.2 MAIN PAGE FOR ANDROID APP 58
5.3 MONITOR PAGE 59
5.4 PREFERENCE PAGE 73
6TROUBLESHOOTING 78
MaitreView™ 4KPro User Manual 4
Congratulations on your purchase of MaitreView™ 4KPro, your MaitreView™ 4KPro is a 4K/60Hz multi-window
processor/ Video processor. It allows you to connect up to FOUR 4K/UHD multi-video sources plus ONE 1080P
Photo Viewer, it can simultaneously output on TWO 4K/UHD displays.
MaitreView™ 4KPro is designed for ease of use, there will be no more complex controlling setups. You can simply
drag & drop to deploy layout anytime and anyway. You will never be bridled by templated or fixed layouts.
MaitreView™ 4KPro can effectively display all information on all monitors with drag and drop, which enhances
effective and correct decision-making.
You can install the Windows & Android APP with a user-friendly interface for remote control, and also can operate
through front panel buttons.
This manual will help you create and configure your layouts, playlists, and other features effectively and efficiently.
MaitreView™ 4KPro User Manual 5
The device packing includes the following:
MaitreView™ 4KPro x 1
12V/5A Power adaptor x 1
Rack-Mounting Ear Set (part No.: 3ME-FI-03057, 3ME-FI-03058)
Earset screw pack (part No.: 3ME-SC-00203)
Quick Start Guide x 1
MaitreView™ 4KPro User Manual 6
MaitreView™ 4KPro is a powerful device that can be used in:
1 Corporate
2 Higher education
3 Design house
4 Government
5 Healthcare
6 Fashion
or any application which requires seamless switching and powerful video processing.
⚫4 - HDMI 2.0 inputs and 2 - HDMI 2.0 outputs.
⚫All inputs and outputs support up to uncompressed 4K/60Hz, 4:4:4 resolutions (18Gbps bandwidth).
⚫Real seamless switching.
⚫Real-time drag & drop to organized layouts into the preferred output and it only played on specific
output.
⚫Independent layouts processing on each output.
⚫5 split layers/ regions (4K) on each output.
⚫Powerful video processing algorithm driving on FPGA.
⚫OSD - On Screen Display to identify input sources on the output display.
⚫Adjustable borders on each region/ layer.
⚫The device can control by push buttons on the front panel and also remotely by Windows APP and
Android APP.
MaitreView™ 4KPro User Manual 7
Before starting to use the MaitreView™ 4KPro, it is recommended to read through this manual to get familiar with
the features and functions of this powerful multi-video processor.
1.4.1 FRONT PANEL
The front panel is the easiest way to operate the device, this section will explain how to use each of the buttons,
and also the meaning of the LED status on each input and output channel.
A POWER
The LED indicator is green when the unit is powered and fully booted.
Turn on the device: short press once on the POWER button
1. The POWER button LED shows blue on stand-by mode
2. To switch on the MaitreView™ 4KPro device, press the POWER button once, the LED will start to blink in
green for around 30 seconds
3. After the POWER button stopped blinking, and the LED is green , the device is ready to use
Turn off the device: long press POWER button for around 3 seconds
1. The POWER button LED shows green on the operation mode
2. To switch off the MaitreView™ 4KPro device, long-press the POWER button around 3 seconds, the green
LED will turn blue and it will start to blink for around 20 seconds
3. After the POWER button stopped blinking, all LEDs will be dim, except Power LED will stay in
blue
B VIDEO MUTE
Press to enable or mute video. Blue = Enable video; Green= Disable video / video mute.
When the VIDEO MUTE is blue , video is enabled. When you press the video mute once the LED will
turn green , then the video is mute, the display shows blank. To enable video, you can press one
more time, then the video will re-appear on display
MaitreView™ 4KPro User Manual 8
C AUDIO MUTE
Press to enable or mute audio. Blue = Disable audio mute ; Green = Audio mute
When the AUDIO MUTE is blue , audio is enabled, When you press the audio mute once the
LED will turn green , then audio is mute. To enable audio, you can press one more time
D PREV
Press to apply the previous layout
PREV button is used to apply the previous layouts in the device, you can press PREV button once
to view the previous layout one by one, the previous layout will show on both outputs.
E NEXT
Press to apply the next layout
The NEXT button is used to apply the next layouts in the device, the NEXT button can be pressed
once to view the next layout one by one, the next layout will show on both outputs
F OSD
Press to show output resolution and Frame Per Second (FPS). Blue = Disable OSD ; Green = Show OSD.
When OSD is green, the output resolution and FPS will appear on display, for example, HDMI1
1920 x 1080, 60FPS. When not required to show OSD, the user needs to turn it off
G INPUT
The LED indicator shows status for each input channel. Green= Normal; Blue= No connection;
Red= Alarm/Fault
H OUTPUT
The LED indicator shows status for each output channel. Green= Normal; Blue= No connection;
Red= Alarm/Fault
MaitreView™ 4KPro User Manual 9
1.4.2 BACK PANEL
The back panel is used for connecting the device to each input source and output display on the input and
output card, also USB Type C, USB 2.0, MICRO SD CARD, and the LAN port on the controller card.
I POWER and ALARM (LED)
The green LED indicates that the INPUT CARD functions correctly, whereas the red LED indicates the
INPUT CARD is faulty
J HDMI IN
HDMI input port. Associate to input channels 1 to 4, respectively
K DC 12V
Power port for DC 12V Power adaptor (included)
L POWER and ALARM (LED)
The green LED indicates that the OUTPUT CARD functions correctly, whereas the red LED indicates that
the OUTPUT CARD is faulty
M HDMI and AUDIO OUT
HDMI output with 3.5mm Jack audio output port beside. Associate to output channels 1 and 2, respectively
N USB TYPE C
For debugging purposes only
O USB 2.0 (Storage)
For Photo Viewer only
P MICRO SD CARD
For Photo Viewer only
Q LAN
For Ethernet connection. (For MaitreView™ 4KPro Windows APP or Android APP)
MaitreView™ 4KPro User Manual 10
1.4.3 LED INDICATORS
The following describes LED indicators and their status:
Dim: No power or power failure
Blue: Idle, not in use (no connection), nothing connected to the port
Green: Working, correct connection, under normal operation mode
Red: Error, faulty connection, or error occurred.
1.4.4 RACK MOUNT/EARSET INSTALLATION
MaitreView™ 4KPro device can be installed with a rack-mount (earset) or without a rack mount (earset), al the
mounting kit is included in the pack, when you need to mount on the mounting rack, please check for the right
and left earset first. There will be 6 screws included in the pack, user can fasten the screws on the earset onto
the holes designed on both sides of the MaitreView™ 4KPro device, the suggested installation illustration to
connect MaitreView™ 4KPro onto the rack is below.
MaitreView™ 4KPro User Manual 11
Control Ports
Network Interface
RJ45 Connector
Speed
10/100/1000Mbps
Audio Output
Connector
3.5mm phone jack
Format
Analog output
Supported sampling rate
48kHz
Sample size
24 bits
Supported channels
1 Stereo pair
Video Processing
Technology
MaitreView™
Performance
Inputs & Outputs up to 4K/60Hz
Max. number of the split layer
5 split layers on each output port
Region
1 per layer, total 5 layers per output
Seamless Switch
Available when changing sources or layout
Borders
Configurable color & thickness
OSD
Available on all regions with user-defined names
Presets
Number of presets available
10
Video Inputs
Input connectors
4 x HDMI - HDMI 1.4&2.0, HDCP 1.4 & 2.2 compatibility
Resolution support
4096x2160p 30,50,60Hz
3840x2160p 30,50,60Hz
1920x1080p 60Hz
1280x720p 60Hz
Color format support
RGB, YCbCr 4:4:4, 4:2:2 & 4:2:0
Color depth
8 bits
Color space support
BT.2020 /709 /601
Video Output
Output connectors
2 x HDMI - HDMI 1.4&2.0, HDCP 1.4 & 2.2 compatibility
Resolution support
4096x2160p 30,50,60Hz
3840x2160p 30,50,60Hz
2560x1080p 50 , 60Hz
1920x1080p 50 , 60Hz
Color format support
RGB, YCbCr 4:4:4, 4:2:2 & 4:2:0
Color depth
8 bits
Color space support
BT.2020 /709 /601
MaitreView™ 4KPro User Manual 12
Configuration & Control
Application
MaitreView™ 4KPro Windows APP
Platform
PC with Windows 10 & Windows 7 minimum with .NET
Framework 4.5
Configuration & Control
Application
MaitreView™ 4KPro Android APP
Platform
Android 7.1.1
Photo Viewer /Images
Interfaces 1
USB 2.0
Interfaces 2
SDIO 3.0
Formats
BMP, JPG, JPEG, PNG
Size
Maximum 3840x2160/500MB
USB port
A type Receptacle
USB 2.0
SD Card slot
SDXC
SDIO 3.0
Capacity
~ 2TB
Format
FAT32, ext4, exFat
Mechanical
Size (H x W x D)
76.2mm x 388 mm (with mounting ears 487mm)x 349mm
Weight
4885g (with mounting kit 5080g)
Housing
SGCC(Galvanized steel plate)+AL(aluminum)
Environmental
Operating Temperature
0ºto +40ºC (+32ºto +104ºF)
Storage Temperature
-10ºto +70ºC (+14ºto +158ºF)
Power Supply
External
IN:100V-240VAC OUT: DC 12V/5A
Connector
Locking
Power cable
US
Power consumption
54W
Accessories included
Quick Start Guide
x 1
Rack-Mounting Ear Set
x 1
MaitreView™ 4KPro unit
x 1
Power Adapter
IN:100V-240VAC OUT: DC 12V/5A LOCK DC JACK
MaitreView™ 4KPro User Manual 13
AV LINK’s Multi-Window Video Processor MaitreView™ 4KPro allows users to display up to FOUR 4K/UHD multi-
video sources simultaneously on TWO 4K/UHD displays.
According to the illustration below, when any of the 4 input sources from A to D are connected to HDMI IN ports, the
signal will output through HDMI OUT to Output 1, and Output 2. The Photo Viewer can be connected through the USB
2.0 or SD card where the selected photo can be displayed on the output.
MaitreView™ 4KPro can be operated by using front panel buttons or remotely by Windows APP or Android App through
an Ethernet connection.
Output 2
Output 1
MaitreView™ 4KPro User Manual 14
INPUT CARD situated at the top section of the back panel, you may connect any of your 4K input sources on the
HDMI IN ports, when HDMI IN ports plugin correctly, the POWER LED will be in green. If the connection is faulty,
then the ALARM LED will be in red, if this happens please check the input ports for faults.
LED
indicators
MaitreView™ 4KPro User Manual 15
OUTPUT CARD situated at the bottom-left section of the back panel, you may connect any of the output displays onto
OUTPUT CARD, when the HDMI OUT1 / AUDIO OUT1 port and HDMI OUT2 / AUDIO OUT2 are plugged in
respectively. If successfully connected, the power LED will be green, if the connection is faulty, then the Alarm LED will
be in red, if this happens please check the output ports for fault.
LED
indicators
MaitreView™ 4KPro User Manual 16
3.3.1 USB TYPE C PORT
The USB TYPE C port only serves for engineering reasons. It does not support any other purpose, please do
not use it arbitrarily.
3.3.2 USB 2.0 & MICRO SD CARD PORTS
The USB 2.0 port / MICRO SD CARD ports on the CONTROLLER card are designed for Photo Viewer purposes
only, the user may plug in a USB storage device or microSD card in respective ports, and choose the photo that
you wish to view on the output display, the photo user chose will be displayed on the Photo Viewer, which is the
region source else than input channel 1~4.
3.3.3 LAN PORT
When the device is controlled by Windows APP or Android APP, please ensure the Ethernet cable is connected to
the LAN port and make sure the connection is established, and your PC or Android device is connected to the
MaitreView™ 4KPro device (through the same Ethernet network range).
MaitreView™ 4KPro User Manual 17
After connecting all ports, make sure the 12V DC power supply cord is plugged into the power jack on the back panel
and the screw is fastened securely, then plug in the power cord to the power supply. If the power supply is steady, the
POWER LED on the front panel will be blue.
When connections on the back panel are completed, the power button on the front panel is on stand-by mode with a
blue LED on. You can operate the device physically by using front panel buttons, or remotely through Windows
APP, or Android APP. For front panel operation please refer to section 1.4.1 on page 7 for more detail.
Power Supply
MaitreView™ 4KPro User Manual 18
The following section will explain how to operate by MaitreView™ 4KPro Windows APP.
To operate by Windows APP, you need to download MaitreView™ 4KPro Windows APP from the link below:
https://www.avlinksystem.com/product-detail/MaitreView™_4KPro/
Download the MaitreView™ 4KPro Windows APP and install it on your PC.
Following instructions in the installation process, the MaitreView™ 4KPro Windows APP will be installed on the PC.
After installation is completed,click on the desktop will launch the Windows APP, when the following window
appears on the PC monitor, congratulations you have successfully installed the MaitreView™ 4KPro Windows
APP!
⚫Setup network connection
To establish a connection between Windows APP and the device, please make sure that ports 2121, 4000, 6666,
and 7000 are available on your network, and/ or not blocked by the firewall. If you are not sure, please consult your
IT specialist before connecting the device to the network.
MaitreView™ 4KPro User Manual 19
The following shows the main page for the MaitreView™ 4KPro Windows APP:
The main page can be divided into several sections:
➢Menu: The file, layouts, playlist, and settings menu and its sub-menus can be found in this section.
➢Link or Unlink switch: This switch allows you to link the APP to the device or stay in unlink mode.
➢Device Control: These buttons can be used to control the device like the front panel buttons.
➢Tools: Use these buttons to help you to arrange output to suit your needs. For example, add region, move and
resize mode, change OSD text, switch source mode, bring to front (BTF).
➢Layout List: This section lists all layouts that are available to use.
➢Workspace: This is the area where outputs are displayed, you may configure layouts to suit your needs.
➢Audio: This section allows you to switch audio between input sources.
➢Details: You can find the content page in this section to configure output, for example, border color, OSD text,
text background, and text color, and switch input source…etc.
➢Current Playlist: You can view or configure the content of the playlist here, and you may drag and drop the
layout onto the playlist or delete/arrange the layout from the playlist.
Menu
LINK or Unlink switch
Tools
Device Control
Workspace
Audio
Current Playlist
Layout List Detail
s
MaitreView™ 4KPro User Manual 20
4.2.1 UNLINK
Unlink is a status where your MaitreView™ 4KPro device is stand-alone and a connection has not been
established with your MaitreView™ 4KPro Windows APP.
4.2.2 LINK
Link is a status where the MaitreView™ 4KPro Windows APP is connected to the MaitreView™ 4KPro device,
Before linking the MaitreView™ 4KPro Windows APP to the device, please ensure the Ethernet cable is
already plugged into the LAN port, and the network environment has been set up correctly.
How to Link the MaitreView™ 4KPro Windows APP to the device
To link MaitreView™ 4KPro Windows APP to the device, you can do the following:
1. Click on the Link or Unlink switch once, the Windows APP will automatically detect all
devices within the network range and the Device List will show up
2. On the Device List window, the device list will appear on left, click to select the device
3. You can check for its Name, IP, and MAC address on the right and choose the correct device
4. Once you find the device to link to on the Device List, you can click on connect to link to the
MaitreView™ 4KPro device to the Windows APP
After successfully linking to the device, the Link control box will turn from grey to green , and
the device name: MWV-H42 Pro (default name) will appear on the right of the Link or Unlink switch,
this name is editable.
Device list
Name, IP, MAC

Other AVLink Media Converter manuals

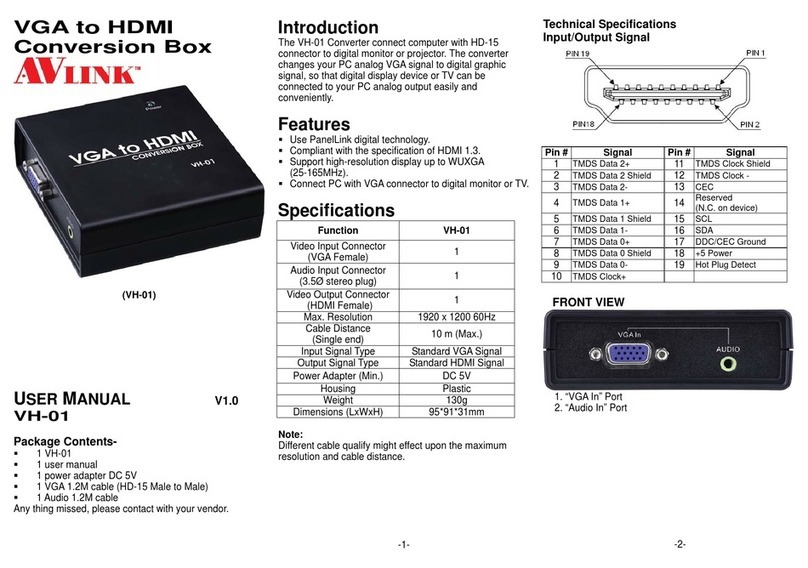
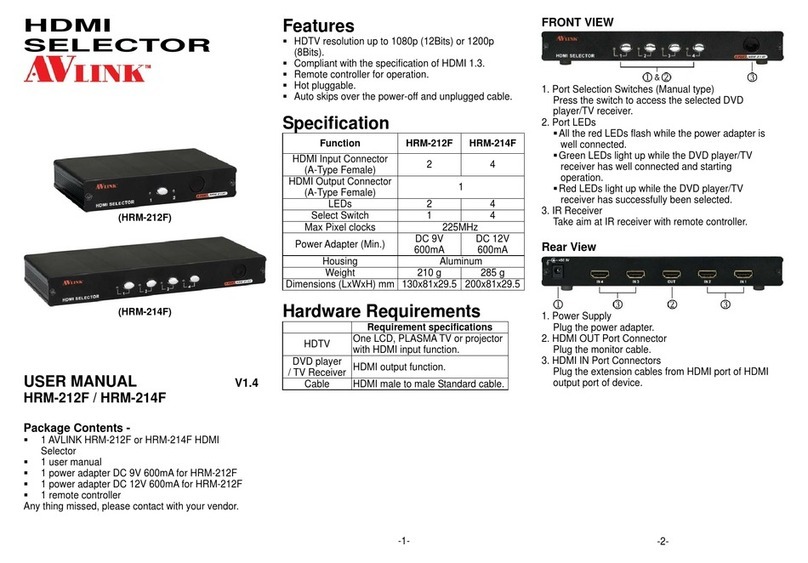
AVLink HRM-2212F User manual

AVLink

AVLink HRM-2212F User manual

AVLink HD-01W User manual

AVLink

AVLink HD-01W User manual

AVLink 128.827UK User manual

AVLink

AVLink 128.827UK User manual

AVLink 122.417UK User manual

AVLink

AVLink 122.417UK User manual

AVLink HRM-212F User manual

AVLink

AVLink HRM-212F User manual

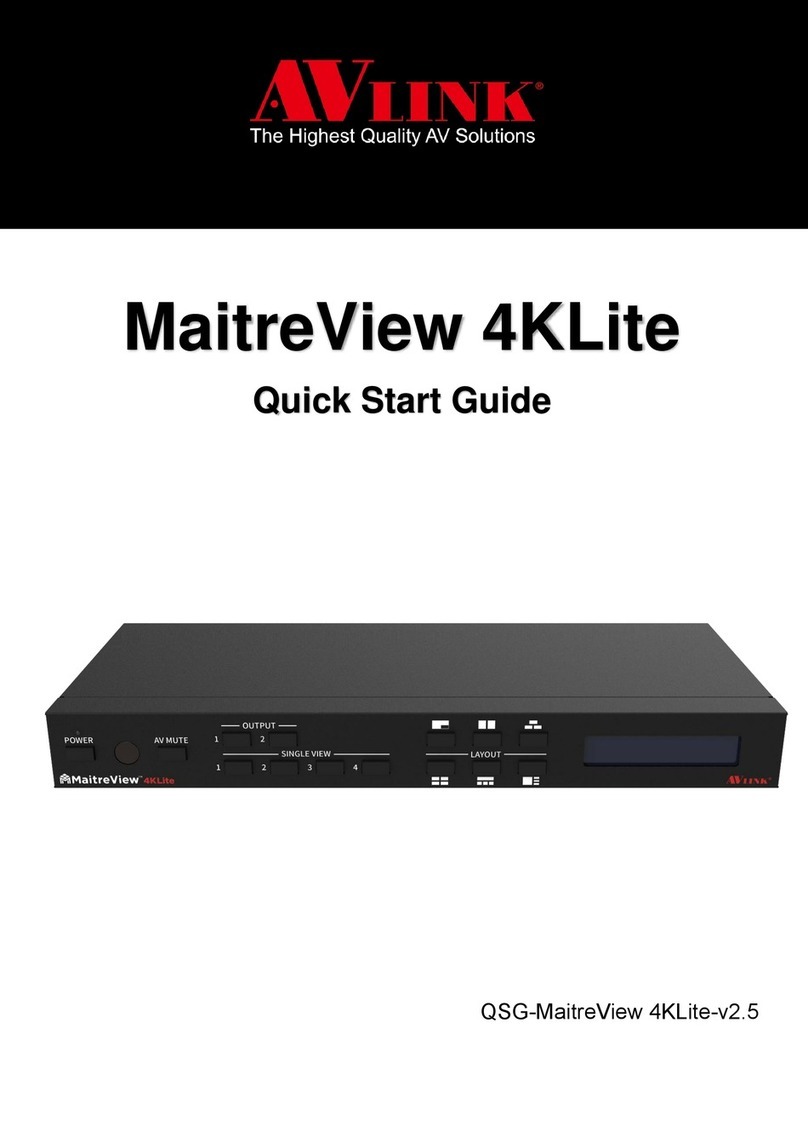
AVLink MaitreView 4KLite User manual

AVLink

AVLink MaitreView 4KLite User manual

AVLink Lightcasso LCS-D1 User manual

AVLink

AVLink Lightcasso LCS-D1 User manual
AVLink MaitreView 4KLite User manual

AVLink

AVLink MaitreView 4KLite User manual

AVLink VH-01 User manual

AVLink

AVLink VH-01 User manual
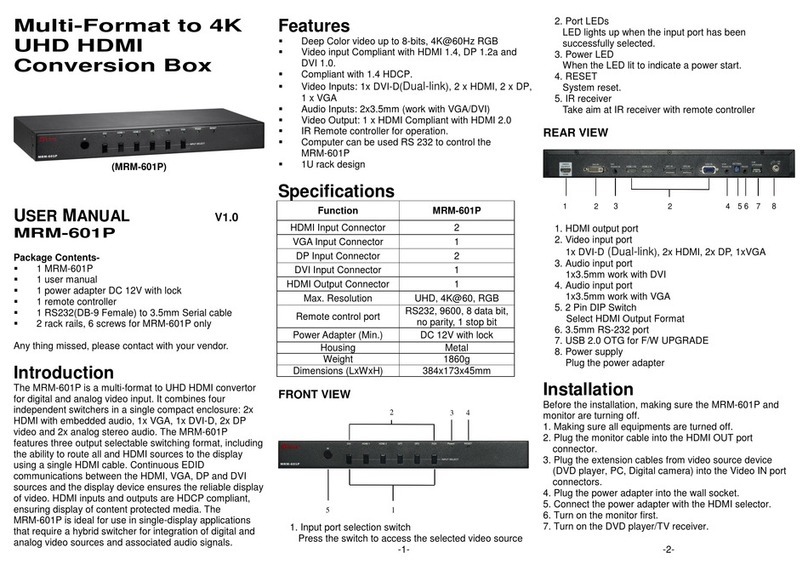
AVLink MRM-601P User manual

AVLink

AVLink MRM-601P User manual

AVLink 122.416UK User manual

AVLink

AVLink 122.416UK User manual

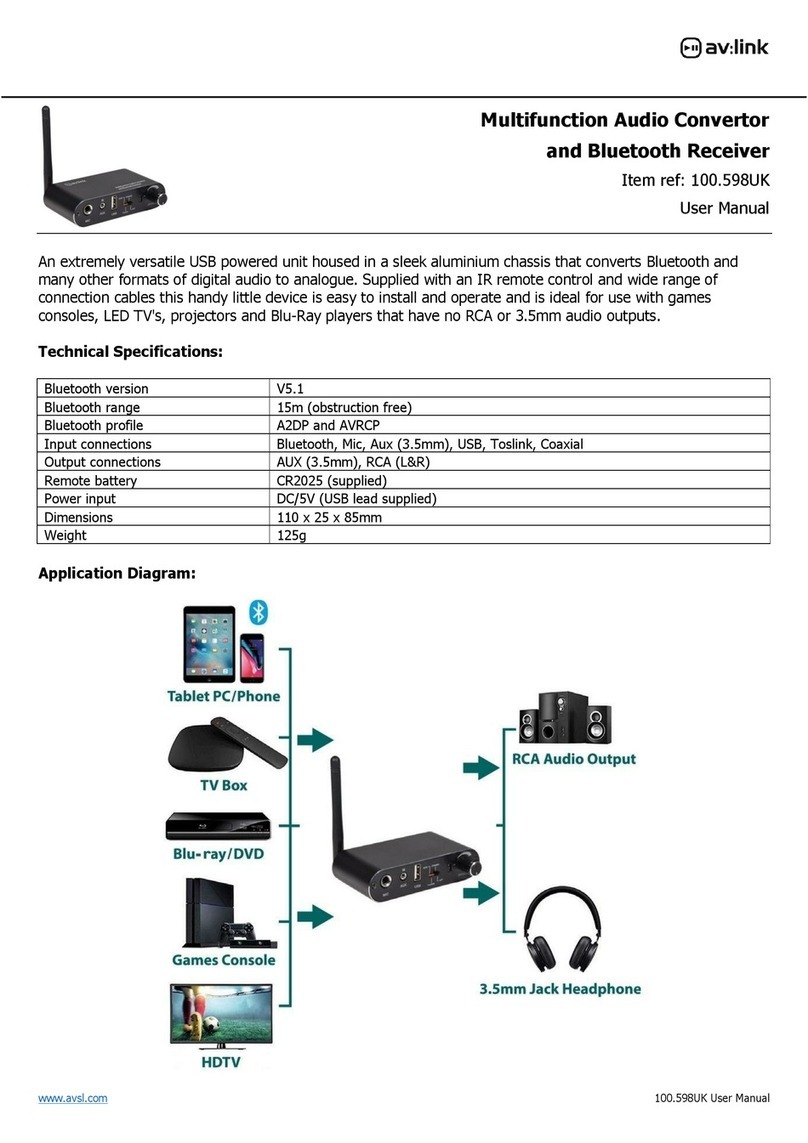
AVLink 100.598UK User manual

AVLink

AVLink 100.598UK User manual

AVLink ADD-01IW User manual

AVLink

AVLink ADD-01IW User manual

AVLink IAA-22 User manual

AVLink

AVLink IAA-22 User manual

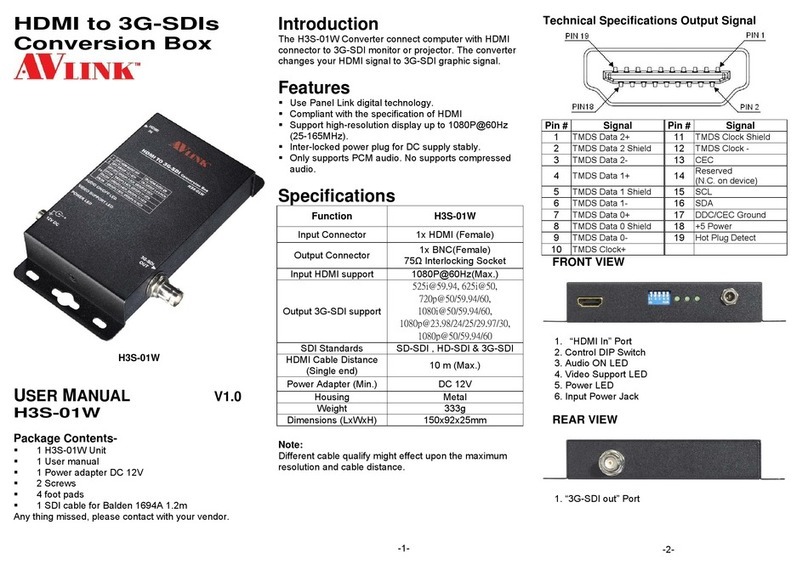
AVLink H3S-01W User manual

AVLink

AVLink H3S-01W User manual
Popular Media Converter manuals by other brands

PTC PT2262 manual

PTC

PTC PT2262 manual

Wisenet SPD-150 Quick manual

Wisenet

Wisenet SPD-150 Quick manual

Kübler 5853SIL operating manual

Kübler

Kübler 5853SIL operating manual

HP 10722A instruction manual

HP

HP 10722A instruction manual

Synectic SY057 user manual

Synectic

Synectic SY057 user manual

SPIDER 25-0334 user manual

SPIDER

SPIDER 25-0334 user manual

Hitachi HCUR700UC Service manual

Hitachi

Hitachi HCUR700UC Service manual

SEC America 680 CE owner's manual

SEC America

SEC America 680 CE owner's manual

SICK RFH630 technical information

SICK

SICK RFH630 technical information

Alesis IO|2 quick start guide

Alesis

Alesis IO|2 quick start guide

Baumer HOG 100 Mounting and operating instructions

Baumer

Baumer HOG 100 Mounting and operating instructions

Oehlbach PureClock User's manual & warranty information

Oehlbach

Oehlbach PureClock User's manual & warranty information

ADF Web HD67B84-A1 user manual

ADF Web

ADF Web HD67B84-A1 user manual

Puls QTD20.241 installation manual

Puls

Puls QTD20.241 installation manual

CTC Union DVS-8501D user guide

CTC Union

CTC Union DVS-8501D user guide

HEIDENHAIN Ron 705 Mounting instructions

HEIDENHAIN

HEIDENHAIN Ron 705 Mounting instructions

Kenwood SS-992 instruction manual

Kenwood

Kenwood SS-992 instruction manual

Bose SoundTouch Stereo JC series II quick start guide

Bose

Bose SoundTouch Stereo JC series II quick start guide

manuals.online logo
manuals.online logoBrands
  • About & Mission
  • Contact us
  • Privacy Policy
  • Terms and Conditions

Copyright 2025 Manuals.Online. All Rights Reserved.