AVstumpfl FHD Player User manual
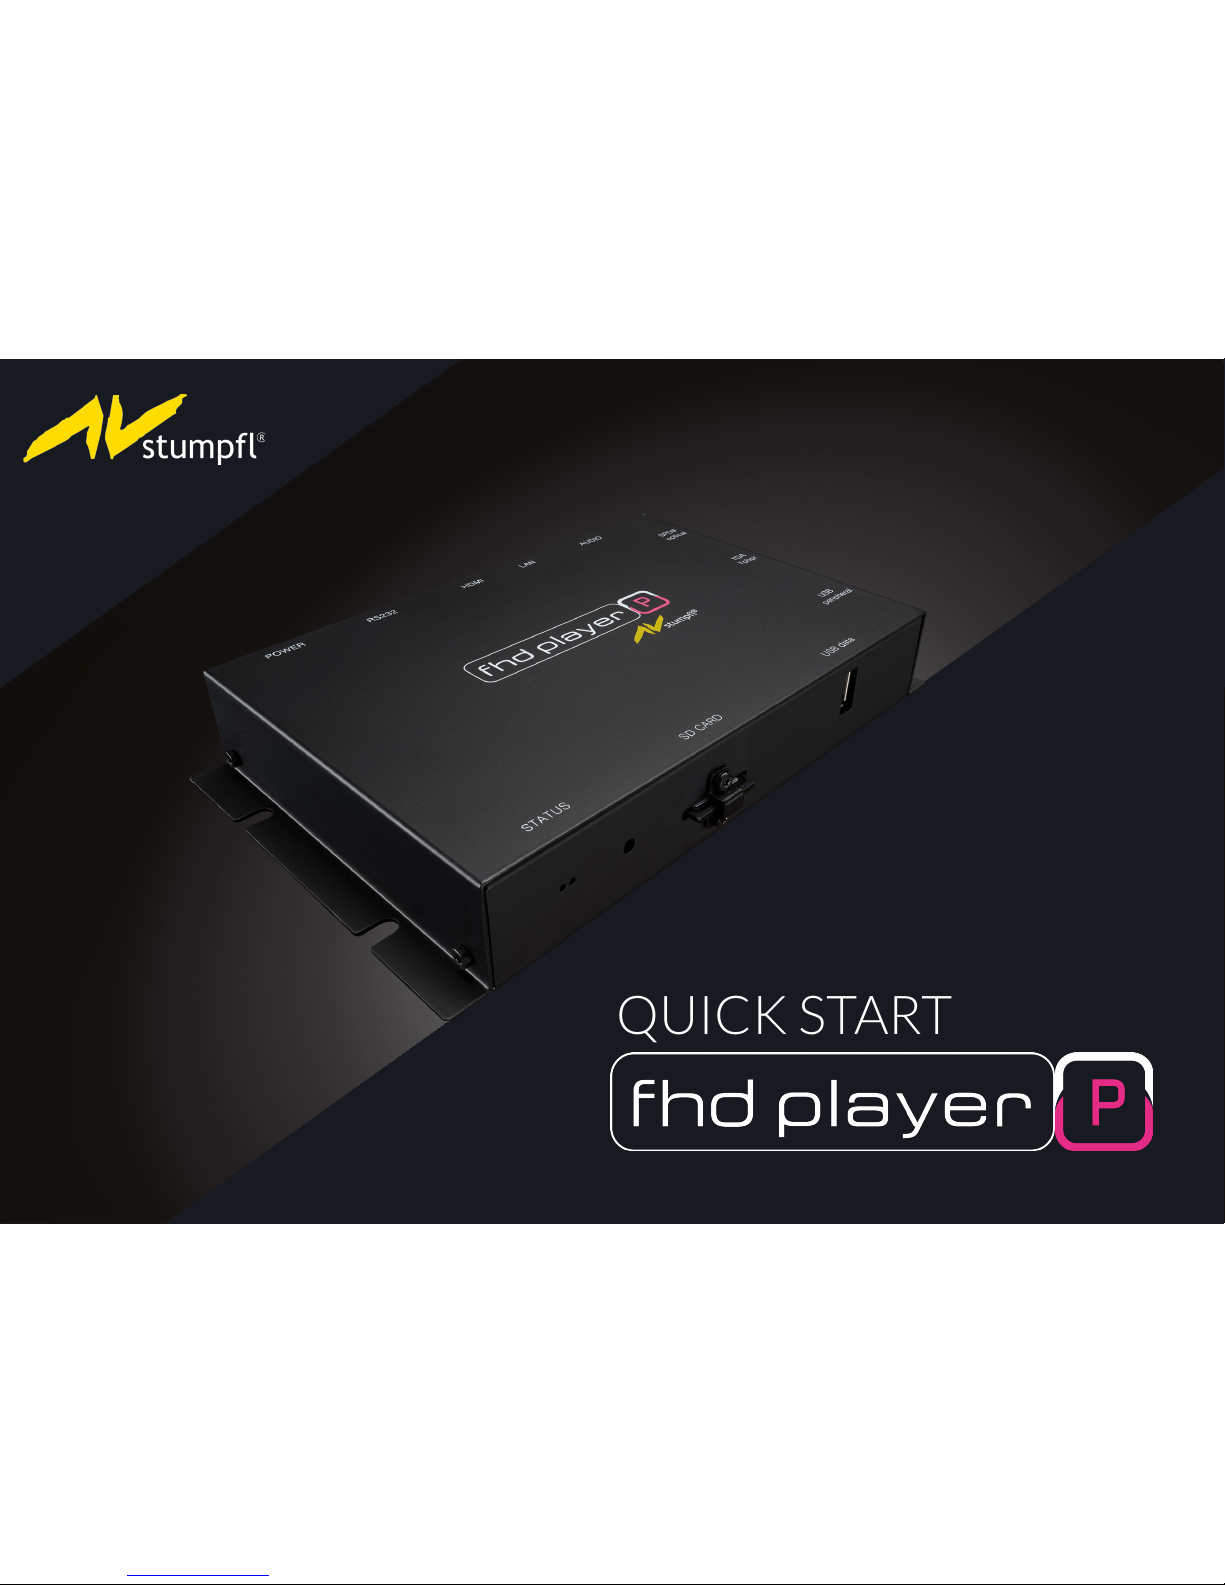
QUICK START GUIDE
Copyright © AV Stumpfl GmbH, recent amendment 17.05.2016, Version 1.1, Firmware 2.002.61

2
Quick Start Guide - Purpose and Target Group
This quick start guide oers instructions for a quick set-up of the FHD Player. It contains information for people with
a basic insight into Digital Signage solutions and network technology.
b Please read the entire quick start guide very carefully.
b Please read the User Manual for safe and proper usage.
Further information and the User Manual can be found at :
www.AVstump.com/FHDplayer

3
Inhalt
4 | Product Specication
4 | Technical data
5 | Scope of delivery
5 | Ambient conditions and safety information
5 | Files on SDHC card on delivery
6 | Ports and components
8 | Quick Start
8 | Initialization le
9 | Network connection
9 | Connection with the Web Interface
10 | Sync Mode
10 | Loop mode
11 | Selecting the output for a display
12 | RS232 control
13 | UDP Control
14 | 2-button GPIO mode

4
Product Specication
Part number: SCV-FHD
The FHD Player is a syncable media player for playback of all current video and audio formats. It supports full HD
resolution, seamless loop operation and network integration. Additionally, it also features various external control
options (e.g. with RS232/UDP) and data management with playlists.
Technical data
Video formats: MPEG4, JPEG, WMV, MOV, H264
Audio formats: WMA, MP3, OGG, AAC
Bit rate: max. 32 MBit/s
Frame rate: max. 30 fps
Resolution: max. 1920 x 1080 (full HD)
Storage media: SD card, USB stick, USB hard disk
SD card le system: NTFS, FAT32
Power supply: 8V to 14V DC wide range input, 12W with SD card, DC polarity
Dimensions:: 205 mm / 122 mm / 32 mm (L/W/H)
Weight: 680 g, metal case

5
Scope of delivery
9FHD Player
912V Mains adapter/1.25A
9SDHC Card 8 GB
9Quick Start Guide
Files on SDHC card on delivery
9Sample media les (01.mp4 / 02.mp4 / 03.mp4)
9Initialization le (FHDPlayerSetting.ini)
9Sample playlist (PLAYLIST.txt)
9User Manual (User Manual.pdf)
Ambient conditions and safety information
Description Operating Nonoperation
Temperature -10 to +40 °C -20 to +60 °C
Relative Humidity 10 to 80 % RH max. 90 % RH
max. 27 °C wet bulb max. 35 °C wet bulb
Altitude max. 3 000 m max. 12 000 m
Vibration 0,08 G (Z-Axis) 0,30 G (Z-Axis)
0,06 G (X- and Y-Axis) 0,15 G (X- and Y-Axis)
5 to 500 Hz swept sine 5 to 500 Hz swept sine
Do not mount several FHD Players immediately on top of each other. They may overheat.
Avoid contact with liquids to prevent damage.
Adhere to connector's proper procedures to ensure proper functioning.

6
12 3 45
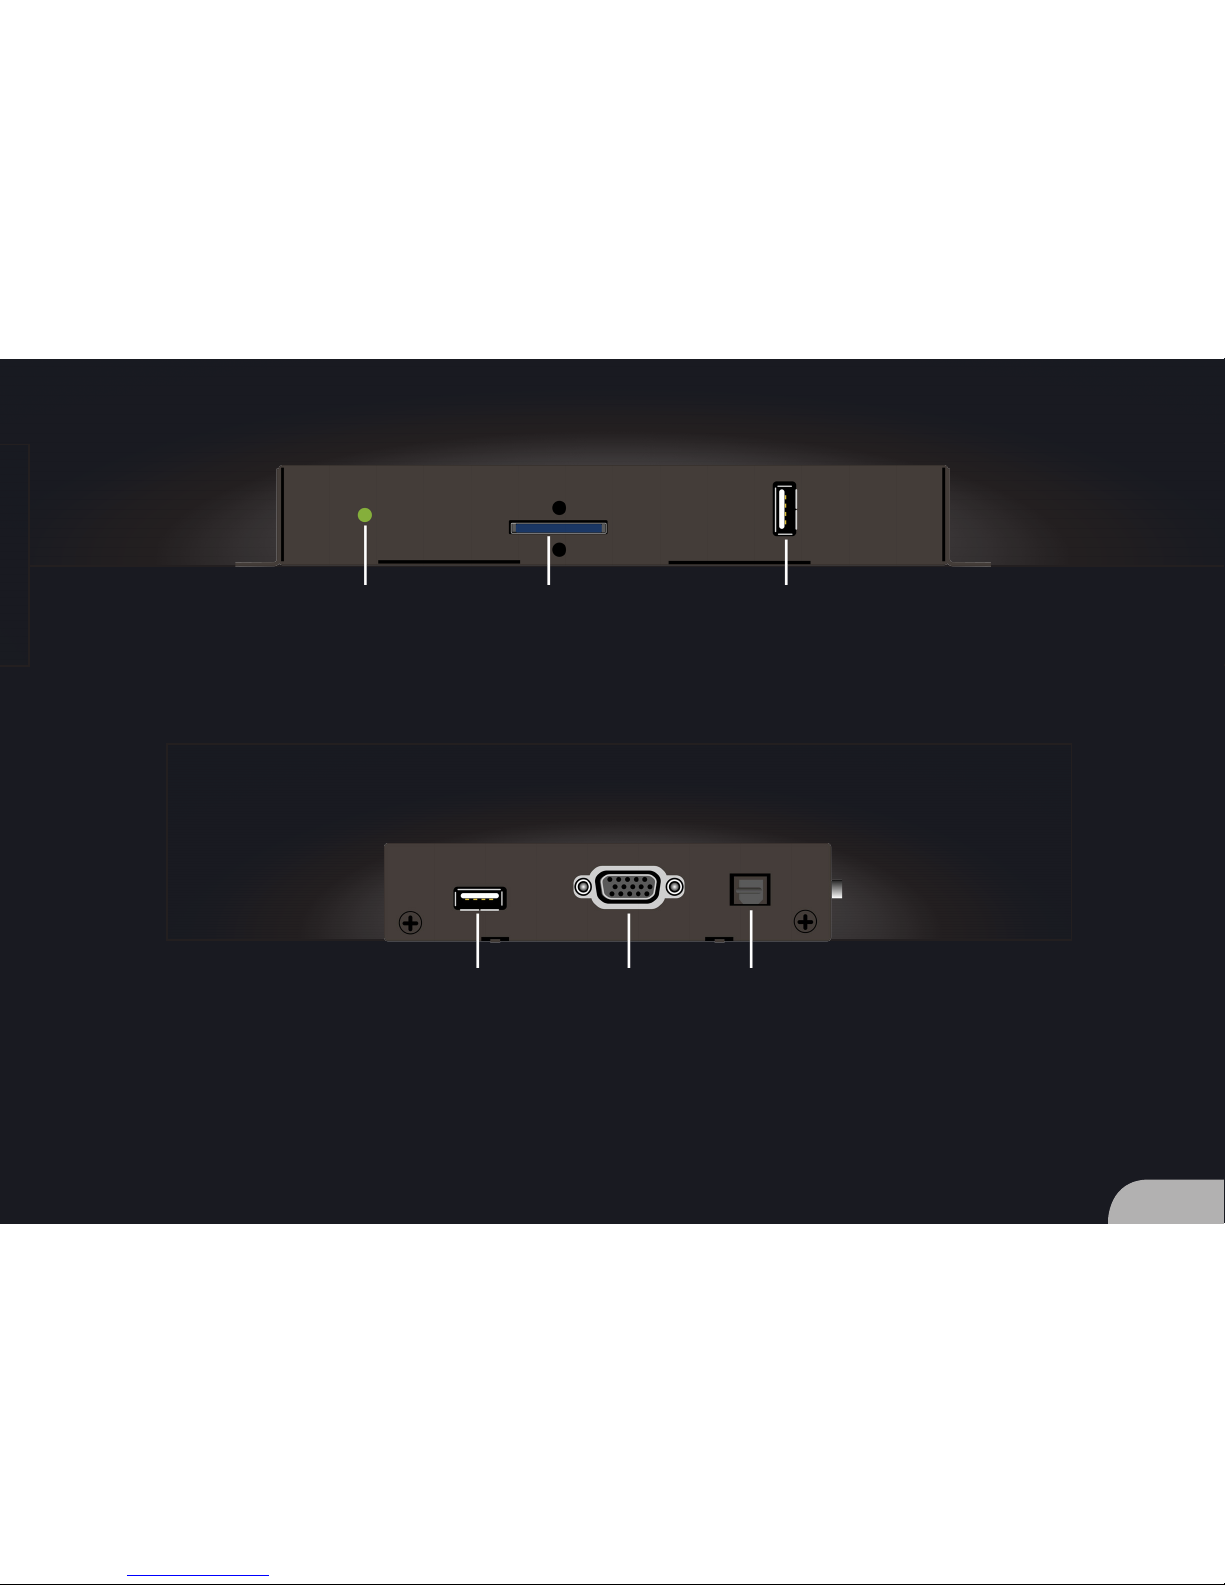
Ports and components
1 AUDIO Phono connector for analog audio output
2 LAN Port for network cable connection
(data transfer rate 100 Base-T)
3 HDMI Port for connection with a display for digital image
and audio transfer (e.g. monitor, TV, projector)
4 RS232 Serial communication interface for control purposes
5 POWER Mains adapter port, DC polarity
7
6 STATUS Status indication (red = booting, green = ready)
7 SD Card SD card slot
8USB data USB port for data carriers
9USB peripheral USB port for peripheral devices
10 VGA YPbPr Port for analog image transmission
11 SPDIF optical Port for digital audio transmission
678
9 10 11

8
Quick Start
Unpack the FHD Player.
Remove the SD card slot cover (7).
Using the power adapter connect the FHD Player to the power supply.
With the HDMI port (3) connect a display to the FHD Player.
Save the required media le to the SD card.
Plug the SD card into the corresponding FHD Player slot (7).
hThe media le will play automatically.
b The FHD Player is designed for 24/7 operation. If you want to stop playback disconnect the power supply or
remove the SD card.
Initialization le
b The supplied SD card contains the initialization le FHDPlayerSetting.ini. This le includes the current FHD Player
conguration and all adjustable options; it can be edited using any typical text editor.
After plugging the SD card into slot (7) the FHD Player automatically accepts the changed conguration.
When changes to the conguration are aected with the Web Interface a new initialization le is automatically
saved to the SD card. The original SD card initialization le is automatically renamed to FHDPlayerSetting.old.
b If no storage device is connected to the FHD Player the display shows the current conguration.

9
Network connection
b If you would like to use several FHD Players in a network you need to assign individual IP addresses to each
FHDPlayer rst. The IP address can be changed in the SD card initialization le.
The FHD Player is precongured for [IP] 10.20.30.1, [Subnet] 255.0.0.0 and [Gateway] 10.0.0.253.
Using a network cable connect the FHD Player to the network with the LAN port (2).
hConnection with the network has now been established.
Connection with the Web Interface
b The FHD Player must be integrated into the network.
Determine the FHD Player IP address.
b If no storage device is connected to the FHD Player the display shows the IP address.
Enter the FHD Player’s IP address (e.g. 10.20.30.1) into the web browser’s address line.
hThe web interface main page is now displayed in the web browser.

10
Sync Mode
b For Sync Mode all FHD Player media files must have the same playing time.
The media files must contain audio tracks.
The playlists of all FHD Players must be identical or deleted.
The FHD Players must be connected to a network.
For every group to be synced only one master must be used.
In the SD card initialization le change parameters [SYNCContol] to On and [SYNCType] to Master or Slave.
Plug the SD cards into the FHD Players.
hAll slaves will now automatically follow the master.
Loop mode
b Media files can be played in a loop with a seamless transition.
If the SD card does not contain a playlist the media files are sorted in an alphanumeric order.
In the initialization le on the SC card change parameter [PLAYMode] to the desired option.
Repeat All: All media les on the SD card are played in an endless loop.
Repeat Default: The rst media le on the SD card is played in an endless loop until some other media le
was chosen with external control (e.g. 2-button GPIO mode). Following this the endless
loop of the rst media le starts again.
This manual suits for next models
1
Table of contents
Other AVstumpfl Media Player manuals


