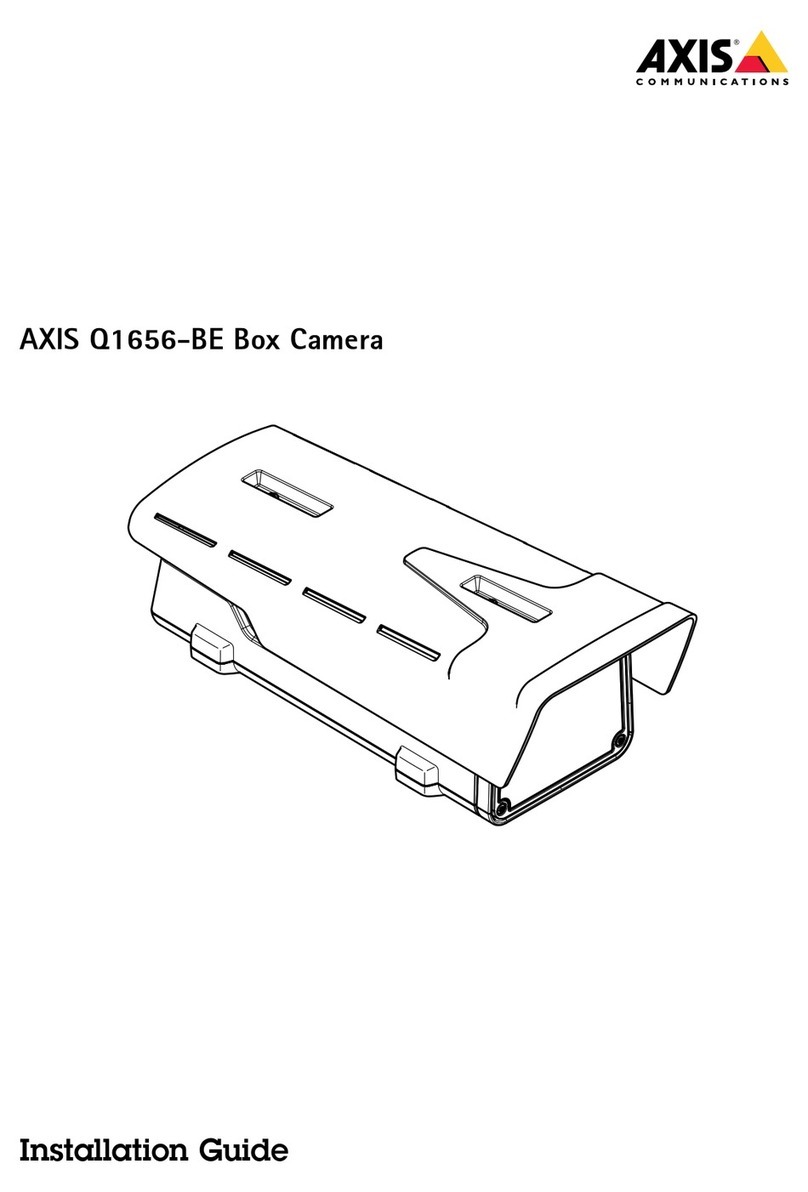
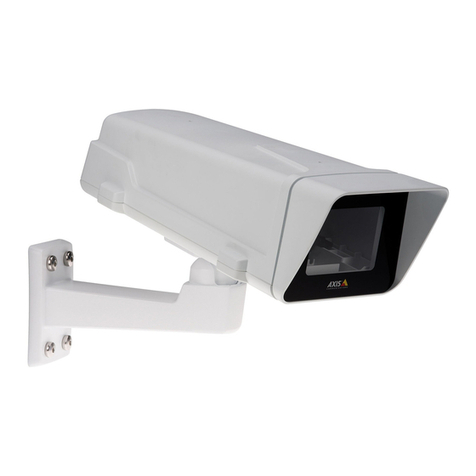
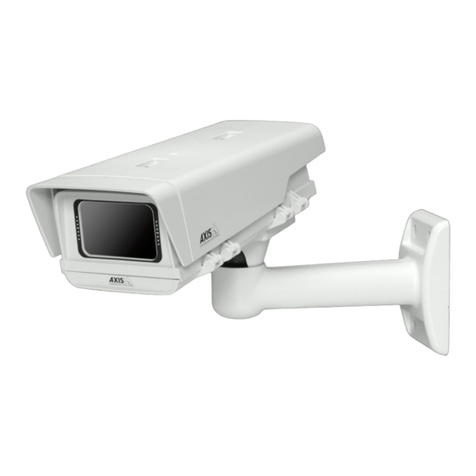
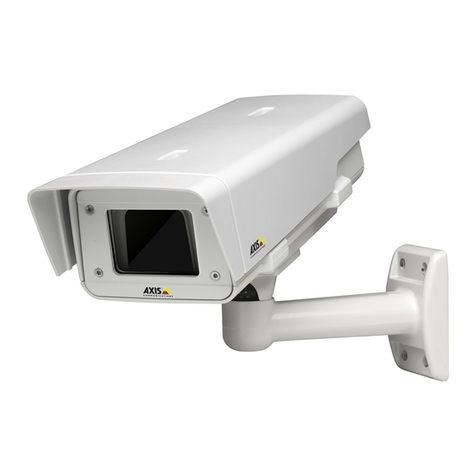
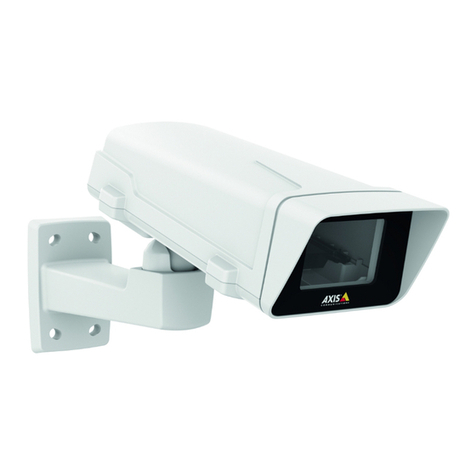
Axis T92E series User manual

AXIST92EHousingSeries
AXIST92E05
AXIST92E20
InstallationGuide

LegalConsiderations
Videoandaudiosurveillancecanberegulatedbylawsthat
varyfromcountrytocountry.Checkthelawsinyourlocal
regionbeforeusingthisproductforsurveillancepurposes.
Liability
Everycarehasbeentakeninthepreparationofthis
document.PleaseinformyourlocalAxisofceofany
inaccuraciesoromissions.AxisCommunicationsABcannot
beheldresponsibleforanytechnicalortypographicalerrors
andreservestherighttomakechangestotheproductand
manualswithoutpriornotice.AxisCommunicationsAB
makesnowarrantyofanykindwithregardtothematerial
containedwithinthisdocumentincludingbutnotlimited
totheimpliedwarrantiesofmerchantabilityandtnessfor
aparticularpurpose.AxisCommunicationsABshallnot
beliablenorresponsibleforincidentalorconsequential
damagesinconnectionwiththefurnishingperformance
oruseofthismaterial.Thisproductisonlytobeusedfor
itsintendedpurpose.
IntellectualPropertyRigts
AxisABhasintellectualpropertyrightsrelatingto
technologyembodiedintheproductdescribedinthis
document.Inparticularandwithoutlimitationthese
intellectualpropertyrightsmayincludeoneormoreof
thepatentslistedatwww.axis.com/patent.htmandoneor
moreadditionalpatentsorpendingpatentapplicationsin
theUSandothercountries.
EquipmentModications
Thisequipmentmustbeinstalledandusedin
strictaccordancewiththeinstructionsgiveninthe
userdocumentation.Thisequipmentcontainsno
user-serviceablecomponents.Unauthorizedequipment
changesormodicationswillinvalidateallapplicable
regulatorycerticationsandapprovals.
TrademarkAcknowledgments
AXISCOMMUNICATIONSAXISETRAXARTPECandVAPIX
areregisteredtrademarksortrademarkapplicationsofAxis
ABinvariousjurisdictions.Allothercompanynamesand
productsaretrademarksorregisteredtrademarksoftheir
respectivecompanies.
RegulatoryInformation
Europe
ThisproductcomplieswiththeapplicableCEmarking
directivesandharmonizedstandards:
•ElectromagneticCompatibility(EMC)Directive
2004/108/EC.SeeElectromagneticCompatibility(EMC)
2.
•LowVoltage(LVD)Directive2006/95/EC.SeeSafety3.
•RestrictionsofHazardousSubstances(RoHS)Directive
2011/65/EU.SeeDisposalandecycling3.
Acopyoftheoriginaldeclarationofconformitymaybe
obtainedfromAxisCommunicationsAB.SeeContact
Information3.
ElectromagneticCompatibility(EMC)
Thisequipmenthasbeendesignedandtestedtofulll
applicablestandardsfor:
•Radiofrequencyemissionwheninstalledaccordingto
theinstructionsandusedinitsintendedenvironment.
•Immunitytoelectricalandelectromagneticphenomena
wheninstalledaccordingtotheinstructionsandused
initsintendedenvironment.
USA
Thisequipmenthasbeentestedusingashieldednetwork
cable(STP)andfoundtocomplywiththelimitsfora
ClassBdigitaldevicepursuanttopart15oftheFCC
Rules.Theselimitsaredesignedtoprovidereasonable
protectionagainstharmfulinterferenceinaresidential
installation.Thisequipmentgeneratesusesandcan
radiateradiofrequencyenergyandifnotinstalledand
usedinaccordancewiththeinstructionsmaycause
harmfulinterferencetoradiocommunications.However
thereisnoguaranteethatinterferencewillnotoccurin
aparticularinstallation.Ifthisequipmentdoescause
harmfulinterferencetoradioortelevisionreceptionwhich
canbedeterminedbyturningtheequipmentoffandon
theuserisencouragedtotrytocorrecttheinterferenceby
oneormoreofthefollowingmeasures:
•Reorientorrelocatethereceivingantenna.
•Increasetheseparationbetweentheequipmentand
receiver.
•Connecttheequipmentintoanoutletonacircuit
differentfromthattowhichthereceiverisconnected.
•Consultthedealeroranexperiencedradio/TV
technicianforhelp.
Theproductshallbeconnectedusingashieldednetwork
cable(STP)thatisproperlygrounded.
Canada
ThisdigitalapparatuscomplieswithCANICES-3(ClassB).
Theproductshallbeconnectedusingashieldednetwork
cable(STP)thatisproperlygrounded.Cetappareil
numériqueestconformeàlanormeCANNMB-3(classeB).
Leproduitdoitêtreconnectéàl'aided'uncâbleréseau
blindé(STP)quiestcorrectementmisàlaterre.
Europe
ThisdigitalequipmentfulllstherequirementsforRF
emissionaccordingtotheClassBlimitofEN55022.The
productshallbeconnectedusingashieldednetworkcable
(STP)thatisproperlygrounded.
Thisproductfulllstherequirementsforimmunity
accordingtoEN61000-6-1residentialcommercialand
light-industrialenvironments.
Thisproductfulllstherequirementsforimmunity
accordingtoEN61000-6-2industrialenvironments.
Thisproductfulllstherequirementsforimmunity
accordingtoEN55024ofceandcommercial
environments.
Australia/NewZealand
ThisdigitalequipmentfulllstherequirementsforRF
emissionaccordingtotheClassBlimitofAS/NZSCISPR22.
Theproductshallbeconnectedusingashieldednetwork
cable(STP)thatisproperlygrounded.
Japan
この装置は、クラスB情報技術装置です。この装置
は、家庭環境で使⽤することを⽬的としています
が、この装置がラジオやテレビジョン受信機に近
接して使⽤されると、受信障害を引き起こすこと
があります。取扱説明書に従って正しい取り扱い
をして下さい。本製品は、シールドネットワーク
ケーブル(STP)を使⽤して接続してください。また
適切に接地してください。
Korea
이기기는가정용(B급)전자파적합기기로서주로
가정에서사용하는것을목적으로하며,모든지
역에서사용할수있습니다.적절히접지된STP
(shieldedtwistedpair)케이블을사용하여제품
을연결하십시오.
Safety
Thisproductcomplieswith
IEC/EN/UL60950-1andIEC/EN/UL60950-22Safetyof
InformationTechnologyEquipment.Theproductshallbe
groundedeitherthroughashieldednetworkcable(STP)or
otherappropriatemethod.
DisposalandRecycling
Whenthisproducthasreachedtheendofitsusefullife
disposeofitaccordingtolocallawsandregulations.For
informationaboutyournearestdesignatedcollectionpoint
contactyourlocalauthorityresponsibleforwastedisposal.
Inaccordancewithlocallegislationpenaltiesmaybe
applicableforincorrectdisposalofthiswaste.
Europe
Thissymbolmeansthattheproductshallnotbe
disposedoftogetherwithhouseholdorcommercialwaste.
Directive2012/19/EUonwasteelectricalandelectronic
equipment(WEEE)isapplicableintheEuropeanUnion
memberstates.Topreventpotentialharmtohumanhealth
andtheenvironmenttheproductmustbedisposedofin
anapprovedandenvironmentallysaferecyclingprocess.
Forinformationaboutyournearestdesignatedcollection
pointcontactyourlocalauthorityresponsibleforwaste
disposal.Businessesshouldcontacttheproductsupplierfor
informationabouthowtodisposeofthisproductcorrectly.
Thisproductcomplieswiththerequirementsof
Directive2011/65/EUontherestrictionoftheuseof
certainhazardoussubstancesinelectricalandelectronic
equipment(RoHS).
China
Thisproductcomplieswiththerequirementsofthe
legislativeactAdministrationontheControlofPollution
CausedbyElectronicInformationProducts(ACPEIP).
ContactInformation
AxisCommunicationsAB
Emdalavägen14
22369Lund
Sweden
Tel:+46462721800
Fax:+4646136130
www.axis.com
Support
Shouldyourequireanytechnicalassistancepleasecontact
yourAxisreseller.Ifyourquestionscannotbeanswered
immediatelyyourresellerwillforwardyourqueriesthrough
theappropriatechannelstoensurearapidresponse.Ifyou
areconnectedtotheInternetyoucan:
•downloaduserdocumentationandsoftwareupdates
•ndanswerstoresolvedproblemsintheFAQdatabase.
Searchbyproductcategoryorphrase
•reportproblemstoAxissupportstaffbylogginginto
yourprivatesupportarea
•chatwithAxissupportstaff
•visitAxisSupportatwww.axis.com/techsup/
LearnMore!
VisitAxislearningcenterwww.axis.com/academy/for
usefultrainingswebinarstutorialsandguides.


AXIST92EHousingSeries
SafetyInformation
ReadthroughthisInstallationGuidecarefullybeforeinstallingtheproduct.KeeptheInstallation
Guideforfuturereference.
HazardLevels
DANGER
Indicatesahazardoussituationwhichifnotavoidedwillresultindeathorseriousinjury.
WARNING
Indicatesahazardoussituationwhichifnotavoidedcouldresultindeathorseriousinjury.
CAUTION
Indicatesahazardoussituationwhichifnotavoidedcouldresultinminorormoderate
injury.
NO NO
NOTICE TICE
TICE
Indicatesasituationwhichifnotavoidedcouldresultindamagetoproperty.
OterMessageLevels
Important
Indicatessignicantinformationwhichisessentialfortheproducttofunctioncorrectly.
Note
Indicatesusefulinformationwhichhelpsingettingthemostoutoftheproduct.
5

AXIST92EHousingSeries
SafetyInstructions
NO NO
NOTICE TICE
TICE
•TheAxisproductshallbeusedincompliancewithlocallawsandregulations.
•StoretheAxisproductinadryandventilatedenvironment.
•AvoidexposingtheAxisproducttoshocksorheavypressure.
•Donotinstalltheproductonunstablebracketssurfacesorwalls.
•UseonlyapplicabletoolswheninstallingtheAxisproduct.Usingexcessiveforcewith
powertoolscouldcausedamagetotheproduct.
•Donotusechemicalscausticagentsoraerosolcleaners.
•Useacleanclothdampenedwithpurewaterforcleaning.
•Useonlyaccessoriesthatcomplywiththetechnicalspecicationoftheproduct.These
canbeprovidedbyAxisorathirdparty.
•UseonlysparepartsprovidedbyorrecommendedbyAxis.
•Donotattempttorepairtheproductyourself.ContactAxissupportoryourAxisreseller
forservicematters.
Transportation
NO NO
NOTICE TICE
TICE
•WhentransportingtheAxisproductusetheoriginalpackagingorequivalenttoprevent
damagetotheproduct.
6

AXIST92EHousingSeries
InstallationGuide
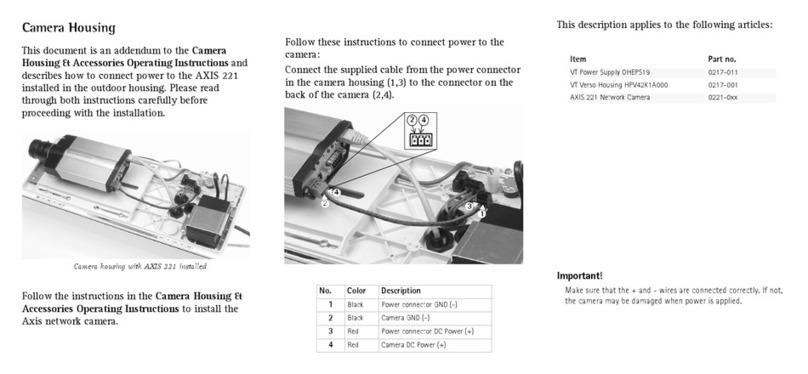
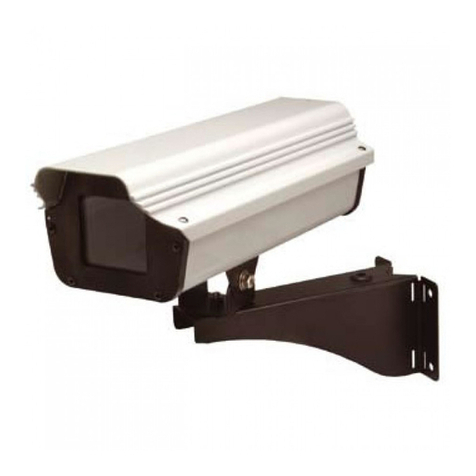
ThisInstallationGuideprovidesinstructionsforinstallingAXIST92E05ProtectiveHousingandAXIS
T92E20OutdoorHousing.
ToinstallthecameraonthenetworkpleaseseetheInstallationGuideprovidedwiththecamera.
ForotherdetailsaboutthecameraseetheUserManualavailableonwww.axis.com
InstallationSteps
1.Makesurethepackagecontentstoolsandothermaterialsnecessaryfortheinstallation
areinorder.Seepage7.
2.Studythehardwareoverview.Seepage8.
3.Studythespecications.Seepage10.
4.Installthehardware.Seepage11.
PackageContents
•AXIST92E05/T92E20Housing
•AXIST94Q01AWallMount
•NetworkCable(AXIST92E20only)
•Torxscrewdriver(T20)orAllenkey(T20)
•Torxscrewbit(T30)
•Holdermountingkit
•InstallationGuide(thisdocument)
RecommendedTools
•Drill–ifusingthehardceilingmount
•Knife–ifusingthedropceilingmount
•TorxscrewdriverT30–ifusingacompatiblebracketfromAXIST91AMounting
Accessories
OptionalAccessories
Foracompletelistofavailableaccessoriesforthisproductseewww.axis.com
7

AXIST92EHousingSeries
HardwareOverview
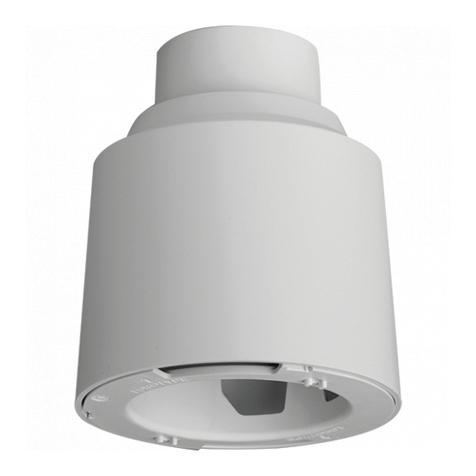
Housing
AXIST92E20ProtectiveHousing
1Sunshield
8

AXIST92EHousingSeries
2Sunshieldadjustmentscrew(2x)
3Holder
4Holderscrews(2x)andwasheranges(2x)
5Stabilizingscrew
6Camerascrewandwasher
7Alarmoutput
8Networkcable
9Cablehole
10Safetywiretab
11Cableholes(2x)
12Bottomcover
13Networkconnector(PoEIN)
14StatusLED
15Coldstartswitch
16Bracketadapter
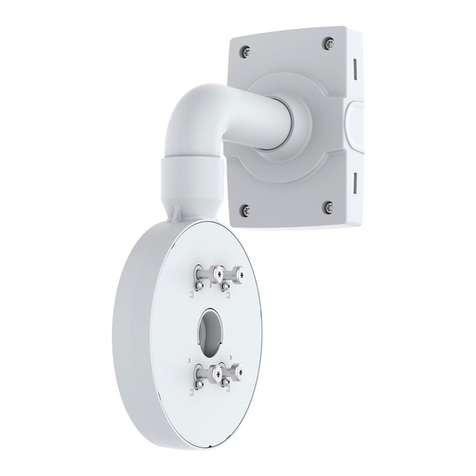
WallMount
1Networkcable(routethroughwallbracket)
2Powercable(routethroughwallbracket)(forproductsequippedwithpower
connector)
3Groundingcable(routethroughwallbracket)(forcamerahousingsequipped
withgroundingscrew)
4ScrewT20(4x)
5BracketadjustmentscrewT30
6Wallmount
9

AXIST92EHousingSeries
LEDIndicators
Note
ThehousingLEDreferredtointhetablebelowislocatedinthehousing.
ousingLED
(fanandheater)Indication
GreenNormaloperation.
FlashinggreenSingleash:Heatererror
Doubleash:Fanerror
Tripleash:Generalerror
Alarmeventswillbetriggeredthroughthecamera’sinputport.
ContactyourAxisresellerforinformationaboutsparepartsand
troubleshooting.
Specications
Function/groupItemSpecication
ModelsAXIST92E05ProtectiveHousing
AXIST92E20OutdoorHousing
CasingAluminiumcasingpolycarbonate
sunshieldandcablecover.IP66-and
NEMA4X-ratedIK10impact-resistant
aluminumenclosure
OperatingconditionsAXIST92E05:-20°Cto55°C(-4°F
to131°F)1
Humidity15–100%(condensing)
AXIST92E20:-40°Cto50°C(-40°F
to122°F)1
Humidity15–100%(condensing)
ApprovalsAXIST92E05:IEC60068-2-6IEC
60068-2-27AXIST92E20:EN
55022ClassBEN61000-3-2EN
61000-3-3EN55024EN61000-6-1
EN61000-6-2EN60950-22IEC
60068-2-6IEC60068-2-27FCCPart
15SubpartBClassBVCCIClassB
ITEC-tickAS/NZSCISPR22ICES-003
ClassBKCCClassB
Dimensions(xWxD)120x161x404mm(4.7"x6.4"x15.9")
General
10

AXIST92EHousingSeries
WeightAXIST92E05:2.4kg(5.1lb.)
AXIST92E20:2.5kg(5.5lb.)
InstallteHardware
NO NO
NOTICE TICE
TICE
•Duetolocalregulationsortheenvironmentalandelectricalconditionsinwhichthe
productistobeusedashieldednetworkcable(STP)maybeappropriateorrequired.
Allcablesconnectingtheproducttothenetworkandthatareroutedoutdoorsorin
demandingelectricalenvironmentsshallbeintendedfortheirspecicuse.Makesurethat
thenetworkdevicesareinstalledinaccordancewiththemanufacturer’sinstructions.
(AXIST92E05)Forinformationaboutregulatoryrequirementsseethecamera’s
InstallationGuide.
AXIST92E20)Forinformationaboutregulatoryrequirementsseeegulatory
Information2
•Becarefulnottoscratchdamageorleavengerprintsonthewindowbecausethiscould
decreaseimagequality.
TheAxisproductcanbeinstalledwiththecablesroutedthroughoralongthewall.
Readalltheinstructionsbeforeinstallingtheproduct:
1.Installthewallmount.SeeInstalltheWallMountonpage1 1.Fordetailedinstructions
seethewallmount’sInstallationGuidesuppliedinthepackageoravailableon
www.axis.com
2.Attachthehousingtothewallmount.SeeAttachtheHousingtotheWallMounton
page12.
3.Installthecamerainthehousing.SeeInstalltheCameraintheHousingonpage14.
InstallteWallMount
CAUTION
Makesurethatthescrewsandplugsareappropriateforthematerial(e.g.woodmetal
drywallstone)andthatthematerialisstrongenoughtosupportthecombinedweight
ofthecamerahousingandwallmount.
Note
•Seealsothewallmount’sInstallationGuidesuppliedinthepackageandavailableon
www.axis.com
•Fortechnicalspecicationsabouttheconnectorsseethecamera’sUserManualavailable
onwww.axis.com
11

AXIST92EHousingSeries
1.Preparethewallforinstallationofthewallmount.Usethewallbracketasatemplate
andmarktheholesbeforedrillingtheholes.
2.Routethenetworkcableandifrequiredthepowercablethroughthewallbracket.
Leaveapproximately30cm(11.8in)ofcableforconnectingthecamera.
3.Ifthecamerahousinghasagroundingscrewrouteagroundingcablethroughthewall
bracket.Leaveapproximately15cm(5.9in)ofcableforconnectingthehousing.
4.IfconnectinganauxiliarydeviceforexampleanI/Oaudioorexternalpowerdeviceto
thecamerarepeatthestepaboveasapplicabletothespecicdevice.
5.Fastenthewallbrackettothewallbytighteningthescrews.
AttacteHousingtoteWallMount
NO NO
NOTICE TICE
TICE
•Usinganyotherthantheprovidedcablegasketcouldcausewatertoseepinanddamage
theproduct.Forinformationaboutcablegasketsandcableglandsthatallowforother
cableareasseewww.axis.com
•Ifmorethanonecableisusedeachcablemustberoutedthroughaseparatecablegasket.
•Onlyopenaholeincablegasketsthatwillbeusedandifacablegasketistornreplaceit
withanewcablegasket.Leavingacablegasketopenorusingatorncablegasketcould
causewatertoseepinanddamagetheproduct.
1.Loosenthebottomcoverscrewsandliftthetopcover.
2.Loosenthecablecoverscrews;detachthecablecoverfromthebottomcover.
3.Removethecaptheplugandthegasketfromthecableglandthatistobeused.
4.Removethegroundingscrewwasherandgroundingshoering.
12

AXIST92EHousingSeries
5.Fastentheshoeringmountedgroundingwireandwasherwiththegroundingscrew.
1.Routethenetworkcablethroughthecap.
2.Slidethenetworkcablethroughtheslitonthegaskettoattachthegaskettothe
networkcable.
3.Routethenetworkcablethroughthecablegland.
1Cap
2Gasket
3Cablegland
4Plug(discard)
4.Pressthegasketintothecableglandandscrewthecaponrmly.
NO NO
NOTICE TICE
TICE
Ifacableotherthantheprovidedcableisusedyouneedtoprepareashieldednetwork
cablewithagasket.Gentlyforcethecablethroughthegasketprovidedandattacha
networkconnector.Itmaybenecessarytopierceaholeinthegasketwiththesupplied
screwdriver.
13

AXIST92EHousingSeries
NO NO
NOTICE TICE
TICE
Mountthepowerconnectorafterthepowercableispushedthroughthecablegasket.
5.IfconnectinganauxiliarydeviceforexampleanI/Oaudioorexternalpowerdeviceto
thecamerarepeatthestepsaboveasapplicabletothespecicdevice.
6.Putthebottomcoveronthewallmountandtightenthescrews(torque2Nm).
InstallteCamerainteHousing
1.Loosentheholderscrewsandwasherstoremovetheholder.
2.Securethecameratotheholderwiththescrewsaccordingtotheillustrationsandtable
below.Tightenthestabilizingscrewjustlightlyandtightenthecamerascrewto2Nm.
Becarefulnottoovertightenthescrews
AXIST92E05/AXIST92E20AXIST92E20 Cameramodel
HolderpositionandfastenersI/OcableColdStartupDelay
NoOff(0)
YesOff(0)
14

AXIST92EHousingSeries
YesOff(I)
YesOff(I)
3.Ifconnectingexternal/inputdevicesaudiodevicesorexternalpowertothecamera
connectthemaccordingtotheinstructionsinthecamera’sInstallationGuide.
4.IfapplicableconnecttheinternalnetworkcableandI/Ocablewhicharepre-installedin
theoutdoorhousingtothecamera.
5.Attachtheholdertothebottomcover.Adjustthepositionoftheholdercarefullyand
tightentheholderscrewsincludingthewashers(torque0.5Nm).Allowjustenough
distanceapproximately5–10mm(0.2–0.4in.)betweenthecameralensandthefront
endoftheplasticinnerhousingtotthetopcoverwithoutthewindowscratching
thelens.
6.IfusinganSDcardforlocalstorageinsertthecardintothecamera’sSDcardslot.
7.ConnecttheexternalnetworkcabletoPoEIN.
8.IfapplicablesettheColdStartupDelayswitchtothecorrectpositionseetableonpage
page14andColdStartupDelaySwitchonpage16
15

AXIST92EHousingSeries
9.Ifapplicablecheckthatthehousing’sstatusLEDsindicatethecorrectconditions.See
LEDIndicatorsonpage10.
10.MakesurethatthecameraLEDsindicatethecorrectconditions.Seethecamera’s
InstallationGuide.
11.Loosenthebracketadjustmentscrewtoaimthecameratothepointofinterest.For
informationabouthowtoviewthevideostreamseethecamera’sInstallationGuide
orwww.axis.com/techsup
12.Attachthetopcoversafetywiretothetabonthebottomcover.
13.Closethehousing.Makesuretoalternatelytightenthebottomcoverscrewsafewturns
atatimeuntiltheyaretight(torque1.5Nm).Thiswillhelpensurethatthebottom
covergasketiscompressedevenly.
14.Loosenthesunshieldadjustmentscrewsandadjustthesunshieldtothedesiredposition.
NO NO
NOTICE TICE
TICE
Makesurenottopinchanycableswhenclosingthehousing.
ColdStartupDelaySwitc
AXIST92E20featuresArcticTemperatureControlwhichisenabledbysettingtheColdStartup
DelayswitchtoI(ON).Whenenabledthisfunctioncontrolswhenthecamerarestartsaftera
powercutwhentemperaturesarebelow0°C(32°F);thecameraisrstheatedtoapproximately
0°C(32°F)beforeitinitializes.Thispreventsdamagetocameramodelsthatincludemovingparts.
Note
Theswitchshouldbedisabledforcameraswithoutmovingpartssincetheydonotrequire
thisfunctionseeInstalltheCameraintheHousing
Cleaninginstructions
NO NO
NOTICE TICE
TICE
•Avoidtheuseofabrasivecleanerssqueegeesand/orothercleaningimplementsthat
mayscratchorgougethecoating.
•Donotcleanwithadryclothorsponge.
•Donotuserazorbladesorothersharptoolsabrasiveorstronglyalkalinedetergents
solventsleadedbenzeneandcarbontetrachloride.
1.Gentlywashthesheettoloosendirtandgrimeseetablebelow.
owtoremove:Useamicroberclothoraspongewith:
DustordirtLukewarmwaterornon-abrasivedetergent
16

AXIST92EHousingSeries
Greaterbuild-upofdirtorgreasestainsBenzene-freepurepetroleumspirit(cleaner’s
naphthaorlightgasoline)
SplashesofdyegreaseorresidualsealingEthylalcoholisopropylalcoholorpetroleumether
andgentlerubbingpriortocuring
Rustmarks10%solutionofoxalicacid
2.Rinsecarefullyafterwardswithcleanwater.
3.Topreventwaterstainsdrythoroughlywithachamoisoracellulosesponge.
FurterInformation
Forthelatestversionofthisdocumentseewww.axis.com
VisitAxislearningcenterwww.axis.com/academyforusefultrainingswebinarstutorialsand
guides.
WarrantyInformation
ForinformationaboutAxis’productwarrantyandtheretorelatedinformationsee
www.axis.com/warranty/
17

18

AXIST92EHousingSeries
Informationssurlasécurité
Lisezattentivementceguided'installationavantd'installerl'appareil.Conservezleguide
d'installationpourtouteréférenceultérieure.
Niveauxderisques
DANGER
Indiqueunesituationdangereusequisiellen'estpasévitéeentraîneraledécèsoudes
blessuresgraves.
AVERTISSEMENT
Indiqueunesituationdangereusequisiellen'estpasévitéepourraitentraînerledécès
oudesblessuresgraves.
ATTENTION
Indiqueunesituationdangereusequisiellen'estpasévitéepourraitentraînerdes
blessureslégèresoumodérées.
A A
AVIS VIS
VIS
Indiqueunesituationquisiellen'estpasévitéepourraitendommagerl'appareil.
Autresniveauxdemessage
Important
Indiquelesinformationsimportantesnécessairespourassurerlebonfonctionnementde
l’appareil.
Note
Indiquelesinformationsutilesquipermettrontd’obtenirlefonctionnementoptimalde
l’appareil.
19

AXIST92EHousingSeries
Consignesdesécurité
A A
AVIS VIS
VIS
•LeproduitAxisdoitêtreutiliséconformémentauxloisetrèglementationslocalesen
vigueur.
•ConserverceproduitAxisdansunenvironnementsecetventilé.
•NepasexposerceproduitAxisauxchocsouauxfortespressions.
•Nepasinstallerceproduitsurdessupportssurfacesoumursinstables.
•Utiliseruniquementdesoutilsrecommandéspourl'installationdel'appareilAxis.
L'applicationd'uneforceexcessivesurl'appareilavecdesoutilspuissantspourrait
l'endommager.
•Nepasutiliserdeproduitschimiquesdesubstancescaustiquesoudenettoyants
pressurisés.
•Utiliserunchiffonpropreimbibéd'eaupurepourlenettoyage.
•Utiliseruniquementdesaccessoiresconformesauxcaractéristiquestechniquesduproduit.
IlspeuventêtrefournisparAxisouuntiers.
•UtiliseruniquementlespiècesderechangefourniesourecommandéesparAxis.
•Nepasessayerderéparervous-mêmeceproduit.Contacterl'assistancetechniqued'Axis
ouvotrerevendeurAxispourdesproblèmesliésàl'entretien.
Transport
A A
AVIS VIS
VIS
•LorsdutransportduproduitAxisutilisezl'emballaged'origineouunéquivalentpour
éviterd'endommagerleproduit.
20
Other manuals for T92E series
1
This manual suits for next models
2
Table of contents
Languages:
Other Axis Camera Accessories manuals
Popular Camera Accessories manuals by other brands

General Technologies Corp
General Technologies Corp FF300 User handbook

Cambo
Cambo WDS-619 Main operating instructions

Mastervolt
Mastervolt MLI-E 12/1200 User and installation manual

Light & Motion
Light & Motion Bluefin SR12 owner's manual

Moman
Moman MLX-RGB user manual

Nauticam
Nauticam NA-LX10 instruction manual