47
INTRODUCTIONOPERATING THE SYSTEM
Because this is a frequency agile system, the receiver and transmitter must be on the same
channel number. To change the channel number, use the tip of the provided tool and press the
UP or DOWN button to the desired channel. Make sure both the receiver and transmitter are on
the same channel.
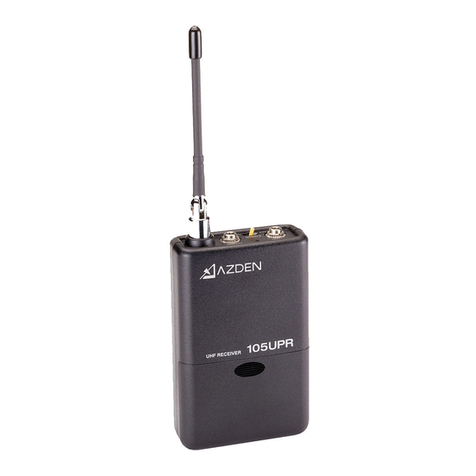
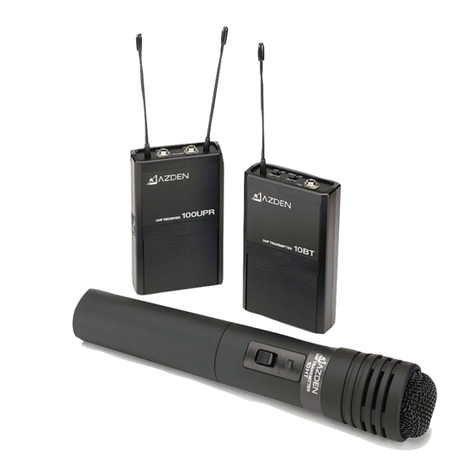
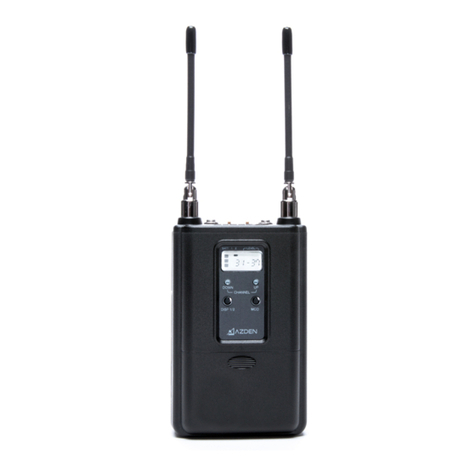
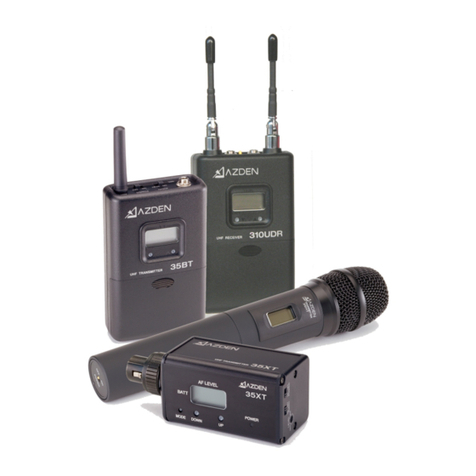
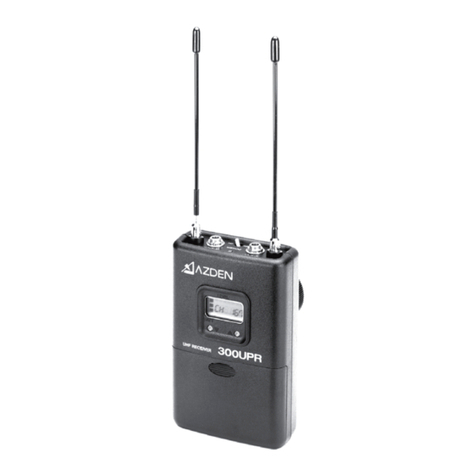
330UPR Receiver
After installing new batteries, mount the receiver to your video camera with the supplied shoe
mount or hook & loop fastener. Select one of the supplied cables and connect the output cable
to the receiver and to the microphone input on the video camera. Switch Ch.1 and/or Ch.2 of the
330PR to “ON” and the battery level indicator(s) should come on. If they do not, check the
batteries. When the 330UPR receives a signal from the transmitter the reception level indicator
will come on. If it does not, make sure both the receiver and transmitters are on matching
channels.
35BT Transmitter
Plug in the supplied lapel microphone and clip it to your subject. The microphone should be
placed 10-30cm( 4-12 inches) from your subject’ s mouth. Clip the transmitter to a belt using the
supplied belt-clip or place it in a pocket. Switch the 35BT to “ON” and the battery level indicator
should come on. If it does not, check the battery. Have someone speak into the microphone as
you monitor the sound through the receiver’ s phone output. If the sound is distorted lower the
MIC input level on the transmitter. If there is not enough volume raise the MIC input level on the
transmitter.
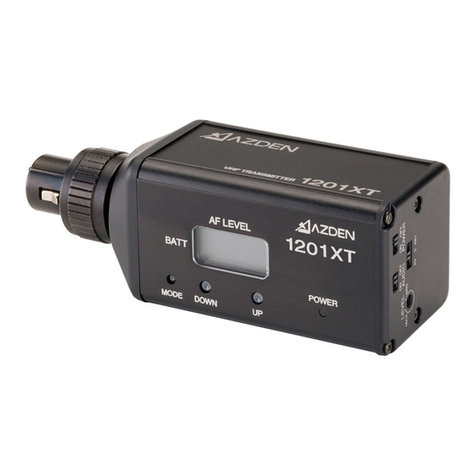
35XT Transmitter
Switch the transmitter to “ON” and the battery level indicator should come on. If it does not,
check the battery. Have someone speak into the microphone as you monitor the sound through
the camera’ s monitor output. If the sound is distorted lower the level control on the transmitter.
If there is not enough gain raise the level control on the transmitter.
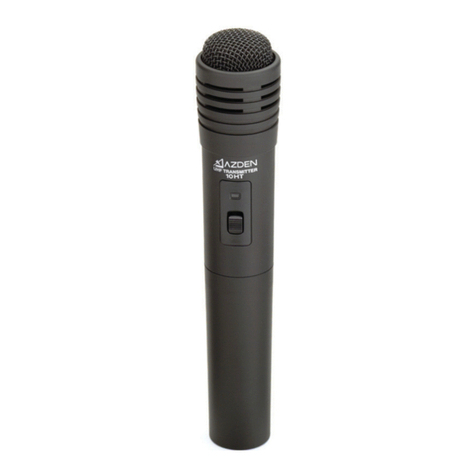
35HT Transmitter
Switch the transmitter to “ON” and the battery level indicator should come on. If it does not,
check the battery. Have someone speak into the microphone as you monitor the sound through
the camera’ s monitor output. If the sound is distorted lower the level control on the transmitter.
If there is not enough gain raise the level control on the transmitter.
1. CH1 is set by the factory to be the primary channel and CH2 can only be set at least 2000kHz
(40 channel) (2.000 MHz) apart from CH1's setting.
2. When CH2 is set within the 2000kHz range from CH1's setting, the display (i.e. "CH022") in
the LCD will flash and CH2 will not function.
3. When this happens, use the UP or DOWN buttons to set CH2 at least 2000kHz apart from
where CH 1 is set.
BODY PACK TRANSMITTER (35BT) - Refer the drawing on page 6 -
⑪Remove the battery compartment lid by sliding it down.
⑫Insert two fresh "AA" Alkaline batteries* into the compartment. Make sure the batterypolarity
is correct as marked inside the battery compartment.
In addition to the battery, inside the battery compartment you will find.
⑬MIC Input LEVEL Control
This control enables you to adjust the input level of the microphone. Using the suppliedtool,
turn the dial clockwise to increase, or counterclockwise to decrease the input level.
Depends on microphone type, microphone input level differ.
⑭POWER
Switches the transmitter "ON" or "OFF"
⑮MIC Input Jack
Plug the supplied EX-50 microphone into the MIC input jack and tighten the collar until snug
(DO NOT OVERNIGHT). In addition to the EX-50, other lapel and/or headset microphones
with 3.5mm mini plugs can also be used with the 35BT.
⑯LCD Display
This display shows the following information.
Channel Number: 001 to 240
Battery Condition: Using a 3 step indicator - 1 (Low) to 3 (High)
To change the channel number: Use the tip of the tool provided and press the UP or DOWN
button to the desired channel, number appears (001 to 240). Once the desired channel
number has been selected on the transmitter, set the receiver to the same channel number.
⑰AUDIO
Prior to first turning the 35BT “ON” it is best to set the AUDIO switch to “OFF” . When you are
ready to begin transmitting, switch to “ON” . The “OFF” position acts as a “mute” that
maintains the RF signal but turns off the audio.
*While Alkaline batteries are preferred, you can use rechargeable Ni-Cd or Ni-HM batteries.
XLR PLUG-IN TRANSMITTER (35XT) - Refer the drawing on page 6 -
⑱Open the battery compartment lid by sliding it down and lifting it up.
Insert fresh two "AA Alkaline batteries" into the compartment. Make sure the
battery polarity is correct as marked inside the battery compartment.
⑲POWER
Switches the transmitter “ON” or “OFF” .
⑳AUDIO
Prior to first turning the 35XT “ON” it is best to set the AUDIO switch to “OFF” . When you are
ready to begin transmitting, switch to “ON” . The “OFF” position acts as a “mute” that
maintains the RF signal but turns off the audio.
CHANNEL CONFIGURATION

