manuals.online logo
Brands
  1. Home
  2. •
  3. Brands
  4. •
  5. B-K Medical
  6. •
  7. Medical Equipment
  8. •
  9. B-K Medical bkFusion TR Steps User manual

B-K Medical bkFusion TR Steps User manual

bkFusion TR Steps Quick Guide
Reset zoom
Keyboard functions with bkFusion for bk3000/bk5000
Zoom in
Zoom in more
Zoom out
Scroll down
Next page
Adjust the TGC
to default level
Scroll up
Previous page
Return to
default preset
Change
planes on the
transducer
TGC
Right mouse click Left mouse click Trackball
Change Preset
Enter Patient ID
Change Transducer
The top controls for altering exam information
is inactive when using bkFusion. You will not
be able to modify the following:
Patient, Transducer,
Preset Modications
If you have any issues or problems using
bkFusion, please contact your BK Medical
representative.
BK Medical Aps, Mileparken 34, 2730 Herlev, Denmark. T +45 4452 8100
1
2
3
4
5NOTE: To remove a biopsy market, move the trackball cursor
precisely on top of the core, press and click Remove
Core, or click the Remove Last Core button.
NOTE: You can save the report to USB: Click Create PDF, select
destination (USB), enter name for the report le, and click OK.
6
11
7
8
9
10
Click Next to continue to the biopsy screen
Click Sessions and End All Sessions to end exam
You take the biopsies in the sagittal plane. Press on
the keyboard to enable the biopsy line. You are now ready
to biopsy
After each biopsy, use the trackball and the Select
key to place a biopsy marker on core locations
Once all biopsy specimens are acquired, click the Save
button in the Biopsy Review box to save all data. Select the
chosen destination and enter a description for the series
Click Display Report in the Biopsy Review box on the
left-hand side of the screen. Select your Structured
Reporting Template from the Notications pop-up window
Click on the Fusion workow tab
(bottom right corner of the monitor at top of the workspace)
Click Start Procedure
Click TRBx, and then enter the rst two letters of the patient’s
name. A drop-down list under Patient Name will allow you to
select the specic patient, and the remaining patient details will
auto-populate. Click Start Procedure to begin the fusion exam.
Alignment
• Make sure signal strength is between 0 and 1 for optimal
alignment. Move the EM transmitter or readjust patient
position to acquire the best strength.
• Switch to the transverse plane to start alignment (press the
bottom button on the transducer or on the keyboard.
Move the transducer along its axis until the MRI contour matches
the outer boundary of the prostate, Use the buttons on
the right side of the screen and hold the Select key to realign the
contours. When the ultrasound image and the prostate contour
are correctly aligned, click the Lock Fusion button on the left side
of the screen.
• Switch to the sagittal plane (use the top button on the transducer
or on the keyboard) and repeat the steps above.
The most recent BXplan will load on top of the ultrasound
image in the upper screen (mid-gland contour). If contours
are not displayed, click the Load Contours button
NOTE: Reset Alignment acts like a home button that returns to
the mid-gland contour (use this if the patient moved during the
exam, and repeat steps A-C.) If you use Reset Alignment,
click Lock Fusion again
16-124107-EN-03
March 2020
Biopsy Steps for TR bkFusion on bk3000/bk5000
Push the sensor into the sensor clamp
channel. The small indentation on the tip
of the Sensor must be facing the groove
in the sensor clamp channel, as indicated
Open the sensor clamp and push the sensor into
the channel, as indicated. The small indentation
on the tip of the sensor must be facing the
groove in the sensor clamp channel
Align the hole in the sensor clamp
with the transducer button
Press the two ends
of the sensor clamp
together until a
‘click’ is heard
Slide the other sensor clamp channel
over the steel stud on the side of the
transducer until a ‘click’ is heard
The numbered and colored scale under the ultrasound
image on the system monitor represents the Sensor’s
proximity to the EM transmitter. A number in green
(0 or 1) represents the optimal proximity. To mitigate
EM interference, the signal should be either 0 or 1.
Connect the EM transmitter to the EM control unit: Insert the transmitter
cable into the transmitter socket until an audible ‘click’ is heard
Connect the EM control unit to the bk3000/bk5000 system using the USB cable (USB ports are
located in the rear of the scanning engine). Connect the power cable, then switch the unit ON
Connect the ensor to the EM control unit: Insert the sensor
cable into socket 1 until an audible ‘click’ is heard
E14C4t (9018) E13C2 (9029)
Quick Guide
Conguring bkFusion Hardware
bkFusion is compatible with the USB foot switch, which can be set as ‘mouse left-click’. See the bk3000 & bk5000 Advanced User Guide for foot switch conguration information.
Quick Guide
Setting up the EM Transmitter
Minimum distance: 8”/20cm
Optimal operational area
Maximum distance: 26”/66cm
Eiffel Tower
Sensor on
the transducer
16-124107-EN-03
March 2020
The EM transmitter box must be positioned at least 8 inches / 20 centimeters from
the sensor on the transducer, and no further away than 26 inches / 66 centimeters.
The ”Eiffel Tower” design on the EM transmitter must point
towards the sensor on the transducer. There must be no
metal within the operational area of the EM transmitter/sensor.
Click on
the appropriate
patient from the
Remote Patient List.
Double-click
the MIM Cloud
on the left-
hand side of
the screen
Click the Transfer Patient Studies tab, then double-click Primary
Patient List. Click Yes when prompted by the pop-up window
Click the Fusion tab
Connect transducer. Select Prostate Exam Type
Enter your login details in the pop-up window
Click on the appropriate patient in the MIM-cloud database
Click the Advanced View tab
Requirements for MIMcloud
• A MIMcloud group has been
congured for your site by MIM
Software
• Users have MIMcloud accounts
• The BK Ultrasound system has
Internet access
...from Remote Patient List ...from MIM-Cloud (US Only)
Click the Transfer
Patient Studies tab,
then double-click
Primary Patient List.
Click Yes when prompted
by the pop-up window
Quick Guide
MRI data import

Other B-K Medical Medical Equipment manuals
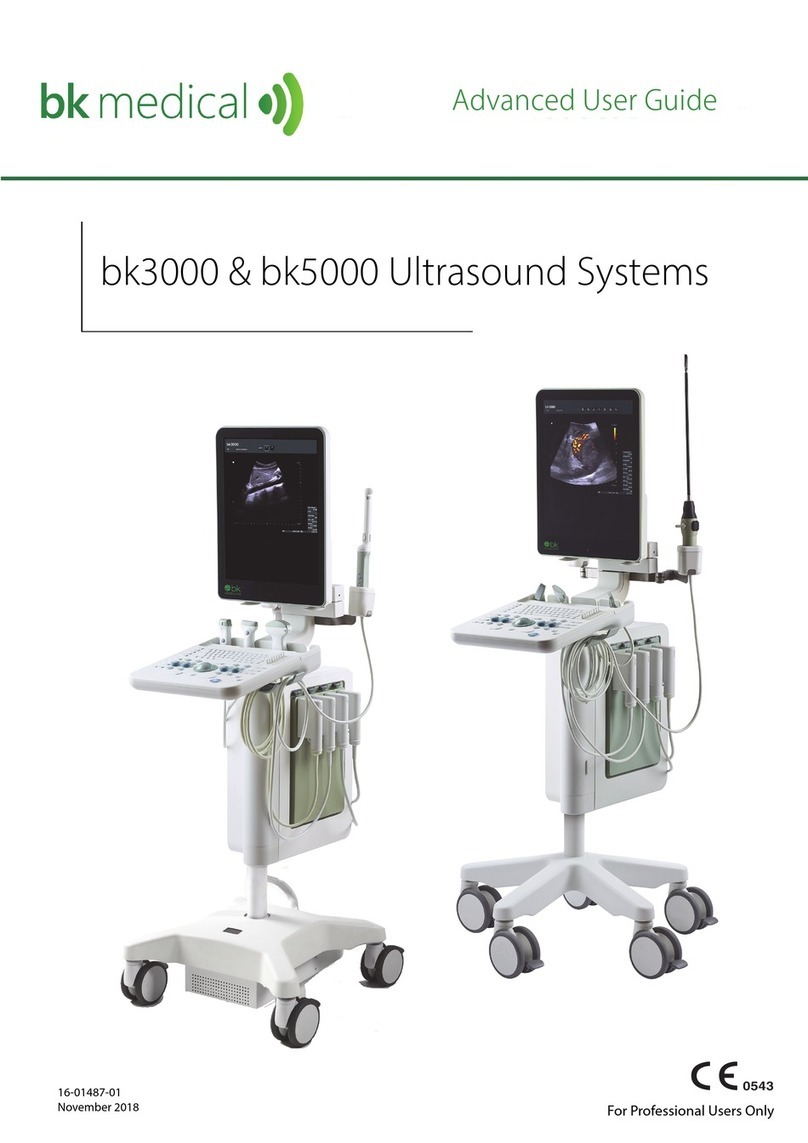
B-K Medical bk3000 Assembly instructions
B-K Medical

B-K Medical bk3000 Assembly instructions

B-K Medical UltraView 2202 User manual
B-K Medical

B-K Medical UltraView 2202 User manual

B-K Medical 8822 User manual

B-K Medical

B-K Medical 8822 User manual
B-K Medical Flex Focus 1202 User manual

B-K Medical

B-K Medical Flex Focus 1202 User manual

B-K Medical Pro Focus 2202 Color User manual

B-K Medical

B-K Medical Pro Focus 2202 Color User manual

B-K Medical Pro Focus 2202 User manual
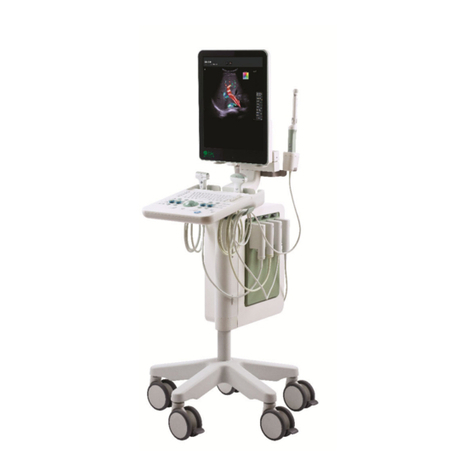
B-K Medical

B-K Medical Pro Focus 2202 User manual

B-K Medical 2300 Series User manual

B-K Medical

B-K Medical 2300 Series User manual
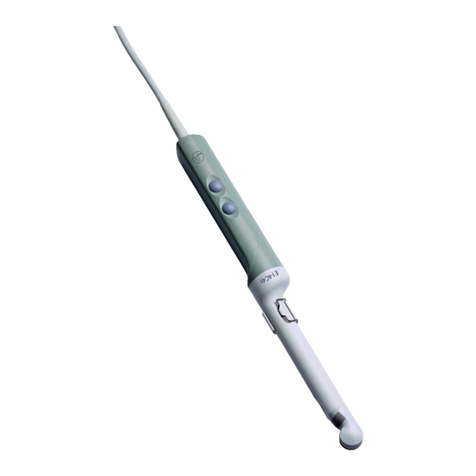
B-K Medical E14C4t User manual

B-K Medical

B-K Medical E14C4t User manual
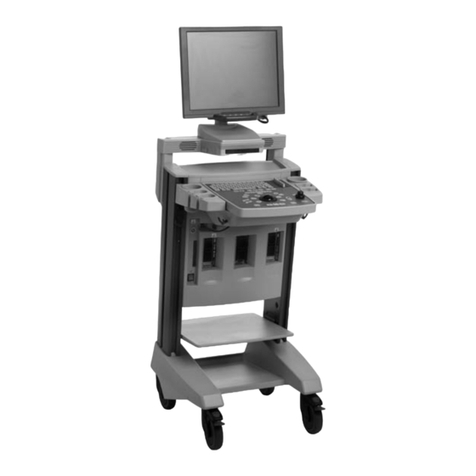
B-K Medical Falcon Premium 2101EXL Service manual
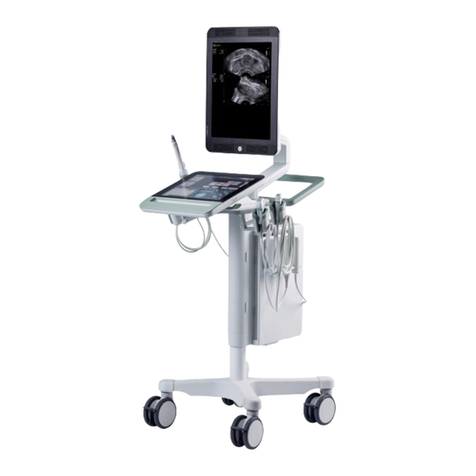
B-K Medical

B-K Medical Falcon Premium 2101EXL Service manual

B-K Medical bkSpecto 1300 User manual
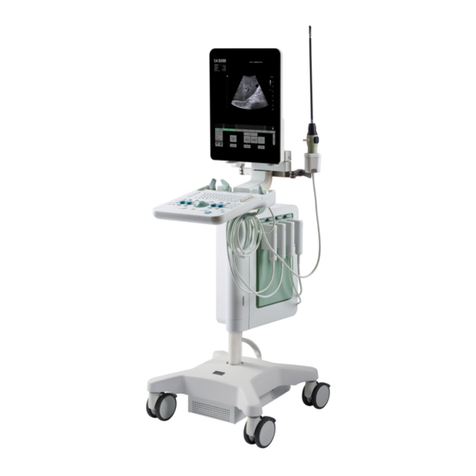
B-K Medical

B-K Medical bkSpecto 1300 User manual

B-K Medical bk5000 User manual

B-K Medical

B-K Medical bk5000 User manual
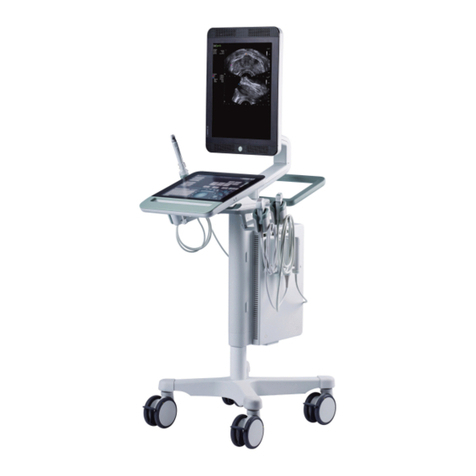
B-K Medical bkSpecto Assembly instructions

B-K Medical

B-K Medical bkSpecto Assembly instructions

B-K Medical Flex Focus 1202 Assembly instructions

B-K Medical

B-K Medical Flex Focus 1202 Assembly instructions

B-K Medical bk3000 User manual

B-K Medical

B-K Medical bk3000 User manual

B-K Medical bk5000 User manual

B-K Medical

B-K Medical bk5000 User manual
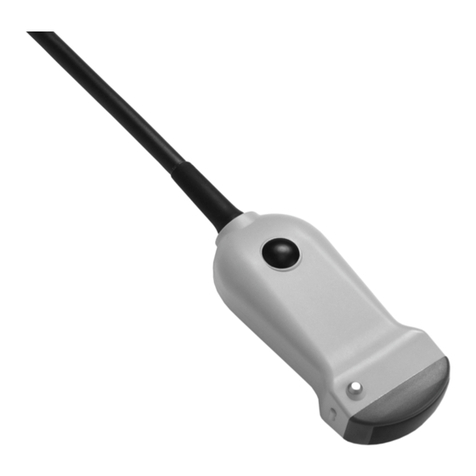
B-K Medical 8823 User manual

B-K Medical

B-K Medical 8823 User manual

B-K Medical bk5000 User manual

B-K Medical

B-K Medical bk5000 User manual

Popular Medical Equipment manuals by other brands

Itamar Medical WatchPAT Operation manual

Itamar Medical

Itamar Medical WatchPAT Operation manual

PROTEOR 1P650 KNEE Assembling and adjustment instructions

PROTEOR

PROTEOR 1P650 KNEE Assembling and adjustment instructions

Liberate Medical VentFree user manual

Liberate Medical

Liberate Medical VentFree user manual

Dicarre DA20 user guide

Dicarre

Dicarre DA20 user guide

Stryker Medical M Series Operation manual

Stryker Medical

Stryker Medical M Series Operation manual

Invacare ScanBed 750 user manual

Invacare

Invacare ScanBed 750 user manual

Getinge Arjohuntleigh Nimbus 3 Professional Instructions for use

Getinge

Getinge Arjohuntleigh Nimbus 3 Professional Instructions for use

Mettler Electronics Sonicator 730 Maintenance manual

Mettler Electronics

Mettler Electronics Sonicator 730 Maintenance manual

Pressalit Care R1100 Mounting instruction

Pressalit Care

Pressalit Care R1100 Mounting instruction

Denas MS DENAS-T operating manual

Denas MS

Denas MS DENAS-T operating manual

bort medical ActiveColor quick guide

bort medical

bort medical ActiveColor quick guide

AccuVein AV400 user manual

AccuVein

AccuVein AV400 user manual

agiliti NP Trio user manual

agiliti

agiliti NP Trio user manual

Rocket Medical Rocket Digital Oocyte Aspiration Pump Service manual

Rocket Medical

Rocket Medical Rocket Digital Oocyte Aspiration Pump Service manual

Monteris Medical Neuroblate Instructions for use

Monteris Medical

Monteris Medical Neuroblate Instructions for use

Otto Block 8E33 7 manual

Otto Block

Otto Block 8E33 7 manual

ADVANCED HOME CARE Helios Guide

ADVANCED HOME CARE

ADVANCED HOME CARE Helios Guide

NeuLog NUL-208 Guide

NeuLog

NeuLog NUL-208 Guide

manuals.online logo
manuals.online logoBrands
  • About & Mission
  • Contact us
  • Privacy Policy
  • Terms and Conditions

Copyright 2025 Manuals.Online. All Rights Reserved.