manuals.online logo
Brands
  1. Home
  2. •
  3. Brands
  4. •
  5. Baldwin
  6. •
  7. Door Lock
  8. •
  9. Baldwin Estate User manual

Baldwin Estate User manual

Installation Guide
Guía de instalación
Guide d’installation
Parts in the box
Partes incluidas en la caja
Pieces dans la boîte
Required tools
Herramientas requeridas
Outils nécessaires
Rim Lock
Cerradura del Borde
Serrure Jante
Cylinder Backplate
Espaldar de Cilindro
Arrière du Cylindre
Spindle
Husillo
Broche
Spanner
Llave de Tuercas
Clé à Molette
Brass Washer
Arandela de Latón
Rondelle en Laiton
Keys
Llaves
Clés
Bit Key
Llave Bit
Clé de Bit
Cylinder
Cilindro
Cylindre
Cylinder Collar
Anillo de Cilindro
Bague de Cylindre
Screws
Tornillos
Vis
Knob Backplate
Espaldar de Perilla
Arrière du Poignées
Retaining Ring
Anillo de Retención
Anneau de Retenue
Knobs
Perillas
Poignées
Hex Wrench
Llave Hexagonal
Clé Hexagonale
Rose
Rosa
Rose
Keeper
Cerradero
Gardien
Alignment Bushing
Alineación de Cojinete
Bague du Alignement
PK.5600 Rev 01
Rim Lock
800.566.1986
BALDWINHARDWARE.COM
A
B
C
D K
E
L
M*
*Box will either contain M or V
*Caja contendrá M o V
*Boîte contiendra M ou V
N
V*
O
P
F(x2)
G(x3)
I(x2)
H(x6)
J
QS
T
U
R
Use Supplied Template to Drill Holes in Door
Utilice Plantilla Incluida para Hacer Agujeros en la Puerta
Utilisez Gabarit Fourni à Percer des Trous dans la Porte
1
Swing Collar
Cuello Columpio
Balançoire Cou
Adjust Breakaway Mounting Screws as Necessary
Ajuste Breakaway Tornillos de Montaje como Necesario
Réglez Breakaway Vis de Montage que Nécessaire
2
Install Cylinder and Collar
Instale Cilindro y Anillo
Installez Cylindre et Bague
3Install Cylinder Backplate
Instale Espaldar de Cilindro
Installez Arrière du Cylindre
4
Place Rimlock and Secure
Coloque Cerradura del Borde y Sujeta
Placez Serrure Jante et Sécurisé
5
Door Thickness • Puerta Espesor • Porte Epaisseur Segments to Remove • Segmentos para eliminar • Supprimer des Segments
2.25" (57mm) 0
2" (51mm) 0
1.75" (44mm) 1
1.5" (38mm) 1
1.375" (35mm) 1
1.25" (32mm) 2
1" (25mm) 2
Hold against door
Mantenga contra puerta
Tenir contre la porte
Trim Cylinder tailpiece if necessary
Recorte Cilindro apéndice si es necesario
Coupez cylindre cordier si nécessaire
Exterior
Exterior
Extérieur
Swing Collar Option
Opción de Cuello Columpio
Option du Balançoire Cou
Interior
Interior
Intérieur
L
M
F
B
V
V2
F
H
A
Install Knob Backplate
Instale Espaldar de Perilla
Installez Arrière du Poignées
6
7Remove Spindle, Install Rose and Retaining Ring
Retire Husillo, Instale Rosa y Anillo de Retención
Enlever Broche, Installez Rose et Anneau de Retenue
Reinstall Spindle
Reinstale el Husillo
Réinstallez la Broche
9Install Exterior Knob
Instale la Perilla Exterior
Installez le Poignée Extérieur
10
8Tighten Retaining Ring with Spanner
Aprete Anillo de Retención con la Llave de Tuercas
Serrez Anneau de Retenue avec Clé à Molette
Use Alignment Bushing to hold
Backplate in place. Mark and drill
three pilot holes in the Backplate.
Utilice Alineación de Cojinete para
sostener la Espaldar de Perilla en su
lugar. Marcos y perforación de tres
agujeros piloto en la placa posterior.
Utilisez Bague du Alignement pour
soutenir Arrière du Poignées en
place. Marquer et percer trois trous
pilotes dans la plaque arrière.
Spindle should be exposed evenly. V groove should be
installed so that it faces toward the bottom hinge.
Husillo se debe expone igualmente. La ranura V debe
instalarse de manera que mire hacia la bisagra inferior..
Broche doit être aussi exposé. La fente V doit être
installé de sorte qu'il fait face à la charnière inférieure.
Hold Spindle in place. Set screw hole is
on the same side as Spindle notch.
Mantene el husillo en su lugar. Tornillo de ajuste está
en el mismo lado como la muesca del husillo.
Maintenez la broche en place. Vis de réglage se trouve
sur le même côté que l'encoche de la broche.
A B A B
A B
OP
C
CS1 S2
U
D
E
N
CG
WARNING: This Manufacturer advises that no lock can provide complete security by itself. This lock may be defeated by forcible or technical means, or evaded by entry elsewhere on the property. No
lock can substitute for caution, awareness of your environment, and common sense. Builder’s hardware is available in multiple performance grades to suit the application. In order to enhance security and
reduce risk, you should consult a qualiied locksmith or other security professional.
ADVERTENCIA: Este Fabricante hace saber que no hay cerrojos que puedan proporcionar completa seguridad por sí mismos. Puede hacerse que falle este cerrojo forzándolo o utilizando medios
técnicos, o puede evadirse entrando por otra parte de la propiedad. No hay cerrojos que puedan hacer de sustitutos para la precaución, el estar al tanto del entorno, y el sentido común. Pueden obtenerse
piezas de ferretería de constructor con diversos grados de rendimiento para ajustarse a la aplicación. Para realzar la seguridad y reducir los riesgos, debe consultar con un cerrajero capacitado u otro
profesional de seguridad.
AVERTISSEMENT: Le fabricant tient à vous aviser qu’aucun verrou ne peut à lui seul orir une sécurité complète. Ce verrou peut être mis hors d’état par la force ou des moyens techniques ou être évité par
l’utilisation d’une autre entrée sur la propriété. Aucun verrou ne peut remplacer la surveillance de votre environnement et le bon sens. Diérentes qualités de matériel d’installation sont oertes pour diérentes
applications. Ain d’augmenter la sécurité et de réduire le risque, vous devriez consulter un serrurier qualiié ou un autre professionnel de la sécurité.
© 2015 Baldwin Hardware Corporation
Install Interior Knob and Brass Washer
Instale Perilla Interior y Arandela de Latón
Installez Intérieur Knob et la Rondelle en Laiton
11
Install Keeper
Instale Cuidadero
Installez Gardien
12
Push against Exterior Knob while installing Interior Knob.
Set screw hole is on the same side as Spindle notch.
Empuje contra Perilla Exterior durante la instalaciónde Perilla Interior.
Tornillo de ajuste está en el mismo lado como la muesca del husillo.
Pousser contre Poignée Extérieur lors de l'installation Poignée Intérieur.
Vis de réglage se trouve sur le même côté que l'encoche de la broche.
Keeper should be lush with the
jamb on the edge of the door
Cerradero debe estar a ras con la
jamba en el borde de la puerta
Gardien doit être aligné avec le
montant sur le bord de la porte
K
T1
T2
U
J
H
I
Other Baldwin Door Lock manuals

Baldwin PRIVACY Series User manual

Baldwin

Baldwin PRIVACY Series User manual

Baldwin 800.566.1986 User manual

Baldwin

Baldwin 800.566.1986 User manual

Baldwin 8252 Series Assembly instructions

Baldwin

Baldwin 8252 Series Assembly instructions

Baldwin 8225 User manual

Baldwin

Baldwin 8225 User manual

Baldwin Evolved User manual

Baldwin

Baldwin Evolved User manual

Baldwin Reserve Series User manual

Baldwin

Baldwin Reserve Series User manual

Baldwin 009 Series User manual

Baldwin

Baldwin 009 Series User manual

Baldwin 9BR7020 Series User manual

Baldwin

Baldwin 9BR7020 Series User manual

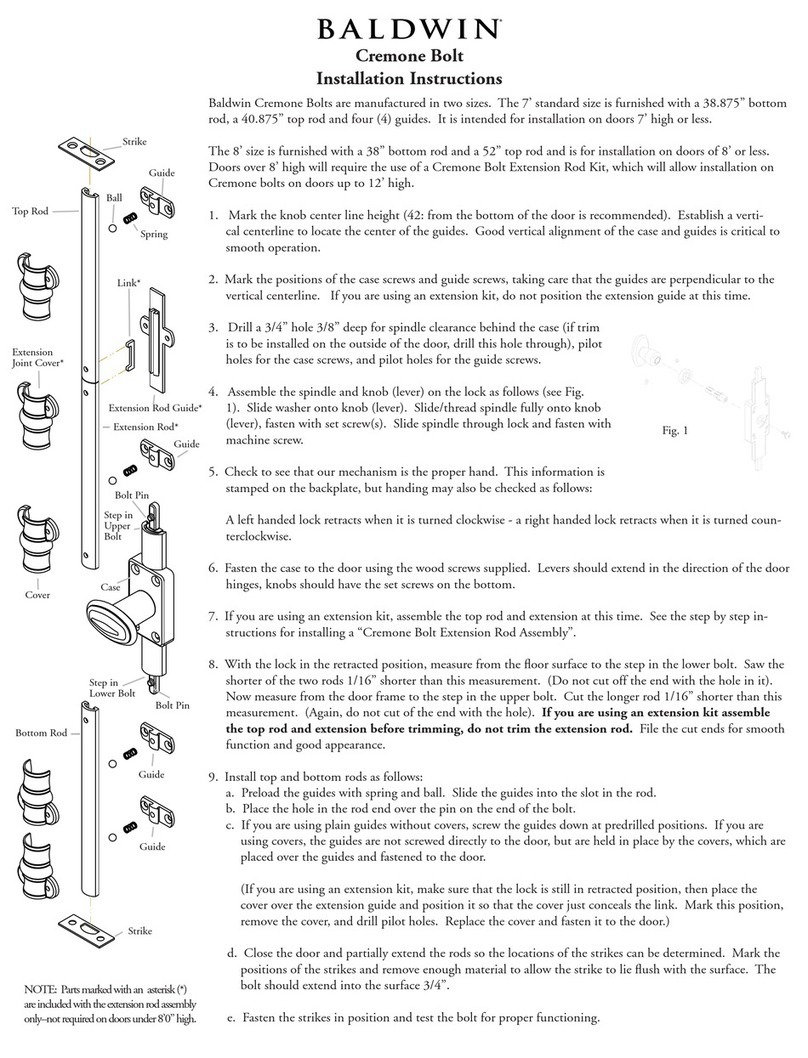
Baldwin Cremone Bolt User manual

Baldwin

Baldwin Cremone Bolt User manual

Baldwin Multi-Point User manual

Baldwin

Baldwin Multi-Point User manual

Baldwin RESERVE 47038 / 03 Instruction manual

Baldwin

Baldwin RESERVE 47038 / 03 Instruction manual

Baldwin 5080 Series User manual

Baldwin

Baldwin 5080 Series User manual

Popular Door Lock manuals by other brands

Dorma MUNDUS PREMIUM US 10 Mounting instruction

Dorma

Dorma MUNDUS PREMIUM US 10 Mounting instruction

Defiant LG600BRA4BGT Instructions for installation

Defiant

Defiant LG600BRA4BGT Instructions for installation

TRU-BOLT M1740024 manual

TRU-BOLT

TRU-BOLT M1740024 manual

Opera ARCA SLIDE installation instructions

Opera

Opera ARCA SLIDE installation instructions

tell CODELOCK CL5500 Series installation instructions

tell

tell CODELOCK CL5500 Series installation instructions

ABH LR6000 installation instructions

ABH

ABH LR6000 installation instructions

Assa Abloy effeff 827A-IP Mounting instructions

Assa Abloy

Assa Abloy effeff 827A-IP Mounting instructions

Iseo MA1A installation guide

Iseo

Iseo MA1A installation guide

ID Lock 150 user manual

ID Lock

ID Lock 150 user manual

Lockly ACCESS TOUCH PRO user manual

Lockly

Lockly ACCESS TOUCH PRO user manual

iLoq G50S user guide

iLoq

iLoq G50S user guide

SDC Z7835 installation instructions

SDC

SDC Z7835 installation instructions

ilco 452 Installation

ilco

ilco 452 Installation

Samsung shs-h705 user guide

Samsung

Samsung shs-h705 user guide

TRU-BOLT 08102017 user manual

TRU-BOLT

TRU-BOLT 08102017 user manual

CDVI 500-LADJ quick start guide

CDVI

CDVI 500-LADJ quick start guide

Igloohome Deadbolt 2S Metal Grey Installer/user guide

Igloohome

Igloohome Deadbolt 2S Metal Grey Installer/user guide

eSSL FL-300 user manual

eSSL

eSSL FL-300 user manual

manuals.online logo
manuals.online logoBrands
  • About & Mission
  • Contact us
  • Privacy Policy
  • Terms and Conditions

Copyright 2025 Manuals.Online. All Rights Reserved.