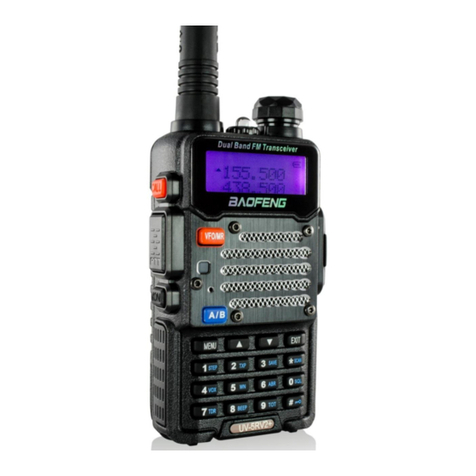
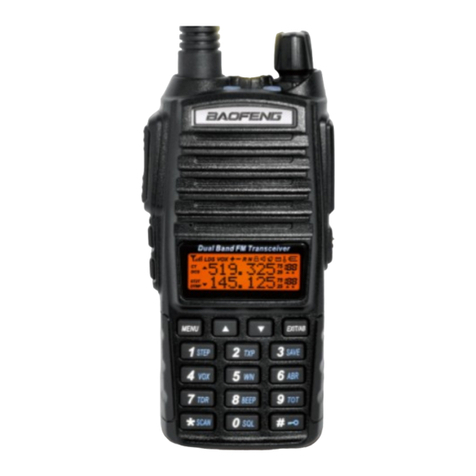
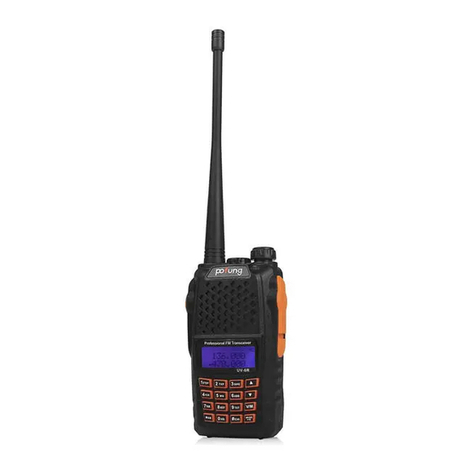
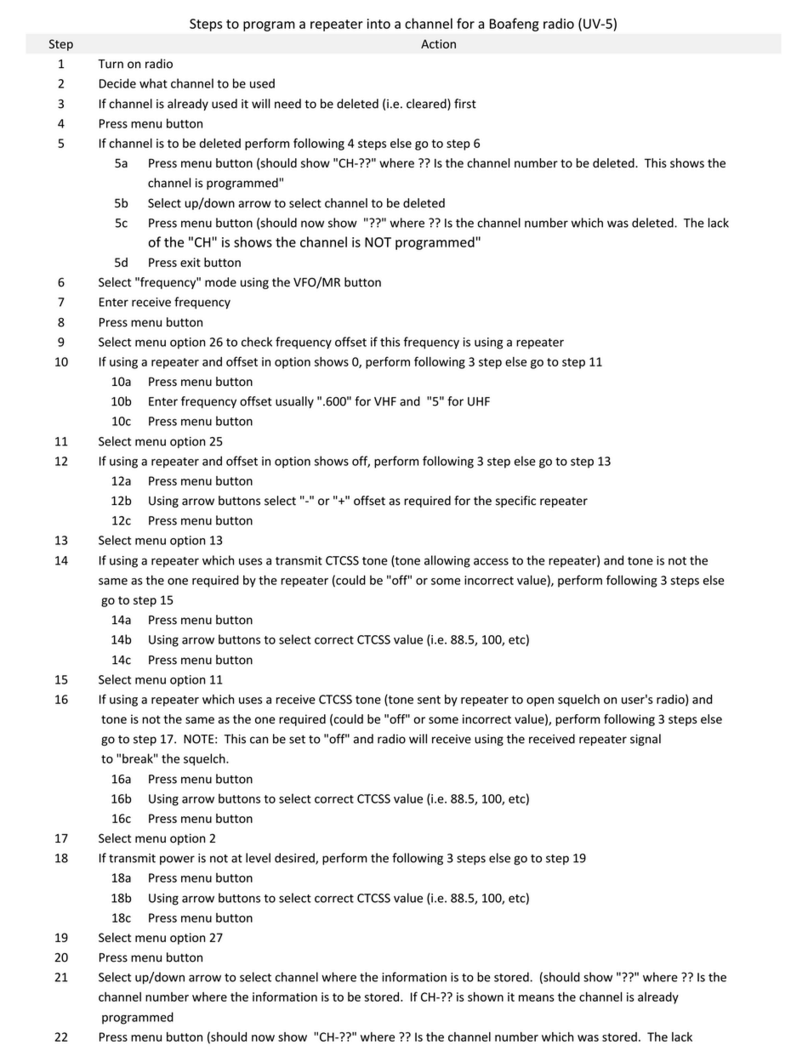
Baofeng UV-82 User manual

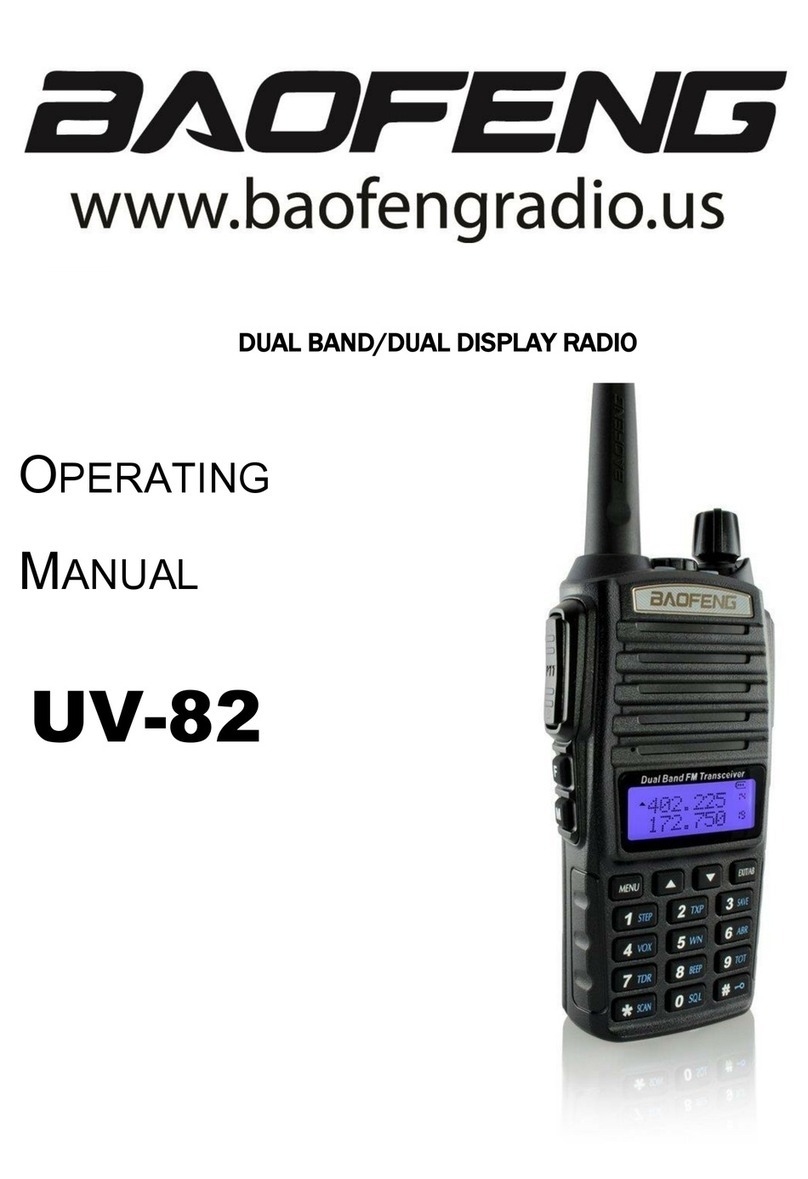
DUAL BAND/DUAL DISPLAY RADIO
UV-82
OPERATING MANUAL

PREFACE
Thank you for purchasing UV-82 Portable Radio, which is a dual band/dual display radio. This
easy-to-use radio will deliver you secure, instant and reliable communications at peak efficiency.
Please read this manual carefully before use. The information presented herein will help you to
derive maximum performance from your radio.

CONTENT
1.SAFETYINFORMATION
2.FEATURESANDFUNCTIONS
3.UNPACKINGANDCHECKINGEQUIPMENTS
4.OPTIONALACCESSORIES
5.INSTALLATIONOFACCESSORIES
5.1.INSTALLINGTHEANTENNA
5.2.INSTALLINGTHEBELTCLIP
5.3.MICROHEADSETINSTALLATIONOFEXTERNAL
5.4.–BATTERYINSTALLATION
6.BATTERYCHARGING
7.BATTERYINFORMATION
7.1.INITIALUSE
7.2.BATTERYTIPS
7.3.PROLONGBATTERYLIFE
7.4.BATTERYSTORAGE
8.PARTS,CONTROLSANDKEYS
8.1.RADIOOVERVIEW
8.2.COMMAND/KEYDEFINITION
9.‘LCD’DISPLAY
10.1750HzTONEFORACCESSTOREPEATERS
11.1.RADIOONOFF/VOLUMECONTROL
11.2.SELECTINGAFREQUENCYORCHANNEL
12ADVANCEDOPERATION

12.1.SETMENUDESCRIPTION
12.2.SHORTCUTMENUOPERATION
12.3.“SQL”(SQUELCH)
12.4.FUNCTION“VOX”(VOICEOPERATEDTRANSMISSION)
12.5.‐SELECTWIDEBANDORNARROWBAND“W/N”
12.6.‐TDR(DUALWATCH/DUALRECEPTION)
12.7.TOT(TRANSMISSIONTIMER)
12.8.CTCSS/DCS
12.9.ANI
12.10.DTMFST(DTMFTONEOFTRANSMITTINGCODE)
12.11.SCREV(SCANRESUMEMETHOD)
12.12.PTTID(PTTORRELEASEPTTTOTRANSMITTHESIGNALCODE)
12.13BCL(BUSYCHANNELLOCKOUT)
12.14.SFTD(DIRECTIONOFFREQUENCYSHIFT)
12.15.OFFSET(FREQUENCYSHIFT)
12.16.STE(STETAILTONEELIMATION)
12.17.THEINSTRUCTIONSTOSAVECHANNEL
12.18.CTCSS/DCSSCANNING
12.19.REPEATERTAILTONE
13.CTCSSTA B L E
14.DCSTAB L E
15.TECHNICALSPECIFICATION
15.1.GENERAL
15.2.–TRANSMITTER

15.3.RECEIVER
16.TROUBLESHOOTING
17.WARRANTY

1.SAFETYINFORMATION:
The following safety precautions shall always be observed during operation, service and repair of this equipment.
◇ This equipment shall be serviced by qualified technicians only.
◇ Do not modify the radio for any reason.
◇ Use only BAOFENG supplied or approved batteries and chargers.
◇ Do not use any portable radio that has a damaged antenna. If a damaged antenna comes into contact with
your skin, a minor burn can result.
◇ Turn off your radio prior to entering any area with explosive and flammable materials.
◇ Do not charge your battery in a location with explosive and flammable materials.
◇ To avoid electromagnetic interference and/or compatibility conflicts, turn off your radio in any area where
posted notices instruct you to do so.
◇ Turn off your radio before boarding an aircraft. Any use of a radio must be in accordance with airline
regulations or crew instructions.
◇ Turn off your radio before entering a blasting area.
◇ For vehicles with an air bag, do not place a radio in the area over an air bag or in the air bag deployment area.
◇ Do not expose the radio to direct sunlight over a long time, nor place it close to heating source.
◇ When transmitting with a portable radio, hold the radio in a vertical position with the microphone 3 to 4
centimeters away from your lips. Keep antenna at least 2.5 centimeters away from your body when transmitting.
WARNING:Ifyouweararadioonyourbody,ensuretheradioanditsantennaareatleast2.5
centimetersawayfromyourbodywhentransmitting.
2.FEATURESANDFUNCTIONS:
-Dual-band handheld transceiver with display function menu on the display "LCD".
- Commercial FM radio receiver (65 MHz ~ 108 MHz).
-Frequency Mode/Channel Mode
- DTMF encoded.
- Incorporates 105 codes "DCS" and 50 privacy codes "CTCSS" programmable.
-CTCSS & DCS Scanning
- CTCSS & DCS Direct input
- Function "VOX" (voice operated transmission).
- Alarm function.
- Up to 128 memory channels.
- Broadband (Wide) / Narrowband (Narrow), selectable.
- Display illumination and programmable keyboard.
- Function "beep" on the keyboard.
- Dual Standby/dual reception.
-Crossband reception/transmission
- Selectable Frequency Step 6.25/12.5 kHz.
- Function "OFFSET" (frequency offset for repeater access).
- Frequency reverse
- Battery saving function "SAVE".
- Timer transmission "TOT" programmable.
- Selecting the Scan Mode.
- Function Busy Channel Lock "BCLO".
- Built-in RX CTCSS/DCS scan
- Built-in LED flashlight.
- Programmable by PC.
- Level Threshold "Squelch" adjustable from 0 to 9.
-Tone end of transmission
- Built-in key lock

3.UNPACKINGANDCHECKINGEQUIPMENTS:
Carefully unpack the transceiver. We recommend that you identify the items listed in the following
before discarding the packing material. If any items are missing or have been damaged during
shipment, please contact your dealers immediately.
Battery Pack
Antenna
Adapter
Drop-in Charging Tray
Belt Clip
Handstrap
Note:
-Items included in the package, may differ from those listed in the table above depending
on the country of purchase. For more information, consult your dealer or vendor.
4.OPTIONALACCESSORIES:
Note:
‐Consultthedealerorretailerforinformationaboutoptionsavailable.

5.INSTALLATIONOFACCESSORIES:
5.1.INSTALLINGTHEANTENNA:
Install the antenna as shown in the figure below and turn it clockwise until it stops.
Note:
‐Wheninstallingtheantenna,don’trotateitbyitstop,
holdingitbyitsbaseandturn.
‐Ifyouuseanexternalantenna,makesurethe‘SWR’is
about1.5:1orless,toavoiddamagetothetransceiver's
finaltransistors.
‐Donotholdtheantennawithyourhandorwraptheoutside
ofittoavoidbadoperationofthetransceiver.
‐Nevertransmitwithoutanantenna.
5.2.INSTALLINGTHEBELTCLIP:
If necessary, install the belt clip at the rear of the battery compartment cover as
shown in the figure below.
Note:
‐Donotuseanykindofgluetofixthescrewonthebeltclip.
ThesolventsGluemaydamagethebatterycasing.
5.3.MICROHEADSETINSTALLATIONOFEXTERNAL:
Plug the external micro-headset connector into the jack of ‘SP. & MIC’
of the transceiver as shown in the figure below.
5.4.–BATTERYINSTALLATION:
-When attaching the battery, make sure the battery is in parallel and in good contact with the
aluminum chassis. The battery bottom is about 1 to 2 centimeters below the bottom of the radio’s

body.
-Align the battery with the guide rails on the aluminum chassis and slide it upwards until a ‘click’ is
heard.
-The battery latch at the bottom locks the battery.
-Turn off the radio before removing the battery.
-Slide the battery latch, at the bottom of the radio’s body, in the direction indicated by the arrow.
-Slide down the battery for about 1 to 2 centimeters, and then remove the battery from the radio’s
body.
6.BATTERYCHARGING:
Use only the charger specified by the manufacturer. The charger’s LED indicates the charging
progress.
CHARGINGSTATUSLEDINDICATION
Standby (no-load) Red LED flashes,while Green LED glows
Charging Red LED solidly glows
Fully Charged Green LED solidly glows
Error Red LED flashes,while Green LED glows
Please follow these steps:
1. Plug the power cord into the adapter.
2. Plug the AC connector of the adapter into the AC outlet socket.

3. Plug the DC connector of the adapter into the DC socket on the back of the charger.
4. Place the radio with the battery attached, or the battery alone, in the charger.
5. Make sure the battery is in good contact with the charging terminals. The charging process
initiates when the red LED lights.
6. The green LED lights about 4 hours later indicating the battery is fully charged. Then remove the
radio with the battery attached or the battery alone from the charger.
7.BATTERYINFORMATION:
7.1.INITIALUSE
New batteries are shipped uncharged fully from the factory. Charge a new battery for 5 hours
before initial use. The maximum battery capacity and performance is achieved after three full
charge/discharge cycles. If you notice the battery power runs low, please recharge the battery.
WARNING:‐Toreducetheriskofinjury,chargeonlythebatteryspecifiedbythemanufacturer.Otherbatteriesmay
burst,causingbodilyinjuryandpropertydamage.
‐Toavoidriskofpersonalinjury,donotdisposeofbatteriesinafire!
‐Disposeofbatteriesaccordingtolocalregulations(e.g.recycling).Donotdisposeashouseholdwaste.
‐Neverattempttodisassemblethebattery.
7.2.BATTERYTIPS:
1. When charging your battery, keep it at a temperature among 5℃ - 40℃. Temperature out of the
limit may cause battery leakage or damage.
2. When charging a battery attached to a radio, turn the radio off to ensure a full charge.
3. Do not cut off the power supply or remove the battery when charging a battery.
4. Never charge a battery that is wet. Please dry it with a soft cloth prior to charge.
5. The battery will eventually wear out. When the operating time (talk-time and standby time) is
noticeably shorter than normal performance, it is time to buy a new battery.
7.3.PROLONGBATTERYLIFE:
1. Battery performance will be greatly decreased at a temperature below 0℃. A spare battery is
necessary in cold weather. The cold battery unable to work in this situation may work under room
temperature, so keep it for later use.
2. The dust on the battery contact may cause the battery cannot work or charge. Please use a
clean dry cloth to wipe it before attaching the battery to the radio.
7.4.BATTERYSTORAGE:
1. Fully charge a battery before you store it for a long time, to avoid battery damage due to

over-discharge.
2. Recharge a battery after several months’ storage (Li-Ion batteries: 6 months), to avoid battery
capacity reduction due to over-discharge.
3. Store your battery in a cool and dry place under room temperature, to reduce self-discharge.
8.PARTS,CONTROLSANDKEYS:
8.1.RADIOOVERVIEW:
①Antenna 11. SK-side key1/F
②LCD 12.SK-sidekey2/M
3.Keypad 13.Strapbuckle
4. Knob (ON/OFF, volume) 14. Accessory jack
5.Flashlight 15.LEDindicator
6.Speaker
7. Microphone
8.Batterylatch
9.PTT-A
10.PTT-B
8.2.COMMAND/KEYDEFINITION:
【PTTA】:
Use for the Transmission of specified channel while dual standby is activated on.(If the dual
standby is not activated on, it is not valid)
【PTTB】:
Use for the Transmission of more specified channels which selected by pressing UP or DOWN key
while standby.
SKSIDEKEY1/【F】:

-Press the 【F】button, to activate the FM Radio on; Press it again to deactivate the FM Radio.
-Press and hold on the 【F】button, to activate the alarm function; Press and hold it again, to
deactivate the alarm function.
SKSIDEKEY2/【M】:
-Press the【M】button, to turn on the flashlight; Press it again to turn off. Press and hold on the【M】
button, to monitor the signal.
-COPYING
Connecting the two radios with special data cable, press and hold SKSIDEKEY2/【M】(or
numerical key 2 or 3), then power on, you will see ‘ COPYING’ on the LCD, that means data is
being copied from one radio to another.
FUNCTIONKEYPAD:
-【MENU】key:
-To enter the menu of the radio and confirm the setting.
-Press and hold 【MENU】button, then power on, to switch the frequency mode and channel mode.
-【▲】【▼】key:
-Press and hold 【▲】or 【▼】key for frequency up or down fast.
-Press 【▲】or 【▼】key, the scanning will be opposite.
-【EXIT/AB】key:
-To cancel /clear or exit.
- While standby, press 【EXIT/AB】key to switch between Channel A and Channel B.
-Under FM radio mode, press【EXIT/AB】key to switch the FM radio band 65-75MHz/76-108MHz.
NUMERICKEYPAD:
‐Usedtoenterinformationforprogrammingtheradio’slistsandthenon‐standardCTCSS
‐Undertransmissionmode,pressthenumerickeytosendthesignalcode(thecodeshouldbesetbyPCsoftware).
ACCESSORYJACK:
-The jack is used to connect audio accessories, or other accessories such as programming cable.
9.‘LCD’DISPLAY:
The display icons appear when certain operations or specific features are activated.

Icon Description
CT ‘CTCSS’ activated.
DCS ‘DCS’ activated.
+ Frequency Shift +
- Frequency Shift -
+ - Frequency offset direction for accessing repeaters.
S Dual Watch/Dual Reception functions activated.
VOX Function ‘VOX’ enabled.
R Reverse function activated.
N WideBandselected.
Battery Level indicator
Keypad lock function activated.
L Low transmit power.
▲▼ Operation frequency.
Signal Strength Level.
188 Operating channel.
75/25
10.1750HzTONEFORACCESSTOREPEATERS:
The user needs to establish long distance communications through an amateur radio repeater
which is activated after receiving a 1750 Hz tone. Press and hold on the【PTT】,then press the【F】
button to transmit a 1750Hz tone.
11.BASICOPERATION:
11.1.RADIOONOFF/VOLUMECONTROL:
-Make sure the antenna and battery are installed correctly and the battery charged.
-Rotate the knob clockwise to turn the radio on, and rotate the knob fully counter-clockwise until a
‘click’ is heard to turn the radio off. Turn the knob clockwise to increase the volume, or
counter-clockwise to decrease the volume.
11.2.SELECTINGAFREQUENCYORCHANNEL:
Press the key 【▲】or【▼】to select the desired frequency/channel you want. The display shows
the frequency / channel selected.
-Press and hold down the key 【▲】or 【▼】for frequency up or down fast.
Note:
- You can not select a channel if not previously stored.

12ADVANCEDOPERATION:
You can program your transceiver operating in the setup menu to suit your needs or preferences.
12.1.SETMENUDESCRIPTION:
MenuFunction/DescriptionAvailablesettings
0 SQL(Squelchlevel) 0‐9
1STEP(Frequencystep)6.25/12.5/kHz
2TXP(Transmitpower)HIGH/LOW
3SAVE(Batterysave,1:1/1:2/1:3/1:4)OFF/1/2/3/4
4VOX(Voiceoperatedtransmission)OFF/0‐10
5W/N(Wideband/narrowband)WIDE/NARR
6ABR(Displayillumination)OFF/1/2/3/4/5s
7TDR(Dualwatch/dualreception)OFF/ON
8BEEP(Keypadbeep)OFF/ON
9TOT(Transmissiontimer)15/30/45/60.../585/600seconds
10R‐DCS(Receptiondigitalcodedsquelch)OFF/D023N...D754I
11R‐CTS(ReceptionContinuousToneCodedSquelch)67.0Hz...254.1Hz
12T‐DCS(Transmissiondigitalcodedsquelch)OFF/D023N...D754I
13T‐CTS(TransmissionContinuousToneCodedSquelch)67.0Hz...254.1Hz
14VOICE(Voiceprompt)OFF/ON
15ANI(Automaticnumberidentificationoftheradio,onlycanbesetby
PCsoftware.
16DTMFST(TheDTMFtoneoftransmittingcode.)OFF/DT‐ST/ANI‐ST/DT+ANI
17S‐CODE(Signalcode,onlycouldbesetbyPCsoftware.)1,…,15groups
18SC‐REV(Scanresumemethod)TO/CO/SE
19PTT‐ID(pressorreleasethePTTbuttontotransmitthesignalcode)OFF/BOT/EOT/BOTH
20PTT‐LT(delaythesignalcodesending)0,…,30ms
21MDF‐A(underchannelmode,Achanneldisplays.Note:namedisplay
onlycanbesetbyPCsoftware.
FREQ/CH/NAME
22MDF‐B(underchannelmode,Bchanneldisplays.Note:namedisplay
onlycanbesetbyPCsoftware.
FREQ/CH/NAME
23BCL(busychannellockout)OFF/ON
24AUTOLK(keypadlockedautomatically)OFF/ON
25SFT‐D(directionoffrequencyshift)OFF/+/‐
26OFFSET(frequencyshift)00.000…69.990
27MEMCH(storedinmemorychannels)000,…127
28DELCH(deletethememorychannels)000,…127
29WT‐LED(illuminationdisplaycolorofstandby)OFF/BLUE/ORANGE/PURPLE
30RX‐LED(illuminationdisplaycolorofreception)OFF/BLUE/ORANGE/PURPLE
31TX‐LED(illuminationdisplaycoloroftransmitting)OFF/BLUE/ORANGE/PURPLE
32AL‐MOD(alarmmode)SITE/TONE/CODE
33BAND(bandselection)VHF/UHF
34TX‐AB(transmittingselectionwhileindualwatch/reception)OFF/A/B
35STE(TailToneElimination)OFF/ON
36RP_STE(Tailtoneeliminationincommunicationthroughrepeater)OFF/1,2,3…10
37RPT_RL(Delaythetailtoneofrepeater)OFF/1,2,3…10

38PONMGS(Bootdisplay)FULL/MGS
39ROGER(toneendoftransmission)ON/OFF
40A/B‐BP(Toneendofreception)OFF/A/B
41RESET(Restoretodefaultsetting)VFO/ALL
12.2.SHORTCUTMENUOPERATION:
1.‐PressthekeyMENU,thenpressthekeyortoselectthedesired▲▼ menu.
2.‐PressthekeyMENUagain,cometotheparametersetting.
3.‐Pressthekey▲or▼toselectthedesiredparameter.
4.‐PressthekeyMENUtoconfirmandsave,pressthekeyEXITtocancelsettingorcleartheinput.
‐Note:
Underchannelmode,thefollowingmenusettingsareinvalid:CTCSS,DCS,W/N,PTT‐ID,BCL,SCANADD
TO,S‐CODE,CHANNELNAME.OnlytheH/Lpowercouldbechangedbypressing‘#’.
12.3.“SQL”(SQUELCH)
‐Thesquelchmutethespeakerofthetransceiverintheabsenceofreception.Withthesquelchlevel
correctlyset,youwillhearsoundonlywhileactuallyreceivingsignalsandsignificantlyreducesbattery
currentconsumption. It is recommended that you set Level 5.
12.4.FUNCTION“VOX”(VOICEOPERATEDTRANSMISSION):
‐Thisfunctionisnotnecessarytopushthe[PTT]onthetransceiverforatransmission.Transmissionis
activatedautomaticallybydetectingtheradiovoice.Whenfinishspeaking,thetransmissionautomatically
terminatedandthetransceiverwillautomaticallyreceivesignal.BesuretoadjusttheVOXGainleveltoan
appropriatesensitivitytoallowsmoothtransmission.
12.5.‐SELECTWIDEBANDORNARROWBAND“W/N”:(12.5kHz/6.25kHz)
InareaswheretheRFsignalsaresaturated,youmustusethenarrowbandoftransmissiontoavoid
interferenceinadjacentchannels.

12.6.‐TDR(DUALWATCH/DUALRECEPTION):
This feature allows you to operate between frequency A and frequency B. Periodically, the
transceiver checks whether a signal is received on another frequency that we have scheduled. If
you receive a signal, the unit will remain in the frequency until the received signal disappears.
12.7.TOT(TRANSMISSIONTIMER):
This function can automatically control the time we transmit each time you press [PTT] on the transceiver. This
feature is very useful to avoid overheating excessive power transistors of the transceiver. The transceiver will be
off transmission automatically once the set time.
12.8.CTCSS/DCS:
Insomecasesonlywanttoestablishcommunicationsinaclosedusergroupataparticularfrequencyor
channel,foritwilluse"CTCSS"orcode"DCS"forreception.
The"squelch"opensonlywhenreceivingafrequencywith"CTCSS"orcodes"DCS"sameasthe
programmedinyourtransceiver.Ifcodesofthereceivedsignaldiffersfromthoseprogrammedinyour
transceiver,the"squelch"willnotopenandthereceivedsignalcanbeheard.
Note:
- The use of "CTCSS" or "DCS" in a communication, does not guarantee complete confidentiality
communication.
12.9.ANI
‐ANI(AutomaticNumberIdentification)isalsoknownasPTTIDbecauseanIDistransmittedwhenthePTT
buttonoftheradioispressedand/orreleased.ThisIDtellsthedispatcherwhichfieldradiowaskeyed.
OnlycouldbesetbyPCsoftware.
12.10.DTMFST(DTMFTONEOFTRANSMITTINGCODE):
FirstyoushouldsetthePTT‐IDasBOT/EOT/BOTH
‐“OFF”—Undertransmittingmode,youcan’theartheDTMFtone,whileyoupressthekeytotransmit
thecodeorcodeautomaticallytransmitted.
‐“DT‐ST”—Undertransmittingmode,youcanheartheDTMFtone,whileyoupressthekeytotransmit
thecode.
‐“ANI‐ST”—undertransmittingmode,youcanheartheDTMFtone,while the code automatically

transmitted.
‐“DT‐ANI”—undertransmittingmode,youcanheartheDTMFtone,whileyoupressthekeytotransmit
thecodeorthecodeautomaticallytransmitted.
12.11.SCREV(SCANRESUMEMETHOD):
Thistransceiverallowsyoutoscanmemorychannels,allthebandsorpartofthebands.
Whenthetransceiverdetectsacommunication,thescanwillstopautomatically.
Notes:
‐"TO"(TimeOperation):
Scanningwillstopwhenitdetectsanactivesignal.Thescanningwillstoponeachchannelor
activefrequencyforapredeterminedtime,afterthattimethescanwillresumeautomatically.
‐"CO"(CarrierOperation):
Thescanningwillstopandremaininthefrequencyorchannel,untiltheactivesignaldisappears.
‐"SE"(SearchOperation):
Thescanningwillstopandremaininthefrequencyorchannelafteritdetectsanactivesignal.
12.12.PTTID(PTTORRELEASEPTTTOTRANSMITTHESIGNALCODE):
‐Thisfeatureallowsyoutoknowwhocallyou.
‐“OFF”—Don’ttransmitthecodewhilepushthePTTbutton.
‐“BOT”‐TransmitthecodewhilepushthePTTbutton.(thecodeonlycouldbesetbyPCsoftware.)
‐“EOT”‐TransmitthecodewhilereleasethePTTbutton.
‐“BOTH”‐TransmitthecodewhilepushorreleasethePTTbutton.
12.13.BCL(BUSYCHANNELLOCKOUT):
TheBCLOfeaturepreventstheradio’stransmitterfrombeingactivatedifasignalstrongenoughtobreak
throughthe“noise”squelchispresent.OnafrequencywherestationsusingdifferentCTCSSorDCScodes
maybeactive,BCLOpreventsyoufromdisruptingtheircommunicationsaccidentally(becauseyourradio
maybemutedbyitsowntonedecoder).
12.14.SFTD(DIRECTIONOFFREQUENCYSHIFT):
The "OFFSET" is the difference or offset between the reception frequency and the frequency of
transmission for access to amateur radio repeaters. Set the "OFFSET" according to
the "OFFSET" amateur radio repeater through which want to communicate.
12.15.OFFSET(FREQUENCYSHIFT):
When communicating via a repeater, the direction of displacement of
frequency should be timed to the displacement of the transmission frequency is
higher or lower than the receiving frequency.
example:
If we want to make a communication through amateur radio repeater whose frequency
input is 145,000 MHz and 145,600 MHz is output, we select the
"OFFSET" of the previous section in 0600 and the direction of travel "SHIFT" programmed

to [-], so the transceiver will always 145,600 MHz in frequency and when
you press [PTT] to transmit transceiver, the frequency will automatically move to
145,000 MHz
Note: Under VFO mode, you can do like this. If you need the TX and RX frequency different
under Channel mode, you can directly store different RX and TX frequency into one channel
through MENU 27.
12.16.STE(TAILTONEELIMATION):
This function is used to activate or deactivate the transmission end of the transceiver. this
final tone transmission only be used in communications between transceivers and not in
communications through a repeater, which must be deactivated.
12.17.THEINSTRUCTIONSTOSAVECHANNEL
A complete memory channel includes RX frequency, TX frequency, CTCSS, DCS, RF Power,
Bandwidth, PTT-ID, BCL, ANI, Scan add to, Channel Name, etc. Except for the setting of Scan
add to and Channel Name, other settings could be finished by keypad under VFO mode.
Example: We want programming all the data into CH106, please do as following:
RX Frequency 440.625MHz
TX Frequency 430.625MHz
RX CTCSS 100.0Hz
TX DCS 250.3Hz
RFPower High
Bandwidth Wide
PTT-ID OFF
1. We have to check whether there are any data in CH106 or not. Come to MENU 28, if there is a
‘CH’ before ‘106’, that means there are data. So please delete it and you will find there is not a
‘CH’ before ‘106’, or else you can’t have new data in this channel.
2. Press and hold 【MENU】key, then power on, come to VFO mode. Press 【EXIT/AB】key to
select frequency A (UP).
3. Enter 440.625MHz
4. Now through the MENU, you can set other parameters. CTCSS,DCS, RF Power, Bandwidth,
etc.
5. After you finish all the other settings, press 【MENU】key, then come to MENU 27, press
【MENU】key two times, you will know all the data have been stored into CH106, however now
only RX frequency was stored. At the same time, you press 【MENU】key another two times,
you will store the TX frequency, of course the TX and RX frequency are same.
Note: If you want the TX frequency 430.625 stored into CH106, you should do the same
steps after you store the RX frequency into CH106.
12.18.CTCSS/DCSSCANNING
Before setting the CTCSS/DCS scanning, you should have a RX frequency and cancel the Dual
Standby function, ensure the radio is working under VFO mode.
Come to MENU 11, press【MENU】one time, then press [*/SCAN] key, at the same time, you should

press the PTT of another radio, then you will see the CTCSS scanning automatically. When the
scanning stops, that means you find the same CTCSS as that of another radio, now press
【MENU】to store the CTCSS.
12.19.REPEATERTAI L TONE
We all know that repeaters receive on one frequency and simultaneously retransmit that same
information on a different frequency. We hear the courtesy tone almost every time we use the
repeater. It’s that innocuous beep that lets us know that the repeater is alive and, most importantly,
that it has heard us. The MENU 35, 36,37 are very helpful settings while your radio work through
repeater. MENU 35 and MENU 36 better be set OFF. The parameter of MENU 37 is from 1-10,
better set 5.
13.CTCSSTA B L E :
Nº Tone
(Hz) Nº Tone
(Hz) Nº Tone
(Hz) Nº Tone
(Hz) Nº Tone
(Hz)
1 67.0 11 94.8 21 131.8 31 171.3 41 203.5
2 69.3 12 97.4 22 136.5 32 173.8 42 206.5
3 71.9 13 100.0 23 141.3 33 177.3 43 210.7
4 74.4 14 103.5 24 146.2 34 179.9 44 218.1
5 77.0 15 107.2 25 151.4 35 183.5 45 225.7
6 79.7 16 110.9 26 156.7 36 186.2 46 229.1
7 82.5 17 114.8 27 159.8 37 189.9 47 233.6
8 85.4 18 118.8 28 162.2 38 192.8 48 241.8
9 88.5 19 123.0 29 165.5 39 196.6 49 250.3
10 91.5 20 127.3 30 167.9 40 199.5 50 254.1
14.DCSTAB L E:
Nº Code Nº Code Nº Code Nº Code Nº Code
1 D023N 22 D131N 43 D251N 64 D371N 85 D532N
2 D025N 23 D132N 44 D252N 65 D411N 86 D546N
3 D026N 24 D134N 45 D255N 66 D412N 87 D565N
4 D031N 25 D143N 46 D261N 67 D413N 88 D606N
5 D032N 26 D145N 47 D263N 68 D423N 89 D612N
6 D036N 27 D152N 48 D265N 69 D431N 90 D624N
7 D043N 28 D155N 49 D266N 70 D432N 91 D627N
8 D047N 29 D156N 50 D271N 71 D445N 92 D631N
9 D051N 30 D162N 51 D274N 72 D446N 93 D632N
10 D053N 31 D165N 52 D306N 73 D452N 94 D645N
11 D054N 32 D172N 53 D311N 74 D454N 95 D654N
12 D065N 33 D174N 54 D315N 75 D455N 96 D662N
13 D071N 34 D205N 55 D325N 76 D462N 97 D664N
14 D072N 35 D212N 56 D331N 77 D464N 98 D703N
15 D073N 36 D223N 57 D332N 78 D465N 99 D712N
16 D074N 37 D225N 58 D343N 79 D466N 100 D723N
17 D114N 38 D226N 59 D346N 80 D503N 101 D731N
18 D115N 39 D243N 60 D351N 81 D506N 102 D732N
Other manuals for UV-82
5
Table of contents
Other Baofeng Radio manuals

Baofeng
Baofeng UV-5 Troubleshooting guide

Baofeng
Baofeng BF-F8HP User manual

Baofeng
Baofeng UV-82 User manual

Baofeng
Baofeng DM-1801 User manual

Baofeng
Baofeng BF-88A Operating instructions

Baofeng
Baofeng BF-17H Series User manual

Baofeng
Baofeng UV-82 User manual

Baofeng
Baofeng UV-81C User manual

Baofeng
Baofeng Pofung UV-6R User manual

Baofeng
Baofeng UV-5RV2+ User manual