manuals.online logo
Brands
  1. Home
  2. •
  3. Brands
  4. •
  5. Baofeng
  6. •
  7. Radio
  8. •
  9. Baofeng BF-5C User manual

Baofeng BF-5C User manual

BF-5C
2 Watt 16 Channel UHF CB Radio
Designed and Tested to AS/NZS 4365:2011
USER
INSTRUCTIONS
Thank you for purchasing your new BF-5C Portable
Radio. This fully pre-programmed radio is easy to use
and designed to deliver you instant and reliable
communications at peak efficiency. Please read this
manual carefully before use. The information will help
you to enjoy maximum performance from your radio.
Channel Description
1 Ch1 Repeater (Semi Duplex)
2 Ch2 Repeater (Semi Duplex)
3 Ch3 Repeater (Semi Duplex)
4 Ch4 Repeater (Semi Duplex)
5 Ch5 Repeater (Semi Duplex)
6 Ch6 Repeater (Semi Duplex)
7 Ch7 Repeater (Semi Duplex)
8 Ch8 Repeater (Semi Duplex)
9 Ch9 Simplex
10 Ch10 Simplex - 4WD / Off-road
11 Ch11 Simplex - Call channel
12 Ch12 Simplex
13 Ch13 Simplex
14 Ch14 Simplex
15 Ch15 Simplex
16 Ch16 Simplex
17 Ch17 Simplex
18 Ch18 Simplex - Motor-homes
19 Ch19 Simplex
20 Ch20 Simplex
21 Ch21 Simplex
22 Disabled - Telemetry Only
23 Disabled - Telemetry Only
24 Ch24 Simplex
25 Ch25 Simplex
26 Ch26 Simplex
27 Ch27 Simplex
28 Ch28 Simplex
29 Ch28 Simplex
30 Ch28 Simplex
31 Ch1 Repeater Input
32 Ch2 Repeater Input
33 Ch3 Repeater Input
34 Ch4 Repeater Input
35 Ch5 Repeater Input
36 Ch6 Repeater Input
37 Ch7 Repeater Input
38 Ch8 Repeater Input
39 Ch39 Simplex
40 Ch40 Simplex –Road Channel
41 Ch41 Repeater (Semi Duplex)
42 Ch42 Repeater (Semi Duplex)
43 Ch43 Repeater (Semi Duplex)
44 Ch44 Repeater (Semi Duplex)
45 Ch45 Repeater (Semi Duplex)
46 Ch46 Repeater (Semi Duplex)
47 Ch47 Repeater (Semi Duplex)
48 Ch48 Repeater (Semi Duplex)
49 Ch49 Simplex
50 Ch50 Simplex
51 Ch51 Simplex
52 Ch52 Simplex
53 Ch53 Simplex
54 Ch54 Simplex
55 Ch55 Simplex
56 Ch56 Simplex
57 Ch57 Simplex
58 Ch58 Simplex
59 Ch59 Simplex
60 Ch60 Simplex
61 Disabled - Telemetry Only
62 Disabled - Telemetry Only
63 Disabled - Telemetry Only
64 Ch64 Simplex
65 Ch65 Simplex
66 Ch66 Simplex
67 Ch67 Simplex
68 Ch68 Simplex
69 Ch69 Simplex
70 Ch70 Simplex
71 Ch41 Repeater Input
72 Ch42 Repeater Input
73 Ch43 Repeater Input
74 Ch44 Repeater Input
75 Ch45 Repeater Input
76 Ch46 Repeater Input
77 Ch47 Repeater Input
78 Ch48 Repeater Input
79 Ch79 Simplex
80 Ch80 Simplex
With Voice Prompts
www.techoman.co.nz
1. Equipment
2. Accessories
3. Safety Warnings
4. Important Information
5. About UHF CB Radio
6. Unusable Channels
7. Fitting Battery
8. Battery Charging
9. Battery Tips
10. Fitting Antenna
11. Radio Overview
12. Channel Selector
13. Radio Channels
14. Channel Scanning
15. Specifications
16. Channel Listing (back cover)
A full range of parts and accessories
available from www.techoman.co.nz
• External whip antennas
• Vehicle antennas
• Additional batteries
• Earpiece/microphones
• Tactical headset/microphones
• Handheld microphone/speakers
• Handheld microphone/speaker/antennas
• Charger cradles and USB cords
• Waterproof bag covers
• Car cigarette lighter charge cables
• Antenna tuning/power meters, and more
• This radio is a transmitting device.
• When transmitting, keep the antenna more
than 25 mm from any part of the head or
body.
• Do not transmit near flammable or
explosive atmospheres.
• Do not allow children to operate a radio
transmitter unsupervised.
READ ALL INSTRUCTIONS carefully and
completely before operating your radio and
retain this manual for future reference.
NEVER connect the radio to a power source
other than the supplied battery. This may
damage your product.
DO NOT use your radio with a damaged
antenna.
AVOID storing or charging your radio in
direct sunlight.
CONTENTS
EQUIPMENT
ACCESSORIES
1
2
SAFETY WARNINGS
3
Voltage
• Battery Voltage: 3.7 Volts
Transmitter
• Output Power: Maximum 2 Watts
• Transmission: Narrow Band FM (F3E)
• Frequency Range: 476.425 to
477.4125 MHz
• Maximum Frequency Deviation:
2.5kHz
• Adjacent channel power: <-60dB
Receiver
• Sensitivity: -122dBm(12dB SINAD)
• Audio Power: 1 W
CHANNEL SCANNING
14
IMPORTANT
4
SPECIFICATIONS
15
Radio Channel DescriptionCB Channel DCSCTCSS
1 Simplex 4WD/Off Road10
2 Simpex Call Channel11
3 Simplex12
4 Simplex13
5 Simplex14
6 Simplex15
7 Simplex16
8 Simplex17
9 Simplex (Caravan & Motorhome)18
10 Simplex19
11 Simplex20
12 Simplex (Road Channel)40
13 Simplex64
14 Simplex65
15 Simplex66
16 SCAN FUNCTIONSCAN
To activate channel scanning turn the
channel number to 16.
The green light will flash when scanning
and radio will hold for a transmission
then continue scanning 3 seconds after
transmission ceases.
Press [[PTT] to communicate on the
channel that has activity. 3 seconds
after finishing transmission the radio will
begin scanning again..
RADIO CHANNELS
13
UNUSABLE CHANNELS
6
A. Receive/Transmit Indicator
B. Knob - Channel selector knob
C. Knob (ON/OFF/Volume) - Power on/
off and audio speaker volume
D. Press to Talk (PTT) - Press to
transmit
E. Press and hold for for channel
monitor (open squelch)
F. Flash light—Press button to switch
on LED light
G. Microphone and Speaker Sockets
(must use a Baofeng/Kenwood
external microphone/earpiece with K
type connector
Turn the channel selector knob to select the
desired channel you want. (15 channels) plus
channel 16 for scanning all 15 channels.
The voice prompt will indicate your selected
channel number.
RADIO OVERVIEW
11
CHANNEL SELECTOR
12
converse on the newer channels 41 –80.
The newer narrowband radios will be able to
converse with all older 40 channel wideband
radios on all channels 1 to 40 as well as the
newer channels allocated from 41 to 80.
The mixing of narrowband and wideband
radios in the same spectrum can cause
some possible operating issues of
interference and varying levels of received
volume.
When a new narrowband radio receives a
transmission from an older wideband radio
the speech may sound loud and distorted –
simply adjust your radio volume for best
performance. When an older wideband radio
receives a signal from a new narrowband
radio, the speech may sound quiet - simply
adjust your radio volume for best
performance.
Depending on how close your receiving radio
is to another transmitting radio, there can be
interference from the transmitting radio if it is
using a channel adjacent to the channel you
are listening to. Simply try going up or down
a few channels from the currently selected
channel.
ACMA regulations have allocated channels
22, 23, 61, 62 & 63 for telemetry only
applications and have prohibited the
transmission of speech on these channels.
Consequently the BF-5C must not have
these channels
22, 23, 61, 62 & 63
AVOID storing or using your radio where
temperatures are below ‑20°C or above
+60°C.
ALWAYS charge your radio at normal room
temperature.
ONLY use Baofeng approved rechargeable
batteries with the supplied charger.
ALWAYS switch off your radio where notices
restrict the use of two‑way radio or mobile
telephones.
AVOID exposing your radio to water,
moisture or dust. It is not waterproof !
DO NOT attempt to modify your radio in any
way.
The use of the Citizen Band radio service is
licensed in New Zealand by the Ministry of
Economic Development New Zealand
(MED). Users can use these Citizens Band
channels for free but are subject to
operational conditions of the licence.
Your BF-5C meets the latest UHF CB 477
MHz band plan but is limited to 15 channels
usable out of the 80 —standard AS/NZS
4365:2011
The same amount of spectrum is available;
however, radio transceivers can now operate
in a narrower bandwidth and hence use less
spectrum. These radios are generally
referred to as narrowband or 12.5 kHz
radios. By using 12.5 kHz channel spacing
instead of 25 kHz, the 40 channels originally
allocated has now expanded to 80 channels
thereby doubling the channel capacity and
relieving congestion in the UHF CB band.
Original 40 channel wideband radios will
continue to operate on the original 40
channels, however they will not be able to
ABOUT UHF CB RADIO
5
TO INSTALL BATTERY
Place the battery bottom about 1 to 2 cm
below the bottom of the radio's body.
Make sure the battery is in parallel and in
good contact with the aluminium chassis.
Align the battery with the guide rails on the
aluminium chassis and slide it upwards until
a 'click' is heard.
TO REMOVE BATTERY
Turn off the radio before removing the
battery. Press the battery tab under the
radio and slide the battery in the direction
indicated by the arrows.
Slide down the battery for about 1 to 2
centimetres, and then remove the battery
from the radio's body.
Use only the charger specified by the
manufacturer.
WARNING: Turn off the radio before
charging otherwise battery will not fully
charge.
Please follow these steps:
1. Plug the AC connector of the power pack
into the AC outlet socket.
2. Place the radio with the battery attached,
or the battery alone, in the charger.
3. Make sure the battery is in good contact
with the charging terminals. Allow 5
hours for the battery to charge.
BATTERY CHARGING
8
FITTING BATTERY
7 BATTERY TIPS
9 BATTERY STORAGE:
1. Fully charge a battery before you store it
for a long time to avoid battery damage
due to over-discharge.
2. Recharge a battery after 6 months
storage to avoid battery capacity
reduction due to over-discharge.
3. Store your battery in a cool and dry place
under room temperature to reduce self-
discharge.
Install the antenna as shown as below:
NOTE: - When installing the antenna,
don't rotate it by its top,. Hold it by its
base and turn clockwise. Don’t over-
tighten.
If you use an external antenna, make
sure the 'SWR' is about 1.5:1 or less to
avoid damage to the transceiver's final
transistors.
NEVER TRANSMIT
WITHOUT AN ANTENNA
FITTING ANTENNA
10
1. When your radio battery is getting low a
voice prompt will indicate ‘Battery Low’.
2. When charging your battery, keep it at a
temperature between 5C and 40C.
Temperature out of the limit may cause
battery leakage or damage.
3. When charging a battery attached to a
radio, turn the radio off to ensure a full
charge.
4. Do not turn off the power supply or
remove the battery when charging a
battery.
5. Never charge a battery that is wet. Dry it
with a soft cloth prior to charging.
6. The battery will eventually wear out when
the operating time (talk-time and standby
time) is noticeably shorter than normal
performance. It is time to buy a new
battery.
INITIAL USE
New batteries are shipped uncharged from
the factory. Charge a new battery for 5 hours
before initial use. The maximum battery
capacity and performance is achieved after
three full charge/discharge cycles. If you
notice the battery power runs low, please
recharge the battery.
TO PROLONG BATTERY LIFE:
1. Battery performance will be greatly
decreased at a temperature below 0C . A
spare battery is necessary in cold
weather. A cold battery is unable to work
in this situation and will work when back
to room temperature.
2. Dust on the battery contacts may cause
the battery to not work or charge. Please
use a clean dry cloth to wipe them before
attaching the battery to the radio.

Other Baofeng Radio manuals

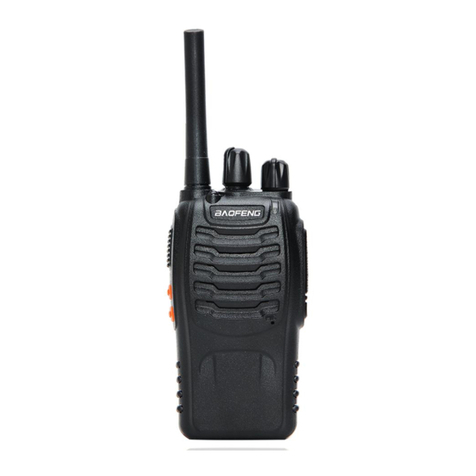
Baofeng BF-88A Operating instructions

Baofeng

Baofeng BF-88A Operating instructions

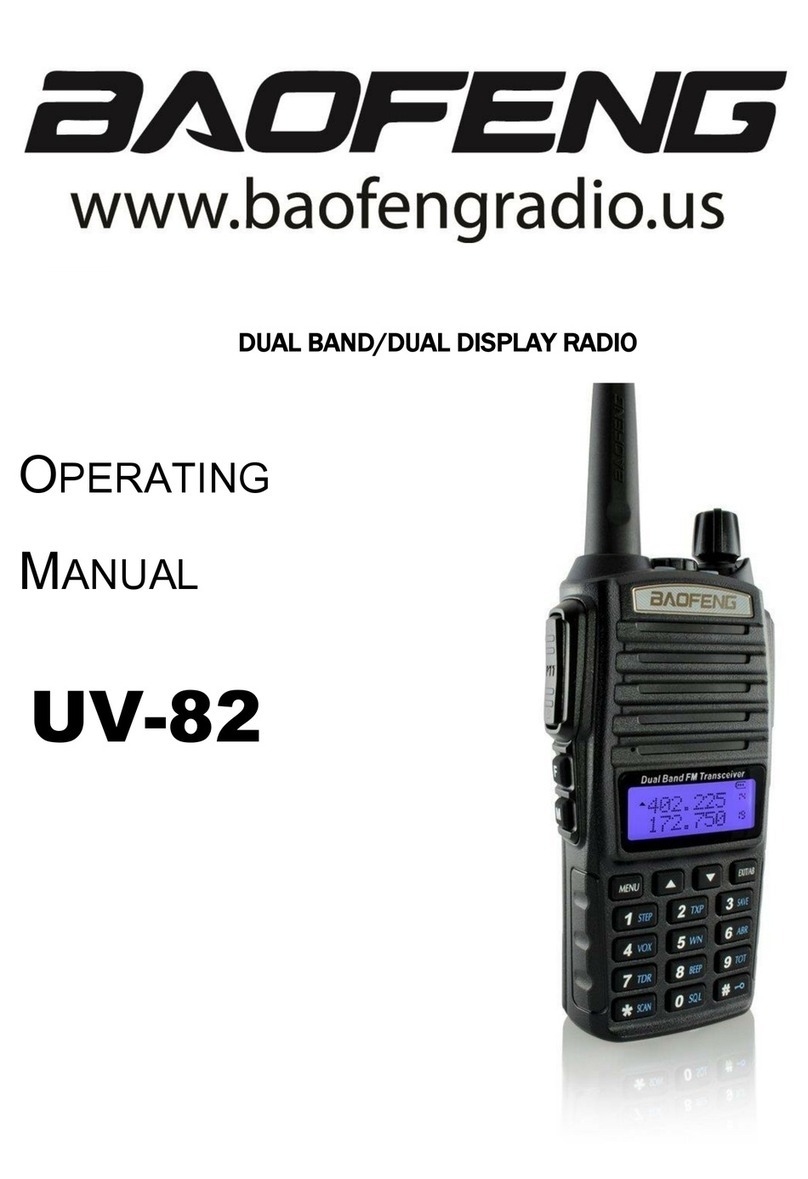
Baofeng UV-82 User manual

Baofeng

Baofeng UV-82 User manual

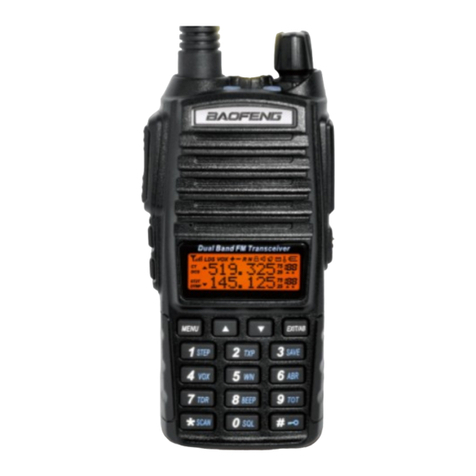
Baofeng UV-82 User manual

Baofeng

Baofeng UV-82 User manual

Baofeng UV-81C User manual

Baofeng

Baofeng UV-81C User manual

Baofeng UV-5RV2+ User manual

Baofeng

Baofeng UV-5RV2+ User manual

Baofeng UV-5 Troubleshooting guide

Baofeng

Baofeng UV-5 Troubleshooting guide

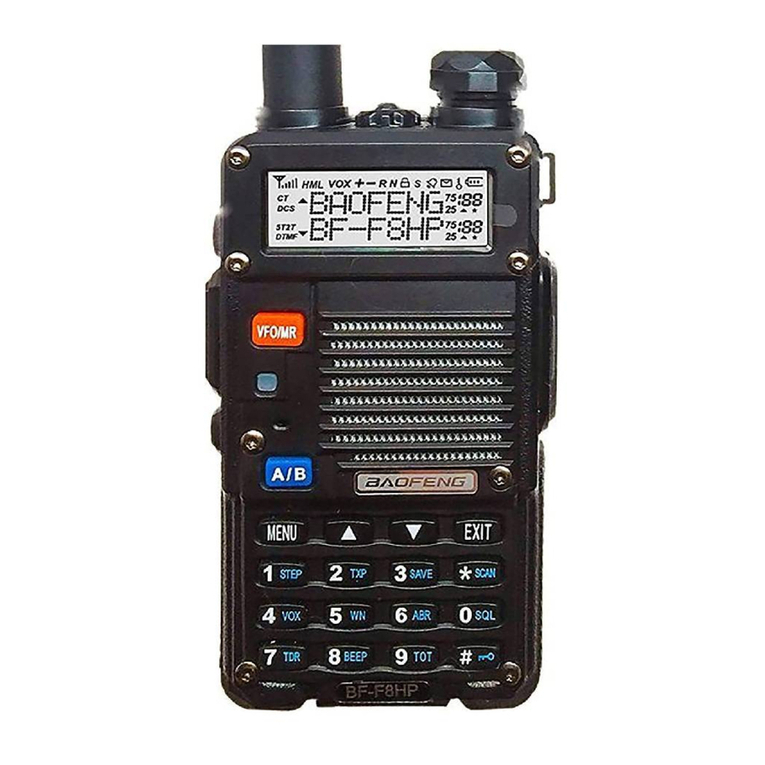
Baofeng BF-F8HP Manual instruction

Baofeng

Baofeng BF-F8HP Manual instruction

Baofeng BF-17H Series User manual

Baofeng

Baofeng BF-17H Series User manual

Baofeng UV-82 User manual

Baofeng

Baofeng UV-82 User manual

Baofeng BF-F8HP User manual

Baofeng

Baofeng BF-F8HP User manual

Baofeng UV-82 User manual

Baofeng

Baofeng UV-82 User manual

Baofeng Pofung UV-6R User manual

Baofeng

Baofeng Pofung UV-6R User manual

Baofeng DM-1801 User manual

Baofeng

Baofeng DM-1801 User manual

Baofeng UV-5R Series User manual

Baofeng

Baofeng UV-5R Series User manual

Popular Radio manuals by other brands

KTS Agility Telemetry Radio user manual

KTS

KTS Agility Telemetry Radio user manual

Retevis RA87 user manual

Retevis

Retevis RA87 user manual

Conrad UKW user guide

Conrad

Conrad UKW user guide

Tivoli Audio NetWorks Speaker owner's manual

Tivoli Audio

Tivoli Audio NetWorks Speaker owner's manual

LENCO DIR-165 user manual

LENCO

LENCO DIR-165 user manual

Ocean Digital WR-210N user manual

Ocean Digital

Ocean Digital WR-210N user manual

ComMaster CM1485 quick guide

ComMaster

ComMaster CM1485 quick guide

Brigmton BT-224-B-N-A-R instruction manual

Brigmton

Brigmton BT-224-B-N-A-R instruction manual

Medion P85096 user manual

Medion

Medion P85096 user manual

Scansonic DA800 user manual

Scansonic

Scansonic DA800 user manual

Sangean ATS 909 operating instructions

Sangean

Sangean ATS 909 operating instructions

LENCO SCD-12 instruction manual

LENCO

LENCO SCD-12 instruction manual

Pioneer CD-XMCASE1 user guide

Pioneer

Pioneer CD-XMCASE1 user guide

Lenoxx R500 instruction manual

Lenoxx

Lenoxx R500 instruction manual

TechniSat DigitRadio 215 instruction manual

TechniSat

TechniSat DigitRadio 215 instruction manual

Grace Digital ALLEGRO GDI-IRD4000 user guide

Grace Digital

Grace Digital ALLEGRO GDI-IRD4000 user guide

Lenoxx PR4371 instruction manual

Lenoxx

Lenoxx PR4371 instruction manual

NSR Marine NVR-3000 Operation manual & installation manual

NSR Marine

NSR Marine NVR-3000 Operation manual & installation manual

manuals.online logo
manuals.online logoBrands
  • About & Mission
  • Contact us
  • Privacy Policy
  • Terms and Conditions

Copyright 2025 Manuals.Online. All Rights Reserved.