manuals.online logo
Brands
  1. Home
  2. •
  3. Brands
  4. •
  5. Bartec
  6. •
  7. Measuring Instrument
  8. •
  9. Bartec Tech200 User manual

Bartec Tech200 User manual

Tire Pressure Monitoring
System Tool
MODEL Tech200
User Guide
J-45295-A
2
Dear customer,
Thank you for having chosen one of our tools for your workshop. We are certain that it will give the
utmost satisfaction and be a great help on the job.
Please become fully familiar with the instructions in this user’s manual. It should be kept ready to hand for
consultation whenever required.
The TECH200 tool is a test tool for testing and diagnostics of vehicle TPM systems. It is designed for
future updating and extension with new functions and vehicle coverage.
IMPORTANT:
Visit the SPX website to register your tool. This enables you to download the latest tool software and to
receive notification of updates to the tool’s software. You can find the update site at:
www.tpmsupdate.net
CE COMPLIANCE
Type Designation: TECH200
Description/Intended Use: Hand Held Tire Pressure Measurement Tool/used to activate, decode data from, and
display information about tire pressure monitoring devices.
Hereby, SPX Service Solutions declares that the product referenced above is in compliance with FCC ID: SX8-
TPR1
Important Notices
SAFETY DEFINITIONS
All Danger, Warning, Important, and Note messages must be followed for your safety. These safety messages
are in the following formats:
DANGER: Means you may risk possible loss of life.
WARNING: Means you may risk possible bodily harm.
CAUTION: Means you risk damage to the vehicle or the tool.
These safety messages cover situations SPX is aware of. SPX cannot know, evaluate and advise you as to all the
possible hazards. You must be certain that any conditions or service procedures encountered do not jeopardize your
personal safety.
COPYRIGHT
No part of this manual may be reproduced, stored in a retrieval system or transmitted, in any form or by any means,
electronic, mechanical, photocopying, recording, or otherwise, without the prior written permission of SPX.
DISCLAIMER
All information, illustrations, and specifications contained in this technical instruction manual are based on the latest
information available at the time of publication. The right is reserved to make changes at any time without obligation
to notify any person or organization of such revisions or changes. Further, SPX shall not be liable for errors contained
with the furnishing, performance or use of this material.
CONTENTS
Important Notices Inside Front Cover
Safety Precautions 5
Kit Components 8
Powering the TECH200 ON and OFF 9
Navigating the TECH200 Menu 9
Using the TECH200 9
Updating the TECH200 firmware 12
TECH200 Technical Specification 13
SPX Corporation Limited Warranty 13
3
Safety Precautions
Read carefully the installation, operating and maintenance instructions in the Operator’s manual.
Do not allow unqualified persons to use this equipment. This will prevent injury to persons and damage to the
equipment.
The work place must be dry, sufficiently lighted and well ventilated.
Don’t forget that breathing carbon monoxide (odourless) can be very dangerous and even fatal.
When working on the vehicle:
•Wear suitable clothing and act in such a way as to prevent industrial accidents.
•Before starting, check to be certain the gear shift is in neutral (or in PARK (P) if the transmission is
automatic) and put the handbrake on and check to be sure the wheels are completely locked.
•Do not smoke or use naked flames when working on a vehicle.
•Wear safety glasses to protect your eyes from dirt, dust or metal chips.
Disposing of equipment
•Do not dispose of this equipment as miscellaneous solid waste but arrange to have collected separately.
•The re-use or correct recycling of electronic equipment (EEE) is important in order to protect the
environment and human health.
•In accordance with European Directive WEEE 2002/96/EC, special disposal points are available for waste
electrical and electronic equipment.
•Public administrators and producers of electrical and electronic equipment are involved in facilitating the re-
use and recovery of waste electrical and electronic equipment through these collection activities and use of
appropriate planning arrangements.
•Unauthorised disposal of waste electrical and electronic equipment is punishable by law with appropriate
penalties.
Disposing of batteries
•Batteries must be recycled or disposed of properly. Do not throw batteries away as part of normal refuse
disposal. 
•Do no throw batteries on to an open fire.
4
CORRECT USE OF THE TECH200 TOOL
In order to use the TECH200 safely:
•Do not expose the TECH200 to excessive moisture.
•Do not use the TECH200 near sources of heat or polluting emissions (stoves, ovens, etc.).
•Do not drop the TECH200.
•Do not allow the TECH200 to come into contact with water or other liquids.
•Do not open the TECH200 or attempt to perform maintenance or repair operations on any internal parts.
•You are advised to keep the packaging and to re-use it if the TECH200 is moved to another site.
When using the TECH200 remember:
•Do not subject the TECH200 to magnetic or electric interference.
Kit Components
The TECH200 kit includes:
•TECH200 activation tool
•Wall plug – power supply
•USB cable
Indentifying Kit Components and Features
The TECH200 Tester is battery operated [rechargeable] and generates a low-frequency magnetic field to activate tire
sensors. It receives UHF radio signals from the tire sensors typically at 315 MHz.
5
F
E
D
B
C
B
A
A Display Screen B Up/Down Navigation Keys
C Mini USB Port D Select/Power Button
E Power Supply F USB Cable
Powering the TECH200 ON
To power on the TECH200, press the Button located in the middle of the TECH200 tool. The splash screen
will illuminate showing OTC logo and software version. Following this, the first menu item Select Vehicle is
displayed.
Navigating the TECH200 Menu
To navigate through the TECH200 menu, you use the UP/DOWN arrow keys until the desired function is shown on
the screen. Once the screen is showing what you wish to do, press the button. Do not press the
button for too long as it then has a different function (see below).
To go back, simply scroll until the screen shows the Back option, and press . This will take you back one
screen. To get to the main menu, continue selecting Back until you are at the main menu.
There is also a shortcut to avoid having to scroll up or down to find the Back option. If the key is held for
more than a second, the menu will go back one level. Note that this only works when in the menu system.
Turning the TECH200 Off
To switch the TECH200 off, you go back to the bottom menu, and then use the UP/DOWN arrow keys to navigate to
the Off menu item, and press . To extend battery life, the TECH200 will power off after 5 minutes of
inactivity.
Using the TECH200
At the top level, the options are: NISSAN, Select Vehicle, Language, or Off.
To change the language, use the UP/DOWN arrow keys to scroll to the Language option. Press to choose
this option. Then use the UP/DOWN arrow keys to scroll to the required language and press . Currently the
tool supports English, Spanish, French, German and Italian.
The TECH200 is used to verify TPM sensor functionality and to activate TPM sensors as part of a relearn procedure
which works with the Connect II scan tool. To use the TECH200, press the button to power the tool on.
When the Main Menu appears on the screen, the cursor automatically points at NISSAN. If you want to activate the
TPMS on a NISSAN vehicle press again. If you want to activate the TPMS on any other make vehicle, choose
Select Vehicle and press the button.
6
Hold the TECH200 up to the tire, near the wheel at the valve stem location. Press the Button. The TECH200
will indicate SEARCHING.
NOTE: In order to read properly, the TECH200 must be held against the tire and not the wheel or valve
stem, refer to image shown above which shows the correct TECH200 position.
Once you press at the NISSAN or Select Year prompt, the TECH200 tool will search for the TPM sensor.
If the TPM Sensor communication is successful, the TECH200 will display FOUND, give an audible indication and
then display the senor ID number and the PSI of the selected tire.
If the TPM sensor communication is not successful, the TECH200 will display FAILED.
Retry reading and make sure the tool is held against the tire in the correct
position.
If the same sensor is read twice, the display will show:
In this case please make sure you read the correct sensors, the tool is
placed correctly and that no other sensor is around the vehicle.
The TECH200 may also indicate that a wrong sensor type is used.
If this is the case, you are trying to use a sensor that is not compatible with
the vehicle’s TPM system.
After the TECH200 returns to NISSAN or Select Year menu, press to perform another TPM Sensor
activation.
NOTE: Some vehicles have TPMs which cannot be activated by the tool. If this is the case an
alternative test method will be displayed.
Depending on the TPM type, it can take up to a minute for the TPM to respond. If you wish to cancel the TPM
search, then pressing when SEARCHING is visible on the screen will halt the search process.
Updating the firmware in the TECH200 tool with the TECH200-Connect PC Software
7
8
i. Before updating the firmware you need to create an account by visiting the website
www.tpmsupdate.net
ii. Login to your account and download the TECH200 programmer software to your PC.
iii. Double click on the installer “TECH200 Programmer Installer.msi”. This starts the installation wizard.
iv. When the start-up screen appears, press the “Next” button to install the TECH200 programmer
software. By default, this will be installed to “C:\Program Files\TECH200 Programmer\”. The folder will
be created if it doesn’t exist.
v. Press “Next” and the program will be installed. To exit the installer when it has finished, press “Close”.
vi. Next, you can select “All programs” from the start menu, and “TECH200 Programmer” will be available
for use. Click on the shortcut to start the program.
vii. To get the latest TECH200 firmware, login to your account and select the tool that you wish to update.
viii. Download the firmware file to your PC, making a note of where the file has been downloaded. This is
usually “My Documents/Downloads” for most browsers.
ix. Start the PC update program “TECH200 Programmer”.
x. Follow the instructions displayed by the program to update the TECH200.
N.B The firmware is locked to a particular tool by serial number, and it’s not possible to update a tool with a version
for a different tool.
9
TECH200 TECHNICAL SPECIFICATION
Power Supply: Internal Li Ion rechargeable battery
Max power consumption: 1.5W Schrader TPM, 0.5W all others
Display: OLED single colour, graphic, resolution 96 x 39 pixels
Keyboard: 3 keys, dust, water and grease-resistant
Input/output: Mini-B style USB used to Connect to PC for firmware update
Working environment: Temperature 0°C - 45°C, Humidity: 20-55%
Storage environment: Temperature - 10°C -50°C, Humidity: 20-60%
Dimensions: 160 x 65 x 25mm
Weight (including batteries): 150g
SPX Corporation Limited Warranty
THIS WARRANTY IS EXPRESSLY LIMITED TO ORIGNAL RETAIL BUYERS OF SPX ELECTRONIC
DIAGNOTICS TOOLS (“UNITS”)
SPX Units are warranted against defects in materials and workmanship for 1 year (12 months) from date of delivery.
This warranty does not cover any Unit that has been abused, altered, used for any other purpose other than that for
which it was intended, or used in a manner inconsistent with instructions regarding use. The sole and exclusive
remedy for any Unit found to be defective is repair or replacement, at the option of SPX. In no event shall SPX be
liable for any direct, indirect, special, incidental or consequential damages (including lost profit) whether based on
warranty, contract, tort or any other legal theory. The existing of a defect shall be determined by SPX in accordance
with procedures established by SPX. This warranty does not cover the AA batteries included with the kit. No one is
authorized to make any statement or representation altering the terms of this warranty.
DISCLAIMER
THE ABOVE WARRANTY IS IN LIEU OF ANY OTHER WARRANTY, EXPRESS OR IMPLIED, INLCUDING
ANY WARRNTY OF MERCHANTABILLITY OR FITNESS FOR A PARTICULAR PURPOSE
SOFTWARE
Unit software is proprietary, confidential information protected under copyright law. Users have no right in our title
to Unit software other than a limited right of use revocable by SPX. Unit software may not be transferred or
disclosed without the written consent of SPX. Unit software may not be copied except in ordinary backup procedures.
ORDER INFORMATION
Order replacement and optional parts directly from your SPX authorized tool supplier. Include the quantity, part
number, and item description in the order.
WARRANTY RETURN
If the product does develop a problem during the warranty period; the product, packaging and completed warranty
certificate must be returned to SPX via the SPX authorised tool supplier. The warranty certificate is provided inside
the equipment packaging or alternatively it can be downloaded from: www.tpmsupdate.net
NON-WARRANTY RETURN
If the product does develop a problem outside the warranty period contact the SPX authorised tool supplier for repair
options and associated costs.

Other Bartec Measuring Instrument manuals

Bartec TECH450PRO User manual

Bartec

Bartec TECH450PRO User manual

Bartec Syscom MR3000 Series User manual

Bartec

Bartec Syscom MR3000 Series User manual

Bartec ComEx Flex Quick start guide

Bartec

Bartec ComEx Flex Quick start guide

Bartec TECH600PRO User manual

Bartec

Bartec TECH600PRO User manual

Bartec Tech200BT User manual

Bartec

Bartec Tech200BT User manual

Bartec ORB P-800LT User manual

Bartec

Bartec ORB P-800LT User manual

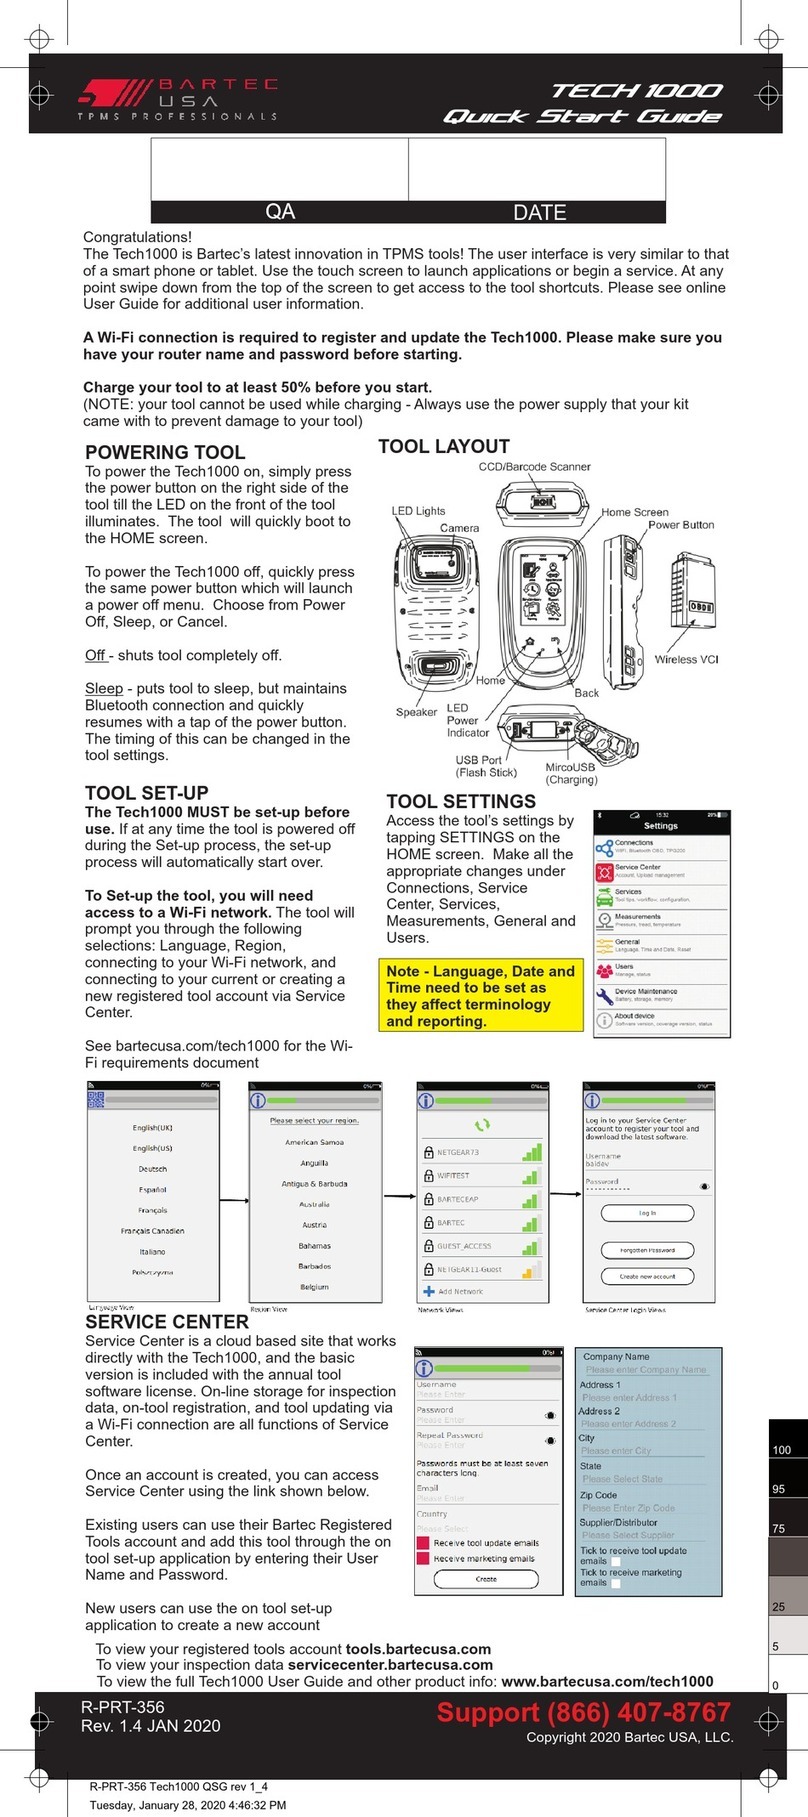
Bartec Tech1000 User manual

Bartec

Bartec Tech1000 User manual

Bartec VOLUTANK Petro 3003 User manual

Bartec

Bartec VOLUTANK Petro 3003 User manual

Bartec MR3000DMS User manual

Bartec

Bartec MR3000DMS User manual

Bartec MAK 3003 User manual

Bartec

Bartec MAK 3003 User manual

Bartec RDA01 User manual

Bartec

Bartec RDA01 User manual

Bartec TECH550PRO User manual

Bartec

Bartec TECH550PRO User manual

Bartec HYGROPHIL H 4230-10 A Series User manual

Bartec

Bartec HYGROPHIL H 4230-10 A Series User manual

Bartec Tech500 User manual

Bartec

Bartec Tech500 User manual

Bartec QST 250 User manual

Bartec

Bartec QST 250 User manual

Bartec 07-662 Series Quick start guide

Bartec

Bartec 07-662 Series Quick start guide

Bartec ALCAR TECH600 User manual

Bartec

Bartec ALCAR TECH600 User manual

Bartec MAK TIGER 3003 User manual

Bartec

Bartec MAK TIGER 3003 User manual

Bartec P-600 User manual

Bartec

Bartec P-600 User manual

Bartec TECH400 User manual

Bartec

Bartec TECH400 User manual

Bartec MAK TIGER 3003 User manual

Bartec

Bartec MAK TIGER 3003 User manual

Bartec RDW 03 User manual

Bartec

Bartec RDW 03 User manual

Bartec TECH 1000 User manual

Bartec

Bartec TECH 1000 User manual

Bartec SYSCOM ROCK User manual

Bartec

Bartec SYSCOM ROCK User manual

Popular Measuring Instrument manuals by other brands

Extech Instruments SDL600-NIST user manual

Extech Instruments

Extech Instruments SDL600-NIST user manual

GE PQMII instruction manual

GE

GE PQMII instruction manual

AEMC 205 user manual

AEMC

AEMC 205 user manual

Agilent Technologies EMC Series user guide

Agilent Technologies

Agilent Technologies EMC Series user guide

Geokon GK-405 instruction manual

Geokon

Geokon GK-405 instruction manual

TESTO 926 instruction manual

TESTO

TESTO 926 instruction manual

MRC MIA-LA Operation manual

MRC

MRC MIA-LA Operation manual

Sonel MRU-11 user manual

Sonel

Sonel MRU-11 user manual

Ecolab OGM PLUS Short operating instructions

Ecolab

Ecolab OGM PLUS Short operating instructions

Nidek Medical LM-1800P Interface manual

Nidek Medical

Nidek Medical LM-1800P Interface manual

MREL MicroTrap Operation manual

MREL

MREL MicroTrap Operation manual

Brookfield RST operating instructions

Brookfield

Brookfield RST operating instructions

Turner Designs 10-AU Replacement instructions

Turner Designs

Turner Designs 10-AU Replacement instructions

Major tech MT766 instruction manual

Major tech

Major tech MT766 instruction manual

Kyowa Medex Co., Ltd. HM-JACK Series Operation manual

Kyowa Medex Co., Ltd.

Kyowa Medex Co., Ltd. HM-JACK Series Operation manual

PRONOVA Stelzner pH AGRAR 2000 Technical instructions

PRONOVA

PRONOVA Stelzner pH AGRAR 2000 Technical instructions

Oregon Scientific RAR213HG-01 user manual

Oregon Scientific

Oregon Scientific RAR213HG-01 user manual

wtw PurCon operating manual

wtw

wtw PurCon operating manual

manuals.online logo
manuals.online logoBrands
  • About & Mission
  • Contact us
  • Privacy Policy
  • Terms and Conditions

Copyright 2025 Manuals.Online. All Rights Reserved.