Era mod. 2010 (v. 2.0) 8 2019
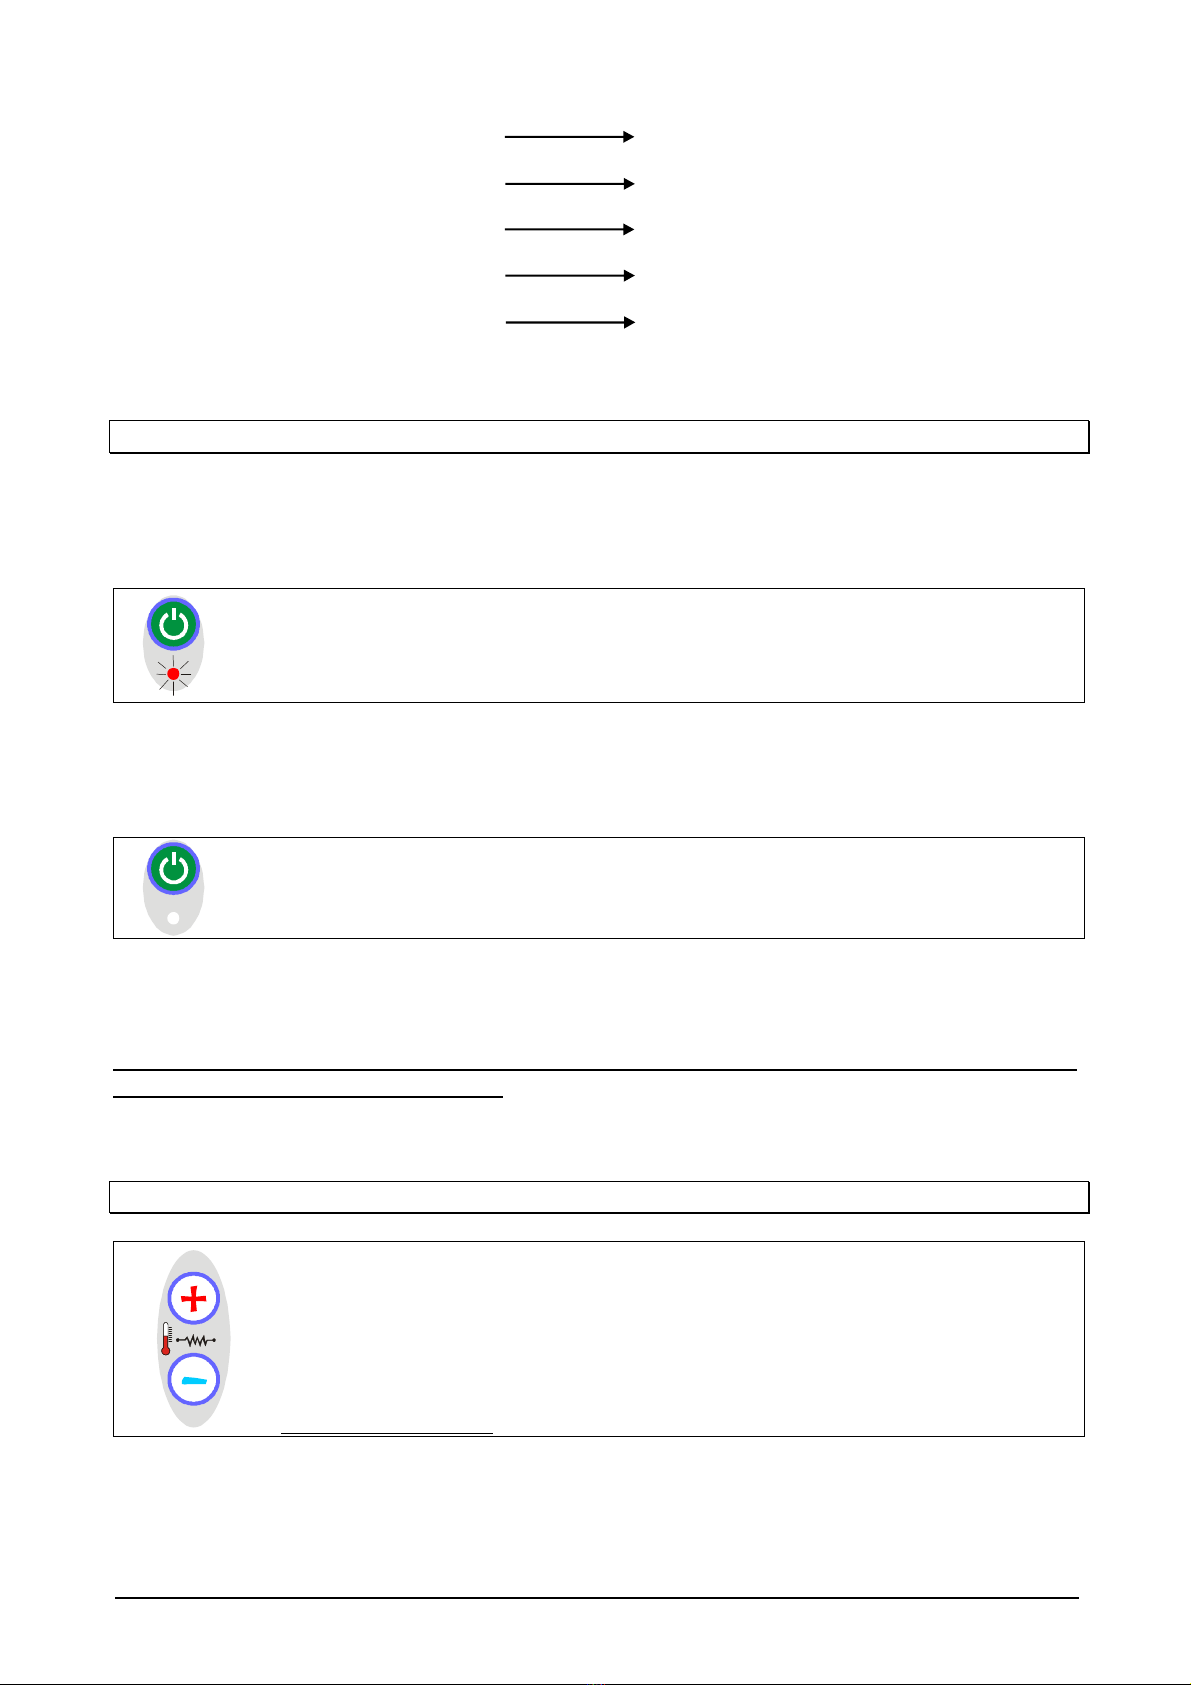
2. Turn on the electronic card (green key) and activate the required functions.
The settings of the electronic card are memorized every time the main switch is
turned off. Once the machine is turned on again, it will start with the settings
memorized before the machine was turned off (e.g. if the boiler was on, it will be
on upon switching on the machine).
NOTE: the electronic card automatically performs a check of the software installed.
This is why it takes 2 seconds for the machine to turn on.
If an error or fault is found, the “safety” device blocks the electronic card and does
not allow normal functioning.
“SOFTWARE UPDATE NEEDED”
will be displayed.
ontact the authorized service center to update the software.
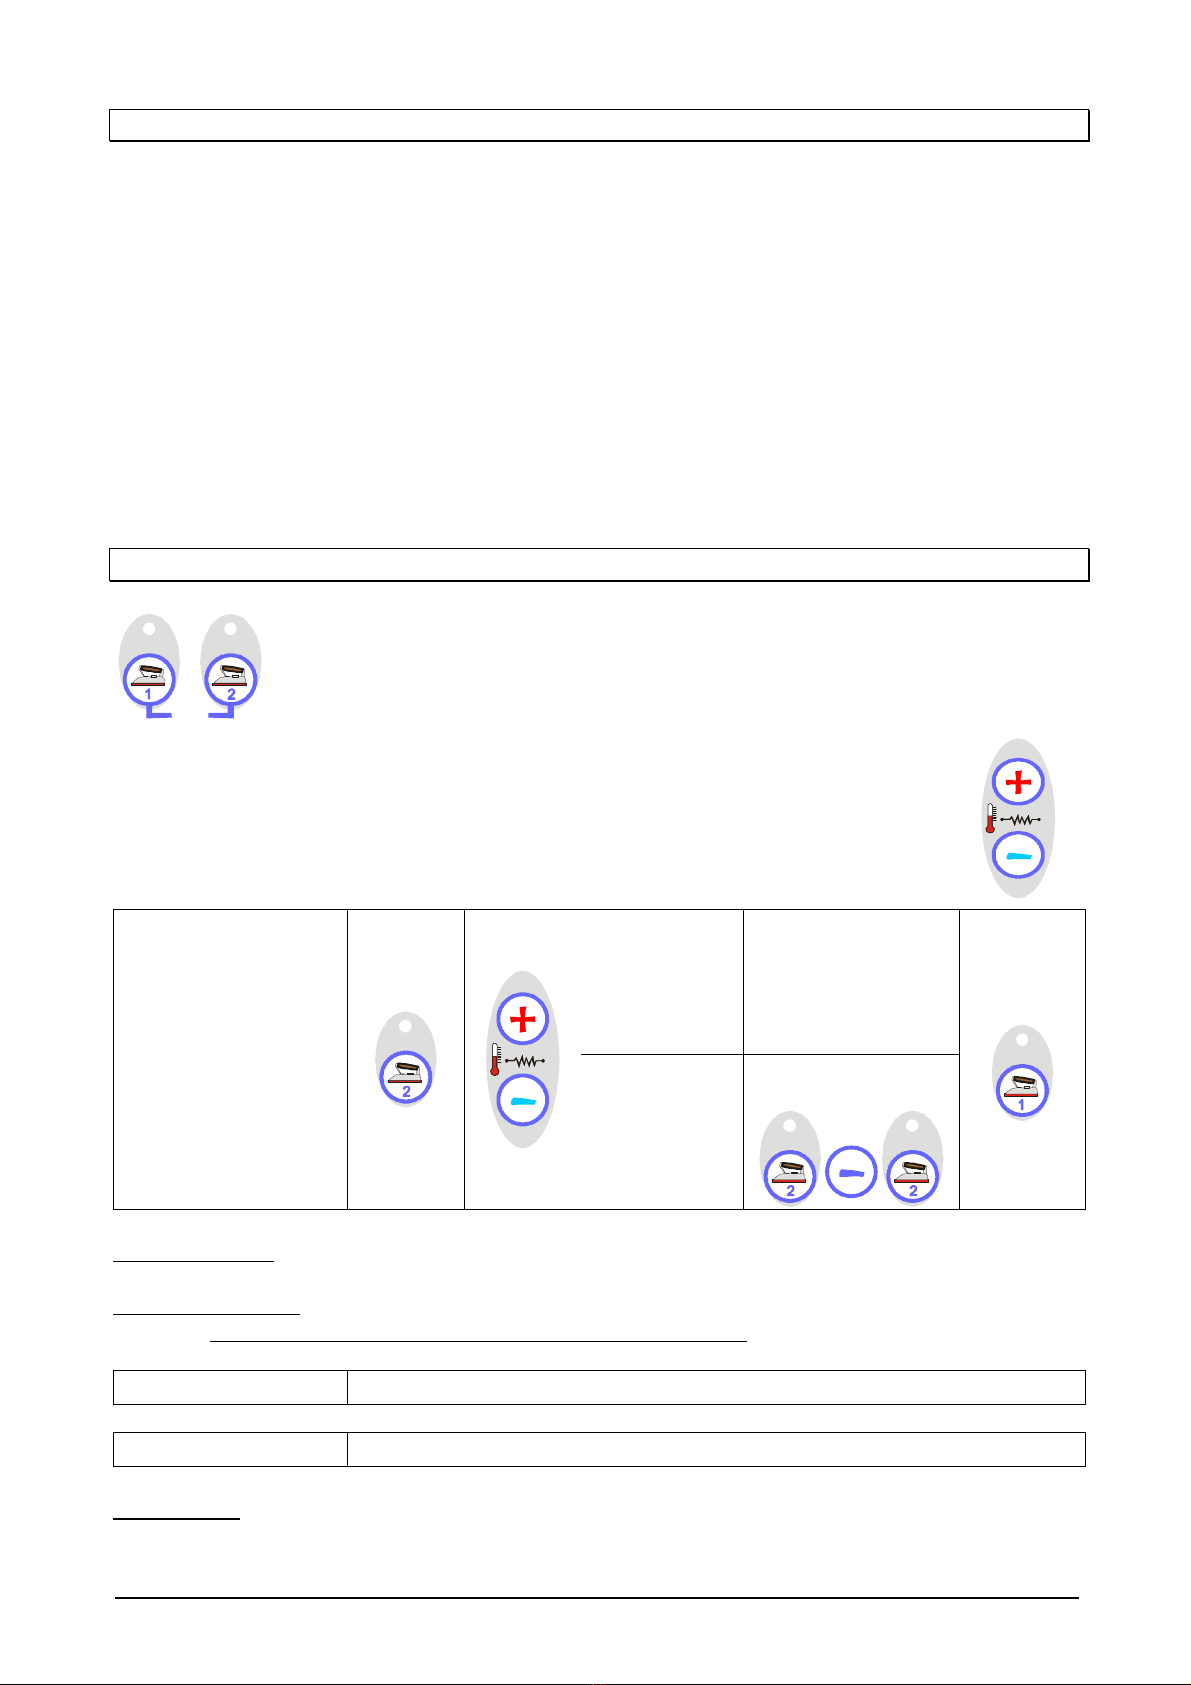
3. Wait until the boiler light is off. Take the iron by the cork handle, point it
towards the floor and press the micro-switch of the iron (fig. 2) 4 or 5 times, so
that steam comes out. This procedure must be carried out in order to heat up the
steam hose and avoid water coming out of the iron. To adjust the steam flux, you
must work on the knob of the solenoid valve (fig. 1-Q).
4. Once these procedures have been completed, the table is ready for ironing. During
the ironing, the icon can be:
- ON: when the board is resetting the correct pressure in the boiler;
- OFF: when the machine has reached the optimum pressure for ironing.
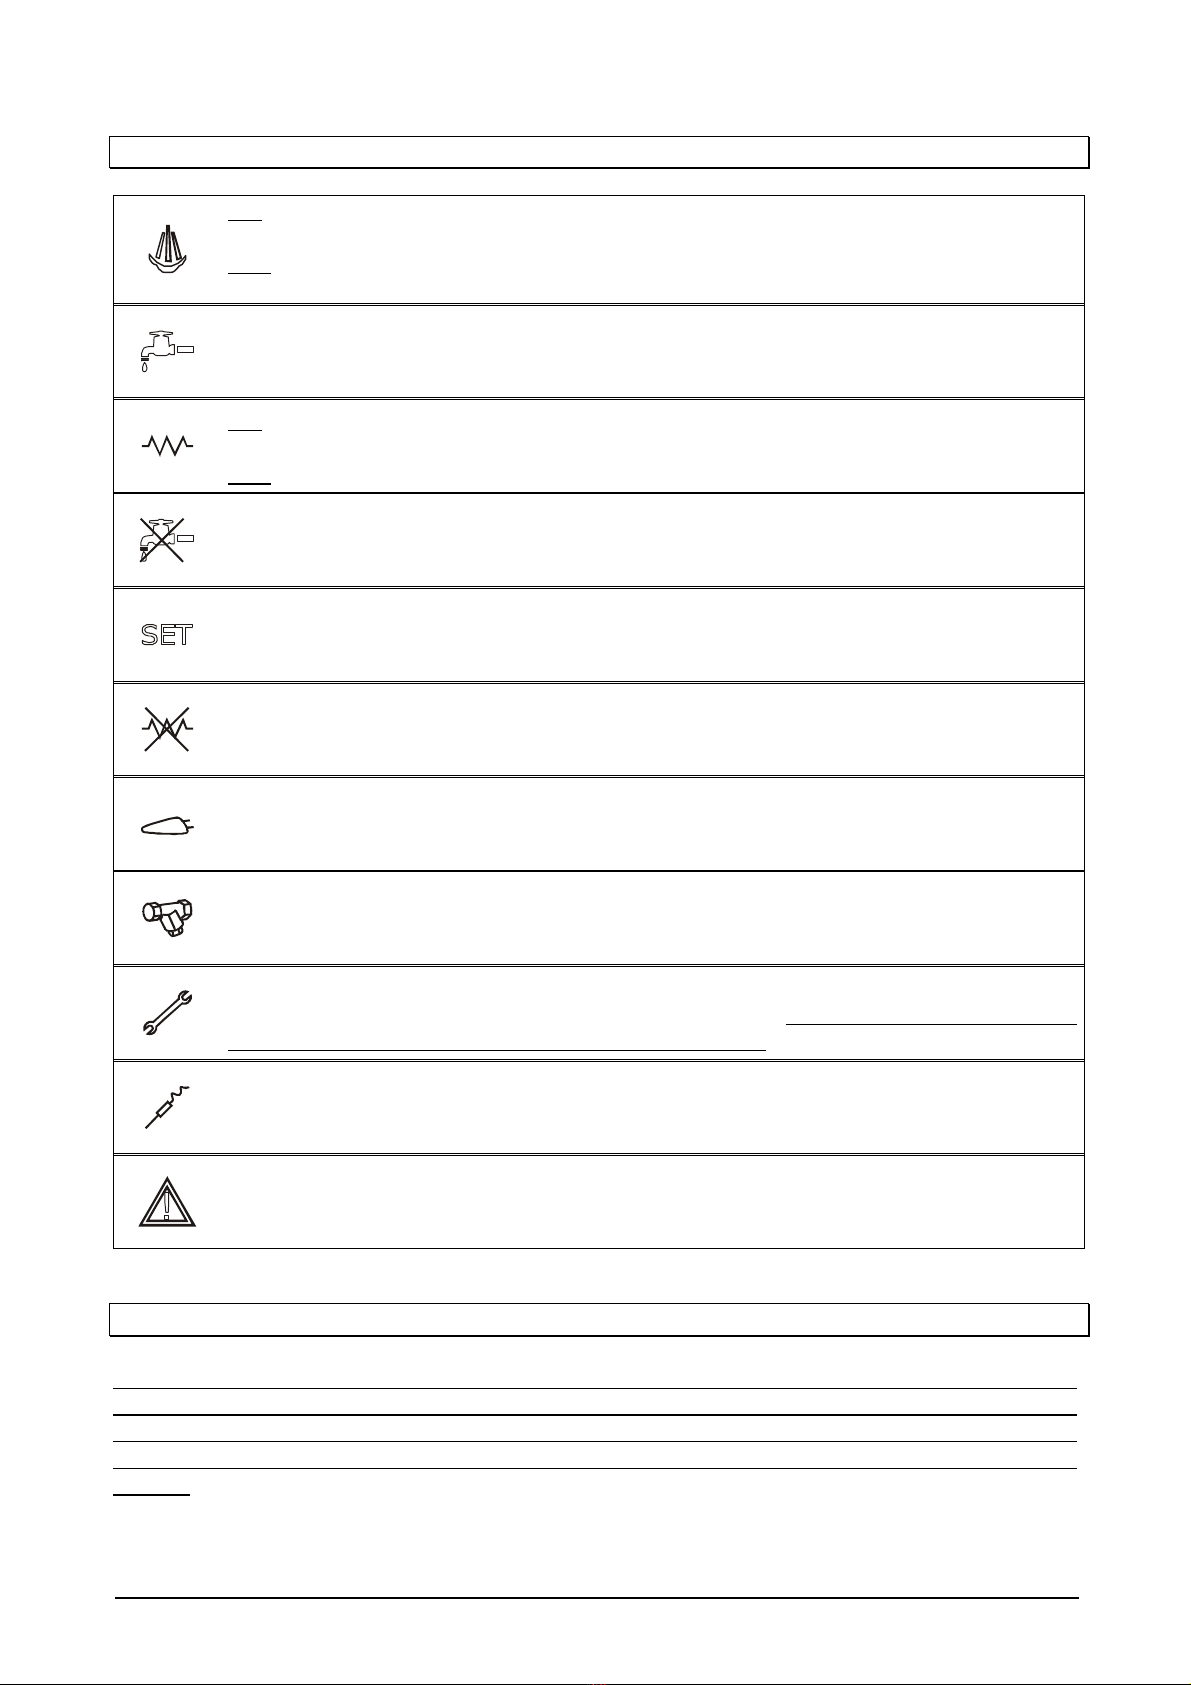
10. WATER CHARGING ICONS
While ironing, the icon will switch on. This means that water is being pumped
into the boiler.
When the icon and the warning
“WARNING: BLOCKED PUMP”
are displayed,
this indicates that the pump remained without water for a long time, or an obstruction
does not allow water to be pumped into the boiler. In this case, the “pump saving”
device will be activated and the pump will not work.
To restore the correct functioning proceed as follows:
-turn off the boiler by pressing the proper key;
-check that there is sufficient water pressure in the water system and that
there are no obstructions;
-drain all the steam by pressing the iron micro-switch;
-press the key again to turn on the boiler.
If the icon and the warning
“WARNING: BLOCKED PUMP”
continue to be
displayed, do not insist. Disconnect the machine from the power grid and have it
checked by qualified personnel.