10 | OPERATION
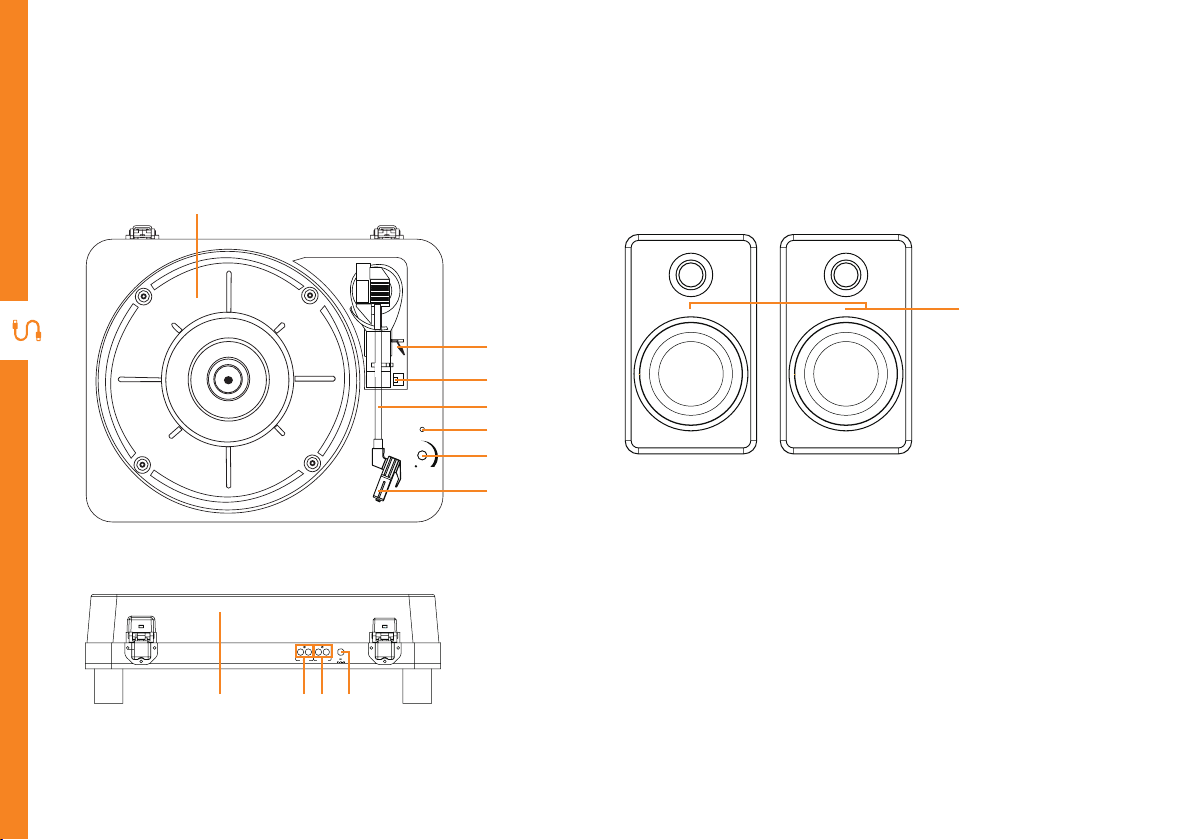
Connect to the Speakers
• Connect RCA audio cables (not included) on the speaker to the R and L speaker ports on the turntable. Ensure
that the red plug is connected into the R socket and the white plug is connected to the L socket. You can now play
music from the speakers.
Connect to an External Amplier
• Use a RCA audio cable (not included) to connect to the R and L LINE OUT ports on the turntable and the other
end to your external amplifier for music playback.
• When you have finished playing the record, push the lift
lever backward to raise the tone arm and gently move it
back to its rest.
• When you have finished playing records, engage the
tone arm lock to protect it from accidental movement.
Turn the Power/Volume Knob to switch the unit OFF.
Unplug it from the power supply if you are not going to
use it for a while.
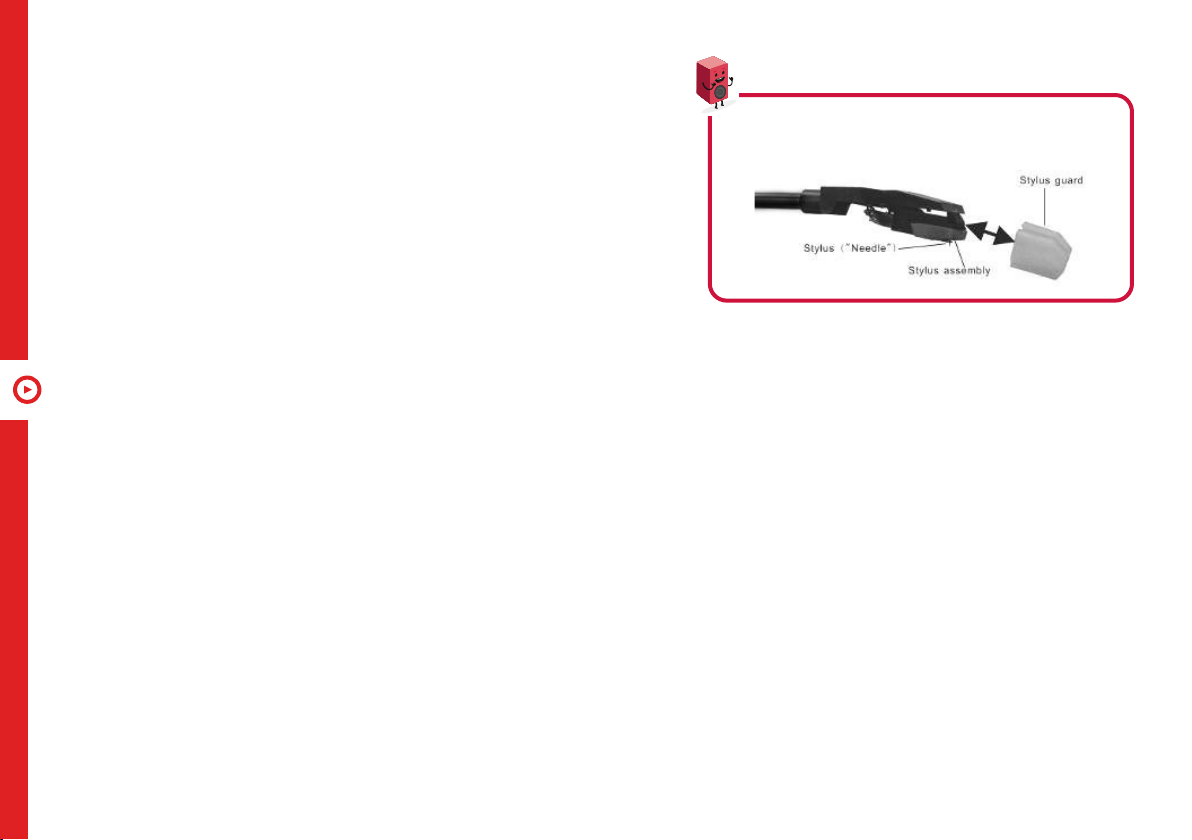
To avoid damaging the stylus, ensure that the included
stylus guard is in place whenever the turntable is being
installed, moved or cleaned.