OPERATION | 9
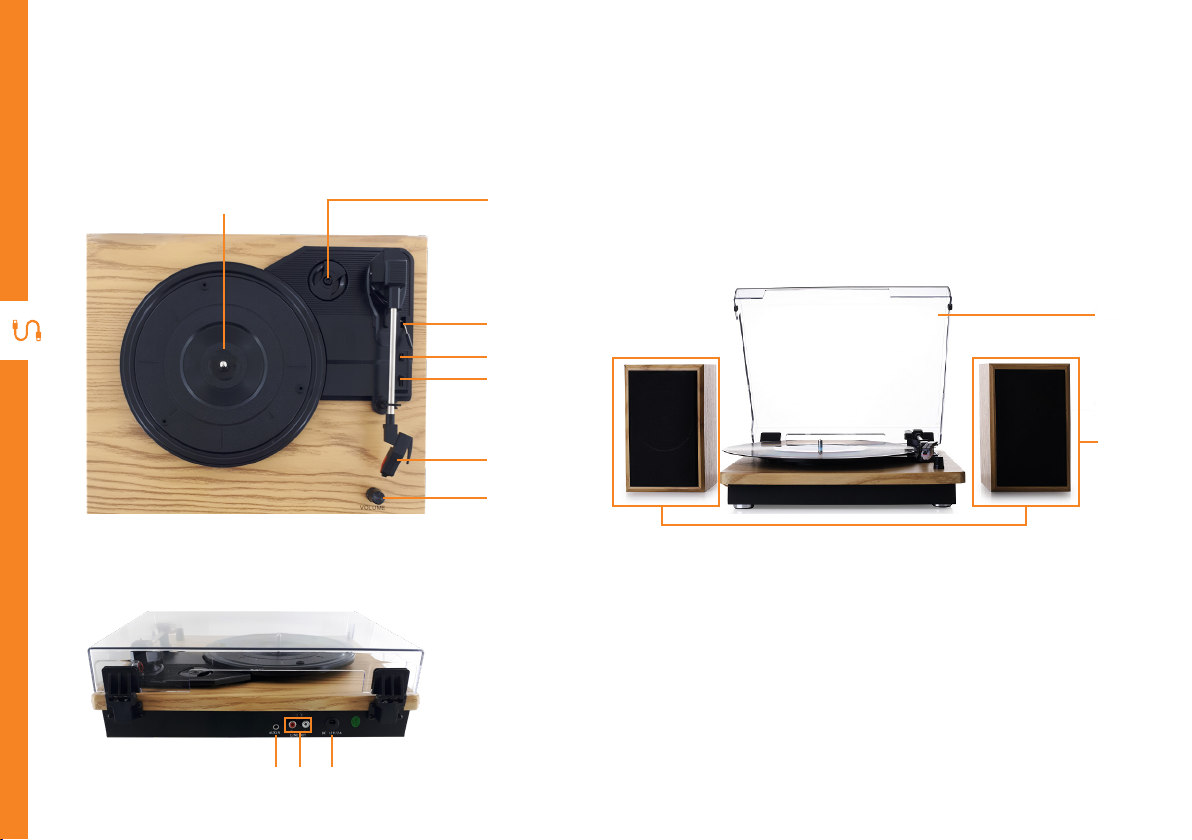
7 Adaptor (when playing
45rpmrecords)
8 AUX IN
9 Speaker jack
10 DC power jack
11 Transparent cover
12 Speakers
Operation
Power On and Mode selection
• Turn on (with the POWER/VOLUME Knob) and you will hear a doorbell sound, meaning that it is in
Bluetooth®mode.
• Once you place the tone arm on the vinyl, the turntable will switch to vinyl mode and Bluetooth®
mode will automatically be disabled; Place the tone arm back to the arm rest to switch back to
Bluetooth® mode.
Playing a record
• Turn on (with the POWER/VOLUME KNOB) and adjust the volume to an appropriate level.
• Placearecordontheturntableplatterandselectthecorrectplayingspeed:33,45,78RPM(accordingtothevinyl
being played).
• Set the auto/manual stop control. Set the AUTO STOP switch to ON if you are playing a 33 RPM record and
you want the turntable to stop turning when it has reached the end of the record. If the switch is set to OFF, the
turntable will continue turning at the end of the record.
• Remove the stylus guard and unlock the tone arm lock. Push the lift lever upward to raise the tone arm and then
gently move the tone arm to the desired position over the record. The platter will begin to spin when the tone arm
is moved toward the record.