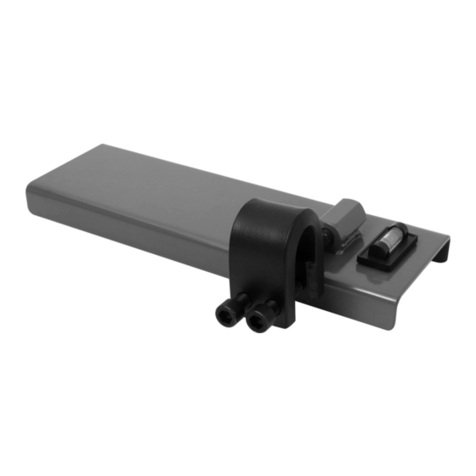
Slide the manual rod receiving block between the right side slide angle and the shell of the
drawer. Line up the clearance holes in the side slide angle with the drilled and tapped holes in
the receiving block. Secure with the 1/4-20 bolts provided.
Install the switch assembly onto the back panel, by placing the holes in the bracket over the studs
provided on the right side of the back panel, so the side of the bracket with the switches on it is
facing the outside of the drawer. Secure with the 4-40 nuts provided.
Disconnect the red wire of the motor, which connects to the red wire coming out of the wire
chase above the motor.
Connect one red wire of the switch to the red wire of the motor and the other red wire of the
switch to the red wire coming out of the wire chase above the motor.
Reinstall the back panel with wires routed away from moving drawer slide.
To use the manual rod:
Remove the 5/8" Hole Plug from the right side of the back panel. Slide the manual rod into the
hole until it contacts the receiver block. Tighten the rod clockwise until it seats. Push and pull
on the rod to operate the drawer.
Note: TD motor will not run while manual rod is inserted.
Remove the rod and install the 5/8" hole plug back into the hole once normal operation has been
restored.
Note: The Red Bin cannot be removed with the Receiving block installed.
Figure 2
2
