manuals.online logo
Brands
  1. Home
  2. •
  3. Brands
  4. •
  5. BBC Bircher
  6. •
  7. Transmitter
  8. •
  9. BBC Bircher XRF-T.2 User manual

BBC Bircher XRF-T.2 User manual

1
XRF-T.2
1 2
ON
1 2
ON
1 2
ON
1 2
ON
IN1
IN21)
IN1
IN21)
8k2 8k2
IN1
IN21)
8k2
8k2
IN1
IN21)
8k2
LED
i
50
121
23
5
i
  
1 2 3 4 1 2 3 4 1 2 3 4 1 2 3 4
50
121
23
5
50
121
23
4.2
5.7 4.2
22
106
Transmitter to wireless signal transmisssion system for safety edges
Original operating instructions
Intended use: Monitoring safety edges on doors and gates, in combination with the XRF-Rx receiver
1Installation
ENGLISH
404300D
09/20
Transmitter (Tx)
Battery
CR2450N
DIP-
switch
Push
button
= safety edge(factory setting) = switch (NO or NC: see 2.2)
DIP switch setting according to sensors (safety edge, switch)
2.1 DIP switch setting
1) IN2 is only active when used with dual channel receiver (see receiver manual)
2Wiring / set-up
Wire cross section 0.25 – 0.75 mm2
Space
to open cover
1.1 Cable routing, strain relief
Determine the cable routing
Break out the respective part of the cover if necessary
 Punch hole into the grommet
 Insert cable
… or use holes
in the base plate
Break out …
Hint:
1.2 Space to open cover
Cable Ø: 3.1 – 5.2 mm
or
2
 a a
 b b
3 V
LITHIUM
CR2450N
+
 
2x
Designed in Switzerland / Made in China
BBC Bircher Smart Access, BBC Bircher AG, Wiesengasse 20, CH-8222 Beringen, www.bircher.com

2x = NC
2x = NC
4x = NO
4x = NO
NC NO
OK?
3x
3Pairing
Put on the cover (slide, then push down)
Attach the screws
System test mandatory!
Dispose used battery according to local regulations
 Loosen the two screws
Open housing (lift, then slide)
 Remove battery
 Insert new battery (check polarity)
4Trouble shooting
3.1.a Pairing at open state 3.1.b Pairing in mounted state
4.2 Battery change
After initating pairing on Rx
(see receiver manual),
press button
After initiating pairing on Rx
(see receiver manual), press the
edge two times within 2 sec.
5Technical data
Transmitter
Battery power 1x Lithium 3 V Type (CR2450N)
Battery life Up to 1.8 years *
Operating frequency 868.3 MHz
6EU Declaration of Conformity
8Contact
7WEEE
See attachment
Pairing is possible with open cover or later in mounted situation.
Devices with this symbol must be treated separately du-
ring disposal. This must be done in accordance with the
laws of the respective countries for environmentally
sound disposal, processing and recycling of electrical and
electronic equipment.
2.2 How to change inputs from NC to NO (factory setting = NC) / not for 8k2 applications
1.
Insert
battery
2.
Status
3.
Change
4.
Change stored
Press button on
transmitter
Status
changes
LED ashes
LED ashes
1.5 sec.
Wait
10 sec.
4.1 Warning indicator for low battery voltage
To nd out which transmitter
has low battery voltage:
Press each edge.
Every minute Battery good Battery bad
Beep
3.2 System check (mandatory after each set-up)
The LED ashes when activating the sensor element (pressing the sensing edge) and ashes again when releasing the sensor element.
Does the door/gate stop when the sensing element is activated?
* Recommendation: Change battery every year.
Beep
Note:
When using the NC inputs the wiring with
the sensor must be permanently installed
and protected against external damage
according to EN ISO 13849-2 Tab. D.4.
Other BBC Bircher Transmitter manuals

BBC Bircher XRF-TI User manual

BBC Bircher

BBC Bircher XRF-TI User manual

BBC Bircher RFGate 3.W.T User manual

BBC Bircher

BBC Bircher RFGate 3.W.T User manual

BBC Bircher XRF-TI User manual

BBC Bircher

BBC Bircher XRF-TI User manual

BBC Bircher XRF-T.2 User manual

BBC Bircher

BBC Bircher XRF-T.2 User manual

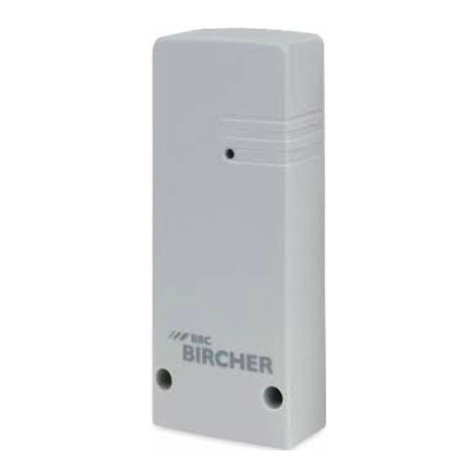
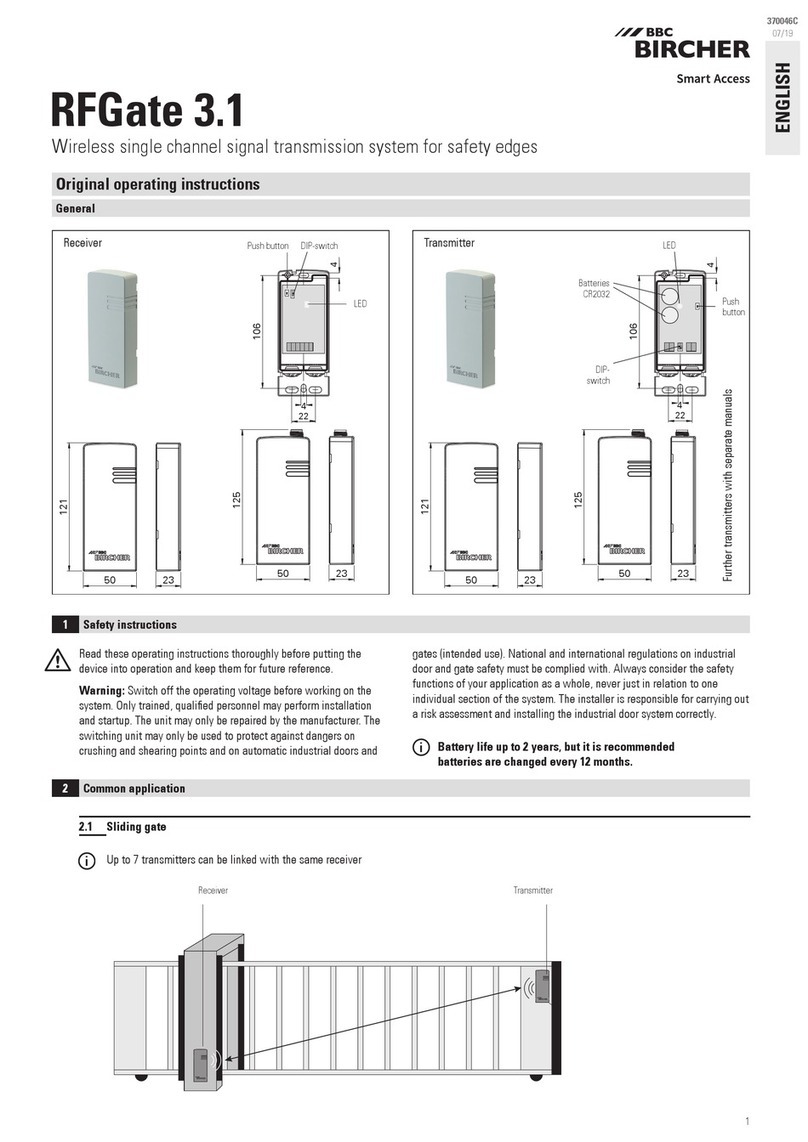
BBC Bircher RFGate 3.1 370046C User manual

BBC Bircher

BBC Bircher RFGate 3.1 370046C User manual

BBC Bircher XRF-T.2 Operating instructions

BBC Bircher

BBC Bircher XRF-T.2 Operating instructions

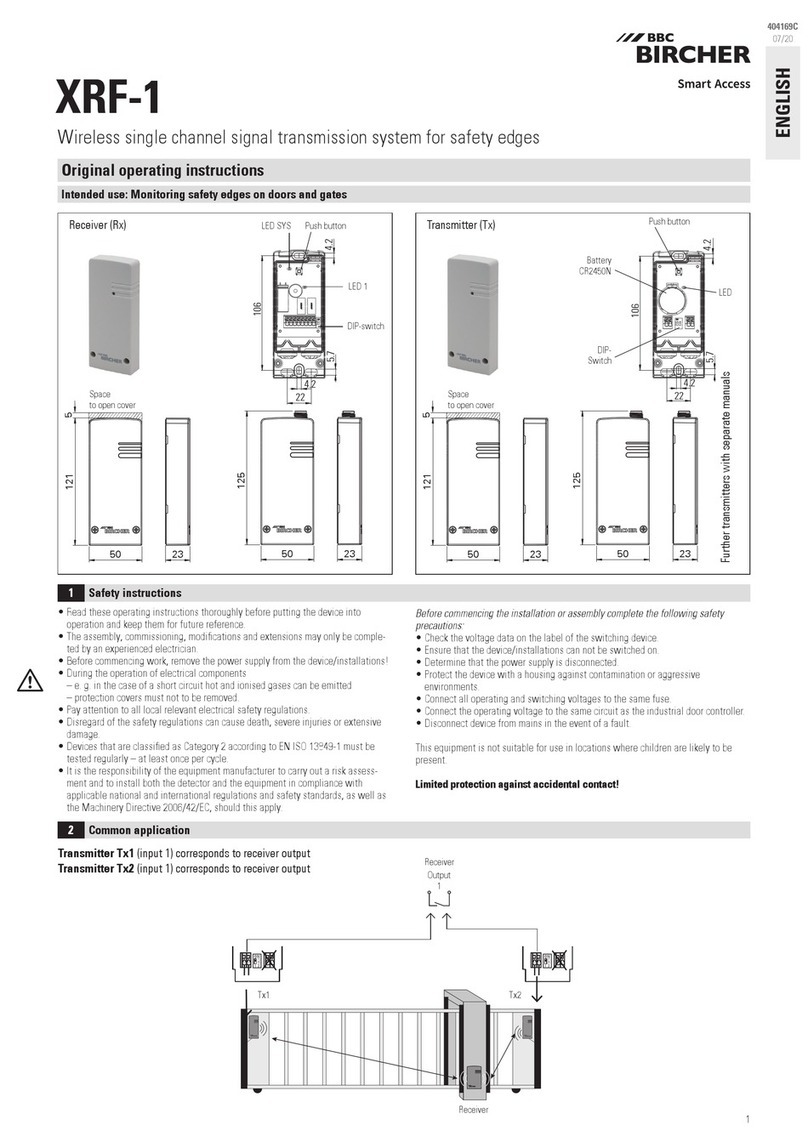
BBC Bircher XRF-1 User manual

BBC Bircher

BBC Bircher XRF-1 User manual

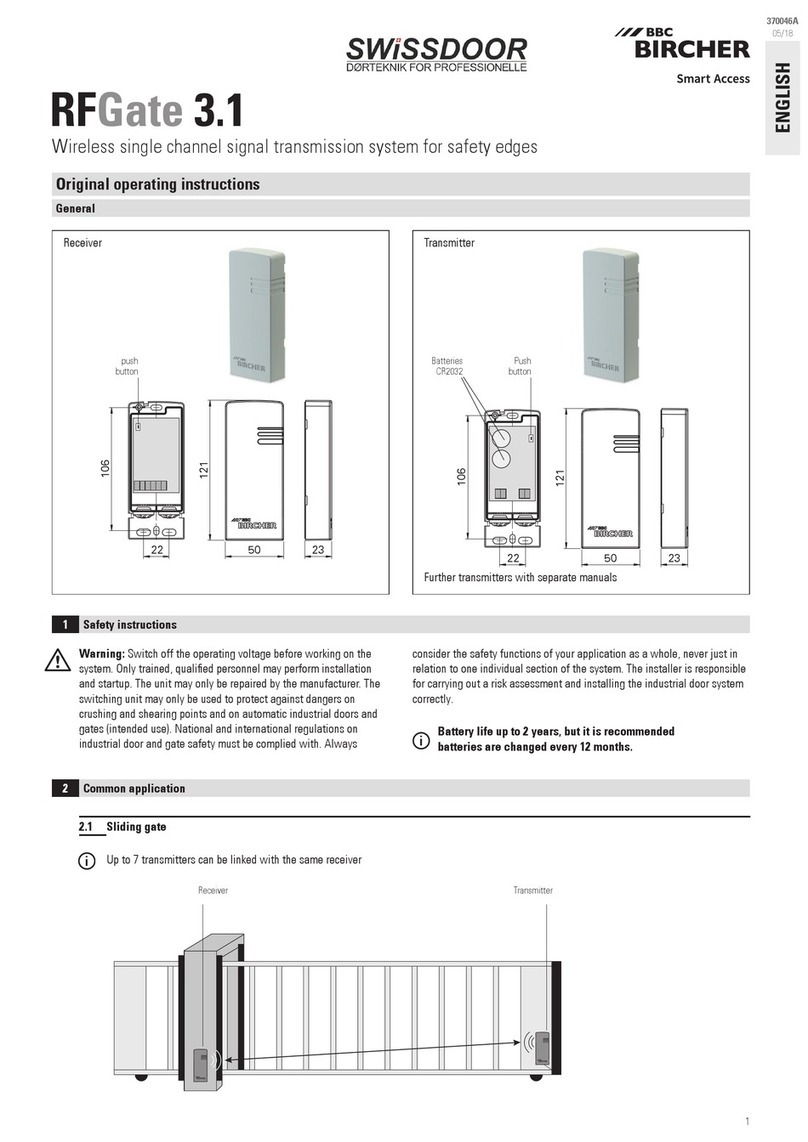
BBC Bircher Swissdoor RFGate 3.1 370046A User manual

BBC Bircher

BBC Bircher Swissdoor RFGate 3.1 370046A User manual

Popular Transmitter manuals by other brands

Dynisco PT303 operating manual

Dynisco

Dynisco PT303 operating manual

RKI 65-2397RK Operator's manual

RKI

RKI 65-2397RK Operator's manual

Velleman K8074 Assembly manual

Velleman

Velleman K8074 Assembly manual

TX Techniques TX FM1 Technical manual

TX Techniques

TX Techniques TX FM1 Technical manual

Selve Commeo Control Operating	 instruction

Selve

Selve Commeo Control Operating instruction

Visonic WT-101A installation instructions

Visonic

Visonic WT-101A installation instructions

AMIMON CONNEX ProSight Installation and operation guide

AMIMON

AMIMON CONNEX ProSight Installation and operation guide

SIYI DK30 user manual

SIYI

SIYI DK30 user manual

JUMO ecoTRANS Lf 03 operating manual

JUMO

JUMO ecoTRANS Lf 03 operating manual

Nulaxy NX09 user manual

Nulaxy

Nulaxy NX09 user manual

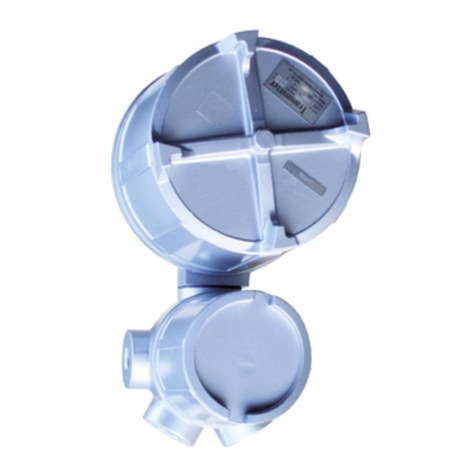
Endress+Hauser Proline 500 digital Modbus RS485 Brief operating instructions

Endress+Hauser

Endress+Hauser Proline 500 digital Modbus RS485 Brief operating instructions

Furious FPV STEALTH RACE VTx user manual

Furious FPV

Furious FPV STEALTH RACE VTx user manual

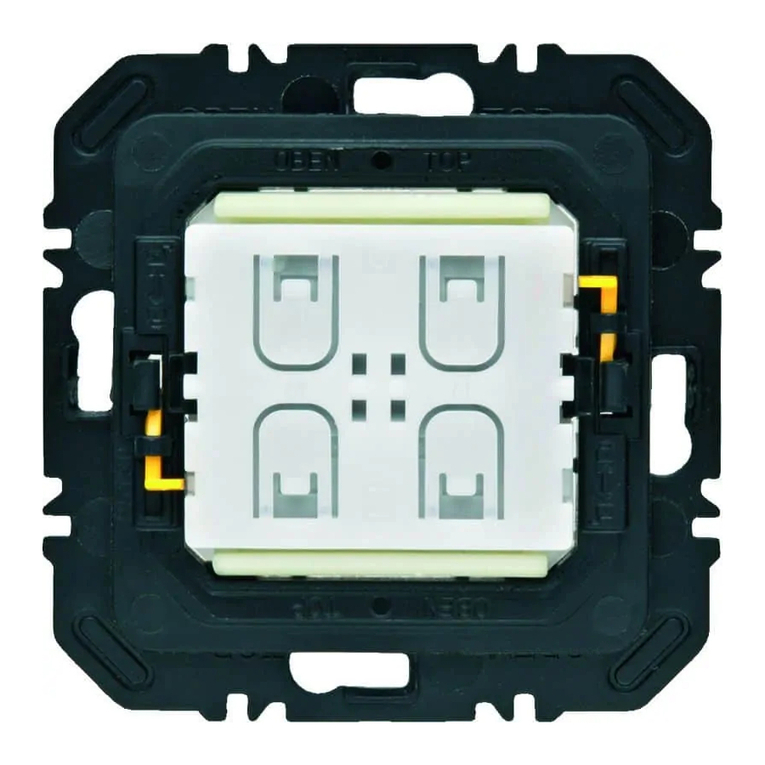
Berker 2411 12 00 user manual

Berker

Berker 2411 12 00 user manual

Emerson Rosemount 3051 Reference manual

Emerson

Emerson Rosemount 3051 Reference manual

Endress+Hauser AT1000 AT1 operating instructions

Endress+Hauser

Endress+Hauser AT1000 AT1 operating instructions

HK Instruments DPT-Ctrl-MOD Series installation instructions

HK Instruments

HK Instruments DPT-Ctrl-MOD Series installation instructions

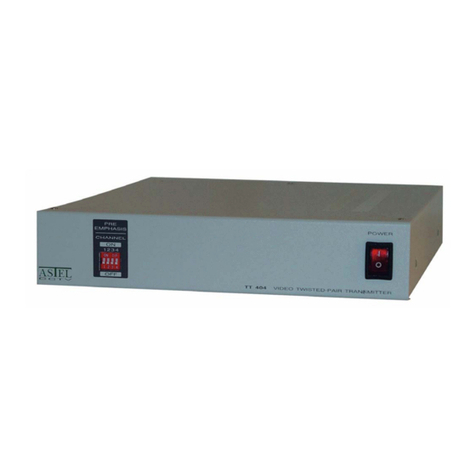
ASTEL TT 404 operating instructions

ASTEL

ASTEL TT 404 operating instructions

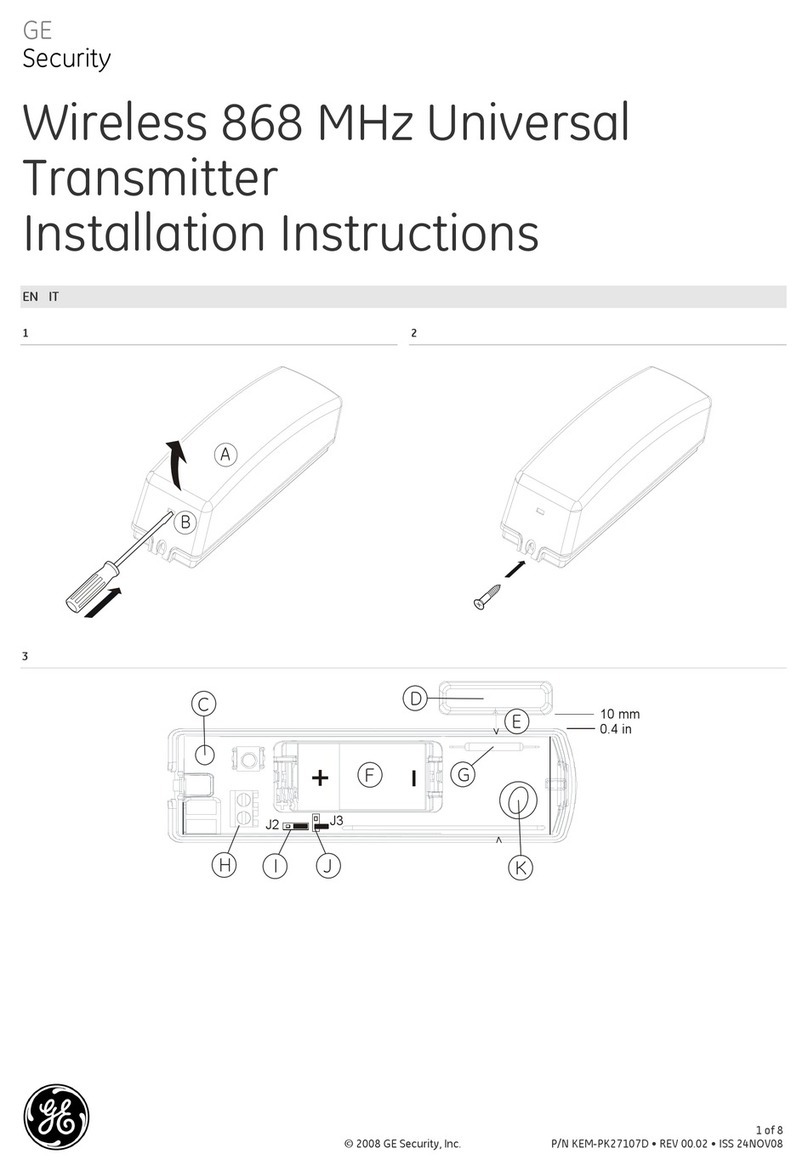
GE Security RF300NW8 installation instructions

GE Security

GE Security RF300NW8 installation instructions

manuals.online logo
manuals.online logoBrands
  • About & Mission
  • Contact us
  • Privacy Policy
  • Terms and Conditions

Copyright 2025 Manuals.Online. All Rights Reserved.