manuals.online logo
Brands
  1. Home
  2. •
  3. Brands
  4. •
  5. BBC Bircher
  6. •
  7. Transmitter
  8. •
  9. BBC Bircher XRF-T.2 User manual

BBC Bircher XRF-T.2 User manual

1
XRF-T.2
LED
50
121
23
5
i
  
50
121
23
4.2
5.7 4.2
22
106
8k2
i
1 2
ON
1 2
ON
1 2
ON
1 2
ON
IN1
IN21)
IN1
IN21)
8k2 8k2
IN1
IN21)
8k2
IN1
IN21)
8k2
1 2 3 4 1 2 3 4 1 2 3 4 1 2 3 4


Transmitter to XRF wireless transmission system
Original operating instructions
Intended use: Monitoring 1 or 2 safety edges and switches on doors and gates, in combination with a receiver XRF
1Installation (Cable routing, strain relief)
ENGLISH
404300E
01/21
Transmitter (Tx) Opening cover
(lift, then slide)
Battery
CR2450N
DIP-
switch
Push
button
Space
to open cover
Determine the cable routing
Break out the respective part of the cover
if necessary
 Punch hole into the grommet
 Insert cable
… or use holes
in the base plate
Break out …
Hint:
Cable Ø: 3.1 – 5.2 mm
or
Saftey instructions
• Read these operating instructions thoroughly before putting the device into
operation and keep them for future reference.
• Donotusethisproductotherthanforitsspeciedapplication.
• Onlytrainedandqualiedpersonnelmayinstallandinitializethedevice.
• Onlyauthorizedfactorypersonnelmayperformhardware/softwarechangesor
repairs to the product.
• Failure to follow these safety precautions may cause damage to sensor or objects,
serious personal injury, or death.
• It is the responsibility of the equipment manufacturer to carry out a risk assess-
ment and to install the system, in compliance with applicable local, national and
international regulations, safety standards, codes and laws as well as the
Machinery Directive 2006/42/EC, should this apply.
• Always consider the safety functions of your applications as a whole, never just in
relation to one individual section of the system.
• The installer is responsible for testing the system to ensure it meets all applicable
safety standards.
• SafetydevicesthatareclassiedasCategory2accordingtoENISO13849-1must
be tested regularly – at least once per cycle.
• If the safety device is not requested operationally at least once a year, it must be
checked manually by the operator at least once a year.
• Pay attention to all local relevant electrical safety regulations.
• Protect the device with a housing against contamination or harsh environments.
• This device contains batteries.
• Observe the local regulations for battery disposal.
• After accessing the inside of the device, ensure the cover/protection seal is
closed tightly to achieve designated protection rating.
= safety edge(factory setting) = switch (NO or NC: see 2.2)
DIP switch setting according to sensors (safety edge, switch)
achangeoftheDIPswitchwillbeconrmedbya(slightlydelayed)ashoftheLED
2.1 DIP switch setting
1) IN2 is only active when used with dual channel receiver (see receiver manual)
2Wiring / set-up
Wire cross section 0.25 – 0.75 mm2
2
2x
DesignedinSwitzerland/MadeinChina
BBC Bircher Smart Access, BBC Bircher AG, Wiesengasse 20, CH-8222 Beringen, www.bircher.com
2x = NC
2x = NC
4x = NO
4x = NO
NC NO
OK?
3x
3Pairing
Put on the cover (slide, then push down)
Attach the screws
System test mandatory!
Dispose used battery according to local regulations
 Loosen the two screws
Open housing (lift, then slide)
 Remove battery
 Insert new battery (check polarity)
4Trouble shooting
3.1.a Pairing at open state 3.1.b Pairing in mounted state
4.2 Battery change
After initating pairing on Rx
(see receiver manual),
press button
After initiating pairing on Rx
(see receiver manual), press the
edge two times within 2 sec.
5Technical data
Transmitter
Inputs up to two 8.2 kOhm sensors
up to two NC/NO switches
Battery power 1x Lithium 3 V Type (CR2450N)
Battery life up to 1.2 years *
ProtectionclassIEC60529 IP65
System
Operating frequency 868.3MHz
Range 100 m (at optimal condition)
Operating temperature –20 °C to +60 °C
6EU Declaration of Conformity
8Contact
7WEEE
See attachment
Pairing is possible with open cover or later in mounted situation.
Devices with this symbol must be treated separately du-
ring disposal. This must be done in accordance with the
laws of the respective countries for environmentally
sound disposal, processing and recycling of electrical and
electronic equipment.
1.
Insert
battery
2.
Status
3.
Change
4.
Change stored
Press button on
transmitter
Status
changes
LEDashes
LEDashes
1.5 sec.
Wait
10 sec.
4.1 Warning indicator for low battery voltage
Tondoutwhichtransmitter
has low battery voltage:
Press each edge.
Every minute Battery good Battery bad
Beep
3.2 System check (mandatory after each set-up)
TheLEDasheswhenactivatingthesensorelement(pressingthesensingedge)andashesagainwhenreleasingthesensorelement.
Does the door/gate stop when the sensing element is activated?
* Recommendation: Change battery every year.
Beep
Note:
When using the NC inputs the wiring with
the sensor must be permanently installed
and protected against external damage
accordingtoENISO13849-2Tab.D.4.
2.2 How to change inputs from NC to NO (factory setting = NC) / not for 8k2 applications

Other BBC Bircher Transmitter manuals

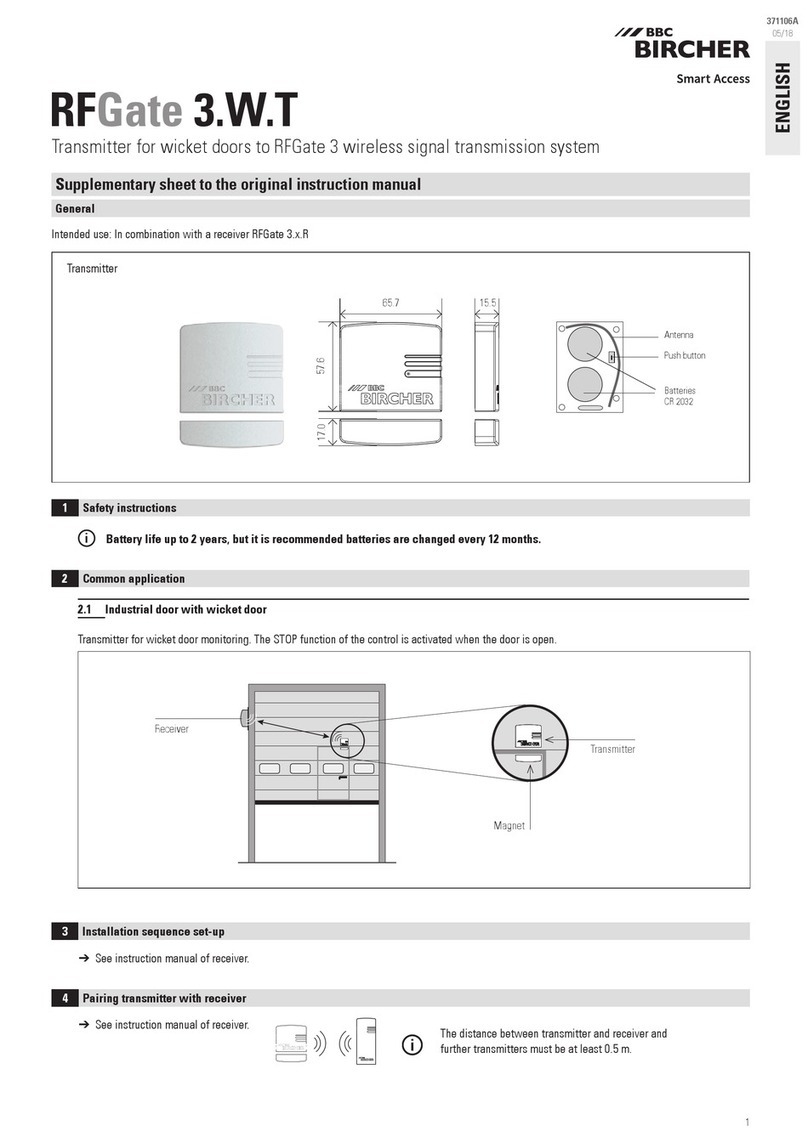
BBC Bircher RFGate 3.1 370046C User manual

BBC Bircher

BBC Bircher RFGate 3.1 370046C User manual

BBC Bircher XRF-TI User manual

BBC Bircher

BBC Bircher XRF-TI User manual

BBC Bircher Swissdoor RFGate 3.1 370046A User manual

BBC Bircher

BBC Bircher Swissdoor RFGate 3.1 370046A User manual

BBC Bircher XRF-T.2 Operating instructions

BBC Bircher

BBC Bircher XRF-T.2 Operating instructions

BBC Bircher XRF-1 User manual

BBC Bircher

BBC Bircher XRF-1 User manual

BBC Bircher XRF-TI User manual

BBC Bircher

BBC Bircher XRF-TI User manual

BBC Bircher RFGate 3.W.T User manual

BBC Bircher

BBC Bircher RFGate 3.W.T User manual

BBC Bircher XRF-T.2 User manual

BBC Bircher

BBC Bircher XRF-T.2 User manual

Popular Transmitter manuals by other brands

Intelix AVO-V1-WP installation manual

Intelix

Intelix AVO-V1-WP installation manual

Sennheiser SR 2020-D - instruction manual

Sennheiser

Sennheiser SR 2020-D - instruction manual

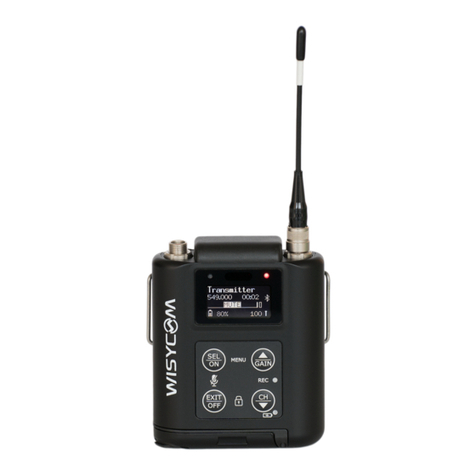
WisyCom MTP60 user manual

WisyCom

WisyCom MTP60 user manual

Vega VEGABAR 64 operating instructions

Vega

Vega VEGABAR 64 operating instructions

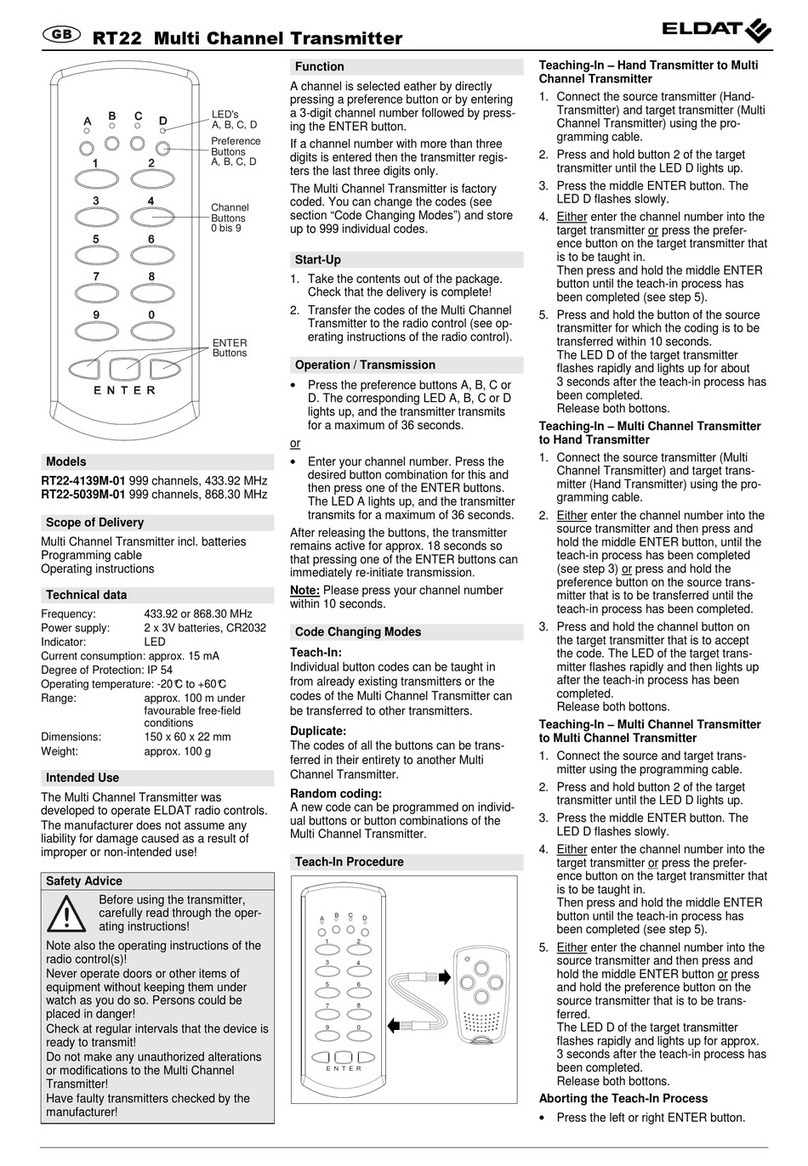
Eldat RT22-4139M-01 user manual

Eldat

Eldat RT22-4139M-01 user manual

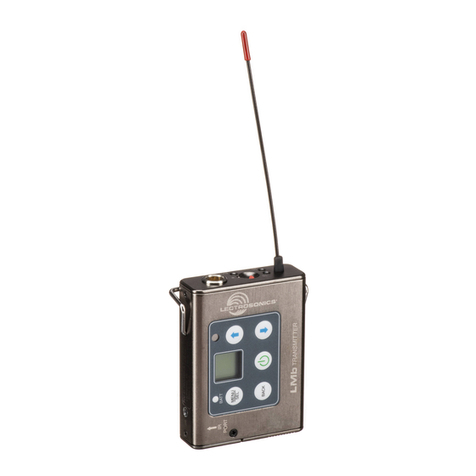
Lectrosonics LMb instruction manual

Lectrosonics

Lectrosonics LMb instruction manual

Milestone pro MPHUC-T70WPT4K user manual

Milestone pro

Milestone pro MPHUC-T70WPT4K user manual

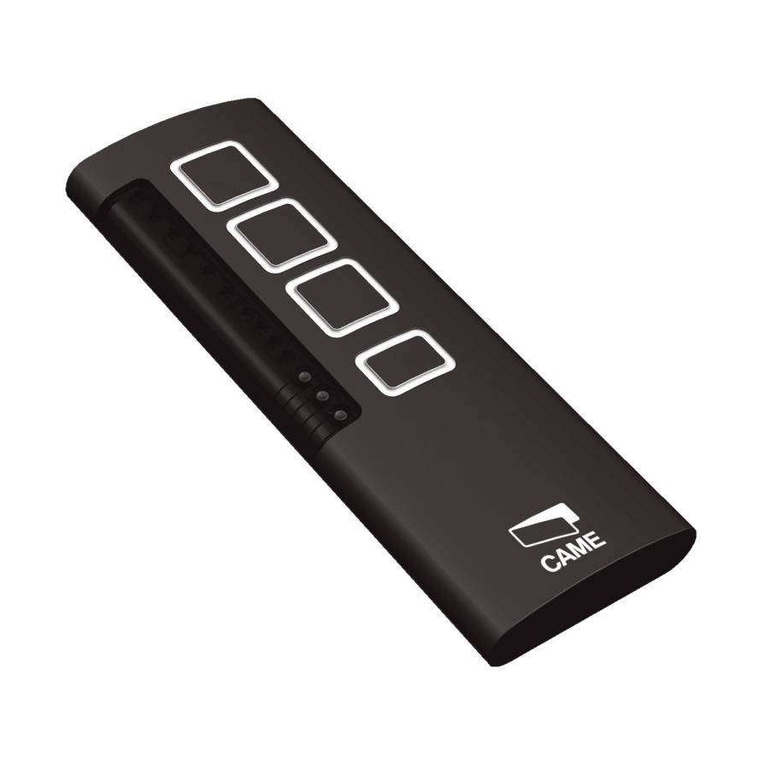
CAME STHB004WL quick guide

CAME

CAME STHB004WL quick guide

Clas Ohlson LHF-400 instruction manual

Clas Ohlson

Clas Ohlson LHF-400 instruction manual

Emerson Micro Motion IFT9701 instruction manual

Emerson

Emerson Micro Motion IFT9701 instruction manual

Directed Video WFM100 Owner's installation guide

Directed Video

Directed Video WFM100 Owner's installation guide

Scherrer UHF Tx700Pro manual

Scherrer UHF

Scherrer UHF Tx700Pro manual

ASCOM 9DLD - DATASHEET 1 datasheet

ASCOM

ASCOM 9DLD - DATASHEET 1 datasheet

Foxpro HELLCAT TX433XL instruction manual

Foxpro

Foxpro HELLCAT TX433XL instruction manual

Novalynx 225-RHP-2S Series user manual

Novalynx

Novalynx 225-RHP-2S Series user manual

Partner OT-110 user manual

Partner

Partner OT-110 user manual

Moore Inductries Smart HART HTZ manual

Moore Inductries

Moore Inductries Smart HART HTZ manual

PCB Piezotronics IMI SENSORS HT640B01 Installation and operating manual

PCB Piezotronics

PCB Piezotronics IMI SENSORS HT640B01 Installation and operating manual

manuals.online logo
manuals.online logoBrands
  • About & Mission
  • Contact us
  • Privacy Policy
  • Terms and Conditions

Copyright 2025 Manuals.Online. All Rights Reserved.