Garantie
3 Jahre Hersteller-Garantie für Endkonsumenten (nur Ersterwerb vom
autorisierten be quiet! Händler), ab Datum des Kaufbelegs.
Eine Garantieabwicklung ist nur in Verbindung mit einer beigefügten Kopie des
Kaufbeleges eines autorisierten be quiet! Händlers möglich.
Es gelten unsere Allgemeinen Garantiebestimmungen, die Sie unter
http://www.bequiet.com/de/service/warranty im Internet abrufen können.
Listan GmbH & Co. KG . Biedenkamp 3a . 21509 Glinde . Germany
Für weitere Unterstützung erreichen Sie uns innerhalb Deutschlands unter
Warranty
3 years manufacturer guarantee for consumers (original purchase from
authorised be quiet! dealers only)
Guarantee work can only be processed with an included copy of the purchase
receipt from an authorised be quiet! dealer.
Manipulation of any kind, structural changes of any kind as well as damages
Our General Warranty Conditions apply, which can be viewed on the Internet on
http://www.bequiet.com/en/service/warranty.
Listan GmbH & Co.KG . Biedenkamp 3a . 21509 Glinde . Germany
Garantie
achat auprès d’un distributeur be quiet! agréé)
auprès d’un distributeur be quiet! agréé.
Les conditions détaillées de garantie peuvent être consultées sur le site web
www.bequiet.com dans la rubrique Service/Conditions de garantie.
Si vous avez des questions sur nos produits, veuillez nous contacter par mail à
Listan France - 65 avenue Georges Politzer - 78190 Trappes - France
Garantía
original de distribuidores autorizados de be quiet!).
be quiet!
la página web www.bequiet.com dentro de la sección de servicio técnico /
Si tiene más preguntas acerca de nuestros productos, póngase en contacto con
Listan GmbH & Co. KG . Biedenkamp 3a . 21509 Glinde . Alemania
Gwarancja
autoryzowanego dystrybutora be quiet!)
Internecie pod adresem http://www.bequiet.com/pl/service/warranty.
Serwis: Listan Poland Sp. z o.o., ul. Fortuny 12, 01-339 Warszawa
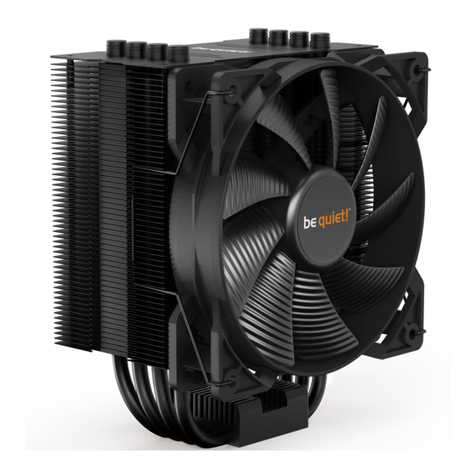
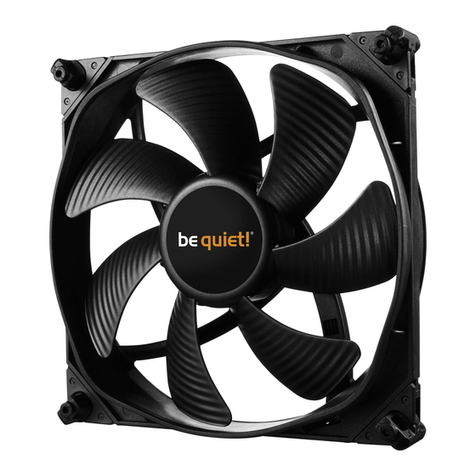
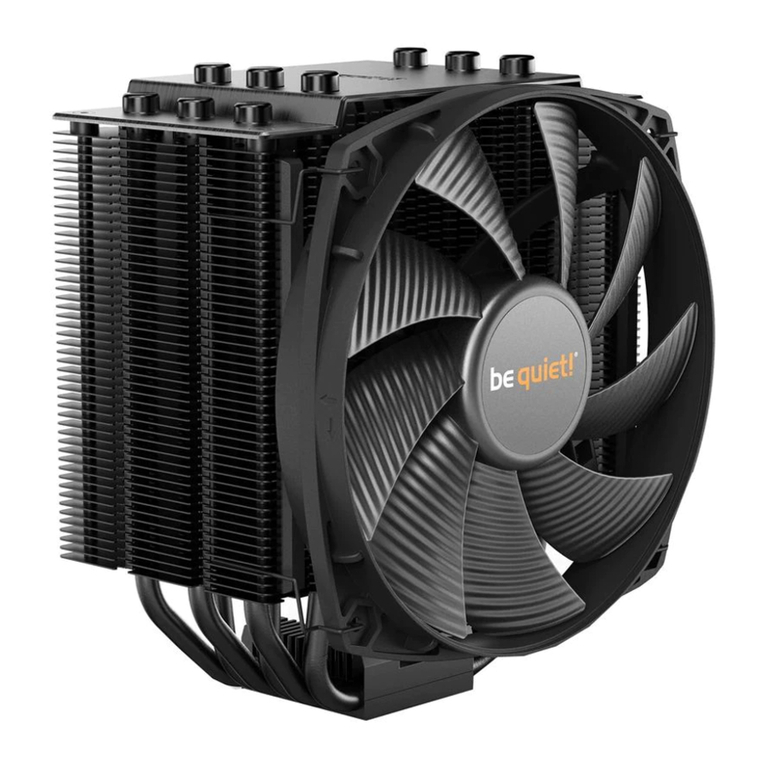
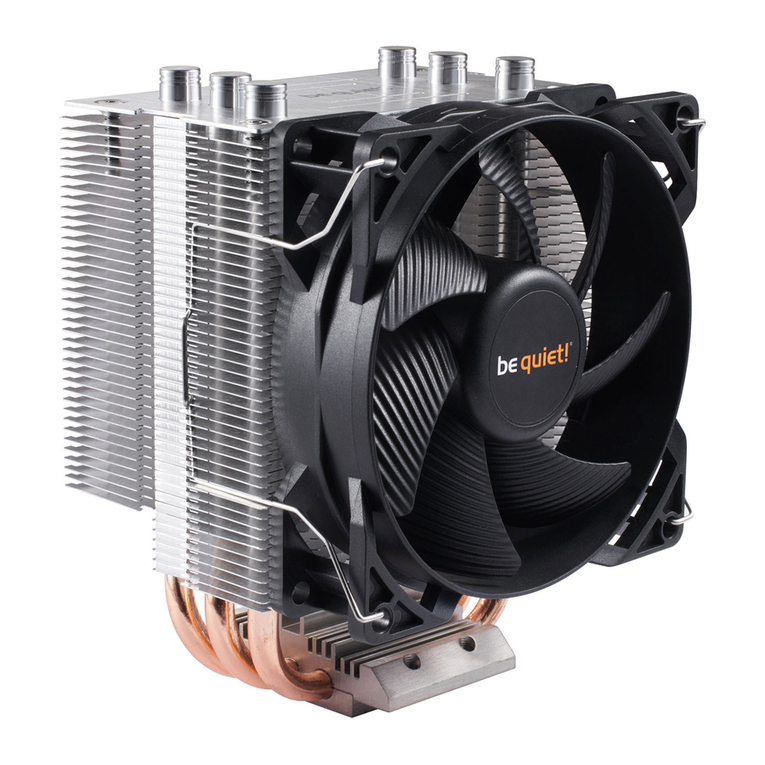
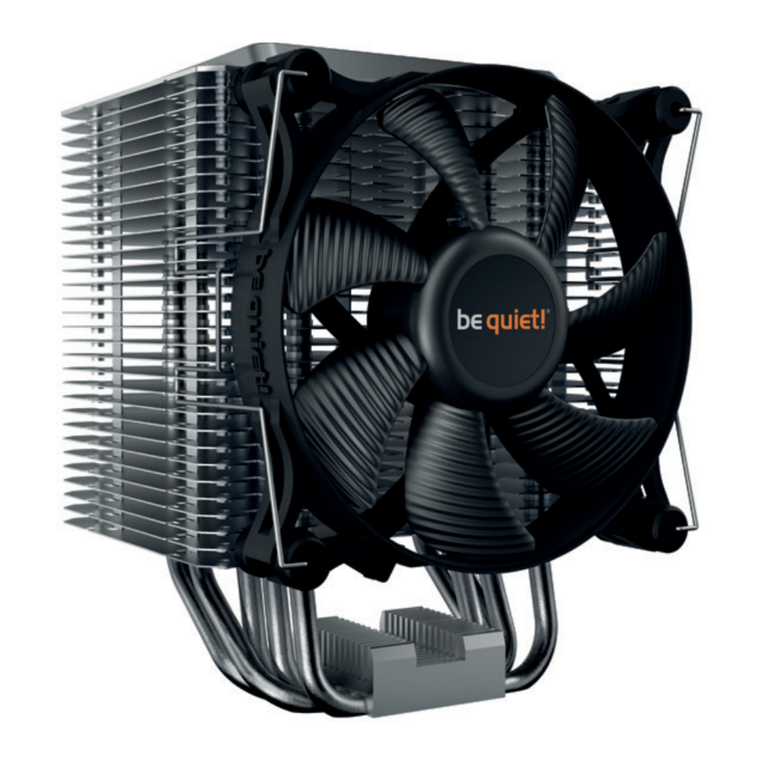
Technical Data Complete Cooler Unit Technical Data Shadow Wings Fan (PWM)
Dimensions incl. fans Fan dimension
Weight incl. fans 654 g Fan speed @ 100% PWM 1500 rpm
Noise level @ 1500 rpm 23.5 dB(A)
Socket compatibility
Intel®: 775 / 1150 / 1155 / 1156 / 1366
AMD: AM2(+), AM3(+) FM1 / FM2 /
754 / 939 / 940
113.63 m3/h / 66.84 cfm
Power capacity 160 W Air pressure 2.1 mm/H2O
Noise level
@ 900 / 1300 / 1700 rpm 9.6 / 15.9 / 24.4 dB(A) Input current 0.22 A
Delta T @ 100 Watt
(on dummy heat) 11.8 °C Connector 4-Pin PWM
Lifetime 200,000 h
Installation der Montagebrücken: Bringen Sie die Montagebrücken für Intel 1150/1155/1156 , Intel
1366/775 oder AMD an der Unterseite des Kühlers an. Verwenden Sie hierzu die kurzen Schrauben .
Installation of the mounting brackets: , Intel
1366/775 or AMD on the bottom of the cooler. Use the short screws for this .
Installation des supports de montage: Placer les supports pour Intel 1150/1155/1156 , Intel
1366/775 ou AMD .
Instalación de los puentes de montaje: ,
Intel 1366/775 o AMD en la parte inferior del ventilador. Para ello emplee los tornillos cortos .
Instalacja mostków montażowych: , Intel 1366/775 lub
AMD .
Achtung: Vermeiden Sie es, den Kühler innerhalb von Tower-Gehäusen mit den Biegungen der Heatpipes
nach oben zu installieren. Dies könnte zu einer schlechteren Kühlleistung führen.
Note: Within cases with tower form factor, please avoid installing the cooler with the heatpipe bending
upwards. It might lead to an inferior performance.
Attention: Ne pas installer les caloducs vers le haut. Cela pourrait conduire à une mauvaise performance
de la capacité de refroidissement.
Atención:
Ważne
Anschluss des Lüfters
Verbinden Sie den Lüfter mit dem PWM Signal des Mainboards.
Connecting the fan
Connect the fan to the mainboard's PWM signal.
Raccordement de ventilateur
Raccorder le ventilateur au signal PWM de commande de la carte mère.
Conexión de los ventiladores
Conecte los ventiladores a la señal PWM de la placa base.
Podłączenie wentylatorów
Fan
Aufbringen der Wärmeleitpaste
Reinigen Sie die CPU von allen eventuell vorhandenen Rückständen. Pressen Sie einen kleinen Tropfen der Wärmeleitpaste
den Wärmetransfer und somit die Kühlleistung! Die mitgelieferte Menge ist für 2-3 Anwendungen ausreichend.
Application of the heat-conducting paste
Clean any sediment away from the CPU. Apply a small drop of the heat-conducting paste onto the surface of the
CPU. Distribute that into a thin, uniform coat. NOTE: Too much heat-conducting paste impedes the transfer of heat
Application de pâte thermique
Nettoyer le CPU de tout résidu de pâte éventuellement présent. Déposer une petite goutte de pâte thermique sur la surface du CPU. L'étaler en une mince couche
uniforme. ATTENTION : une quantité trop importante de pâte thermique réduit le transfert de chaleur et par conséquent diminue la qualité du refroidissement. La
Aplicación de la pasta conductora de calor
En caso necesario limpie los posibles restos que queden en la CPU. Aplique una gotita de pasta conductora de calor
Nakładanie pasty termoprzewodzącej
Montage des CPU-Kühlers
ACHTUNG: Entfernen Sie zunächst die Schutzfolie von der Unterseite des Kühlers! Platzieren Sie den Kühlkörper
Inbetriebnahme des Rechners, ob alle Schrauben richtig und fest angezogen sind. Der Kühler muss mit dem
Mainboard fest verbunden sein!
Installation of the CPU cooler
on the CPU. Tighten the screws on the back plate from below until the end of the threads. Check that all screws
to the mainboard!
Montage du radiateur de CPU
Montaje del ventilador de la CPU
Montażschładzacza CPU
Socket
LGA1150,
LGA1156, LGA1155
Socket
LGA1366, LGA 775
Socket
754, 939, 940
Socket
AM2(+), AM3(+),
FM1, FM2


