manuals.online logo
Brands
  1. Home
  2. •
  3. Brands
  4. •
  5. BEA
  6. •
  7. Door Lock
  8. •
  9. BEA 10MAGLOCK3UL User manual

BEA 10MAGLOCK3UL User manual

2 Specifi cations
600 • 600 • 600 • 600 • 600 • 600 • 600 • 600 • 600 • 600 • 600 • 600 •
• 600 • 600 • 600 • 600 • 600 • 600 • 600 • 600 • 600 • 600 • 600 •
600 • 600 • 600 • 600 • 600 • 600 • 600 • 600 • 600 • 600 • 600 • 600 •
600 UL MAGLOCKS
USER’S GUIDE
ELECTROMAGNETIC LOCK
1 Description
The Electromagnetic Lock (Maglock) series is a surface mounted magnetic lock assembly. Available in single and dual lock varieties
and various sizes (force) designed for standard installation on most types of doors.
DESCRIPTION 10MAGLOCK3UL 10MAGLOCK6UL
Lock Single Double
Imput Voltage (VDC) 12 or 24 12 or 24
Relay Rating: @ 24 VDC (amps) 1.0 1.0
Dimensions: inches
(mm) 9.84 x 1.65 x 1.02
(250 x 42 x 26) 19.76 x 1.65 x 1.02
(502 x 42 x 26)
Certifi cation: UL UL
75.5366.00 20080821 Page 1 of 2
3 Precautions
Shut off all power before attempting any wiring procedures.
Maintain a clean & safe environment when working in public areas.
Constantly be aware of pedestrian traf c around the door area.
Always stop pedestrian traf c through the doorway when performing tests that may result in unexpected reactions by the door.
Always check placement of all wiring before powering up to insure moving door parts will not catch any wires and cause
damage to equipment.
Ensure compliance with all applicable safety standards and building codes upon completion of installation.
4 Installation - Mechanical
1. Handle the equipment with care. Damaging the mating surfaces of the magnet and armature plate may reduce locking ef ciency.
2. The maglock mounts rigidly to the door frame. The armature plate mount to the door with the hardware provided. This allows the
armature plate to pivot about its center to compensate for door wear and misalignment.
3. Template use must take place with the door in its normally closed position.
4. Add threadlocker to all screws before installing.
5. Firmly tighten screws.
DOUBLE
10MAGLOCK6UL
SINGLE
10MAGLOCK3UL
C/L
NOTE: The product should only be powered by a UL listed power supply.
NOTE: If power switch is not wired between DC source voltage and magnet,
it will take a longer time to de-energize the magnet simulating residual magnetism.
1. 12 VDC INPUT
A. Required power 0.5A (Max).
B. Connect ground (-) lead from a 12 VDC power source to Terminal 2.
C. Connect positive (+) lead from a 12 VDC power source to Terminal 1.
D. Check jumper for 12 VDC operation.
2. 24 VDC INPUT
A. Required power 0.25A (Max).
B. Connect ground (-) lead from a 24 VDC power source to Terminal 2.
C. Connect positive (+) lead from a 24 VDC power source to Terminal 1.
D. Check jumper for 24 VDC operation.
3. CONTACTS
1. Relay dry contacts are rated 1A at 24 VDC for safe operation, DO NOT exceed this
rating.
2. If a NO switch is required, connect the wires from the system to Terminal 4 & Terminal 3.
3. If a NC switch is required, connect the wires from the system to Terminal 4 & Terminal 5.
Page 2 of 2 75.5366.00 20080821
5 Installation - Electrical
Do not leave problems unresolved. If a satisfactory solution cannot be achieved after troubleshooting a problem, please
contact BEA Inc. If you must wait for the following workday to contact BEA, leave the door inoperable until satisfactory
repairs can be made. Never sacrice the safe operation of the automatic door or gate for an incomplete solution.
The following numbers can be called 24/7. For more information, visit www.beasensors.com.
6 Company Contact
US and Canada:
Canada:
Northeast:
1-866-249-7937
1-866-836-1863
1-866-836-1863
Southeast:
Midwest:
West:
1-800-407-4545
1-888-308-8843
1-888-419-2564
4 Installation - Mechanical (Cont’d)
TYPICAL INSTALLATION
NOTE: DO NOT over-tighten the armature plate. The rubber washer is
designed to allow the armature plate to automatically adjust position
for best mating position between the lock and armature plate.
1 2 3 4 5
+ - NO C NC
+ -
12VDC
24VDC
Switch or solid
state switching
device
Switch or solid
state switching
device
AC110V
or
220V
AC110V
or
220V DC12V
or
24V
DC12V
or
24V
+
-
+
-
CORRECT
INCORRECT
LOCK STATUS SWITCH (SPDT)
POWER
SUPPLY
+ -
POWER
SELECTOR
JUMPER
LED
MAG BOND SENSOR
MAGNET
TIMER (0-90 SEC)
DOOR FRAME
ARMATURE PLATE
MAGNET
ANGLE
BRACKET
MOUNTING
PLATE MOUNTING
PLATE
STRINGER
HOLE FOR
GUIDE PIN
HOLE FOR NUT
RUBBER WASHER
STEEL WASHER
ARMATURE PLATE
SCREW M8 (35MM)
GUIDE PIN
DOOR
NUT
SPACER
WASHER
ARMATURE
PLATE
DOOR
NUT
DOOR FRAME DOOR FRAME
DOOR
ARMATURE PLATE ARMATURE PLATE
MAGNET MAGNET
DOOR DOOR
MOUNTING
PLATE

This manual suits for next models

1

Other BEA Door Lock manuals

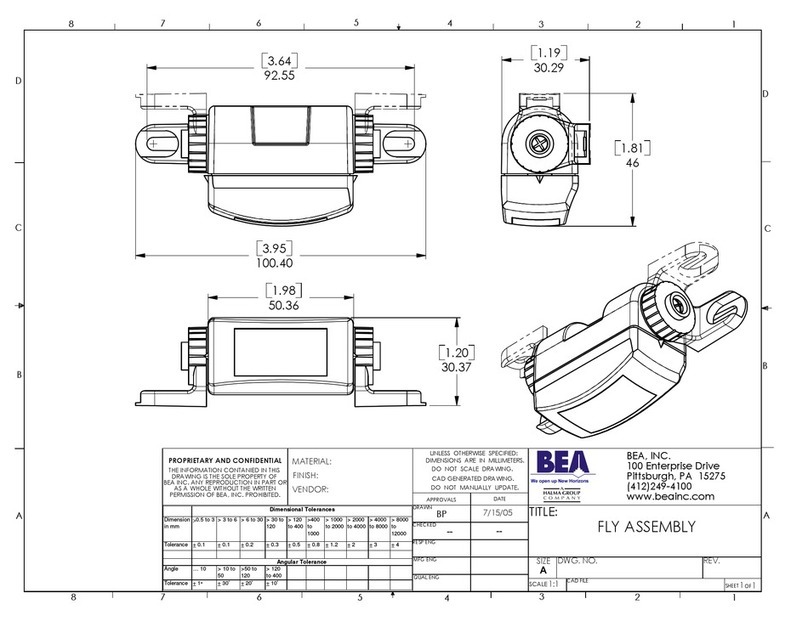
BEA Fly Assembly Guide

BEA

BEA Fly Assembly Guide

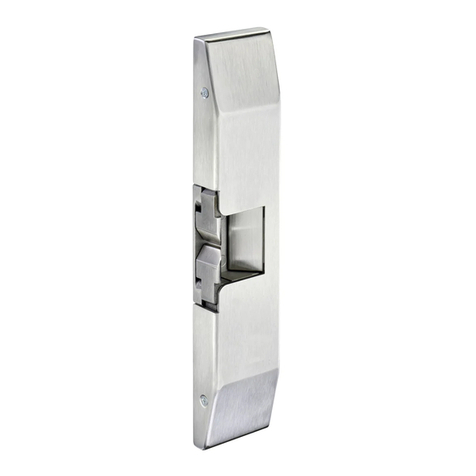
BEA 10STRIKEREV34 User manual

BEA

BEA 10STRIKEREV34 User manual

BEA 10STRIKEREV34 User manual

BEA

BEA 10STRIKEREV34 User manual

Popular Door Lock manuals by other brands

Lockly LATCH EDITION SECURE PGD628 installation guide

Lockly

Lockly LATCH EDITION SECURE PGD628 installation guide

Hydro WICONA WICLINE evo Hardware installation

Hydro

Hydro WICONA WICLINE evo Hardware installation

VIZiD DFL200 user manual

VIZiD

VIZiD DFL200 user manual

Assa Abloy Securitron UnLatch Installation & operating instructions

Assa Abloy

Assa Abloy Securitron UnLatch Installation & operating instructions

Schlage BE365 Programming/operating guide

Schlage

Schlage BE365 Programming/operating guide

Schlage AD-300 instructions

Schlage

Schlage AD-300 instructions

hager 3400 Series Electrical Specifications & Supplemental Instructions

hager

hager 3400 Series Electrical Specifications & Supplemental Instructions

Assa Abloy LOCKWOOD 3782 troubleshooting guide

Assa Abloy

Assa Abloy LOCKWOOD 3782 troubleshooting guide

JNF IN.27.106 installation manual

JNF

JNF IN.27.106 installation manual

Kaba 7002 Series installation instructions

Kaba

Kaba 7002 Series installation instructions

CODELOCKS CL500 Code change guide

CODELOCKS

CODELOCKS CL500 Code change guide

ERA 1430-32 Fitting instructions

ERA

ERA 1430-32 Fitting instructions

Igloohome RG1 Installer/user guide

Igloohome

Igloohome RG1 Installer/user guide

Link SmartLINK M 13 85 Operation and installation manual

Link

Link SmartLINK M 13 85 Operation and installation manual

Amadas Smart Door Lock quick guide

Amadas

Amadas Smart Door Lock quick guide

Schlage Encode quick start guide

Schlage

Schlage Encode quick start guide

Spectrum Brands Kwikset installation guide

Spectrum Brands

Spectrum Brands Kwikset installation guide

Assa Abloy ML22HPH instructions

Assa Abloy

Assa Abloy ML22HPH instructions

manuals.online logo
manuals.online logoBrands
  • About & Mission
  • Contact us
  • Privacy Policy
  • Terms and Conditions

Copyright 2025 Manuals.Online. All Rights Reserved.