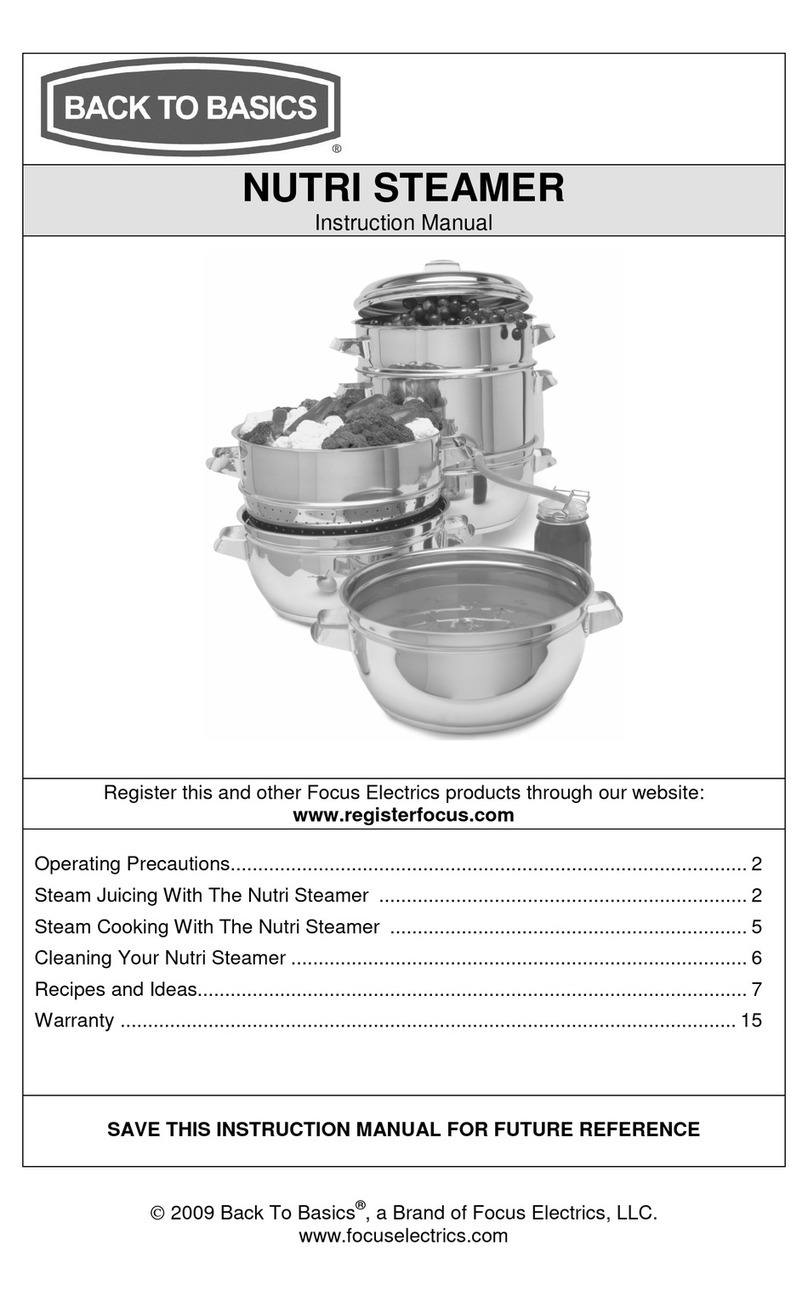
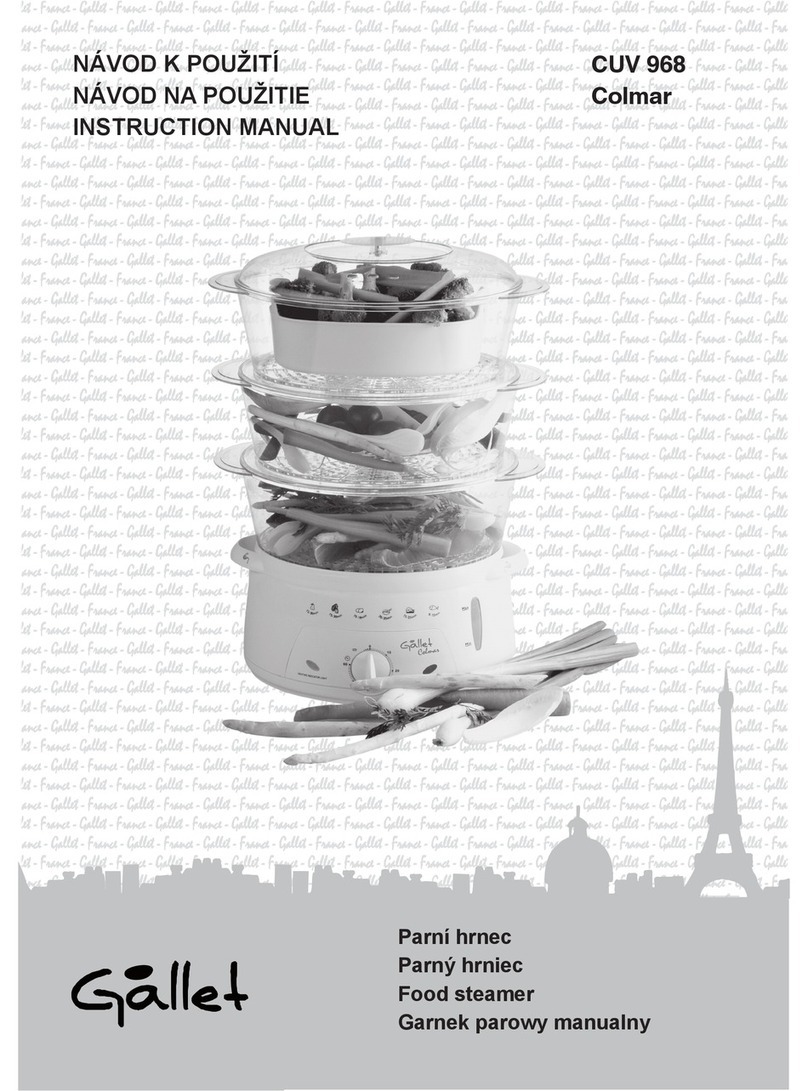
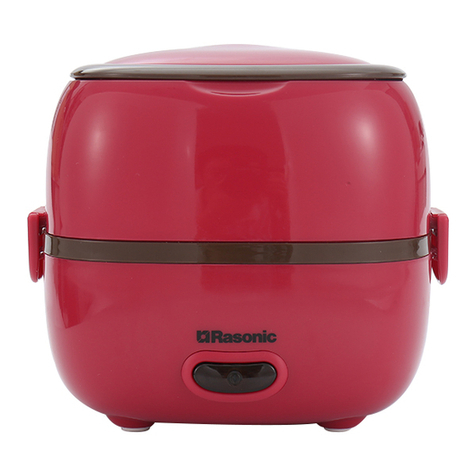
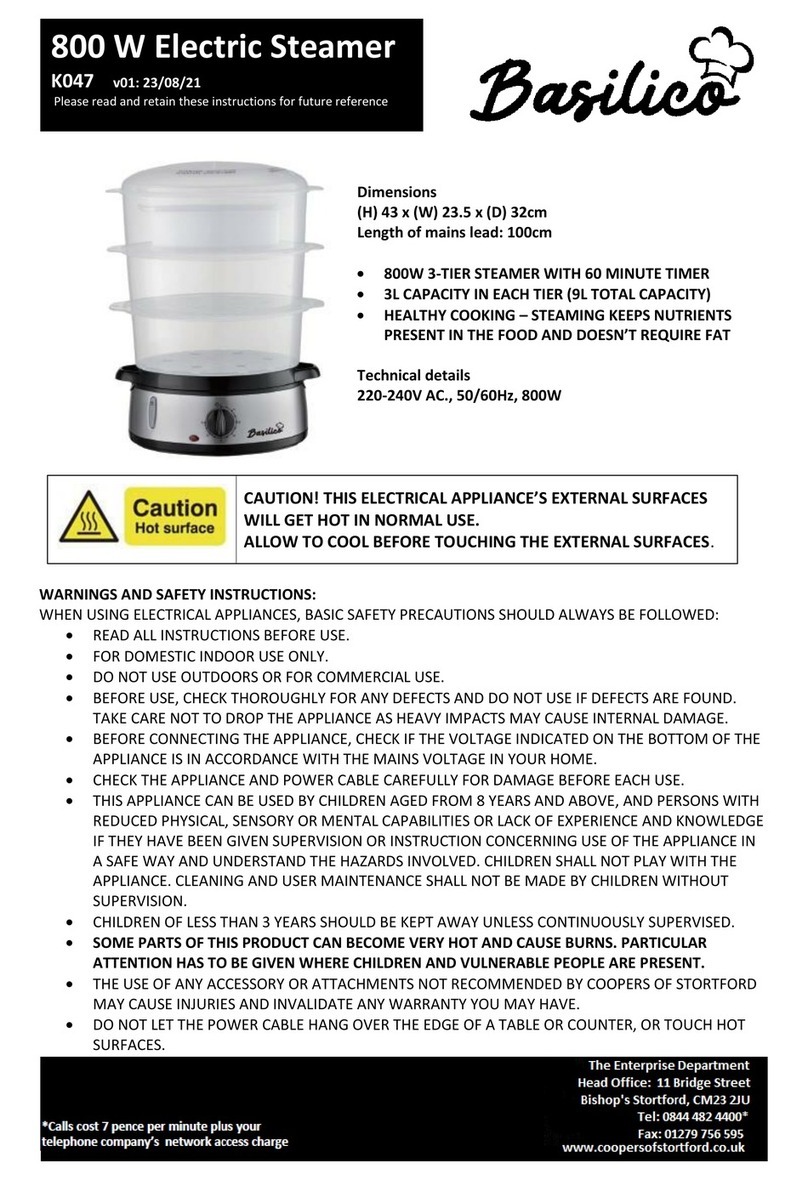
Beaba BABYCOOK User manual

7
INFORMATIONS TECHNIQUES
Tension / Puissance : Se référer à la plaque signalétique qui se trouve sous l’appareil.
Température d’usage: 10 à 40°C.
QUESTIONS / REPONSES.
Un tableau à jour et détaillé est présent sur le site internet de BÉABA
• Assurer vous que l’appareil est bien relié au réseau électrique
• Vérier que le bol est verrouillé sur la base et que le couvercle est bien
verrouillé.
• Vérier que le couvercle est correctement enclenché sur le bol
• Vérier que le panier est correctement placé dans le bol
• Vérier le montage du joint sur le couteau (se référer au paragraphe
Nettoyage et Entretien)
• Vérier l’état du joint du couteau et le remplacer si nécessaire
• Vérier que la cloche est correctement enclenchée sur la cuve
• Vérier la présence du joint cdans la cloche (voir p 5)
• Vérier que la cuve est propre et détartrée
• Il n’y a plus d’eau dans la cuve : La quantité d’eau initiale était trop faible.
Remplir de nouveau la cuve avec le niveau d’eau nécessaire.
• Il reste de l’eau dans la cuve en n de cycle, débrancher le produit et
contacter le SAV Béaba.
• Reprendre le point 13 « réchauffage biberon »
5
10
15
20
25
30
ml
e
f
g
h
r
m
n
o
c
q
a
b
d
c
j
i
l
k
aSpatula
b
Reservoir lid
c
Reservoir/cloche lid joint
d
Heating reservoir
e
Control button
f
Cooking light
g
Jug lid
h
Cooking basket
i
Blade
j
Jug
k
Joint/steam outlet
l
Blade joint
m
Blade nut
n
Mixing cover
o
Cloche steam outlet
p
Insulating ring
q
Steam cloche
r
Bottle stand
p
SAFETY INSTRUCTIONS / IMPORTANT:
• Incorrect use of the appliance may cause injury: always follow these instructions.
• CAUTION, BURN RISK
- This appliance generates very hot steam (100°C/212°F) which cooks the
food.
• Be careful if hot liquid is poured into the food processor or blender as it can be ejected out of the
appliance due to a sudden steaming.
• Do not approach the appliance during the cooking cycle.
• Do not open the lid until the cooking cycle has nished (risk of scalding from hot water).
• CAUTION, CUTTING RISK
- The blades are extremely sharp.
• Follow the instructions for dismantling the blade carefully (cleaning).
• Be careful when you empty the jug.
USE :
• This appliance shall not be used by children.
• This device may be used by people with reduced physical, sensorial or mental capacities, or without
any experience or knowledge, if they are correctly supervised or if the instructions for using the device
safely have been provided and the risks have been understood.
• This appliance is designed for domestic and other such use, for example: kitchen areas reserved for
staff in shops, ofces and other professional environments, farms, guests staying at hotels, motels
and other residential type environments, environments such as bed and breakfast accommodation.
POWER CONNECTION:
• Never immerse the appliance in water.
• Unplug the appliance before assembling, dismantling or cleaning.
• Unplug the appliance if you leave it unsupervised.
• Unplug the appliance if it is not working properly*.
• Do not use your appliance if the power cable is damaged, to avoid danger, it must be replaced by the
professional personnel of the manufacturer, the maintenance department or the similar department.
* contact the customer Service immediately.
CAUTION/CHILDREN:
• Keep the appliance and its cord out of the reach of children.
• Always close the jug’s lid (cutting risk with blades).
• The appliance should not be cleaned by a child.
• The appliance should not be maintained by a child.
• Do not let a child play with the appliance.
READ THESE INSTRUCTIONS CAREFULLY BEFORE USING
THIS APPLICANCE FOR THE FIRST TIME
EN

8
THANK YOU FOR YOUR PURCHASE. Congratulations— you now own a baby food maker appliance that
offers you unique performance. Babycook®has been specically designed to prepare healthy meals for
your baby, simply and rapidly. Babycook®cooks, reheats and defrosts food by steaming, which locks in
vitamins and nutrients. It also blends food to the perfect consistency.
INSTRUCTIONS
• When using for the rst time, launch a cooking cycle without any food in the jug and with the water
level at number 3, when done, rinse the jug and the accessories in hot water.
• Only use clean water in the reservoir (tap water or bottled water).
• Wash your hands well with soap and water before handling your baby’s products and food.
CAUTION
• Always use the appliance on a solid and even surface.
• Do not place the appliance near a heat source, hotplates, etc.
• Do not carry the appliance by the jug’s handle.
• Do not launch the cooking cycle if there is no water in the reservoir.
• Do not place Babycook’s jug « j» in a microwave.
COOKING CYCLE
1. Cut the food into 1cm x 1 cm cubes and place them in the basket. To ensure even cooking, it is
advised to not overload the basket. Fig. 1
2. The jug has graduations from 1 to 3. These graduations allow you to measure out the amount of
water to place in the heating reservoir and determine the cooking time. Refer to the cooking guide
(p 11). Measure out the water using the jug according to the chosen recipe and without adding
anything (salt, sugar, herbs and spices etc.) Fig. 2
3. Pour the water into the reservoir. Fig. 3
4. Check that there is a joint
c
4. in the reservoir
5. Lock the reservoir’s lid Fig. 4
6. Check that the blade is correctly installed in the bottom of the jug with the joint and the nut Fig. 5
CAUTION, CUTTING RISK
when handling the sharp blades
7. Place the basket in the jug, taking care to position the tongue of the basket in the lip of the jug. Fig. 6
8. Check that the steam outlet joint
k
is not blocked
9. Lock the jug’s lid rmly on to the jug Fig. 7
10. Lock the jug onto the appliance Fig. 8
11. Plug the appliance into a suitable socket
12. Turn the button left to the steam symbol to start the cycle ( ). Fig. 9
13. When the cooking light switches off, the heating cycle stops and a sound signal is heard (5 beeps)
Return the control button to position 0 Fig. 10
Unlock the jug’s lid,
CAUTION. BURN RISK
and use the spatula to check if cooked.
14. If you want to start the cooking cycle again, return the control button to position 0, add cold water
to the reservoir (level 1 to 3 according to needs), wait for 30 seconds and turn the button to the
steam symbol.
15. Remove the basket with the spatula. Fig. 11
16. If you wish, set aside the cooking juices collected in the bottom of the jug to add to the preparation
or facilitate mixing.
RECOMMENDATIONS
• Do not stop cooking during the cycle in order to avoid leaving water in the heating reservoir.
• Only use clean drinking water in the reservoir, which is free of any food or any other type of residue.
• Always check the temperature of food before serving.
• It is advised to not heat food over a long period.
MIXING CYCLE
1. Check that the blade is correctly installed in the bottom of the jug with the joint and the nut Fig. 5
2. After checking the cooking time, empty the food into the basket in the jug Fig. 12.
3. According to the desired consistency, add some of the cooking juices before starting the cycle.
4. Place the mixing cover on the jug Fig. 13
5. Lock the lid onto the jug, making sure that it is correctly positioned Fig. 14, then lock the jug onto
the appliance Fig. 15
6. Plug in the appliance and turn the button ( ) 6. to the right using pulses lasting a maximum of 10
seconds. Fig. 16. Between each pulse, open the jug’s cover and, if necessary, mix with the spatula,
taking care to avoid touching the blade, and add some cooking juices until you obtain the desired
consistency.
7. Unlock the lid.
RECOMMENDATIONS
• Do not empty out the preparation with a utensil which may damage the blade.
• Wipe the reservoir with a clean cloth after using your Babycook.
HEATING FEEDING BOTTLES - Babycook Original Plus only
1.
Fill the bottle with water or milk according to the desired quantity.
2.
The cloche has graduations (1 to 30 ml) which allow you to measure out the amount of water to
place in the heating reservoir and determine the bottle’s heating time. Refer to the heating guide
(p 9) bearing in mind that this information is provided for information purposes only. Measure out the
water according to the type of bottle and the liquid’s initial temperature. Fig. 17
3.
Place the bottle stand
r
in the bottom of the reservoir Fig. 18
ATTENTION
: Never insert a bottle without this stand at the risk of damaging the reservoir and the
bottle.
4.
Pour the water into the reservoir using the cloche. Fig. 19
5.
Place the full bottle without the teat and without the lid on the bottle stand in the reservoir Fig. 20 (a)
6.
Check that the cloche’s steam outlet
o
6. is not blocked
7.
Check that there is a joint
c
in the cloche
8.
Lock the cloche onto the reservoir Fig. 21
9.
Plug the appliance into a socket.
10.
Turn the button left to the steam symbol ( ) 10. to start the cycle. Fig. 22
11.
When the cooking light switches off, the heating cycle stops and a sound signal is heard (5 beeps).
Return the button to position 0
12.
CAUTION. BURN RISK
. Unlock the cloche holding it by the insulating ring
p
and retrieve your
bottle.
13.
If you want to start the heating cycle again, return the control button to position 0, add cold water to
the reservoir (level 3), wait for 30 seconds, empty the water and start a normal cycle again.
NB
: Cloche compatible with all feeding bottles less than 73 mm in diameter, except bottles with a
removable valve at the bottom of the bottle.
Recommendations for controlling the nal temperature:
• Open the cloche at the end of the cycle to prevent the contents from continuing to heat.
ATTENTION
: glass receptacles may be hotter than their actual contents.
• Check that the size of the bottle is adapted to the volume of water to heat.
Choose a bottle that will be lled at least to half of its height
Example, to heat 120 ml of water, choose a 240 ml bottle maximum
• Always stir the bottle jar to even the temperature of the contents
• Always check the temperature of the food by pouring a few drops on to a delicate piece of skin (inside
the wrist, back of the hand, etc.) or by tasting the food.
9
13. When the cooking light switches off, the heating cycle stops and a sound signal is heard (5 beeps)
Return the control button to position 0 Fig. 10
Unlock the jug’s lid,
CAUTION. BURN RISK
and use the spatula to check if cooked.
14. If you want to start the cooking cycle again, return the control button to position 0, add cold water
to the reservoir (level 1 to 3 according to needs), wait for 30 seconds and turn the button to the
steam symbol.
15. Remove the basket with the spatula. Fig. 11
16. If you wish, set aside the cooking juices collected in the bottom of the jug to add to the preparation
or facilitate mixing.
RECOMMENDATIONS
• Do not stop cooking during the cycle in order to avoid leaving water in the heating reservoir.
• Only use clean drinking water in the reservoir, which is free of any food or any other type of residue.
• Always check the temperature of food before serving.
• It is advised to not heat food over a long period.
MIXING CYCLE
1. Check that the blade is correctly installed in the bottom of the jug with the joint and the nut Fig. 5
2. After checking the cooking time, empty the food into the basket in the jug Fig. 12.
3. According to the desired consistency, add some of the cooking juices before starting the cycle.
4. Place the mixing cover on the jug Fig. 13
5. Lock the lid onto the jug, making sure that it is correctly positioned Fig. 14, then lock the jug onto
the appliance Fig. 15
6. Plug in the appliance and turn the button ( ) 6. to the right using pulses lasting a maximum of 10
seconds. Fig. 16. Between each pulse, open the jug’s cover and, if necessary, mix with the spatula,
taking care to avoid touching the blade, and add some cooking juices until you obtain the desired
consistency.
7. Unlock the lid.
RECOMMENDATIONS
• Do not empty out the preparation with a utensil which may damage the blade.
• Wipe the reservoir with a clean cloth after using your Babycook.
HEATING FEEDING BOTTLES - Babycook Original Plus only
1. Fill the bottle with water or milk according to the desired quantity.
2. The cloche has graduations (1 to 30 ml) which allow you to measure out the amount of water to
place in the heating reservoir and determine the bottle’s heating time. Refer to the heating guide
(p 9) bearing in mind that this information is provided for information purposes only. Measure out the
water according to the type of bottle and the liquid’s initial temperature. Fig. 17
3. Place the bottle stand
r
in the bottom of the reservoir Fig. 18
ATTENTION
: Never insert a bottle without this stand at the risk of damaging the reservoir and the
bottle.
4. Pour the water into the reservoir using the cloche. Fig. 19
5. Place the full bottle without the teat and without the lid on the bottle stand in the reservoir Fig. 20 (a)
6. Check that the cloche’s steam outlet
o
6. is not blocked
7. Check that there is a joint
c
in the cloche
8. Lock the cloche onto the reservoir Fig. 21
9. Plug the appliance into a socket.
10. Turn the button left to the steam symbol ( ) 10. to start the cycle. Fig. 22
11. When the cooking light switches off, the heating cycle stops and a sound signal is heard (5 beeps).
Return the button to position 0
12. CAUTION. BURN RISK
. Unlock the cloche holding it by the insulating ring
p
and retrieve your
bottle.
13. If you want to start the heating cycle again, return the control button to position 0, add cold water to
the reservoir (level 3), wait for 30 seconds, empty the water and start a normal cycle again.
NB: Cloche compatible with all feeding bottles less than 73 mm in diameter, except bottles with a
removable valve at the bottom of the bottle.
Recommendations for controlling the nal temperature:
• Open the cloche at the end of the cycle to prevent the contents from continuing to heat.
ATTENTION
: glass receptacles may be hotter than their actual contents.
• Check that the size of the bottle is adapted to the volume of water to heat.
Choose a bottle that will be lled at least to half of its height
Example, to heat 120 ml of water, choose a 240 ml bottle maximum
• Always stir the bottle jar to even the temperature of the contents
• Always check the temperature of the food by pouring a few drops on to a delicate piece of skin (inside
the wrist, back of the hand, etc.) or by tasting the food.
• For hygiene reasons and in order to avoid all microbiological risks, the bottle must be consumed
quickly after preparation. Consult your paediatrician or a health organisation for further information
about food safety and preparation.
PLASTIC FEEDING BOTTLES
Quantity water/milk
in bottle Initial temperature Quantity water
cloche Approximate time
60 ml 16 ml 3'
8 ml 1'45
120 ml 15 ml 3'10
9 ml 2'20
180 ml 14 ml 3'10
9 ml 2'10
240 ml 13 ml 3'20
8 ml 2'
300 ml 12 ml 4'
10 ml 2'45
330 ml 10 ml 3'40
9 ml 3'
GLASS FEEDING BOTTLES
Quantity water/milk
in bottle Initial temperature Quantity water
cloche Approximate time
60 ml 7 ml 1'40
6 ml 1'20
120 ml 9 ml 2'15
6 ml 1'30
180 ml 9 ml 2'30
7 ml 1'45
240 ml 9 ml 2'30
8 ml 2'10
CAUTION
:Temperature may vary according to the material, shape and brand of the bottle you use. We
recommend that you carry out several tests in order to adjust the amount of water needed in relation
to the format of the bottle and the nal temperature desired. 30 seconds

10
STERILISING FEEDING BOTTLES AND ACCESSORIES - Babycook Original Plus only
1. Clean the bottles and accessories in hot soapy water and rinse well before sterilising.
• The cloche has graduations (1 to 30 ml) which allow you to measure out the amount of water to place
in the heating reservoir and determine the sterilisation time.
2. Measure out the water using the cloche up to a minimum level of 16 ml
3. Place the bottle stand
r
3- in the bottom of the reservoir Fig.18
4. Pour the water into the reservoir using the cloche (16 ml). Fig. 19
5. Place the bottle upside down on the bottle stand in the reservoir. Fig.20 (b)
6. Check that the cloche’s steam outlet
o
is not blocked
7. Check that there is a joint
c
7- in the cloche
8. Lock the cloche onto the reservoir. Fig. 21
9. Plug the appliance into a suitable socket.
10. Turn the button left to the steam symbol ( ) 10- to start the cycle. Fig. 22
11. When the cooking light switches off, the heating cycle stops and a sound signal is heard (5 beeps)..
Return the button to position 0
12. CAUTION. BURN RISK. Wait for at least 10 mins before unlocking the cloche and collecting the
sterilised items.
13. Unlock the cloche holding it by the insulating ring
p
and retrieve your bottle.
HEATING JARS and DEFROSTING
• The food to be heated or defrosted should be placed in a suitable container and then placed in the
cooking basket. The container must not block the steam outlet
k
• Measure out 1 to 3 doses of water according to the amount of food to be reheated and then follow the
cooking cycle instructions.
• At the end of the cycle, when the light switches off and a sound signal is heard (5 beeps), use a cloth
to remove the recipient (
ATTENTION
the remaining water is very hot at the end of the cooking
cycle) and mix the contents with the Beaba spatula to obtain an even temperature and check it before
feeding it to your child.
N.B.: Although it is always best to use fresh fruit and vegetables which have a high vitamin content, it is
also possible to cook frozen fruit and vegetables which have been defrosted in the BABYCOOK® jug or
in the fridge (never defrost food at room temperature).
CLEANING and MAINTENANCE
Always unplug the appliance before cleaning it.
It is advised to wash the removable parts by hand: jug, cloche, basket, spatula, mixing cover, lid, joints,
blade, etc. Dishwasher cleaning may cause parts to wear faster and affect their quality.
Clean the body of the appliance as well as the reservoir with a damp sponge.
• To clean the blade and its joint
i
l
m
, follow the dismantling and assembly instructions:
I II III
Assembly
Dismantling
• To remove and replace the reservoir and cloche lid’s joint
c
, follow the assembly instructions:
DESCALING
Only use white vinegar or the BEABA cleaning product for Babycook.
Never use a chemical descaler or a coffee machine descaler in the reservoir.
Unplug your appliance, descaling should be done cold and does not require a heating cycle.
Pour a mixture of 50 ml of water and 50 ml of white vinegar or the BEABA cleaning product for Babycook
into the reservoir.
Leave to soak overnight with the lid open.
Empty the contents of the reservoir into the sink. Rinse with water and wipe with a clean cloth to remove
any residue. Repeat the operation if necessary until the complete removal of the limescale.
Start a heating cycle with water in the reservoir (level 1).
Never scrape the heating plate with an abrasive utensil.
Food Number of doses of water
1 2 3
100 ml 140 ml 160 ml
Vegetables Potatoes* •
Carrots* •
Turnips* •
Green beans •
Courgettes •
Leeks •
Peas
•
Pumpkin •
Cauliower •
Red
meat •
White meat •
Fish
•
Fruit Apples •
Pears •
Strawberries •
Mandarin •
Pineapple •
Cooking time** about 10 mins about 15 mins about 20 mins
COOKING GUIDE
* Cut into small 1 cm x 1 cm (1/2 inch) cubes.

11
CLEANING and MAINTENANCE
Always unplug the appliance before cleaning it.
It is advised to wash the removable parts by hand: jug, cloche, basket, spatula, mixing cover, lid, joints,
blade, etc. Dishwasher cleaning may cause parts to wear faster and affect their quality.
Clean the body of the appliance as well as the reservoir with a damp sponge.
• To clean the blade and its joint
i
l
m
, follow the dismantling and assembly instructions:
• To remove and replace the reservoir and cloche lid’s joint
c
, follow the assembly instructions:
SPECIFICATIONS
Voltage/Power: Refer to the information panel under the appliance.
Temperature for use: 10 to 40°C.
TROUBLESHOOTING
An updated and detailed table can be found on the BEABA website.
The product does
not work
The jug leaks
The cloche leaks
My fruit and
vegetables are not
cooked at the end
of the cycle
The bottle is not
hot enough
• Check that the appliance is connected to a electricity supply
• Check that the jug is locked on the base and that the lid is correctly locked.
• Check that the lid is fastened properly to the jug.
• Check that the basket is positioned correctly in the jug
• Check that the joint is mounted correctly on the blade (refer to the
Cleaning Maintenance paragraph)
• Check the condition of the blade’s joint and replace it if necessary
• Check that the cloche is fastened properly to the reservoir.
• Check that there is a joint cin the cloche (see p 10)
• Check that the reservoir is clean and free of limescale
• There is no more water in the reservoir: the initial quantity of water was
too low. Fill the reservoir again with the amount of water required
• If there is water in the reservoir at the end of the cycle, unplug the
appliance and contact Beaba After-Sales Service.
• Repeat point 13 «Heating bottles»
DESCALING
Only use white vinegar or the BEABA cleaning product for Babycook.
Never use a chemical descaler or a coffee machine descaler in the reservoir.
Unplug your appliance, descaling should be done cold and does not require a heating cycle.
Pour a mixture of 50 ml of water and 50 ml of white vinegar or the BEABA cleaning product for Babycook
into the reservoir.
Leave to soak overnight with the lid open.
Empty the contents of the reservoir into the sink. Rinse with water and wipe with a clean cloth to remove
any residue. Repeat the operation if necessary until the complete removal of the limescale.
Start a heating cycle with water in the reservoir (level 1).
Never scrape the heating plate with an abrasive utensil.
Food Number of doses of water
1 2 3
100 ml 140 ml 160 ml
Vegetables Potatoes* •
Carrots* •
Turnips* •
Green beans •
Courgettes •
Leeks •
Peas •
Pumpkin •
Cauliower •
Red meat •
White meat •
Fish •
Fruit Apples •
Pears •
Strawberries •
Mandarin •
Pineapple •
Cooking time** about 10 mins about 15 mins about 20 mins
To reheat
COOKING GUIDE
* Cut into small 1 cm x 1 cm (1/2 inch) cubes.
Other manuals for BABYCOOK
11
Table of contents
Other Beaba Electric Steamer manuals